


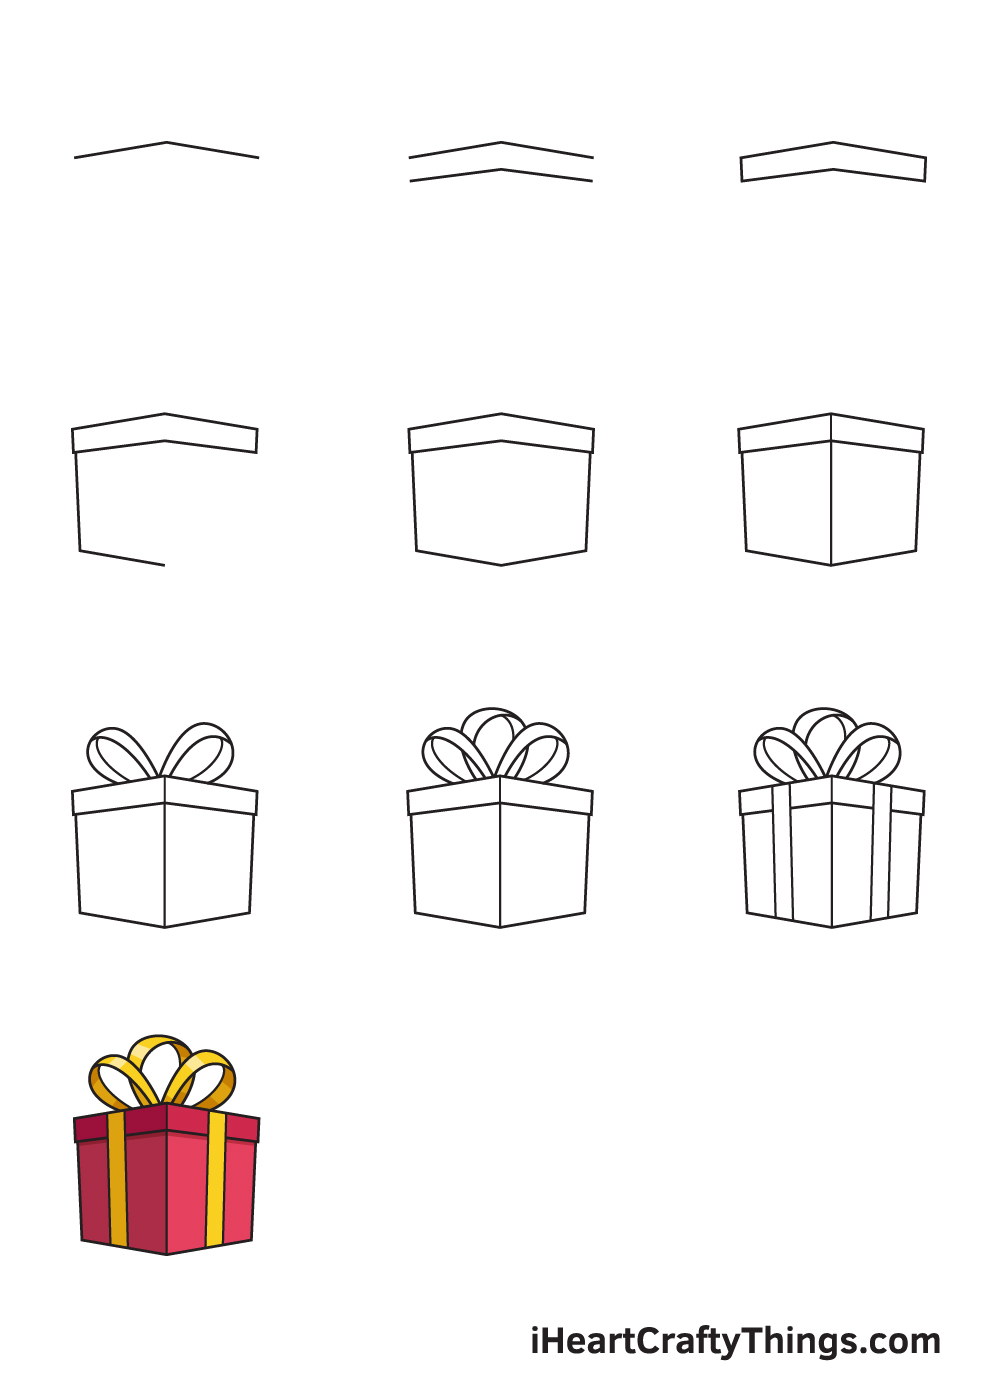
It’s time to unwrap these steps on how to draw a present! You won’t believe how easy it is to make your present drawing when you follow this guide for kids.
Who doesn’t like to receive a present? Whether it’s for Christmas, a birthday or just to show someone you were thinking of them, a present is a special thing to receive.
Part of the fun is seeing the box wrapped up all beautifully while you wonder what could be contained within. We can’t receive a present every day, and that’s why drawing one can be the next best thing.
That way, you can have a present in your life every day! Once you have finished the steps of this guide, you can add all sorts of your own details and ideas.
You could even draw a huge pile of presents to make it even more exciting!
See How To Make Your Present Drawing
How to Draw a Present – Let’s get started!
Step 1
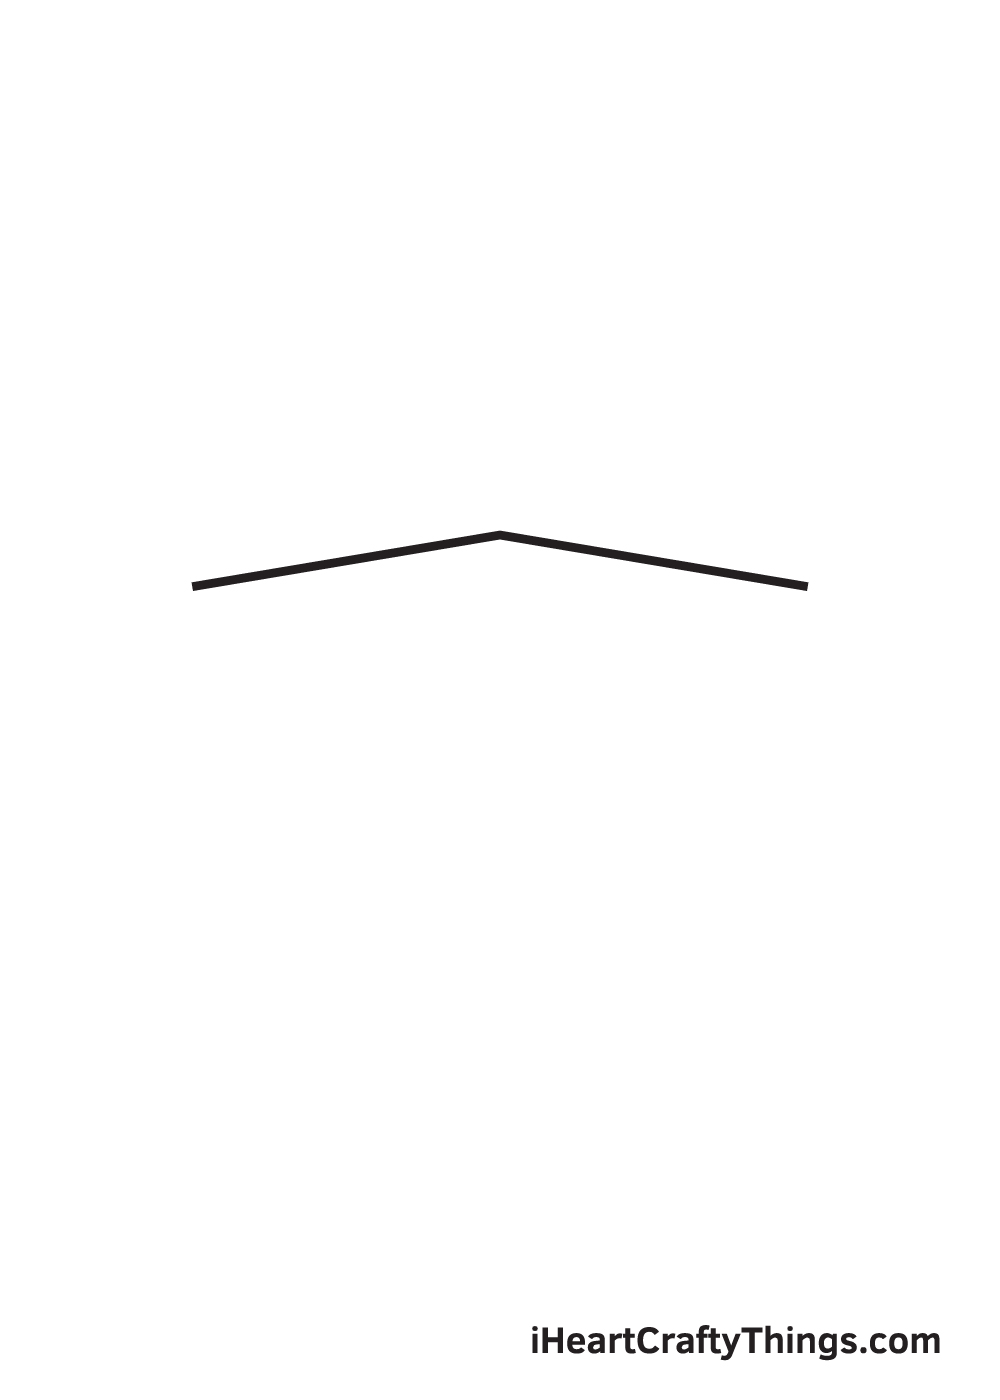
Let’s create a simple yet beautiful box of present! To keep it simple, start by drawing the upper part of the present.
Draw two diagonal lines connected in the middle, just like the one seen in the illustration above.
Drawing a present is highly dependent on straight lines. So, feel free to use a ruler to draw straight lines quickly and easily.
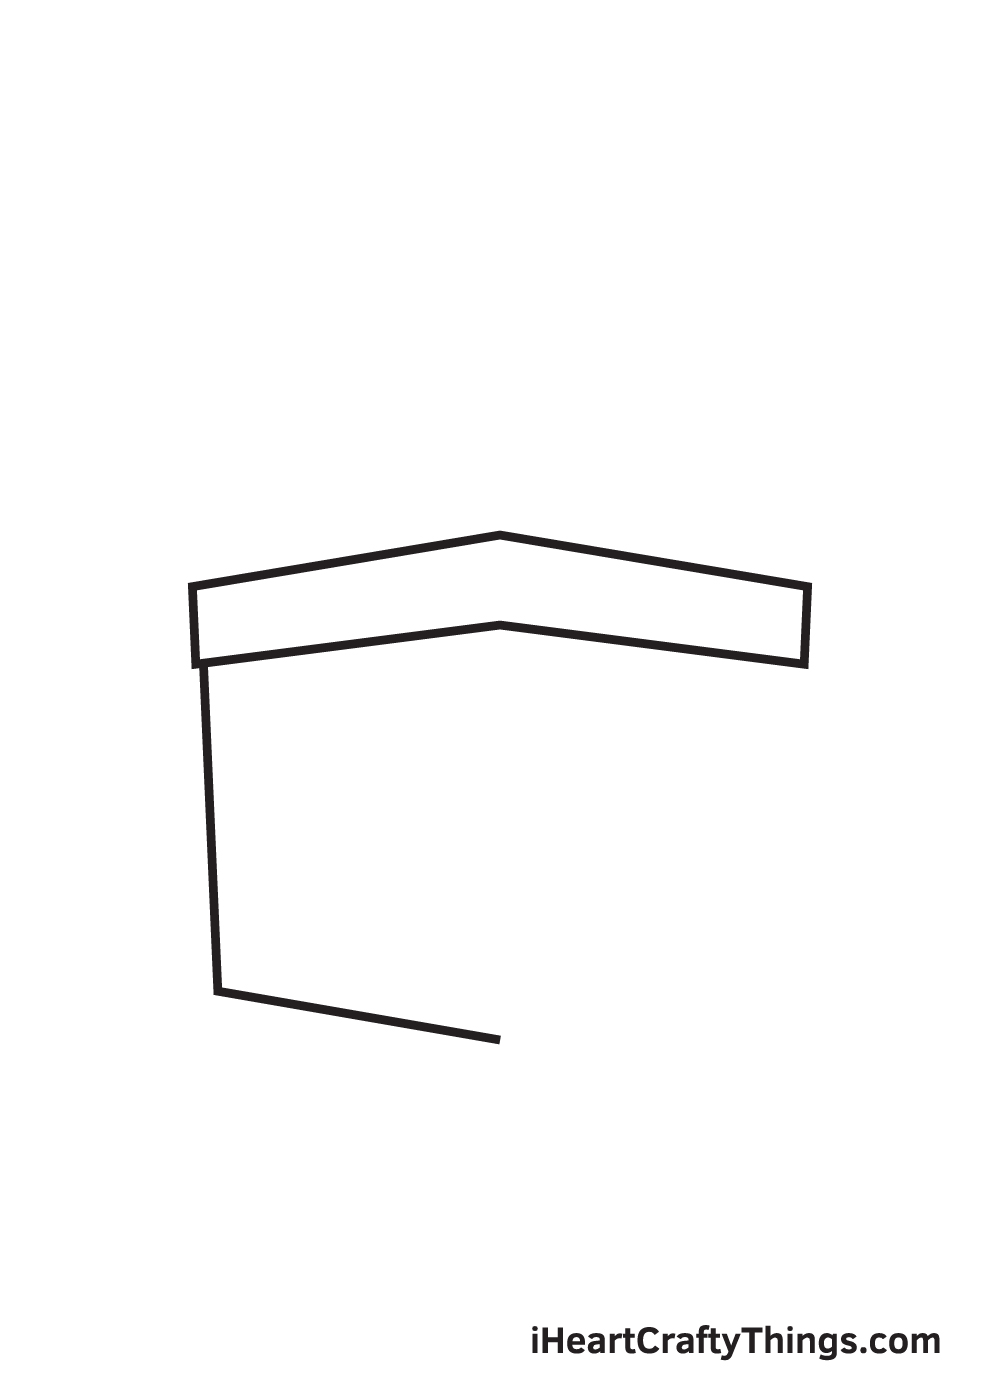
Step 2 – Create an Outline of the Present’s Lid
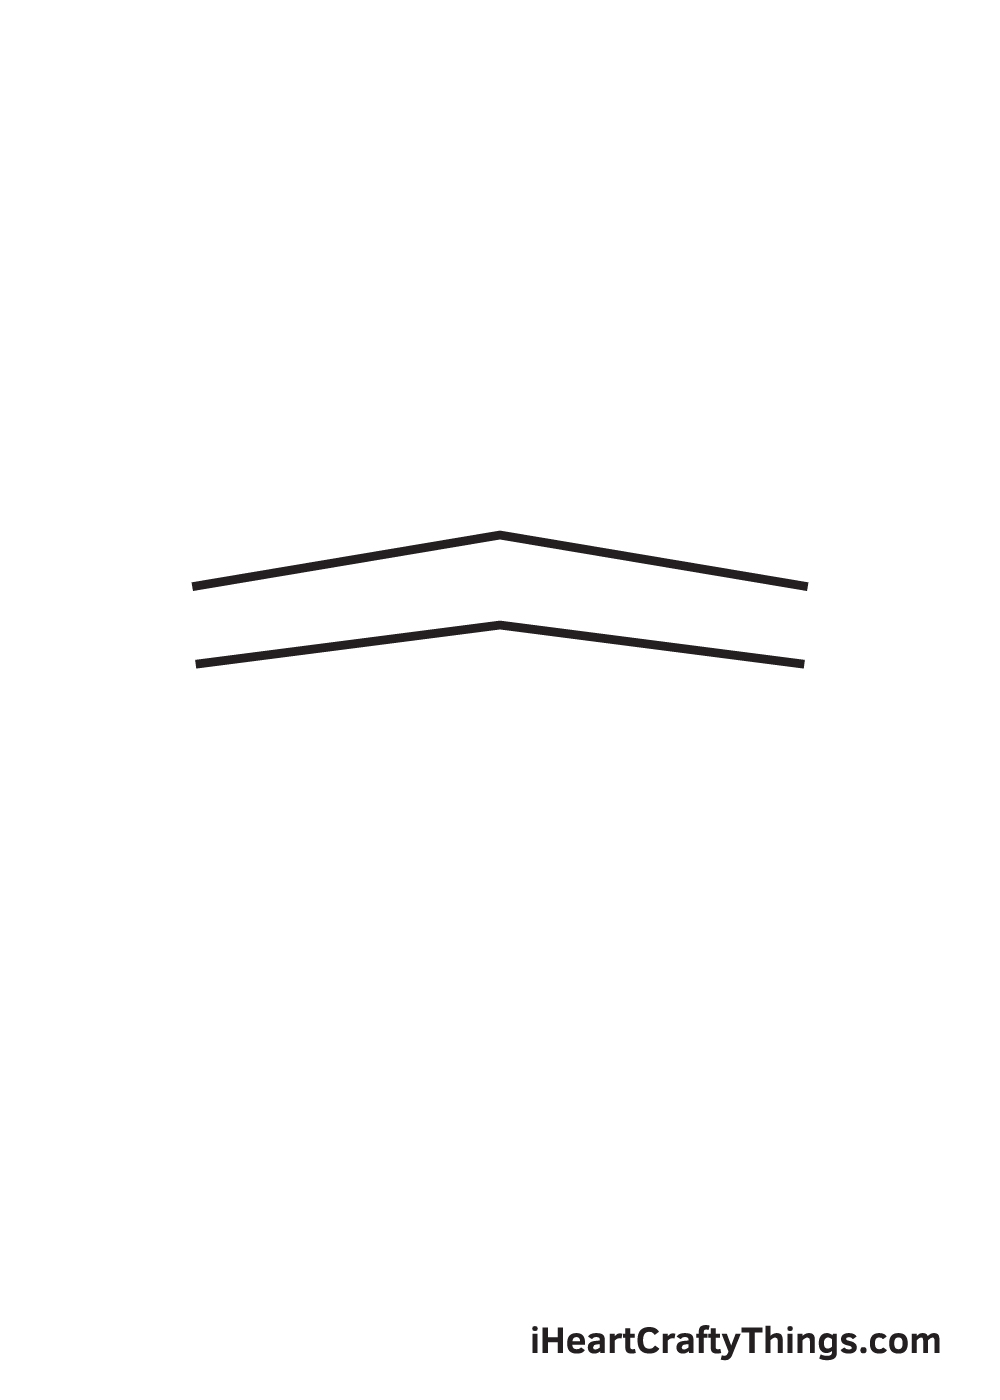
Repeat the previous step and draw another line with a similar form right underneath the first one we drew previously. This another set of the connected diagonal lines forms the bottom part of the lid of the present.
At this point, you should now be seeing two parallel lines that are both arched or angled in the middle.
Step 3 – Now, Finalize the Lid of the Present
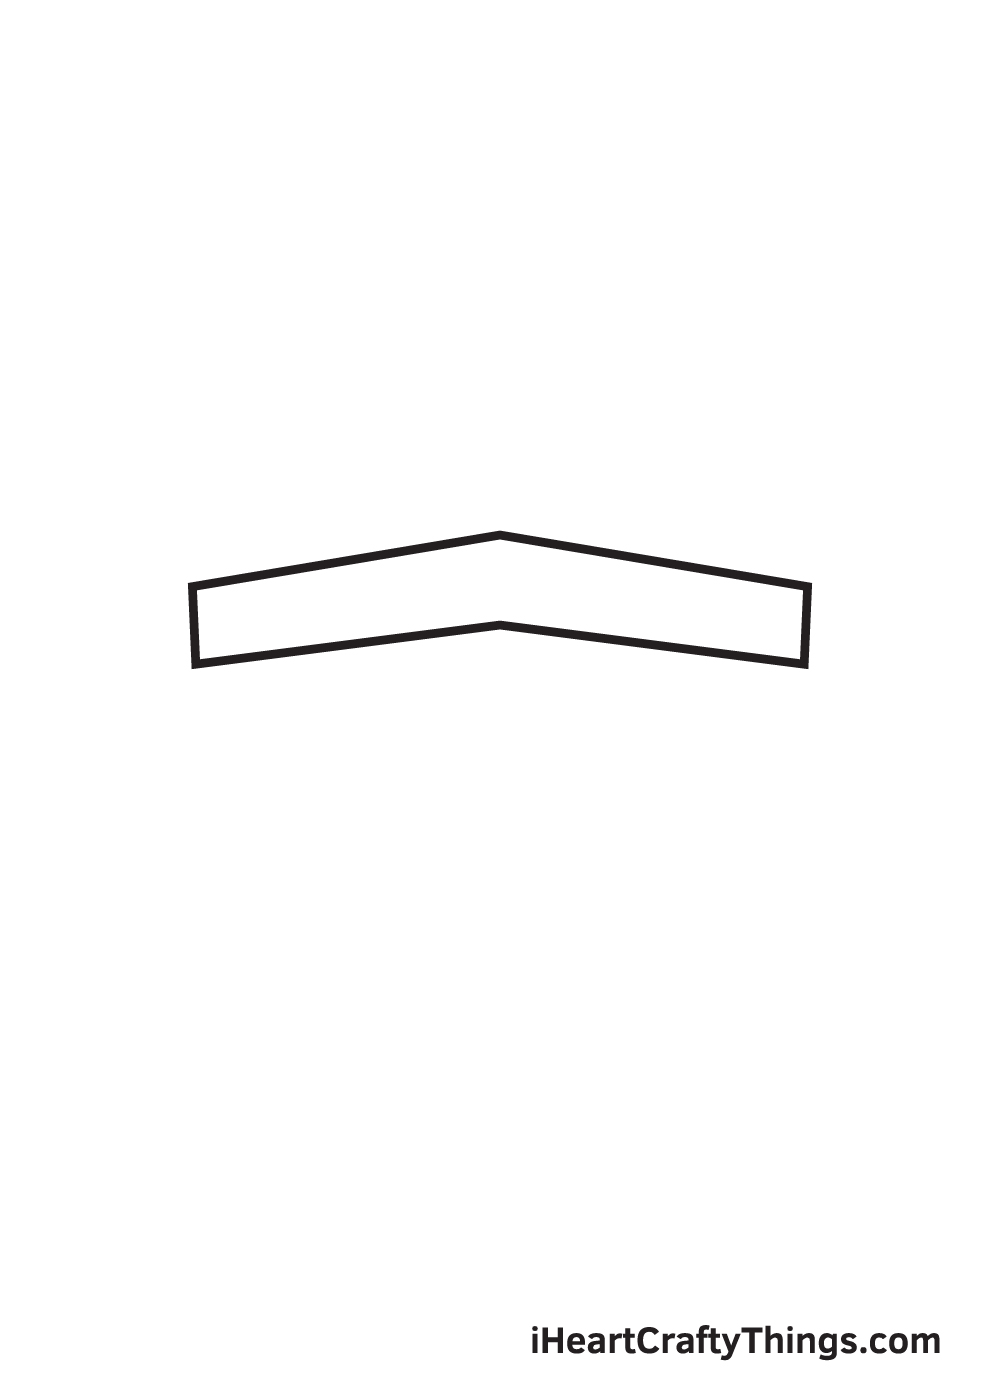
Now, it’s time to connect the two sets of diagonal lines on both sides to finalize the lid of the present. Connect both sides by adding a short vertical on each side.
After finishing this step, the structure of the lid should now be fully formed.
Step 4 – Draw the Bottom Half of the Present
In this step, we will be drawing the box part of the present.
Create the left part of the box by drawing a long, nearly vertical line and connect this with a shorter diagonal line at the bottom, as shown in the illustration. This forms the half of the box of the present.
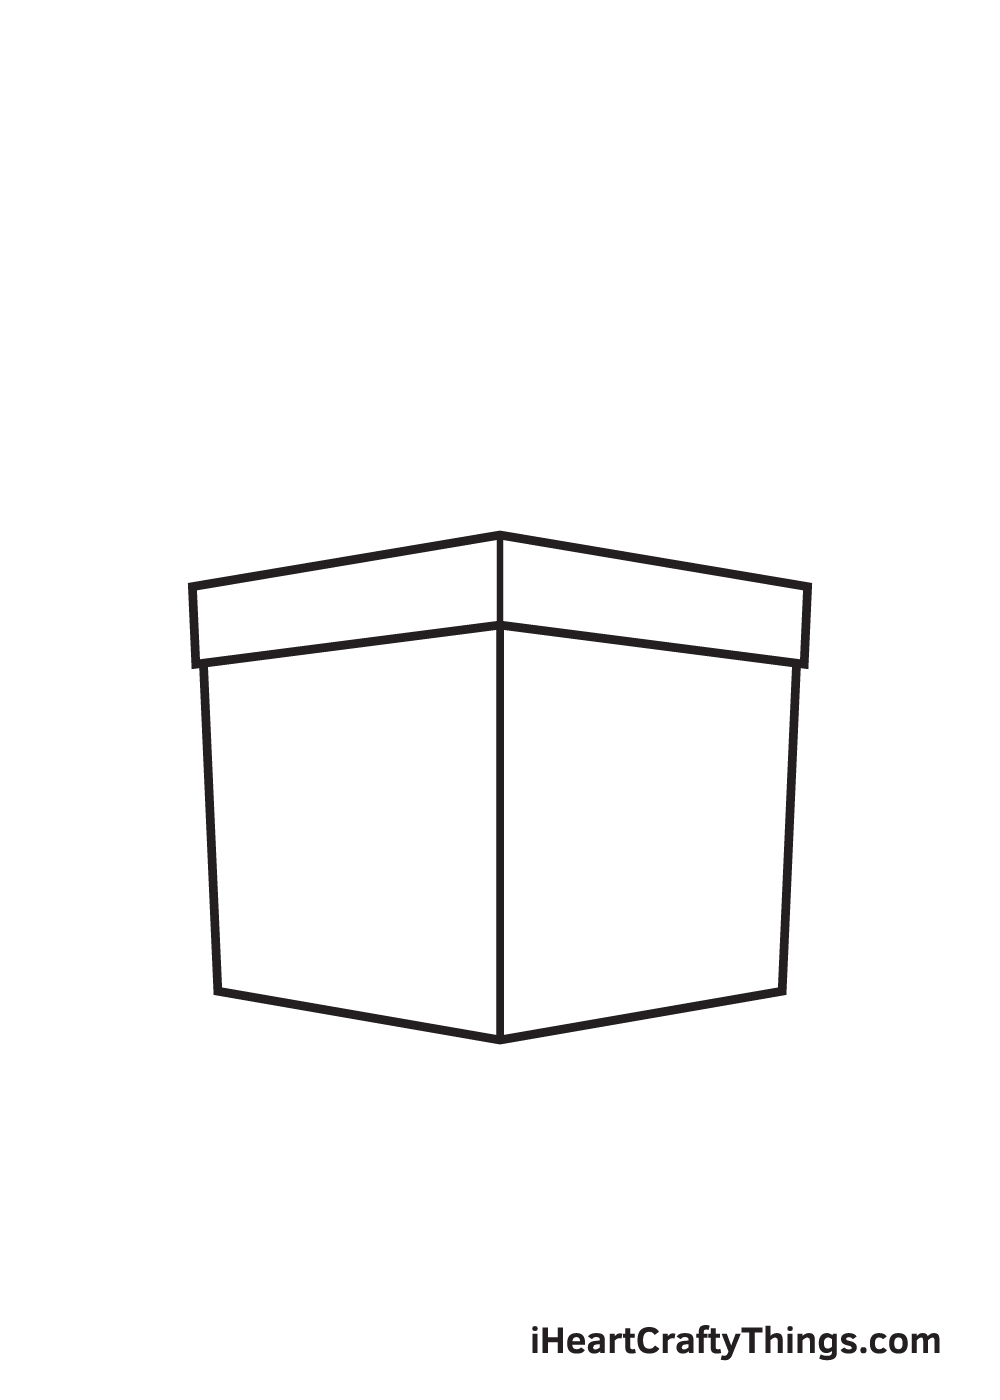
Step 5 – Finalize the Structure of the Present

Here, we will be completing the box part of the present.
Simply draw the second half of the box by repeating what you did in Step 4, except you will do it for the right side of the box of your present.
Step 6 – Draw the Dimensions of the Present
To make the present look realistic, we will be adding a short vertical line right at the middle of the lid as well as a longer vertical line right at the middle of the box.
These two lines should appear connected as shown in the illustration above.
These lines form the edges of the box, making it appear three-dimensional.
Step 7 – Next, Draw the Ribbons of the Present

Of course, a present wouldn’t be complete without a gift bow at the very top! In this step, that’s exactly what we’ll be working on.
It’s time to add more excitement by adding the gift bow! Draw the gift bow by adding two sets of inverted U-shaped curves at the top of the lid, just like the ones in the illustration.
Step 8 – Complete the Bow at the Top of the Present

Draw another U-shaped curve in the middle of the first two figures we drew in the previous step. This forms the third set of gift bows.
Make sure that this curve is slightly bigger than the first two that we drew previously.
Step 9 – Now, Gift Wrap Both Sides of the Present

Complete the look of the gift bow adding the lace wraparound on the present. Simply draw two parallel vertical lines on both sides of the present to create this effect!
Don’t forget to erase any parts of the present that overlaps within the lace!
The final step is to add color on your beautiful present! As you can see in the illustration above, we used a combination of gold and pink colors, creating a vibrant and colorful present!
Feel free to use any colors you like to fill in the colors of the present! We suggest using more than one color to make the present look more fun.
Have fun playing with colors and watch as the present ultimately comes to life!
Here’s how you can make your present drawing even better…
Get ready to unwrap some awesome tips for your present sketch!
Everyone loves to get a present, but it’s even better if you can get more than one! For that reason, it could be fun to add some more parcels to this present drawing.
Now that you have finished the guide, you have everything you need in order to add as many presents as you like. They could be big, small or shaped like something in particular.
How many presents will you add?
A present can be wrapped in all sorts of amazing gift wrap that features all kinds of patterns and pictures. You could customize this drawing of a present with your own designs for some wrapping paper!
This could feature just about anything you can think of, so you really have a lot of room for creativity. Maybe it could have little pictures of teddy bears or a vibrant zigzag pattern.
What kinds of designs would you like to use for the wrapping and ribbons of this present?
Have you ever wished you could have X-ray vision so you could get a sneak peek at what your presents contain? You could simulate such a power with this present sketch!
You could do this by drawing a circle or other shape onto the present. Then, instead of drawing the outer surface of the present you could show what is within.
This would be a fun way to suggest what you think this present should contain! What gifts do you think it could contain?
When you bring some colors to this present drawing, you don’t need to stick to regular drawing tools and mediums. You could also use some crafts and alternative mediums to make the colors pop.
If you have some, you could even use strips and pieces of real wrapping paper and ribbon and stick them onto the present.
You could also use beads, stickers and glitter to create all kinds of cool textures and colors. What other crafts could you use for this present?
Your Present Drawing is Complete!
We hope you had a fun drawing activity with this step-by-step present drawing tutorial. What do you think is inside this present? Who knows?! It’s the mystery and the anticipation of not knowing that makes it more exciting!
Remember, all of our drawing tutorials are 100% free for you to use as materials and reference for your drawing activities.
We are regularly updating our “How to Draw” catalog, so don’t forget to keep checking back to continuously enjoy brand-new drawing tutorials!
Once you’re done drawing and coloring a present, make sure to show off your artwork! Take a photo of your colored drawing and share it on our Facebook page and on Pinterest.
And while you’re at it, we hope you take time to like our Facebook page too!
We can’t wait to see your mysterious present drawing!