The humble potato may not seem like much when you see it, but it is used for a wide variety of different purposes.
These can include it being used to create food such as fries and hashbrowns to even being used to create alcoholic beverages.
It has to be one of the tastiest and most versatile of vegetables despite its simple and hardy appearance.
By learning how to draw a potato, you can take this vegetable even further by immortalizing it in an artwork!
This is the guide you want to be on if you would like to find out how you can do that.
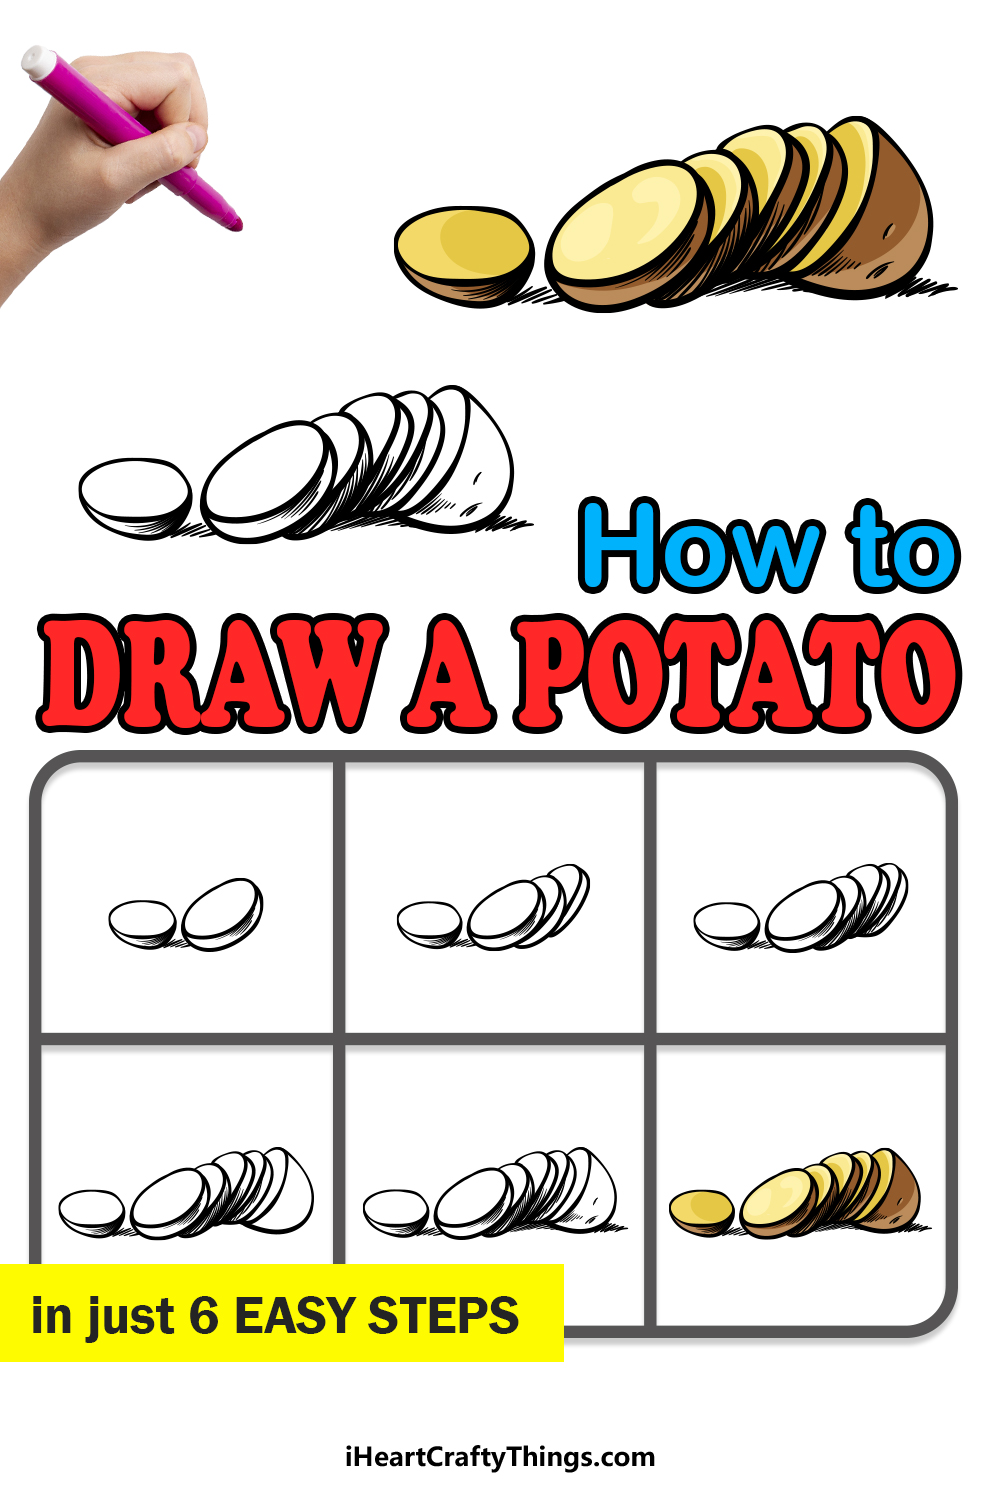
Our step-by-step guide on how to draw a potato in just 6 steps will show you how you can create a great picture featuring this famous spud.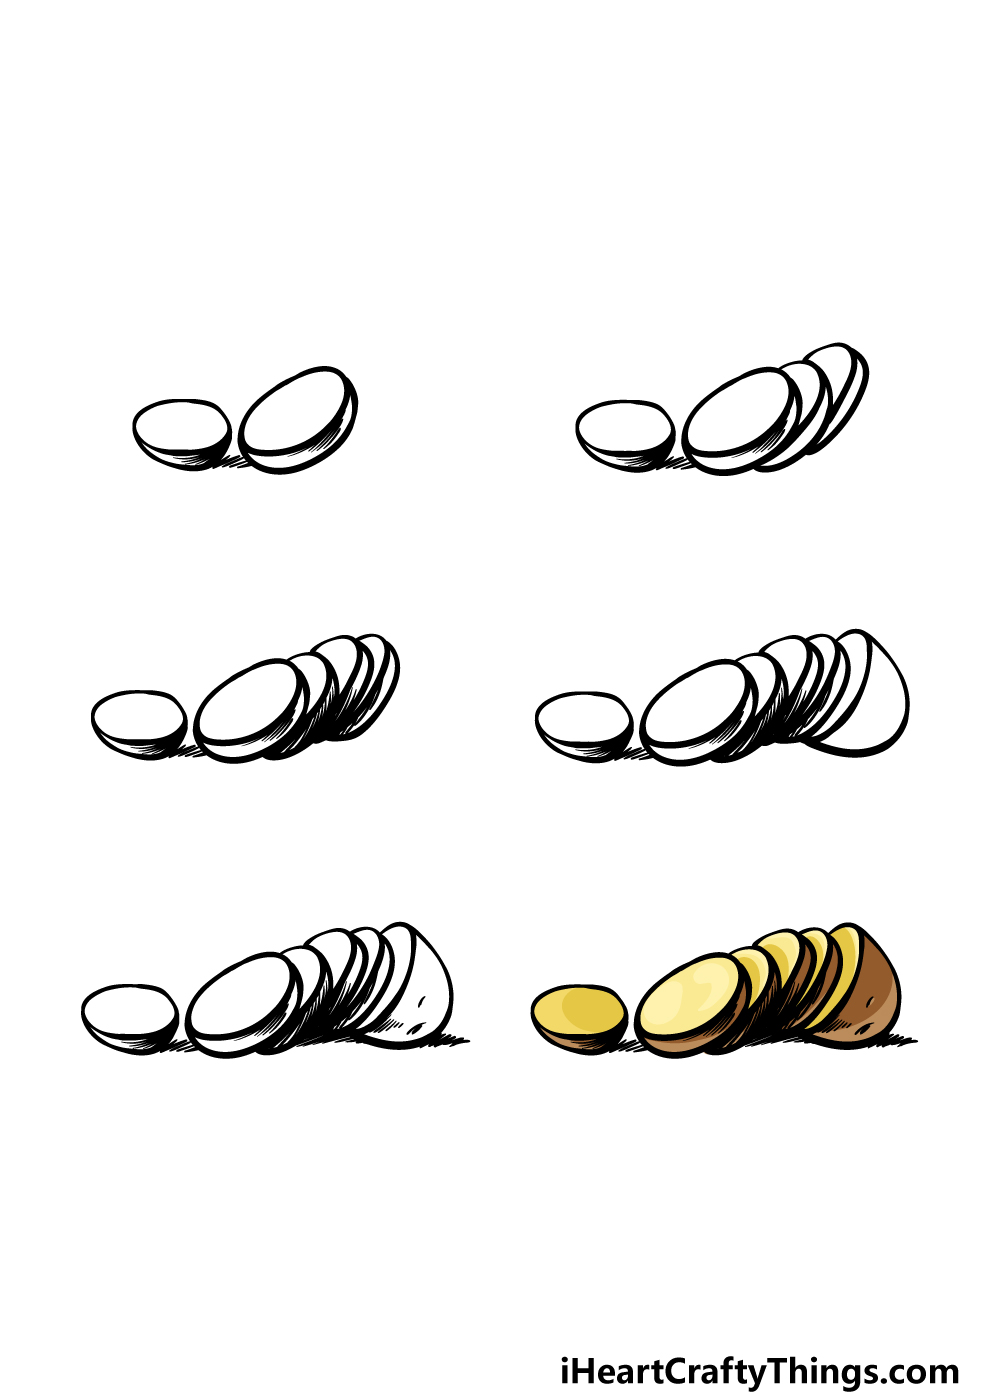
How to Draw A Potato – Let’s Get Started!
Step 1
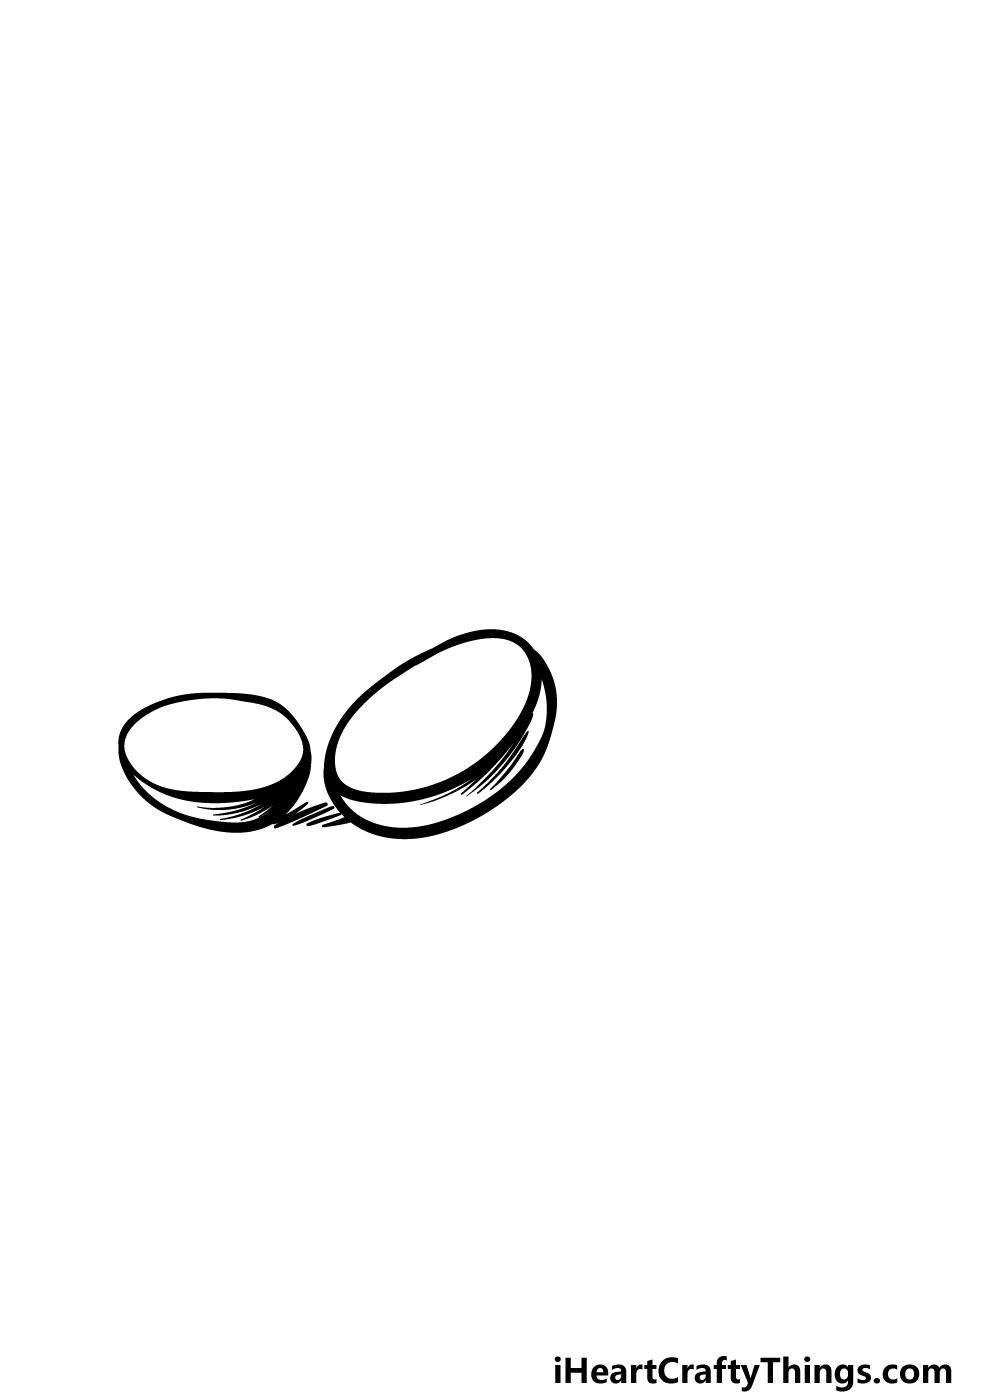
Instead of simply drawing a solid potato, we will be drawing one that has been cut into slices for this guide on how to draw a potato.
For this first step, we will be starting by drawing some of these slices. To draw these, you can draw some oval shapes for the flat sides of the slices.
Then, draw some curved lines coming off of these flat sides for the sides of each slice.
Once these curved lines are drawn, you can draw some shading onto them to finish off this step.
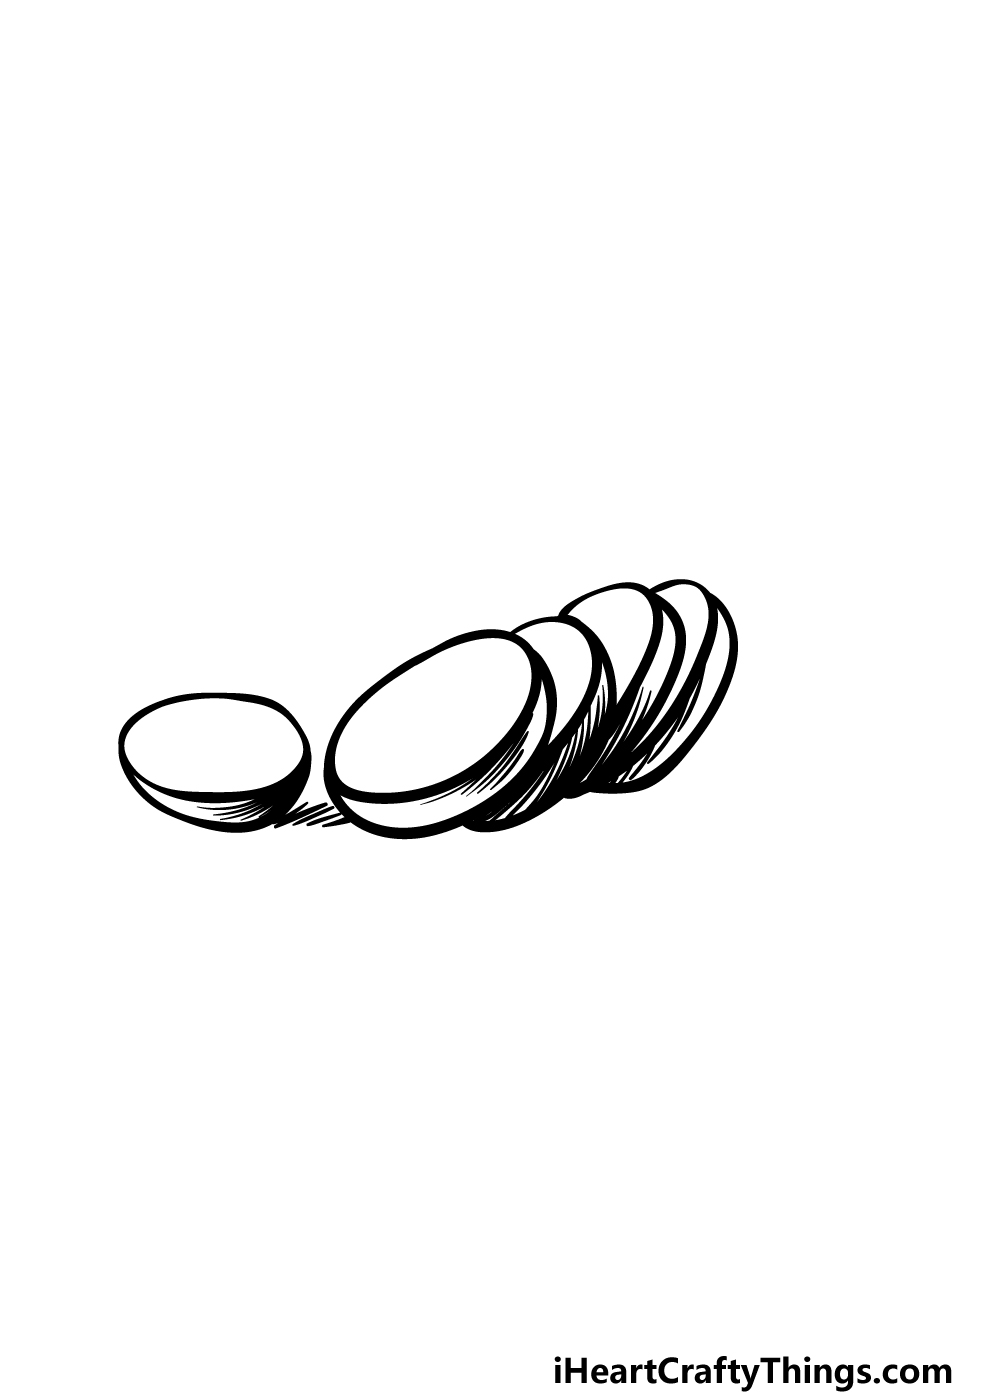
Step 2 – Next, draw some more potato slices
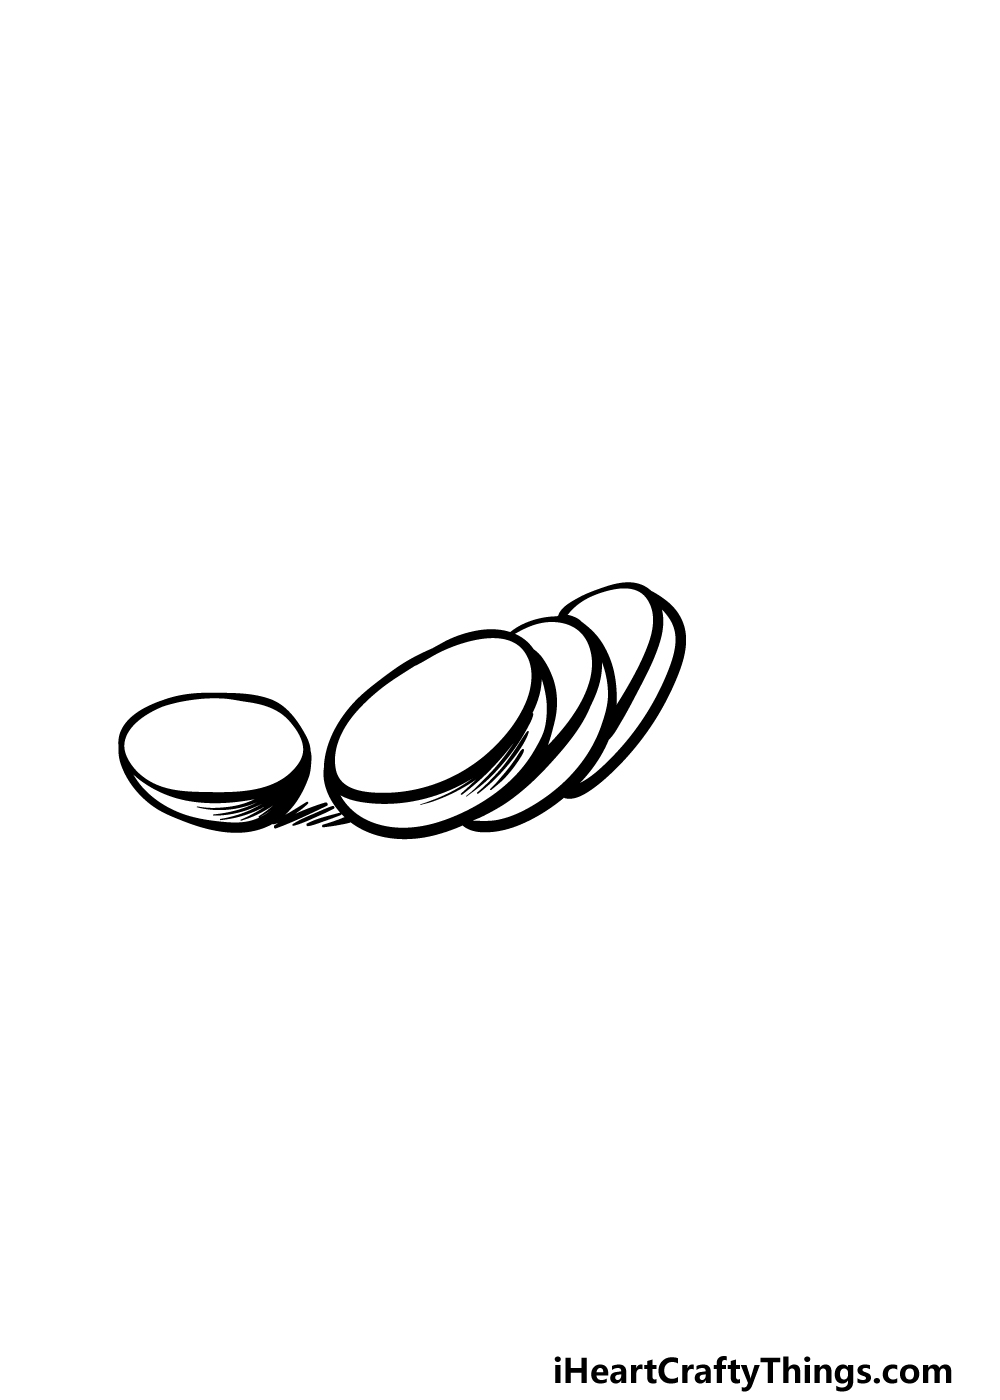
For the second part of your potato drawing, we will be drawing some more slices. For now, we will be adding two more slices, and the method will be very similar to what you did in the prior step.
That means we will be drawing some oval shapes with curved lines to give each slice the appearance of thickness.
The catch for this step is that these slices will be obscured a bit by one of the slices that you drew in the previous step.
Despite this, it should still be easy enough to draw these next slices as they appear in the reference image, and then we will be ready to move on to the third part.
Step 3 – Draw another slice and add some shading
In this third part of our guide on how to draw a potato, we will continue with the trend we have been doing for the last few steps.
That means that first you can draw one more slice next to all of the others that you have drawn so far. By now you have really mastered this, so it should be no problem for you!
Once that slice is drawn, we will then add some detailing to this new slice along with the ones that you drew in the previous step.
Simply add some thick lines to these slices in the way that we did in our reference image, and this will provide some effective shading detail.
Step 4 – Now, draw the rest of the potato
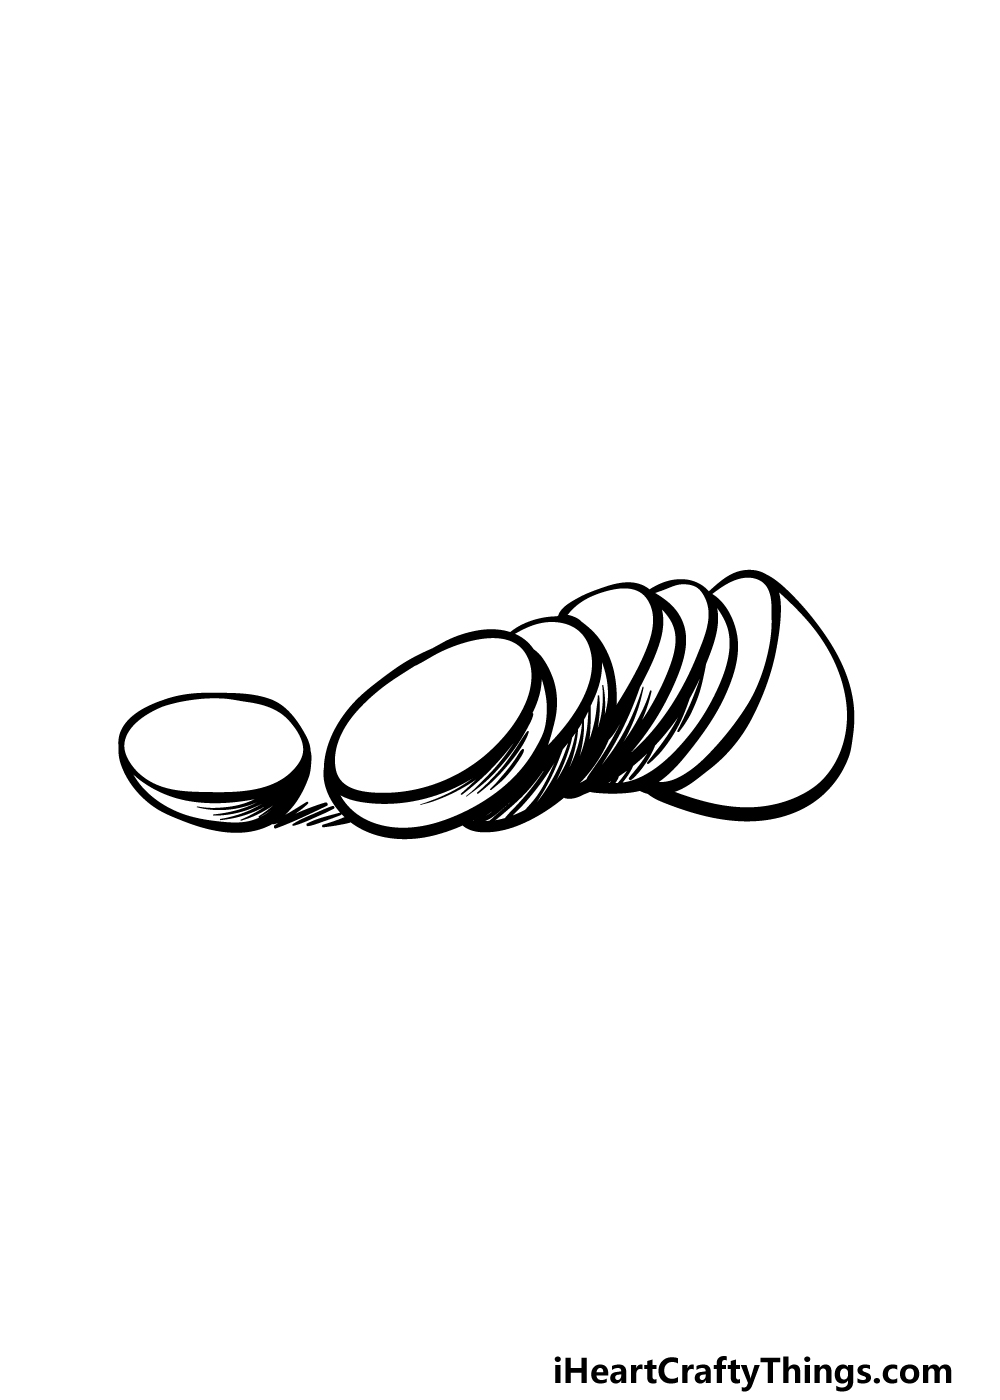
We’re finished with the slices of this potato drawing, so now we will draw the final, largest piece of this potato.
The method for drawing this will essentially be the same as what you have been doing before. That means that you can start with another oval as if you were to be drawing another slice.
The curved line that you would normally draw onto the slices for thickness will instead be much larger this time to show that this last piece makes up around half the potato.
It may look a bit bare for now, but we will add some detail along with the final touches in the next step.
Step 5 – Add some final details to your potato drawing
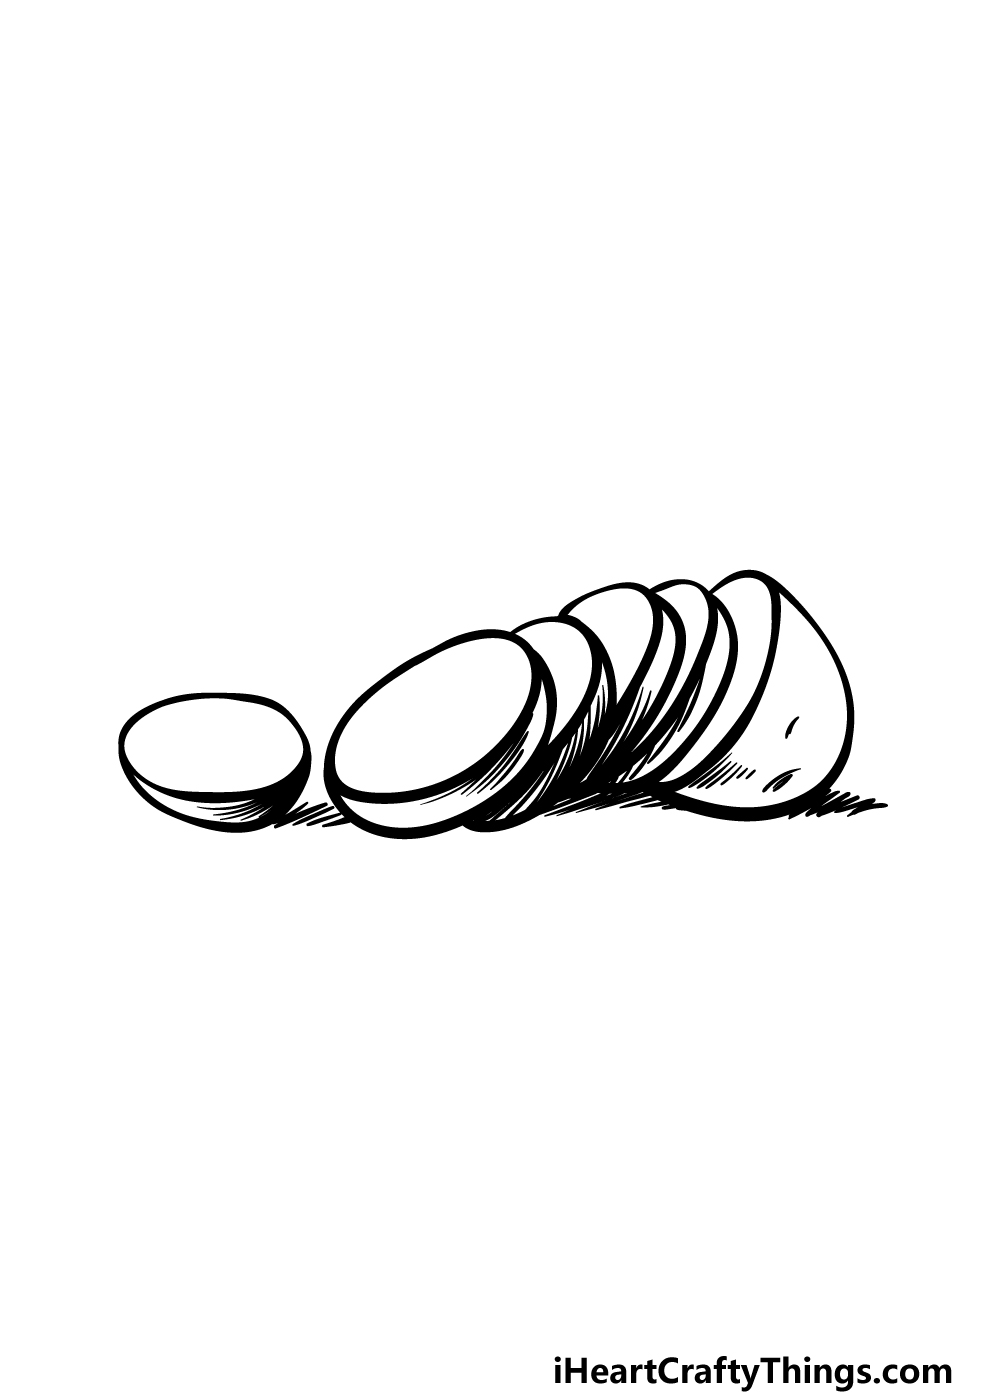
This fifth step of our guide on how to draw a potato is where we will finish off the drawing to get you ready for the final step where you will color your creation in.
For now, we will be adding some more of that shading detail to the part of the potato that you drew in the previous step.
Once you have drawn these final shading details, perhaps you could take this drawing even further by drawing a background for it!
If you did this, one idea would be to draw this potato sitting on a kitchen counter with other ingredients and cooking tools. What kind of setting can you think of for this image?
Step 6 – Finish off your potato drawing with some color
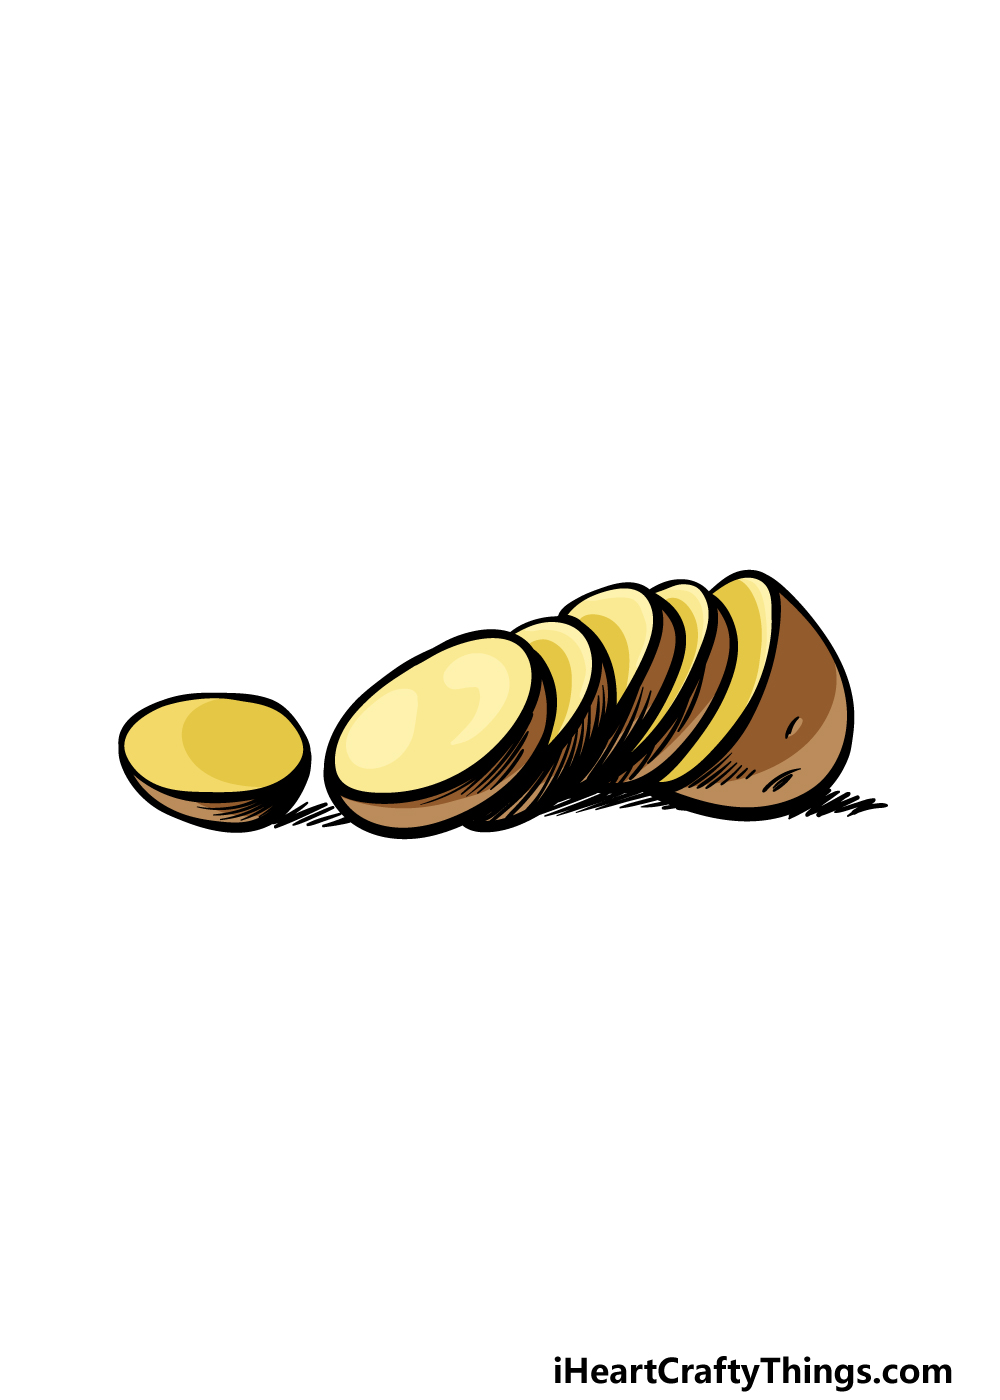
Now it’s time to finish off this potato drawing of yours by adding some color in this final part.
Potatoes are not exactly known for their bright colors, and we kept this in mind as we colored our reference image.
For the inner portions of the potato, we used a dull yellow color, whereas for the outer skin we used a few shades of brown to create some more texture realism.
These are just some of the colors that you could use, so you could use brand new ones or change up the shades a bit as well.
Choosing the colors is just one part of the process, as the mediums you use for the colors can also help to make the colors more distinct.
Painterly mediums such as acrylics and watercolors can be great for a more classic look, whereas colored markers and pens can be used for a brighter color palette.
Will you go for one of these styles or maybe a combination of both?
3 More tips to make your potato drawing easy!
Make this potato sketch even easier with the help of these 3 easy tips!
This drawing of a potato shows one that has been cut into several slices. This makes it even more interesting to look at, but it also makes it more complicated to draw.
One way that you could make it easier would be to draw the potato unsliced instead. This would make it more of a solid shape, and thus it would be a lot easier to draw.
It would also be an option if you want the potato to be more instantly recognizable, so this is a tip you could go for even if it’s just for the reason that you prefer this look.
Next, you can make this potato drawing easy by using a real potato to help you as you draw. There are a few ways that you could use this method.
One would be to use a real potato to help you as you draw. This would be the best option, and it should be fairly simple to acquire a real one to use as a model.
If not, then you can use some images online to help as you draw. This could be done whether you choose to draw the potato sliced or solid.
Using a real potato could also help you to draw other variations as well, so it opens up a lot of options!
Finally, another way to make your potato sketch easier would be by incorporating it into a larger display.
What we mean is that you could make an arrangement of other vegetables and foods besides the potato.
This would make more to draw, but it would also mean that the focus of the image is split.
That way, you could get away with a lower level of detail and any mistakes or imperfections will not be as noticeable.
Also, you will have an even more interesting picture to admire, and you can include all of your favorite types of food and other items!
Your Potato Drawing is Complete!
The potato is a vegetable that we all know and love, and we hope that you had a great time creating this picture of one alongside us in this guide on how to draw a potato!
Even simpler subjects like a potato can provide challenges when drawing them, so we hope that this guide made it easy and enjoyable for you to do.
As you finish it off, what ideas for elements such as a background, extra details or color choices will you use for it?
When this potato is all done, you can find drawing guides featuring more food, objects and even famous people on our website.
Be sure to join in the fun, and keep checking as we have more guides on the way.
We would be curious to see how you finished off this potato drawing, so please show us the finished product by sharing it on our Facebook and Pinterest pages.