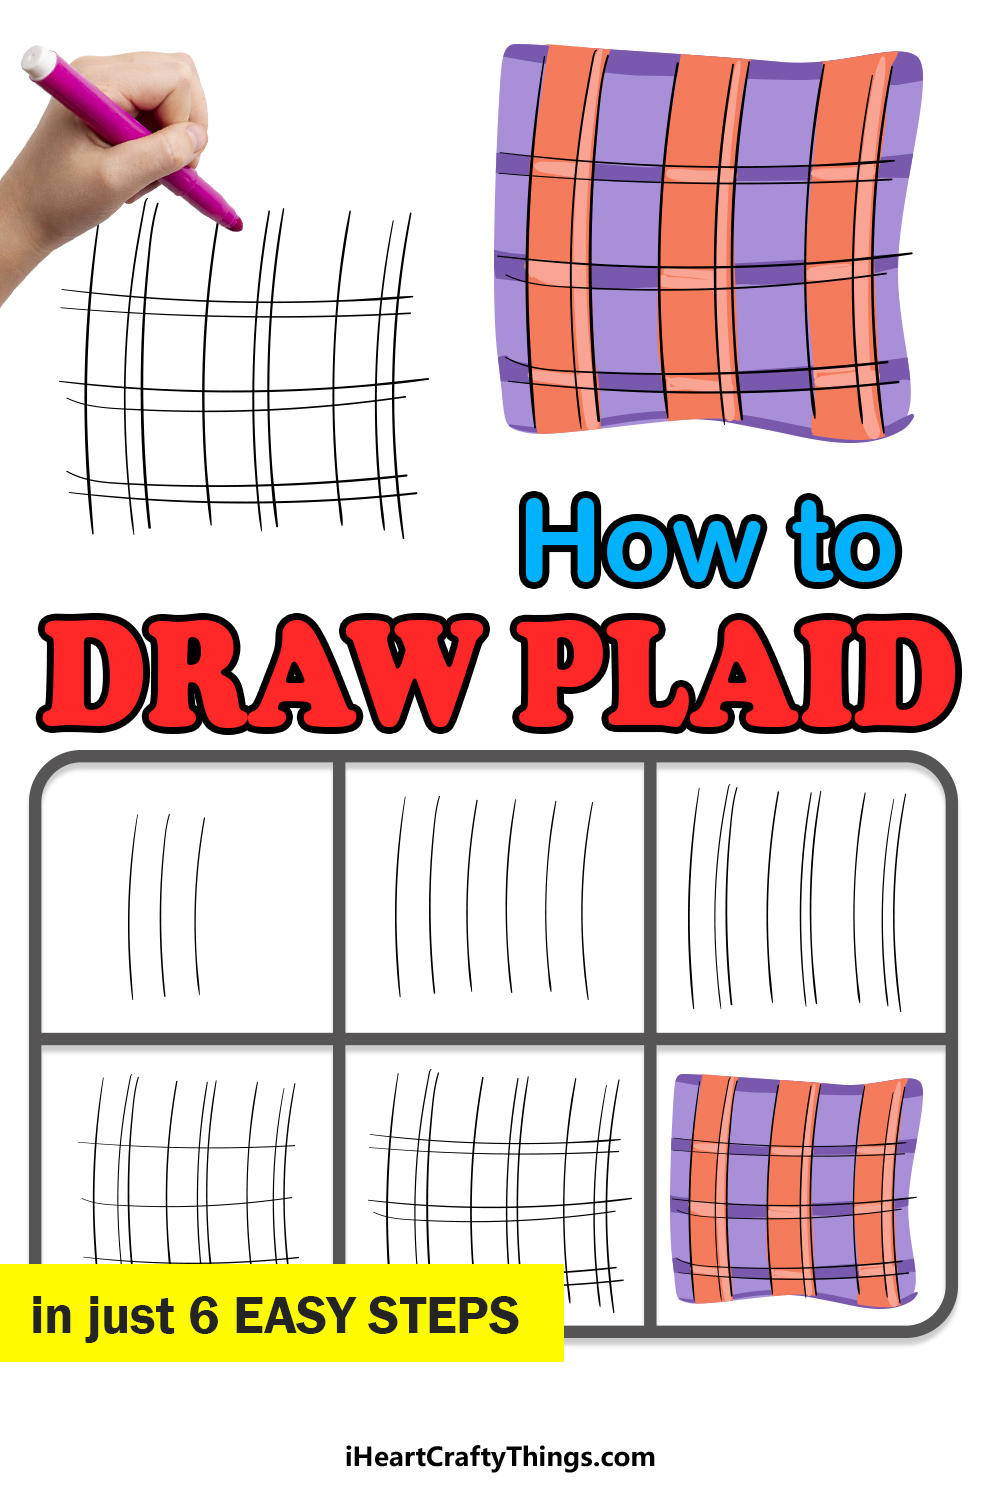
There are many different fabrics and patterns that are popular around the world. One of these popular fabrics is tartan, which is often associated with Scottish bagpipe players.
It has come to be a popular design in general, and despite its seemingly simple design it can be a challenge to learn how to draw plaid properly.
This challenge only exists when you don’t know the steps to take, and this guide will be showing you those steps!
We hope that you enjoy this step-by-step guide on how to draw plaid you will be able to recreate this classic pattern before you know it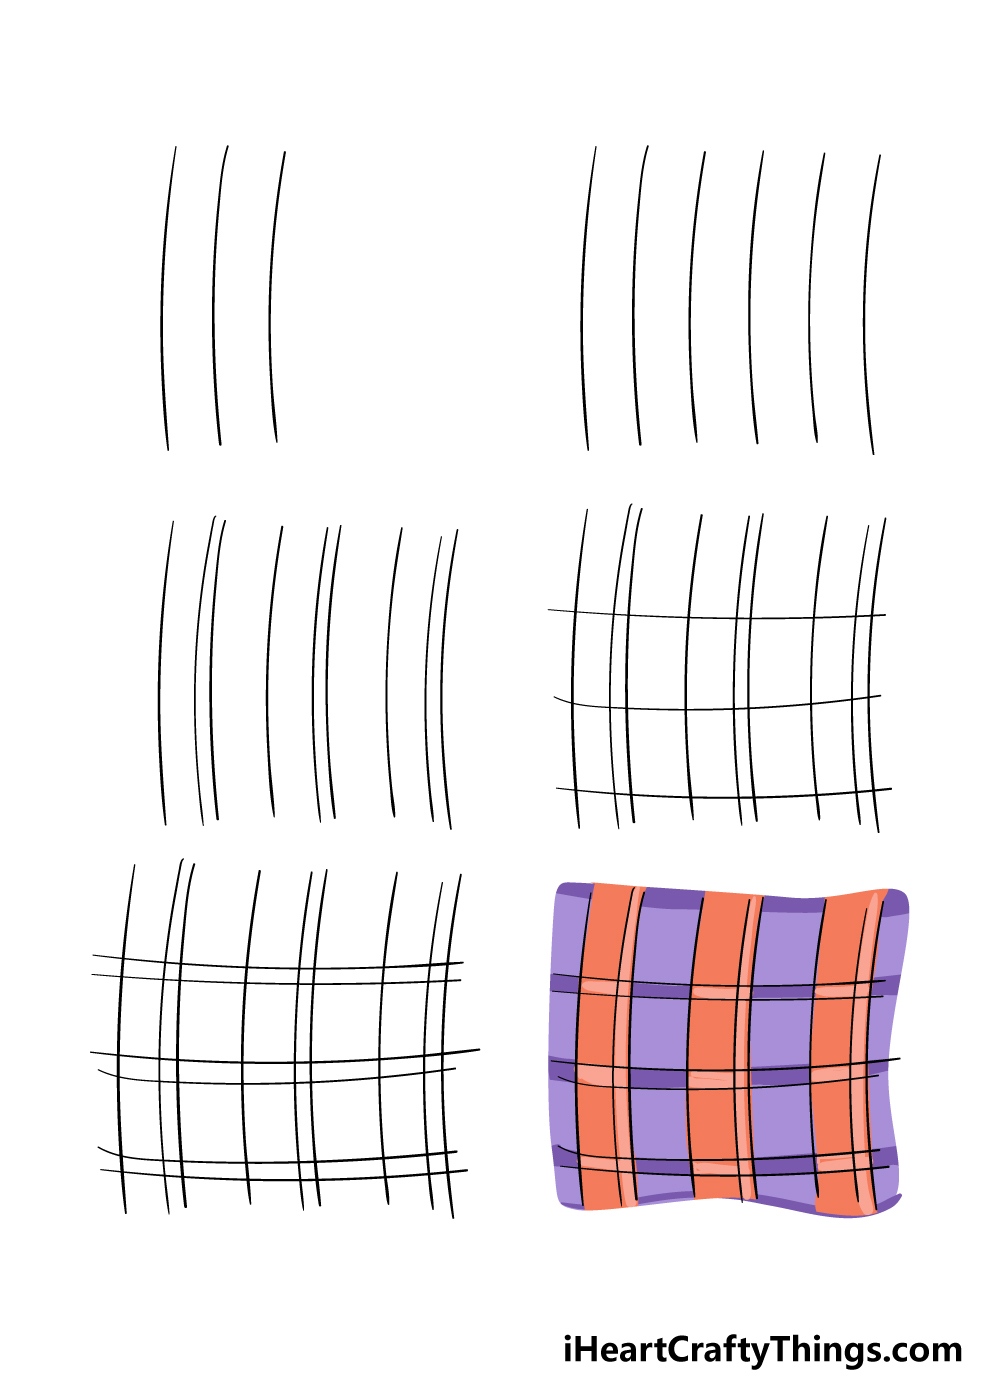
How to Draw Plaid – Let’s get Started!
Step 1
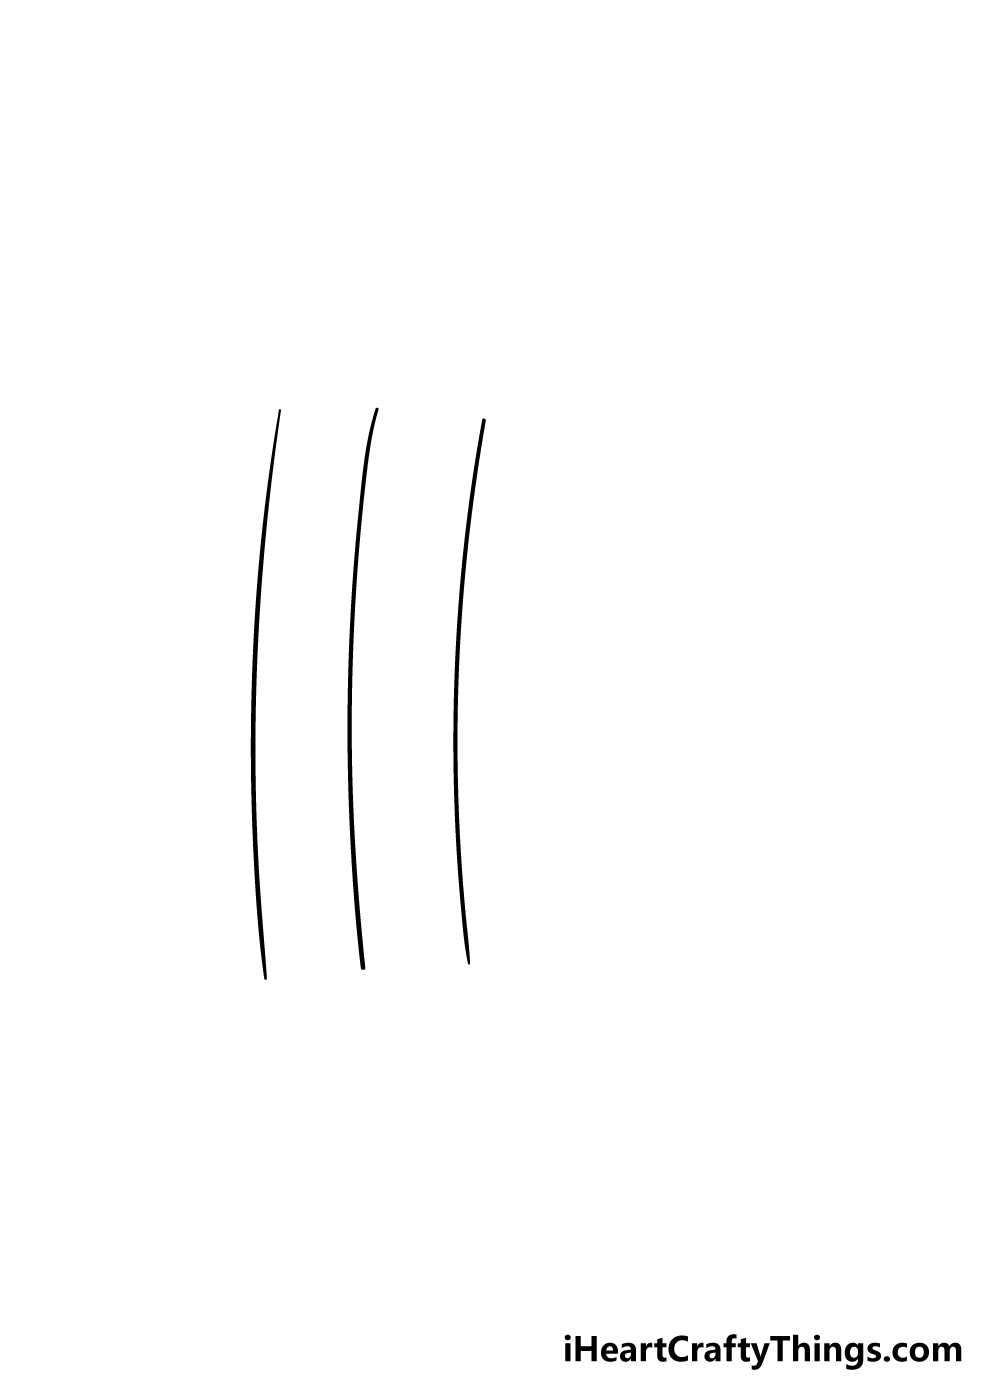
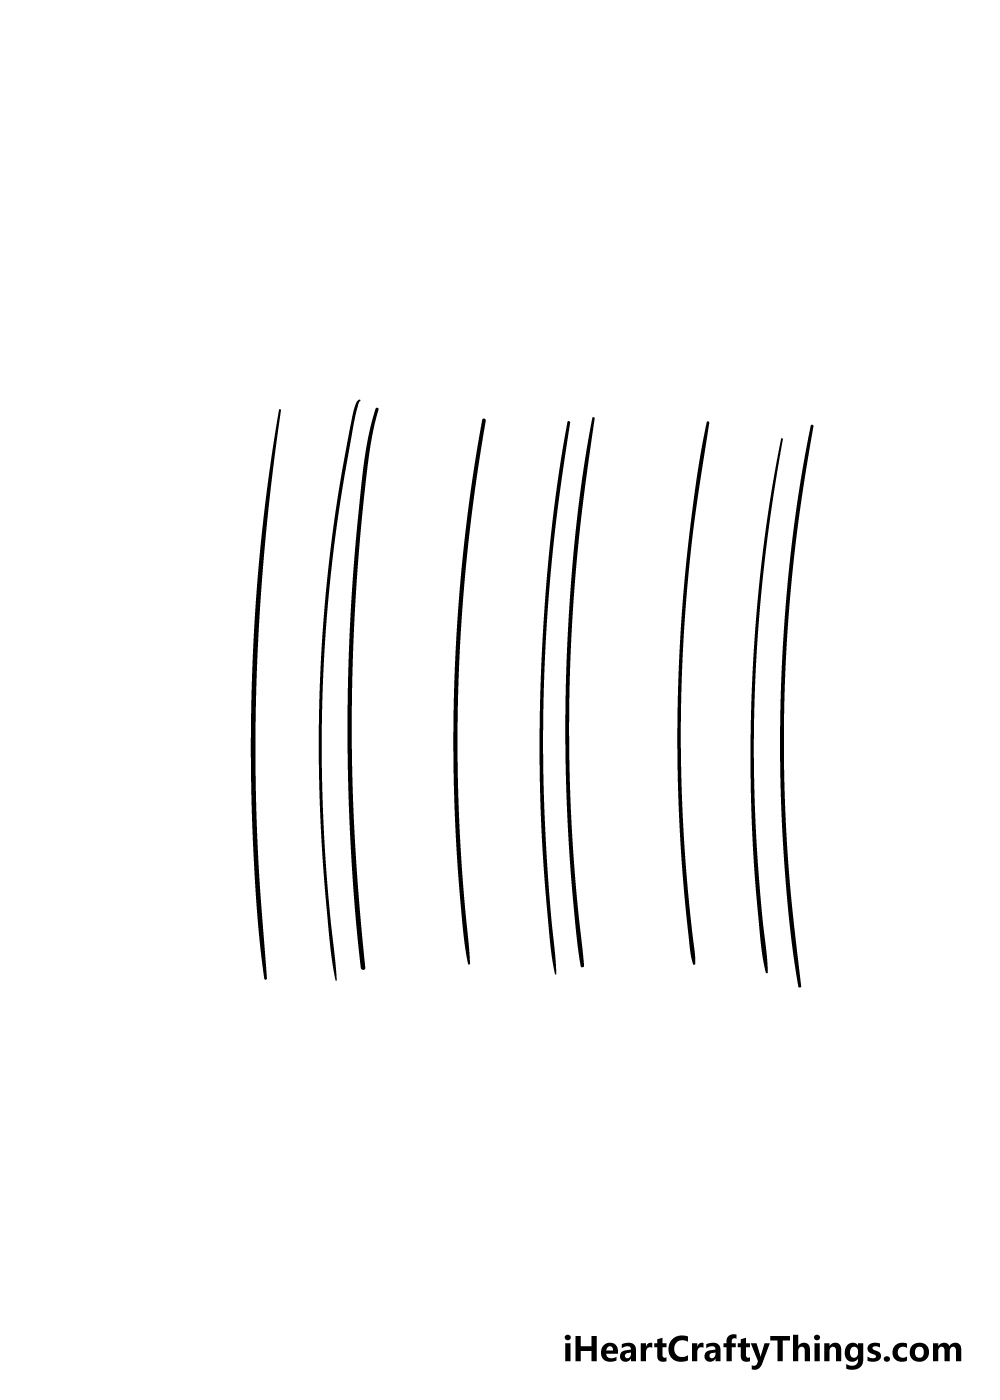
This fabric pattern is broken down into lots of straight lines and geometric shapes, so we shall focus on these elements individually for this guide on how to draw plaid.
To get this process started, you can draw three vertical lines as shown in our guide. These will have a very slight curve to them, and will be vital to creating the rest of the pattern later.
Once you have these lines drawn, we’re ready to move on to step 2!
Step 2 – Draw some more vertical lines for the pattern
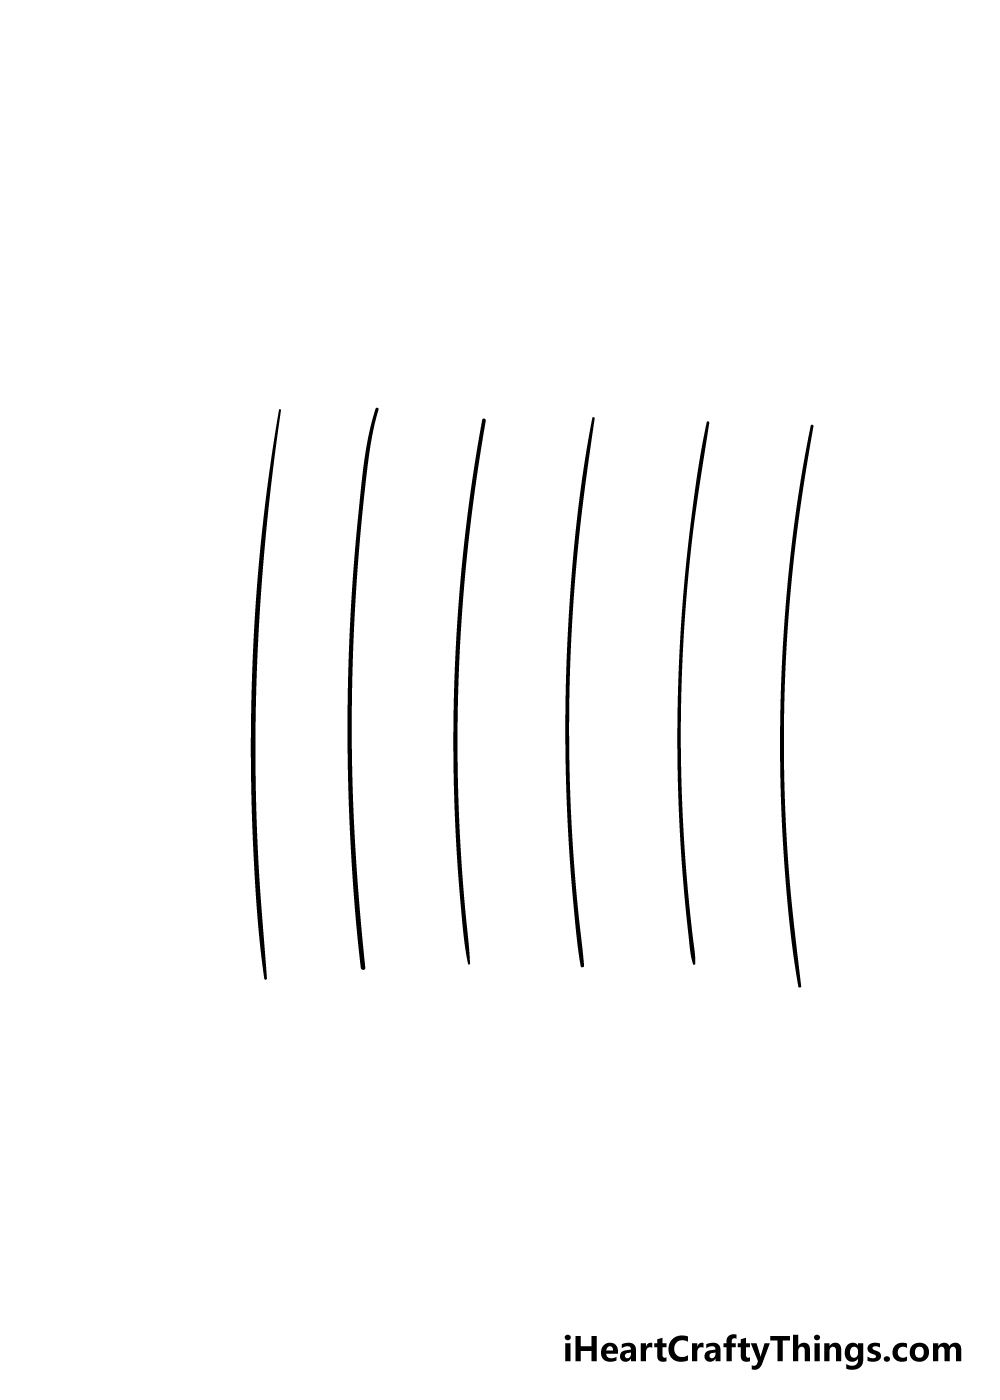
This next step of your plaid drawing should be easy for you to complete, as you will be continuing on from what you started in the first step.
To do this second part, all you need to do is repeat exactly what you did from the first step. That means that you will be drawing three more evenly spaced slightly curved lines next to the first three.
That’s all there is to it for this step, and we’re ready to move on!
Step 3 – Now, add some more vertical lines within the pattern
In this next part of our guide on how to draw plaid, we will be drawing more vertical lines for the pattern.
These ones will be a bit different, however, as they will now be drawn in the same way that you drew the lines in the previous steps.
To draw the lines in this step, you can simply draw a vertical line next to every second line from the previous steps. This will continue to help build upon the pattern as you move through this guide.
Step 4 – Add some horizontal lines for your plaid drawing

You’ve been drawing many vertical lines for your plaid drawing so far, so now it’s time to switch it up a bit by drawing some horizontal ones!
These ones won’t be a copy of the first lines you drew except sideways, as you might expect.
Instead, these lines will be a bit further apart from one another than the vertical lines were. The curve in these horizontal lines will also be ever so slightly more curved than the vertical ones.
This will help to show the bends in the fabric for the final plaid drawing.
Step 5 – Now, you can add in the final details for the plaid drawing

You will be able to color in your picture very soon, but before that we have some final details to add in this next step of our guide on how to draw plaid.
For this step, you can simply draw another horizontal line close to each of the lines that you drew in the previous step to really help build up the plaid pattern.
That will finish up the details of this guide, but before you move on you should feel free to add any other details that you would like!
You could do this by changing up the linework a bit, or you could extend the lines to change up the pattern a bit.
If you’re feeling extra creative, then you could draw some objects or create some clothing items that you could put this plaid pattern onto.
What creative ways can you think of that you could use to further personalize this plaid pattern of yours?
Step 6 – Finish off your plaid drawing with some color
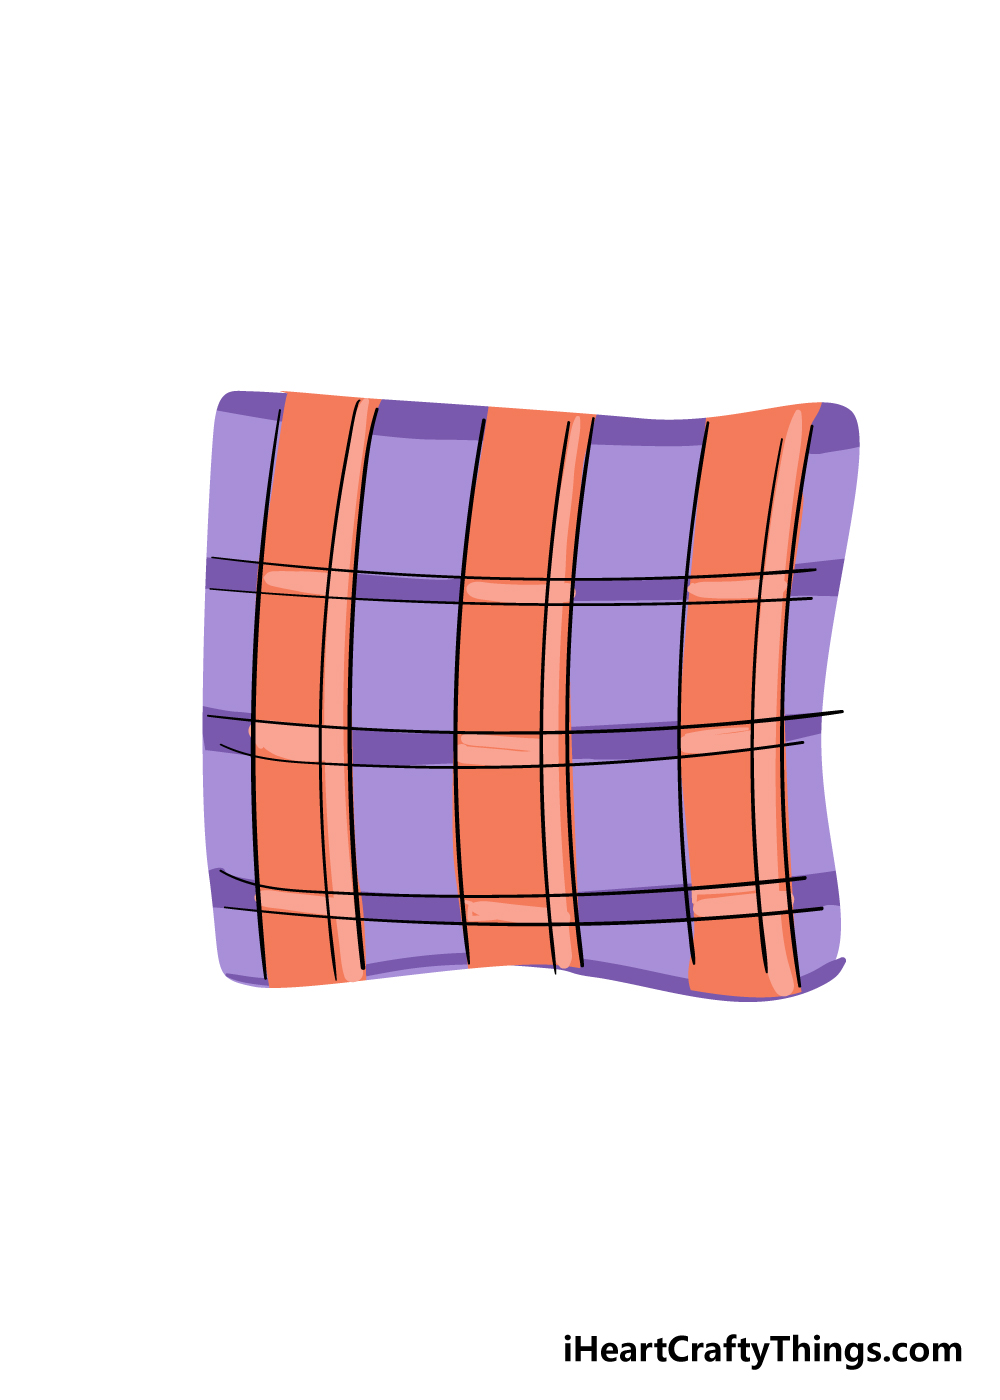
Plaid is often traditionally associated with certain colors such as red and green. In modern times it has been known to come in many additional and creative colors, however.
We went with this approach for our image where e used a pink and purple combination for our pattern.
This is the kind of drawing where you could really get creative with your favorite colors to end up with an incredible design!
If you drew any extra elements such as an object or clothing for the plaid to be a part of then that will give you a chance to work in some extra colors as well.
Choosing which colors you would like to use is just part of the fun, however! You can have even more fun by deciding on which art mediums you would like to use.
For a design like this, depending on what kind of look you want you can achieve it even more effectively with the mediums you choose.
For a brighter look to the image you could use acrylic paints, colored pens or markers for colors that pop off the page.
For a more muted and traditional look then you could use some watercolor paints or colored pencils to achieve that look.
How will you color in your plaid drawing?
Do this to take your plaid drawing to the next level
Find out how you can make your plaid sketch even better with these tips!
Plaid is such an iconic pattern, and it’s used for many different materials. You could give your plaid drawing some more context by incorporating it into one of these materials.
For instance, you could use the pattern we created in this guide to create a plaid shirt. Or, it could be turned into a tablecloth or maybe even a kilt!
These are just a few ways that you could look at giving this drawing more of a presence. What other materials or objects can you think of?
This second tip for your drawing of plaid will go really well with our previous tip. If you created some kind of object, then you could create a cool background.
For instance, if you made a shirt then you could show the person that is wearing it and what kind of environment they’re in. Or, if you made a blanket from this plaid, you could make a fun picnic scene.
What are some backgrounds you could go for?
Creating a background is just one way to finish off this plaid sketch, and the plaid itself can be used as a background! For example, the pattern would be perfect for the background of a birthday card.
You could fill the page with the pattern and then add some text and pictures to create a lovely card. That is just one method of using this plaid, but we’re sure you can think of many others!
When many people think of plaid, they may think of the traditional green and red color scheme. This is a great look for plaid, but it is far from the only color combination you could go for!
If you love some color combinations, you should definitely use these for the drawing. You can also change it up by using various art tools and mediums to achieve the patterns and colors you desire.
Using crafts and unusual art tools can also be a great way to go!
Your Plaid Drawing is Complete!
That brings you to the end of this step-by-step guide on how to draw plaid! This fabric pattern has become popular around the world, and while it can look like a simple design it can be harder than expected to draw.
We hope that by using this guide you found drawing this iconic design not only easier than you expected but also had a lot of fun doing it as well!
This guide also provides a base that you can extend your own designs from. There are many ways that you could do this, from using the design on objects and clothing designs to changing up the design a bit.
How will you personalize this plaid drawing of yours?
We hope to see you on our website, as we have many more incredible drawing guides for you to enjoy there! Be sure to visit often as we upload new guides all the time.
We would also love to see your incredible plaid drawing, so please do share them on our Facebook and Pinterest pages for us to enjoy!