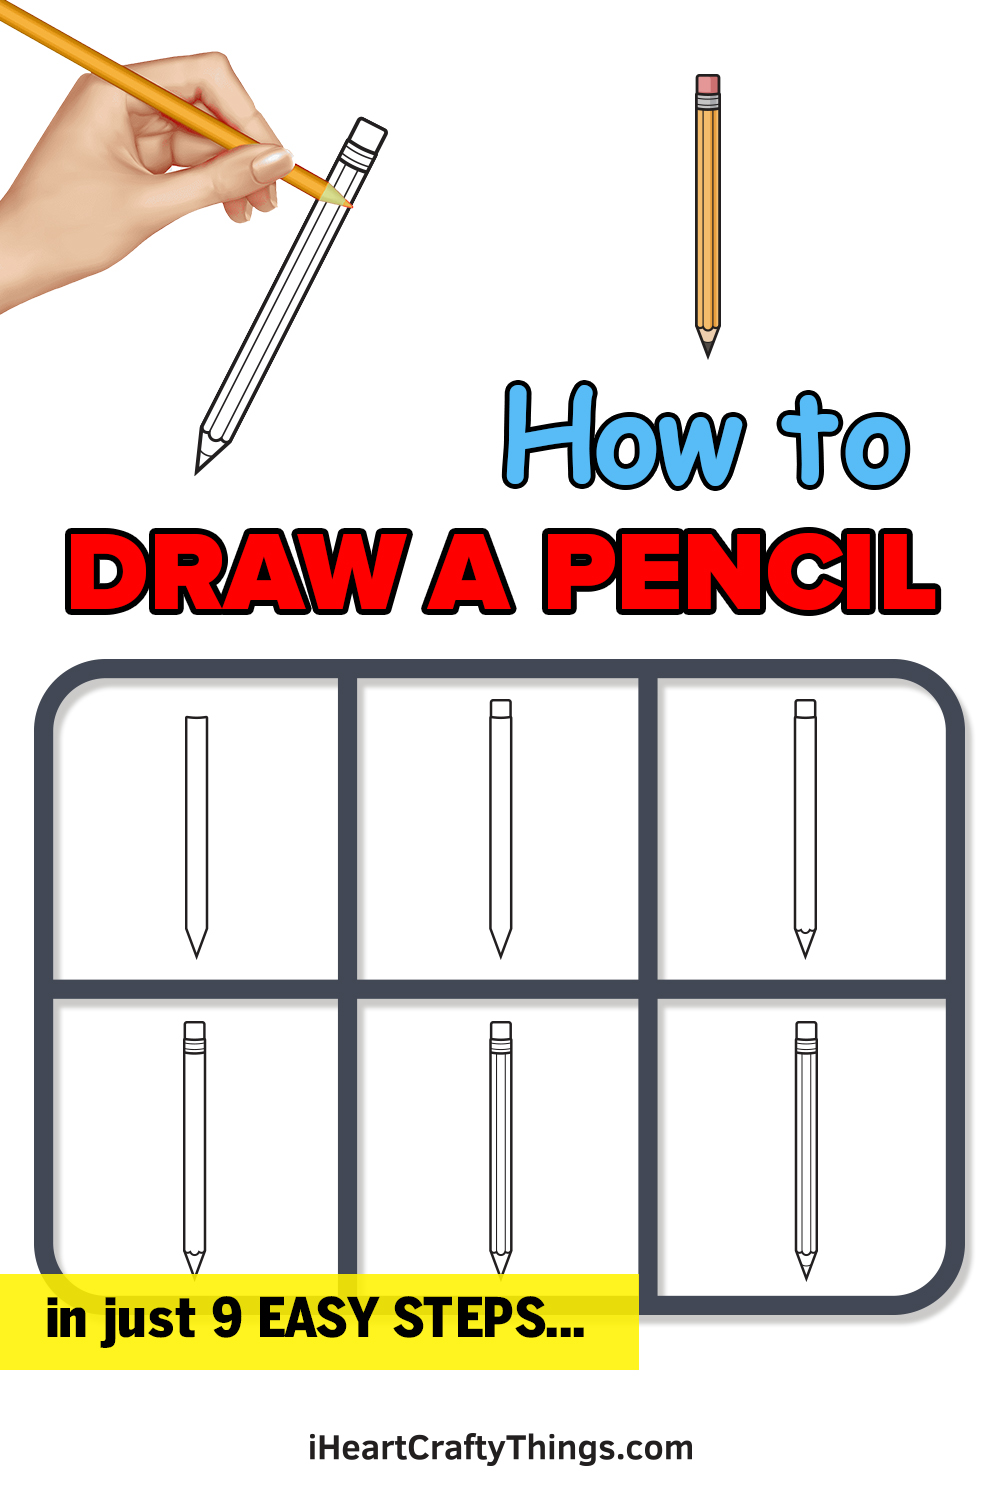
Anyone wanting to learn how to draw a pencil is in the right place! This step-by-step tutorial for kids is perfect to help you in your quest to draw this art tool.
It’s a bit ironic to think that you may be using a pencil to draw the design in this guide! Even so, you may find that it’s more challenging than you thought it would be.
Pencils are so thin yet still have some details like the lines on the side, the eraser and the point that need to look right. You’ll also need a ruler to make the lines nice and straight.
These are all things I will go over in this guide though, and you will soon see how simple it really is. It’s been broken down into several steps that anyone can follow. You can take your time and work with me to have a detailed pencil drawing before you know it!
Watch These Steps On How To Draw A Cartoon Pencil
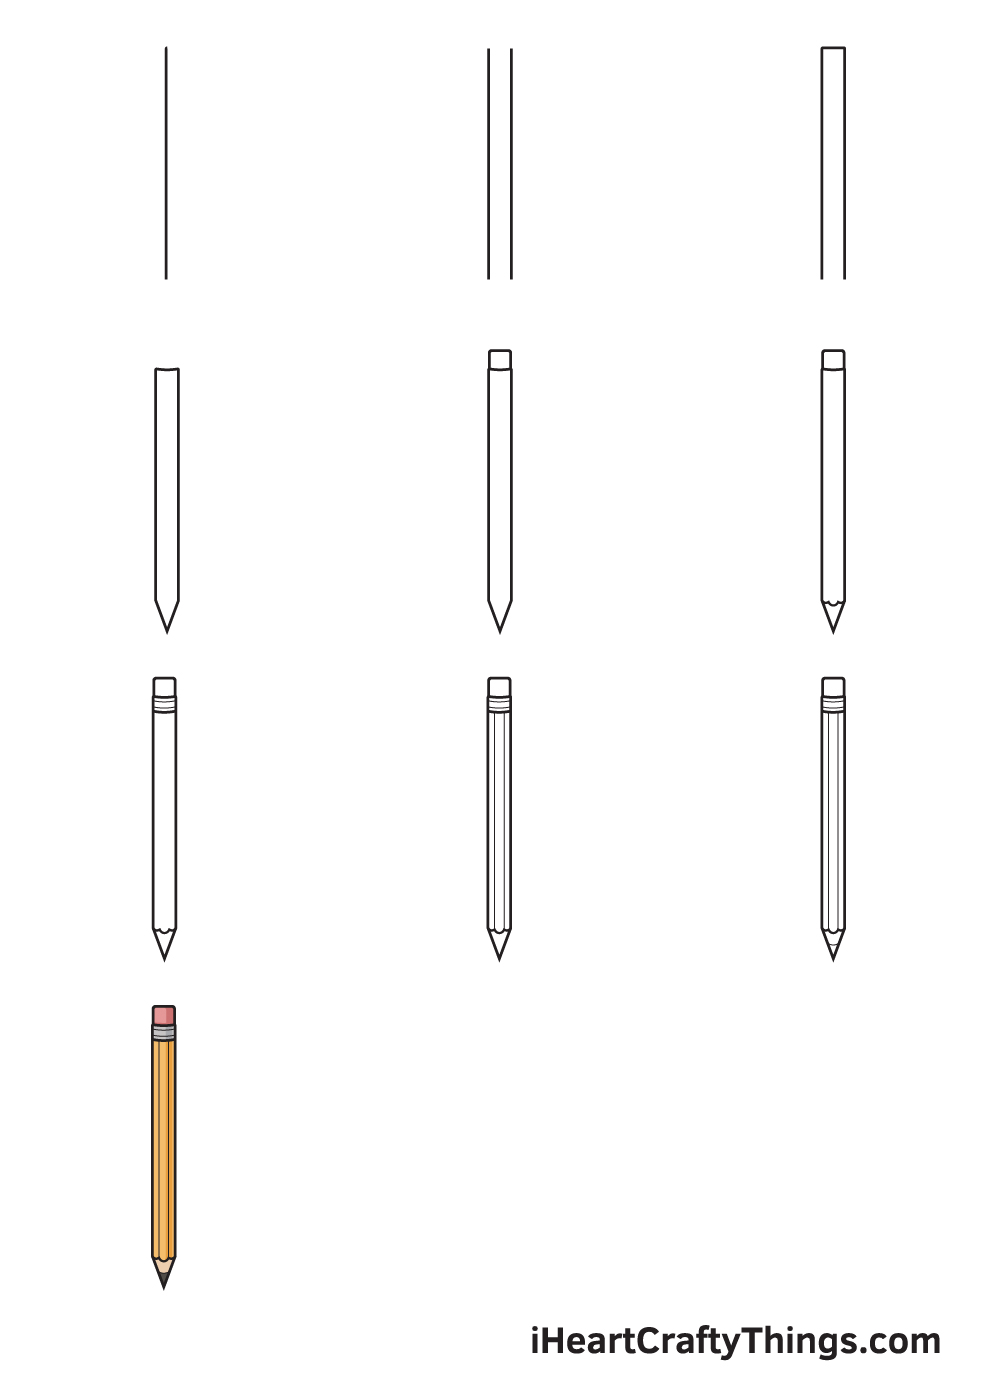
How to Draw a Pencil – Let’s get started!
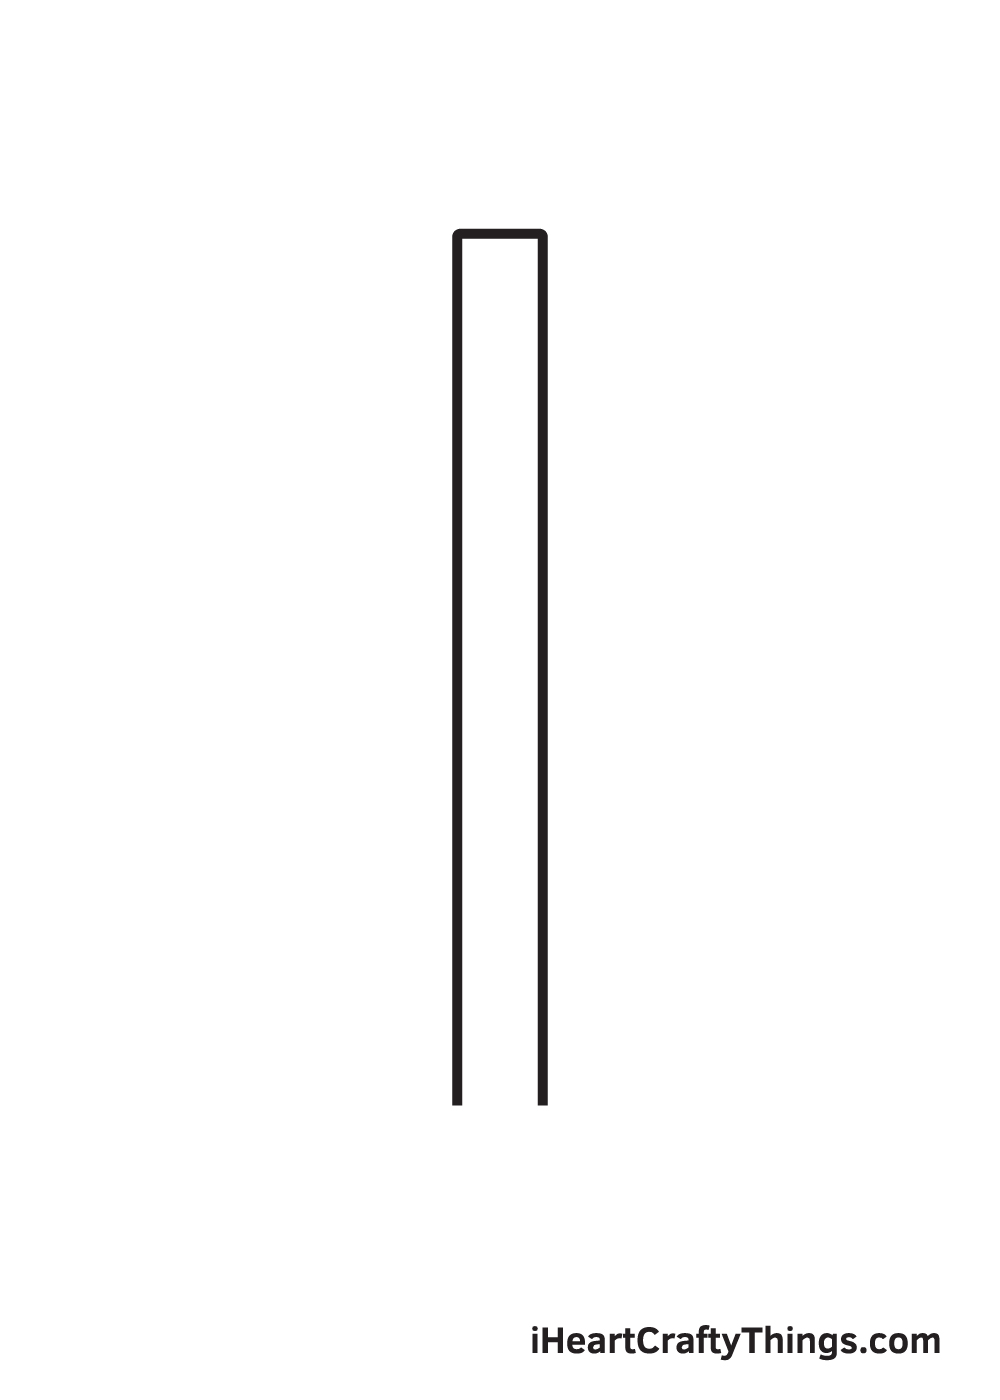
Step 1
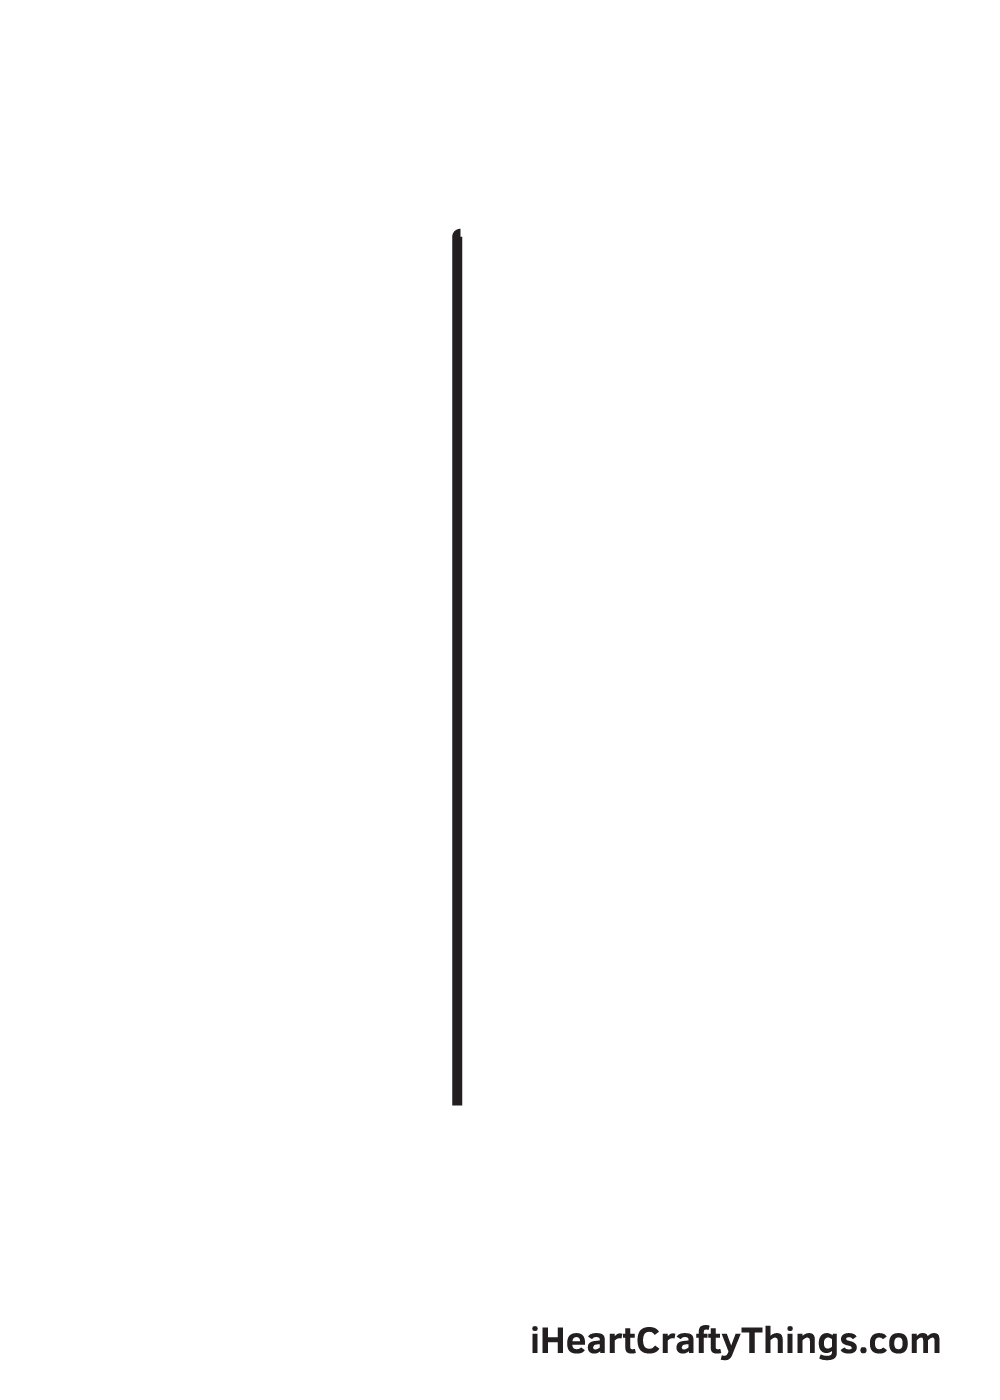
Start by drawing a straight vertical line across your paper. This forms the left side of the wood of the pencil. The length of the vertical line depends on how long you want the pencil to be.
As you can see in the illustration, the position of the vertical line is off-center and is slightly on the left side. This ensures that the pencil will be drawn in the center.
Step 2 – Structure Both Sides of the Pencil
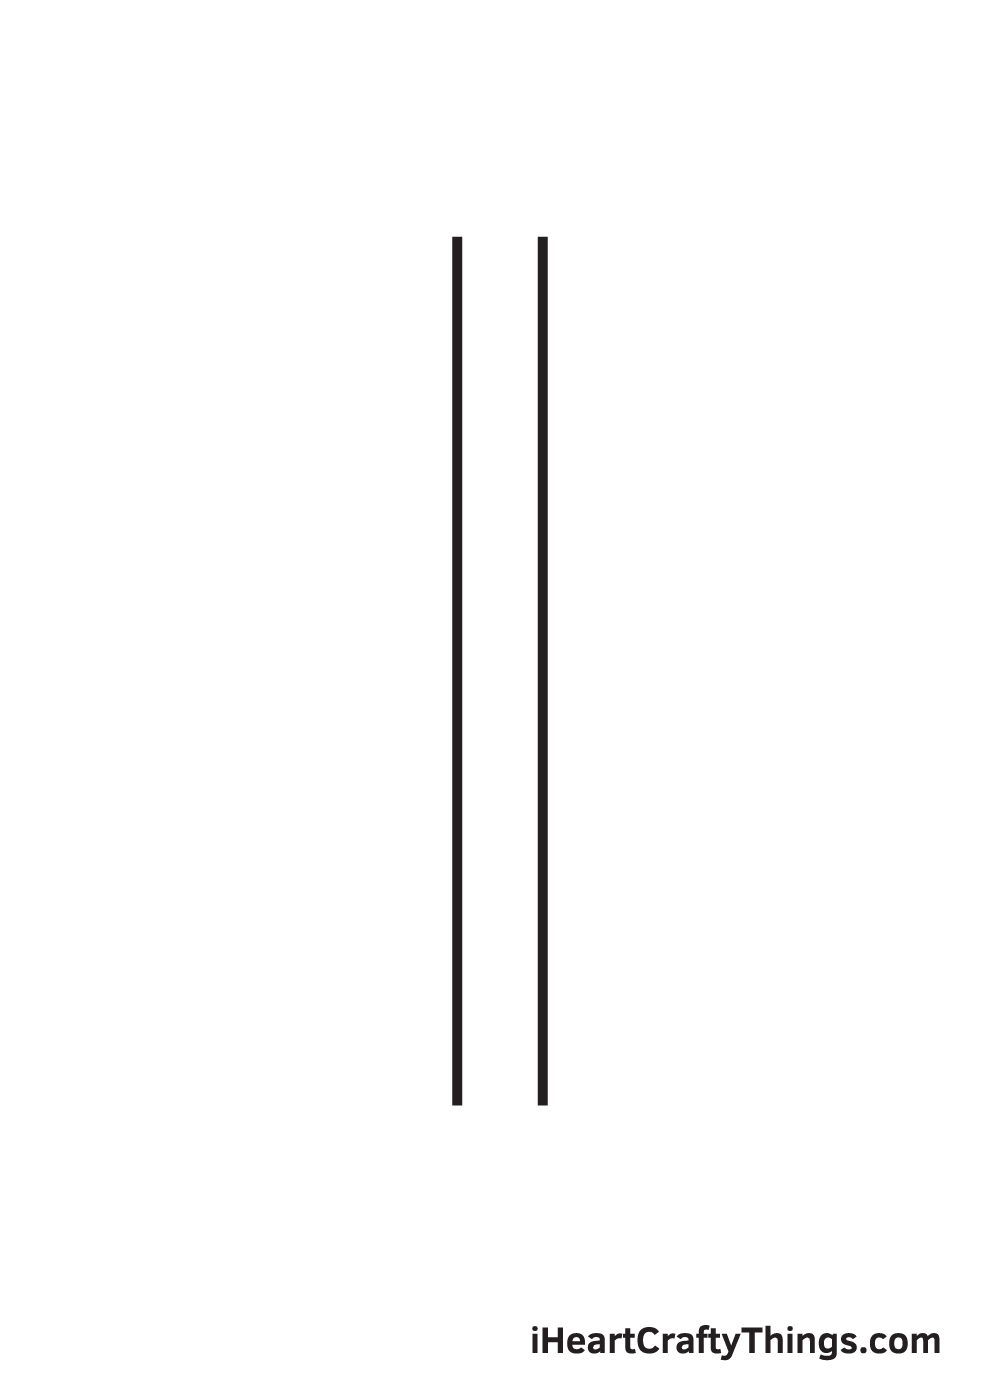
Draw another vertical line parallel to the first one we drew in the previous step. This creates the right side of the wood of the pencil.
At this point, both sides of the pencil should be formed.
Step 3 – Then, Draw the Top Part of the Pencil
Draw a short horizontal line at the top connecting both endpoints of the vertical lines we drew in the previous step.
This forms the top part of the pencil where the eraser is typically placed on.
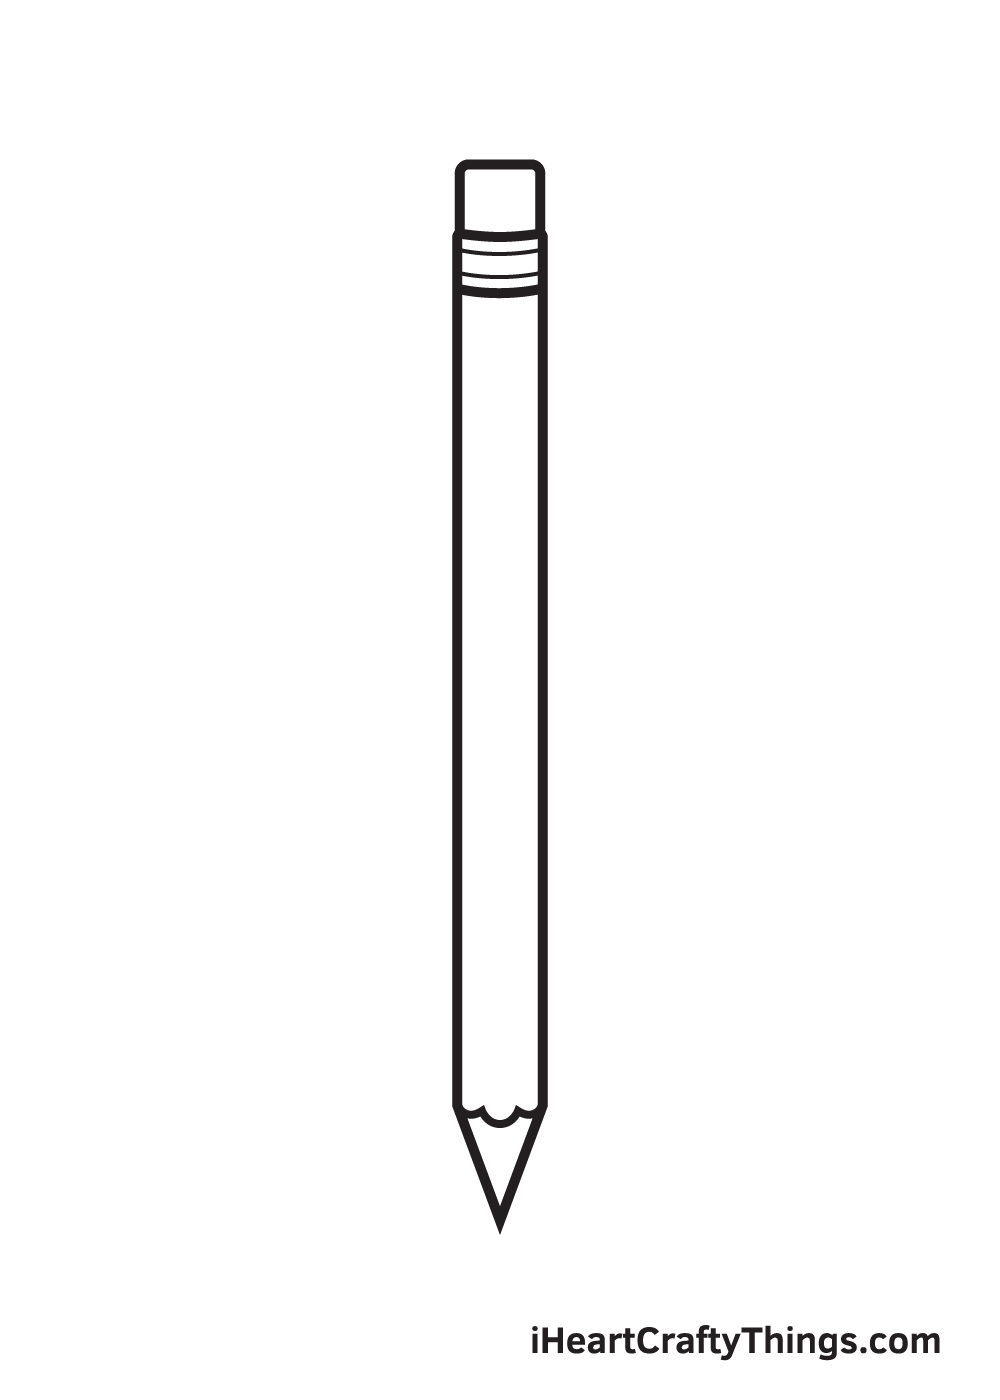
Step 4 – Now, Finalize the Shape of the Pencil
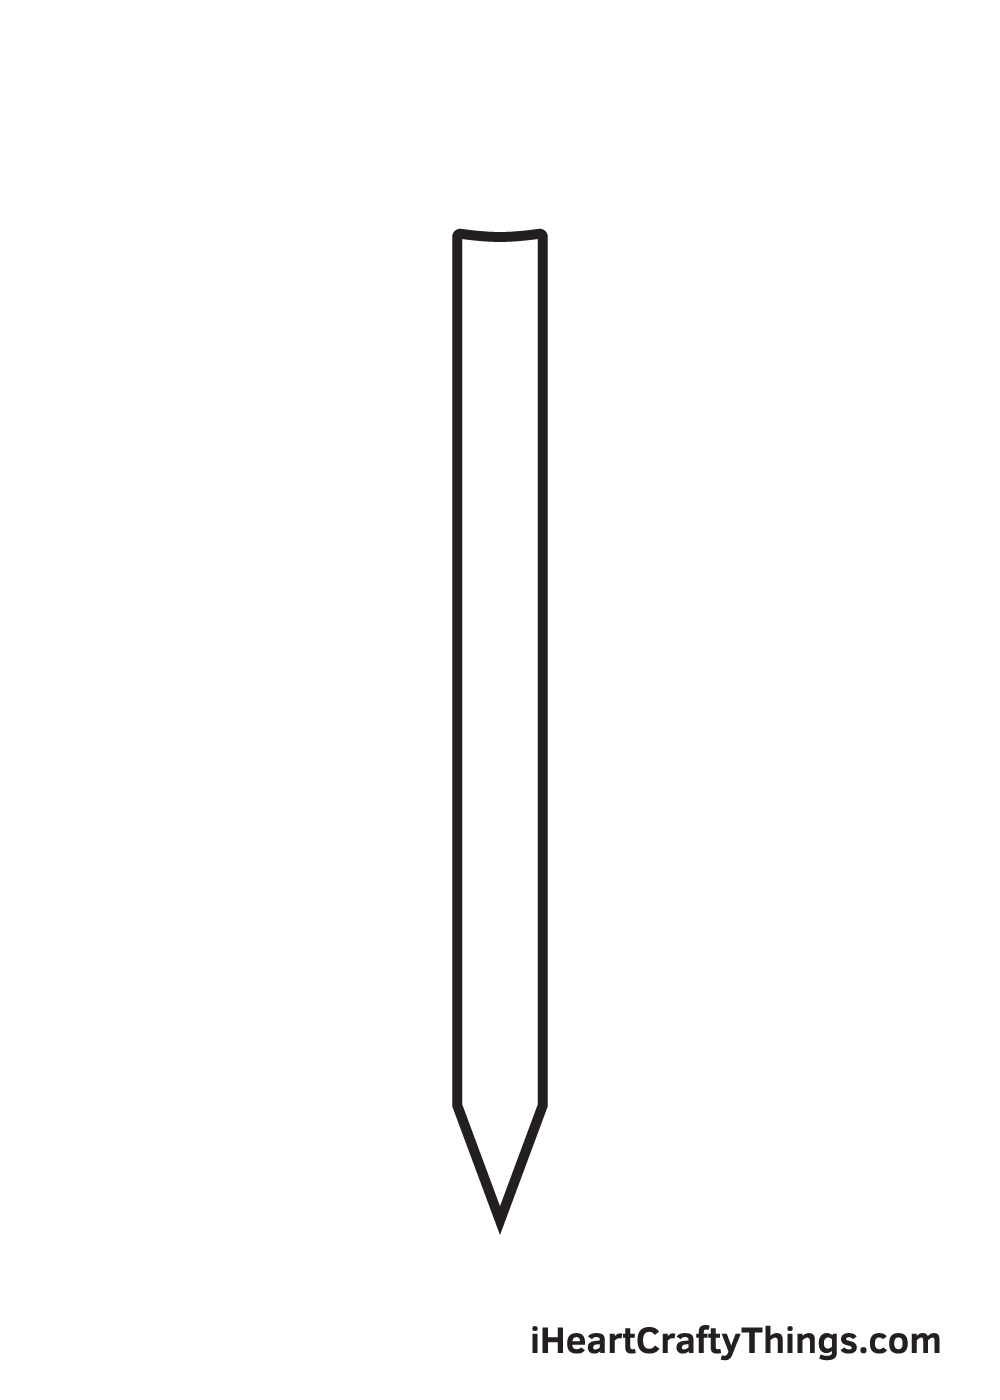
Draw a V-shaped line at the bottom of the pencil, finalizing the shape of the pencil. This forms the pointed end of the pencil.
After finishing this step, the outline of the pencil’s shape is now complete.
Step 5 – Afterwards, Draw the Pencil’s Eraser
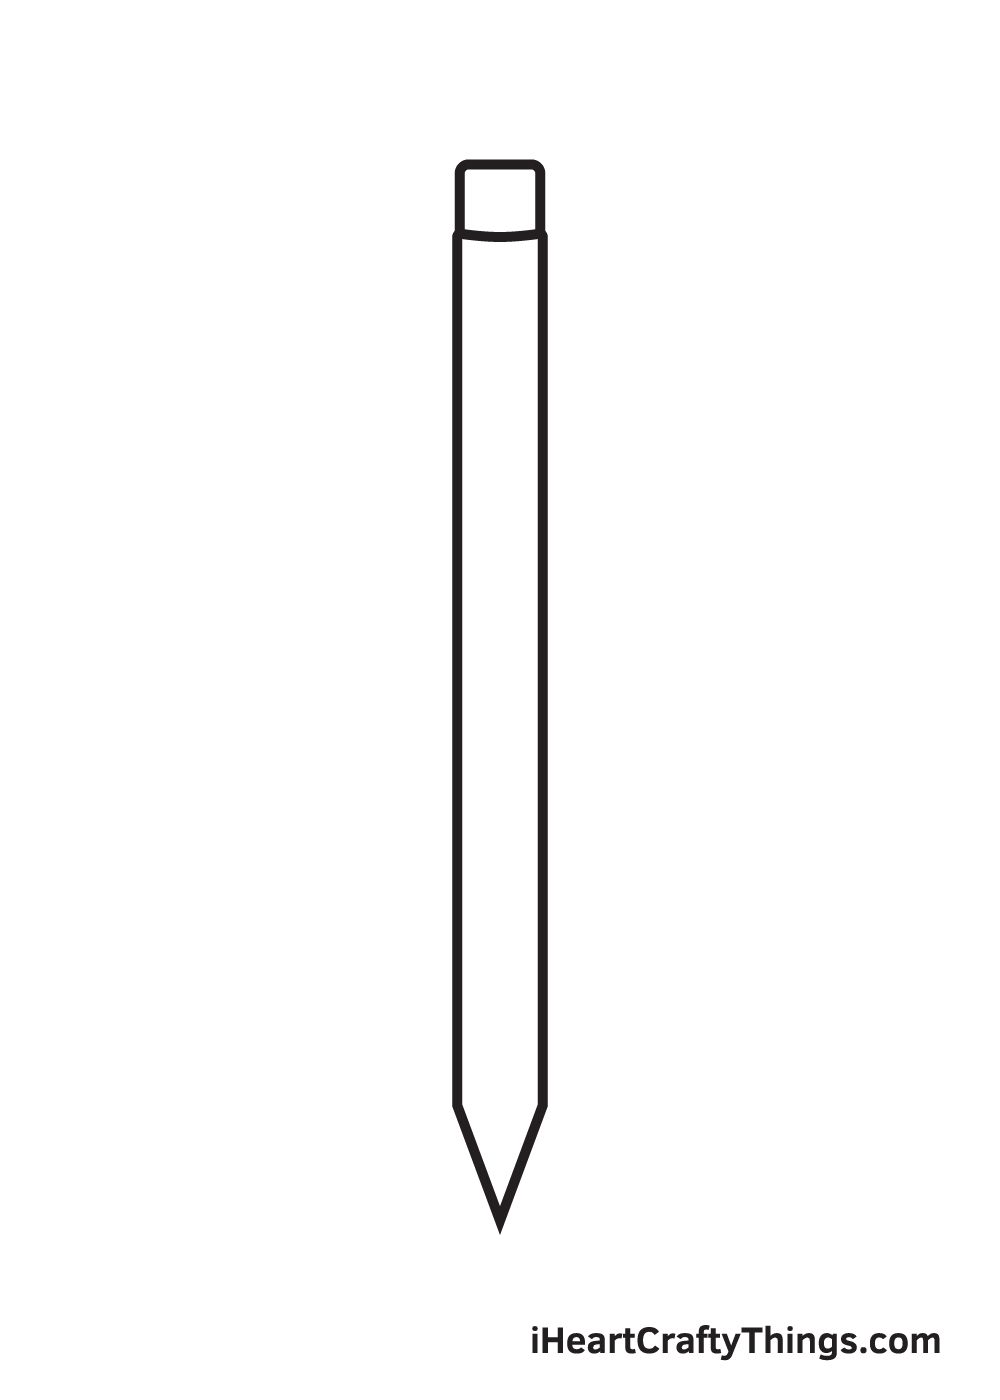
Draw a square shape without the bottom line at the top of the pencil.
This creates the eraser directly connected above the pencil. This is the part of the pencil we use to erase any mistakes.
Step 6 – Separate the Point From the Wood
Draw a short scalloped line right above the V-shaped line we drew previously in the fourth step.
This creates the division between the body of the pencil and its pointed tip.
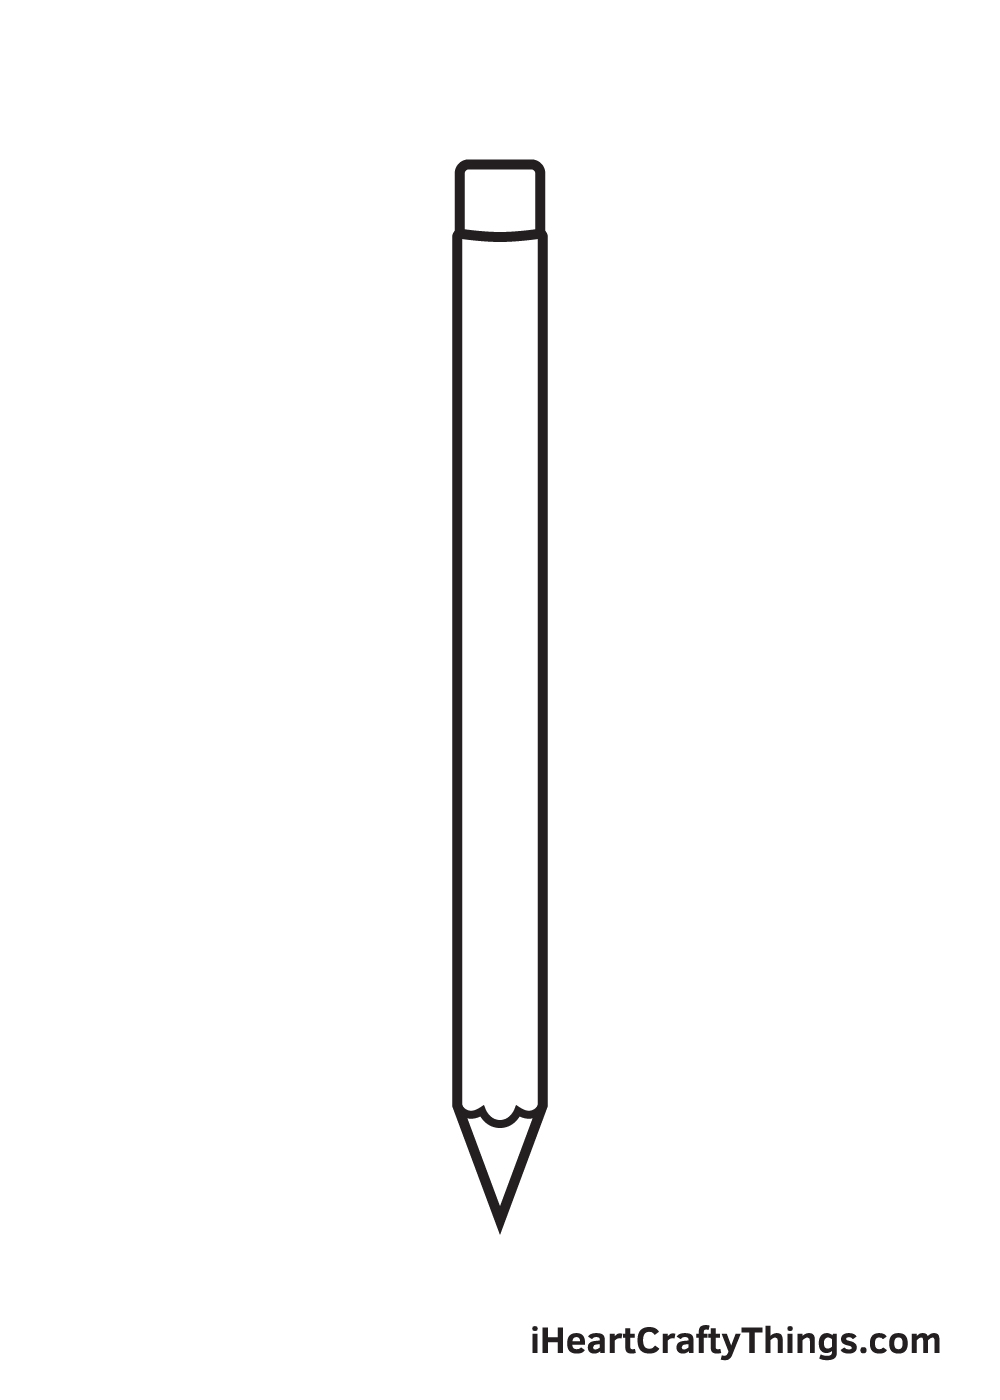
Step 7 – Next, Draw the Ferrule of the Pencil
Draw a horizontal line below the upper end of the pencil. This should create a rectangular shape right underneath the eraser. Afterwards, draw two thinner lines within the figure.
This creates the ferrule, which is the metal on the topmost part of the pencil. Ferrule extends your pencil, enabling you to use the entire length of your graphite. This is also where erasers are placed directly connected to the pencil.
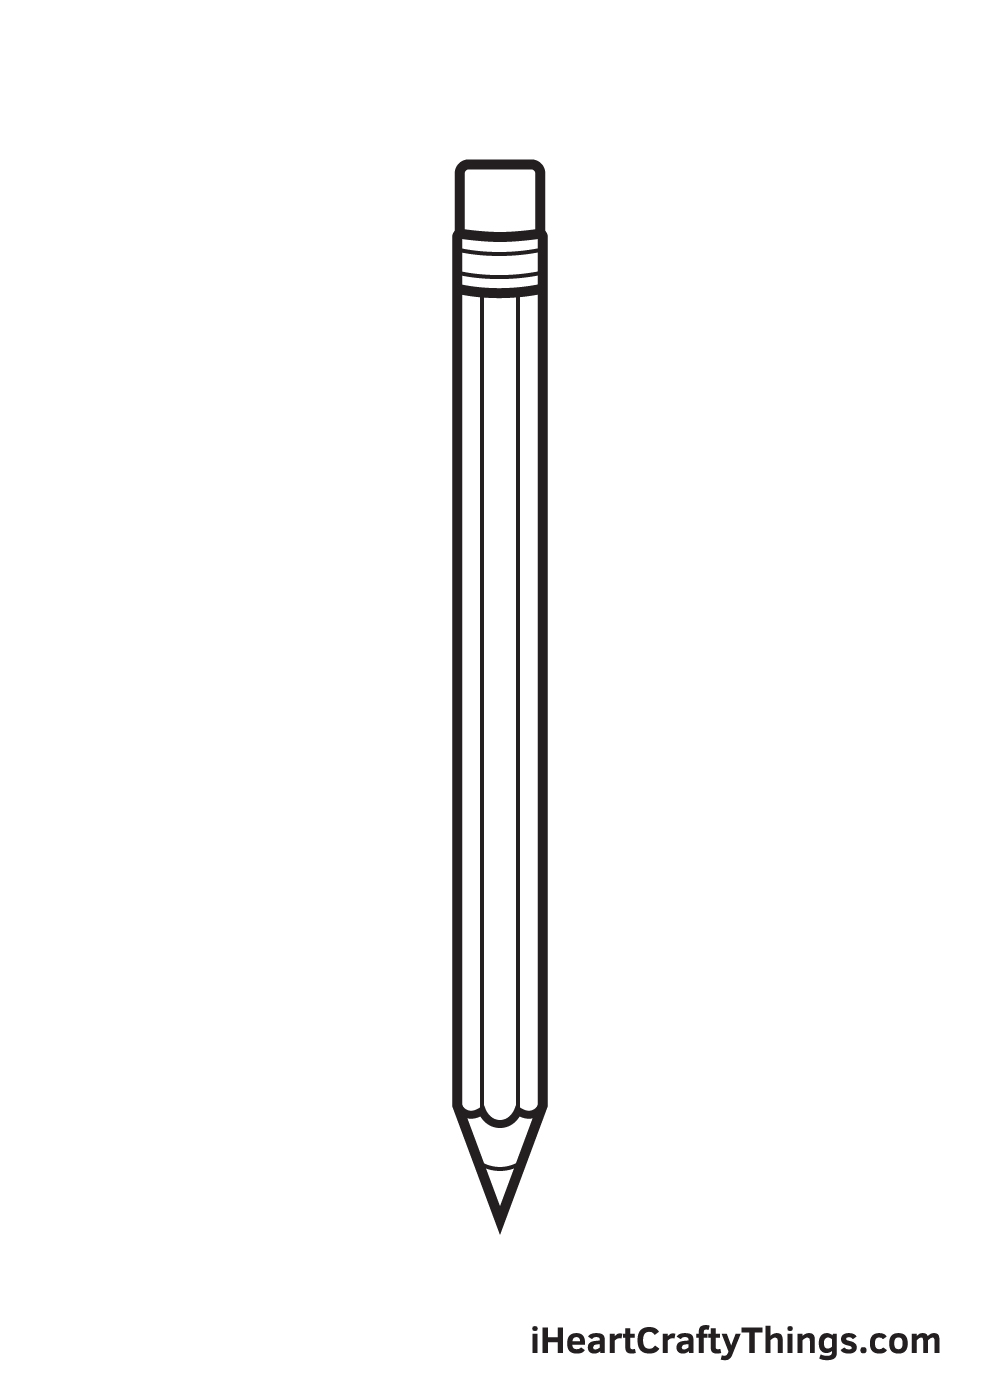
Step 8 – Then, Add Patterns All Over the Wood

Draw two thin vertical lines across the length of the pencil. Make sure that the lines are aligned to the pointed edges near the tip of the pencil.
This creates the hexagonal prism figure of the pencil. However, there are also pencils with a cylindrical shape. If you prefer a cylindrical shape for the pencil, feel free to skip this step.
Step 9 – Now, Draw the Lead on the Pencil’s Tip
Draw a thin, short horizontal line right above the tip of the pencil. This creates the sharpened lead of the pencil, which is what we glide across the paper when we’re drawing.
At this point, the drawing of a pencil is complete at last. Now, all it’s missing is a splash of colors to make the pencil colorful.
Now that we’ve successfully drawn a pencil, it’s time for the most exciting part, which is choosing the colors and coloring the pencil.
Since pencils are made of wood, they are traditionally brown in color. However, pencils now exist in nearly every color there is. This gives you a wide range of color options to choose from when coloring the pencil.
You can opt to color the pencil similar to how we’ve done ours in the illustration above or use a unique set of colors. Either way, we’re sure the colors will turn out beautifully!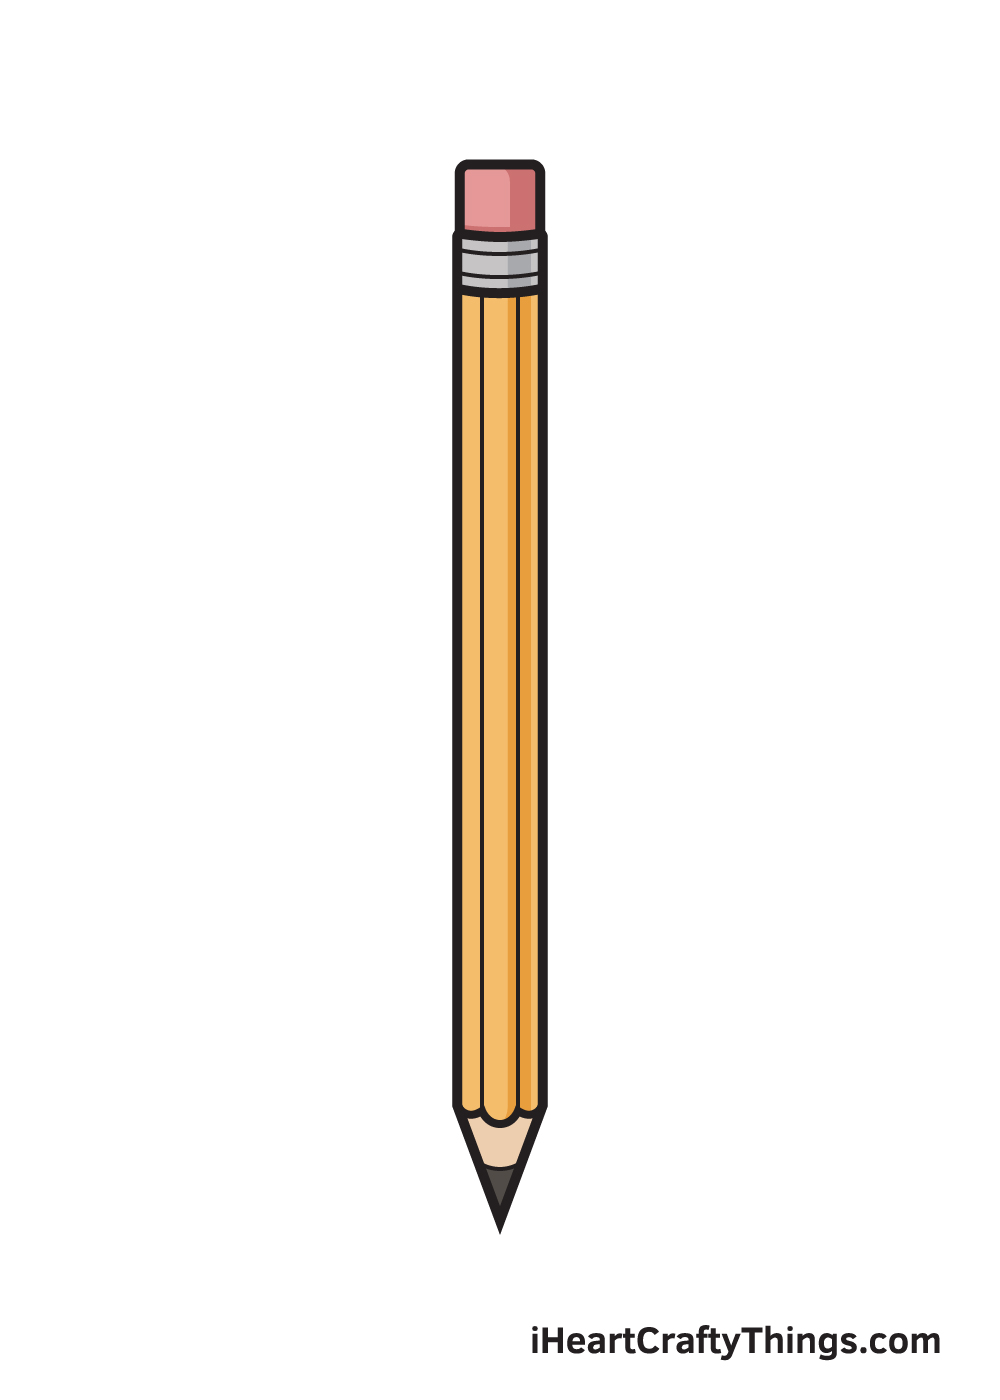
Bonus: Turn This Pencil Drawing Into A Fun Cartoon Character!
There is a common trend in cartoon history that regards turning common household objects into cartoon characters. It may not be realistic, but it can be fun to imagine what lives inanimate objects would lead.
You can probably see where we’re going with this, as we feel it would be fun to turn this pencil drawing into a cartoon character sketch. If you wanted to do this, there are some simple ways you could make it into a character.
One would be to simply add a face, probably near the top of the pencil. This could be some simple eyes along with a smiling mouth.
It could all be drawn using some simple shapes, lines and other methods. If you wanted to take it even further, you could add some arms and legs to the pencil.
Once again, these could be drawn with simple lines and still be effective and expressive. Once you have turned the pencil into a character, you could also add some speech bubbles to the drawing.
This way, you could even make a little comic scenario where the pencil is perhaps saying a joke. If you enjoyed turning this pencil into a cartoon character, then you could add some more characters!
Maybe you could have some more cartoon pencils and pens with similar facial features to this one. They could even be interacting with each other in the dialogue bubbles.
Crating several panels and making a comic strip would be a fun way to really finish this one off. These are a few ways you could create your own comic characters!
For now, we have a few more ideas for the drawing if you want to keep it a bit simpler.
4 More Ways To Make Your Pencil Drawing Unique
Use your favorite pencils and other art tools to make your pencil drawing even cooler!
Pencils are made by many different famous companies and brands, and you may even have a few of these on the table as you draw right now! With that in mind, you could change this pencil sketch to look like one of those branded pencils.
You could do this by matching the colors of the real pencil and by adding some logos and other small details. You could also create your very own unique kind of pencil to make it even more unique!
As you work on this drawing of a pencil, you probably have a variety of art tools in front of you. With this pencil-drawn, you could add some more art tools beside it!
You could use any household objects you may have at hand as models as you draw. These could include erasers, pens or maybe a ruler.
What are some art tools you could use to add beside your pencil that you have drawn here?
Once you have the hang of this pencil sketch, you could draw a few more pencils beside it. Then, you could make the colors of each one unique to make it look like a set of colored pencils.
They could even each be drawing a line that shows what color they are! What colors would you choose if you were to make a set of colored pencils?
You could also switch up the art mediums you use for each individual pencil to make them each stand out even more from one another!
As we all know, pencils are used to write and draw. With that in mind, you could really add an interesting angle to this picture by showing what the pencil is drawing.
This could be as simple as a stick figure or as complex as a comic book style scene. It’s all up to you and your creativity, and it would really help to take this drawing to the next level.
Your Pencil Drawing is Complete!
We hope you have fun drawing a pencil with this step-by-step drawing tutorial. Now that you can draw a pencil, you can incorporate it into much more complex drawings in the future.
Perhaps you can draw a character drawing on a piece of paper with a pencil next?
Feel free to check out our “How to Draw” catalog to explore many more interesting drawing tutorials like this.
We are uploading brand-new drawing tutorials on a regular basis so make sure you keep re-visiting our website!
Drawing a pencil is an accomplishment, so you should congratulate yourself for completing a masterpiece!
Celebrate your achievement by sharing your artwork on our Facebook page and Pinterest. Don’t be shy, we’re sure it looks impressive!
We can’t wait to see your realistic pencil drawing!