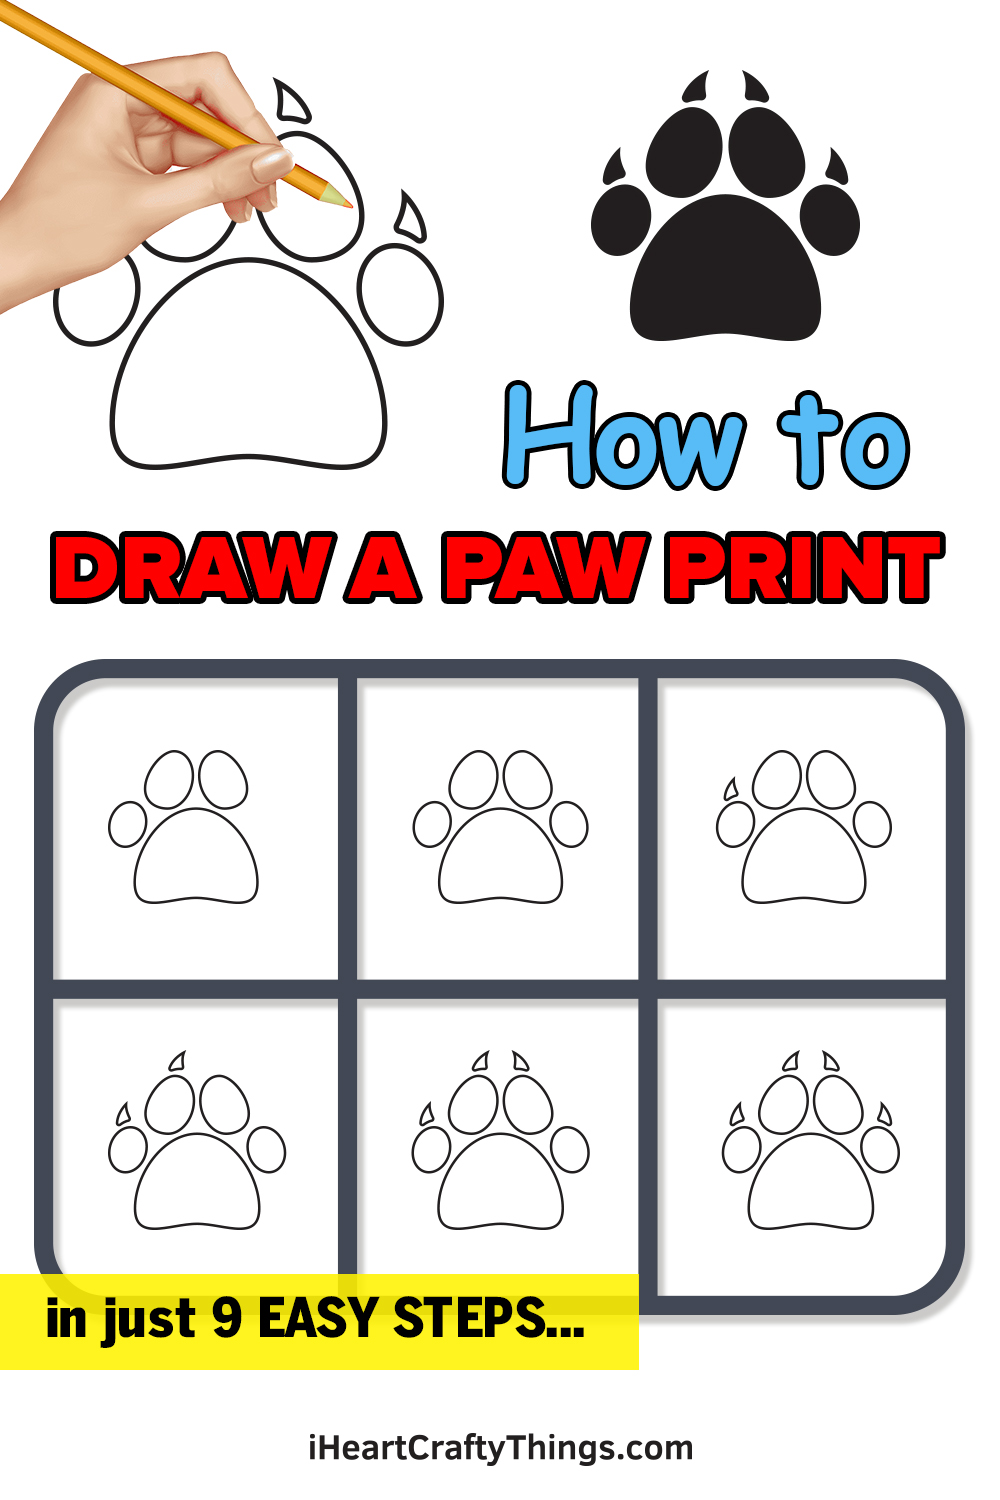
This guide on how to draw a paw print is here to help you create this recognizable design. Follow along with these steps for kids and make your own version in no time.
Anyone will recognize a paw print, as it’s a shape pretty much anyone will see at some point in their day to day life. If you have a pet then you will have certainly seen some of these prints.
You can also spot this shape in different advertisements and other designs, so it’s definitely something that many people would like to recreate in their art.
Once you have mastered the design, there is a lot you can do to take it even further. You can add your own patterns and additional details in order to make it more unique to you.
It all starts with this guide, so let’s begin!
Watch And Learn How To Draw A Paw Print
How to Draw a Paw Print – Let’s get started!
Step 1
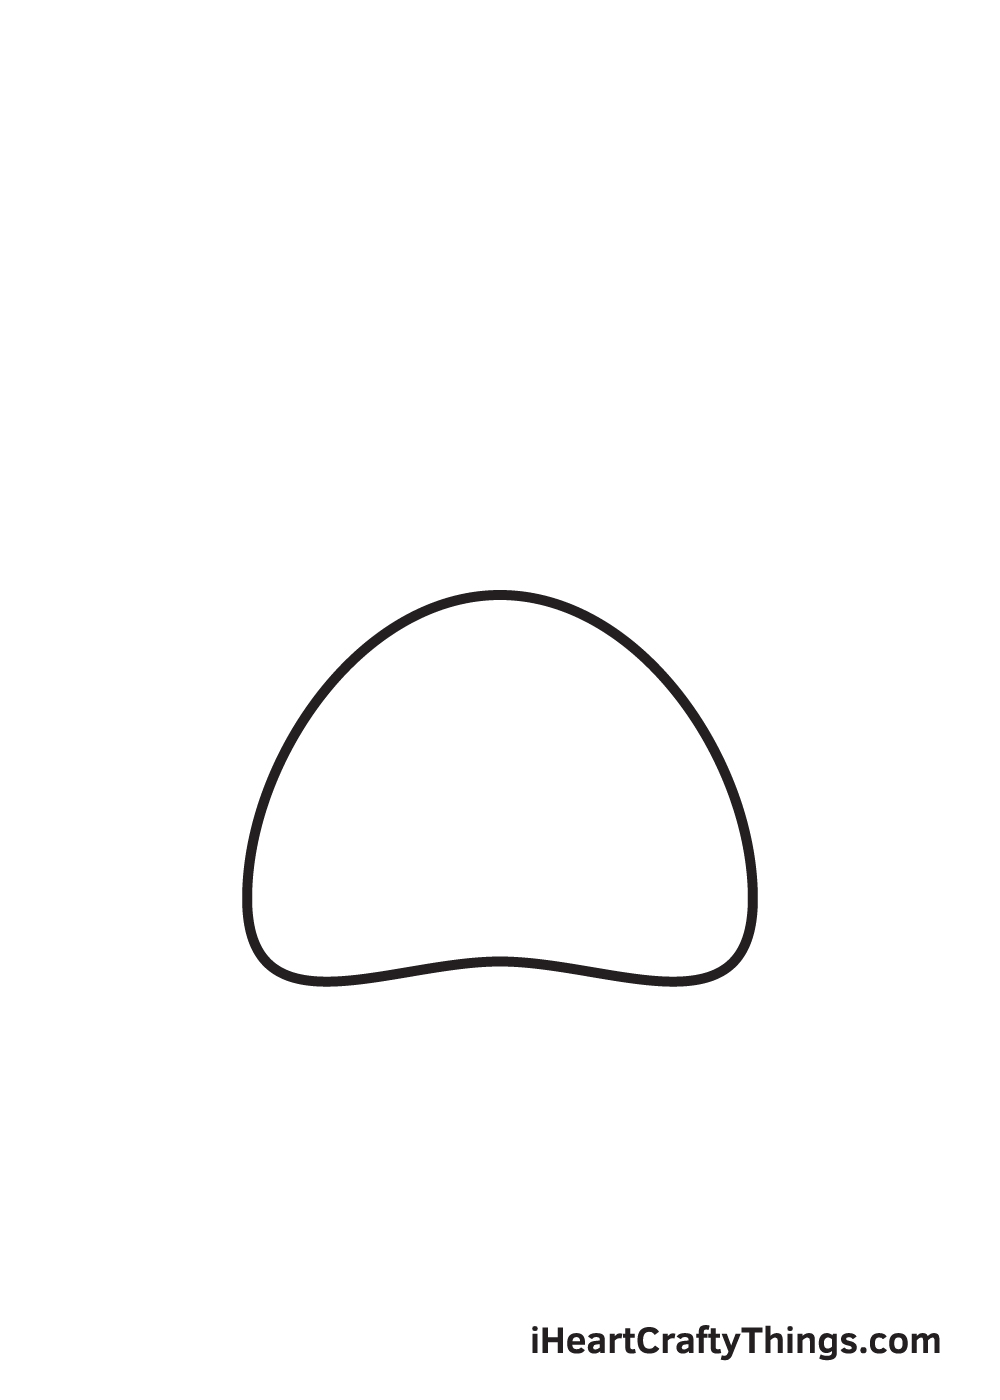
Start by drawing a downward curved line on the bottom portion of your paper. Then, close off the figure by drawing an uneven horizontal line with a bump in the middle at the bottom of the curved line. This forms the metacarpal pad, which is the largest pad in the paw print.
Keep in mind that all three corner edges of the metacarpal pad should be curved, as shown in the illustration above.
Remember, beginning at the bottom of your paper ensures that there’s sufficient space for the pads on the upper part of the paw print.
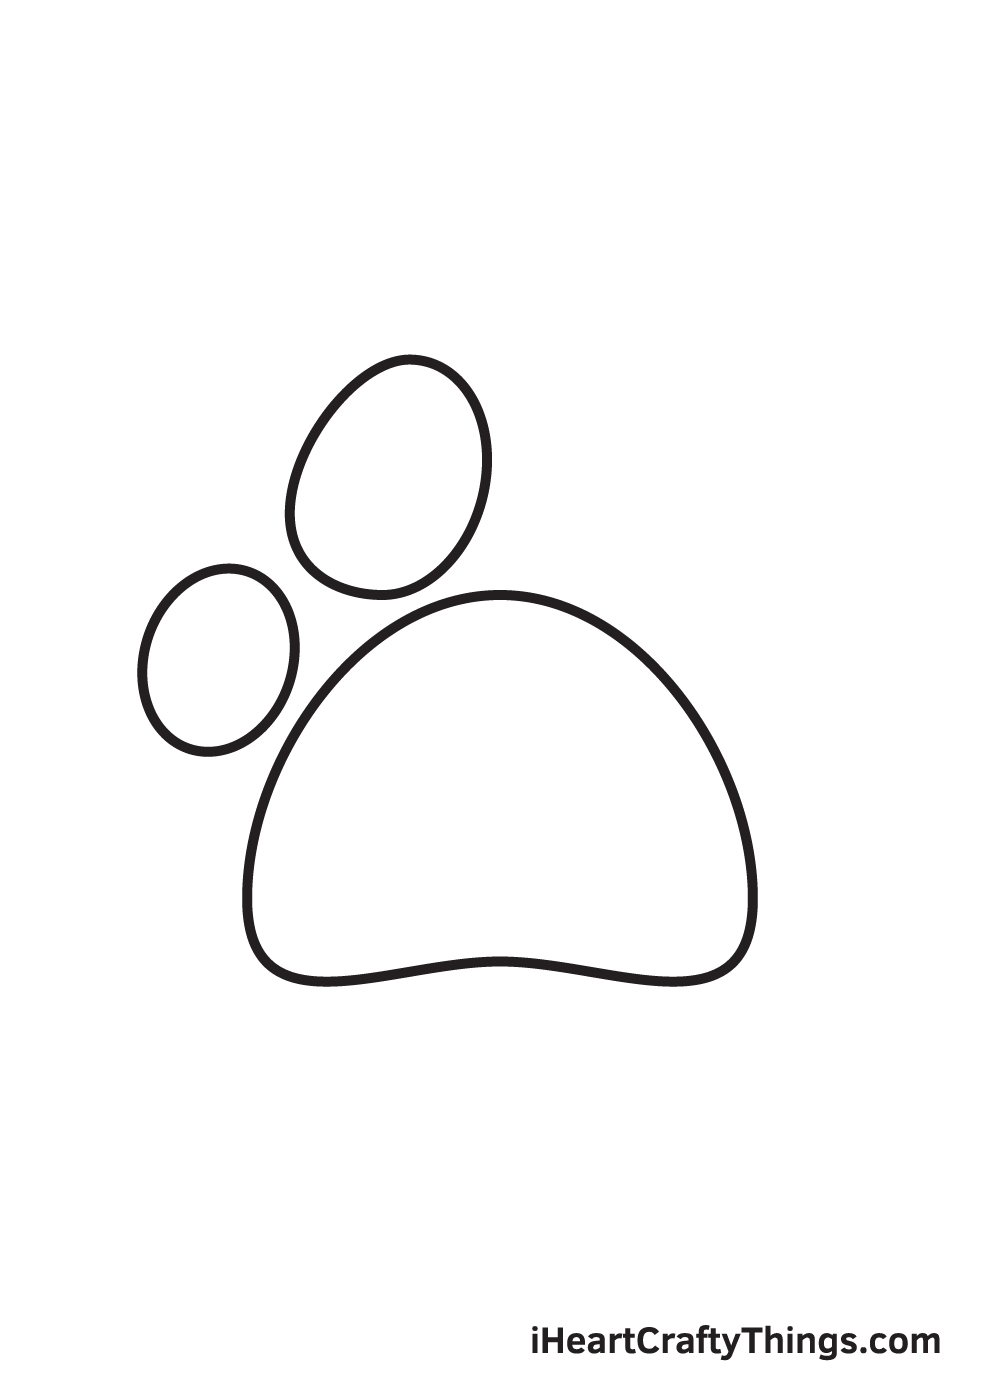
Step 2 – Draw the First Digital Pad of the Paw
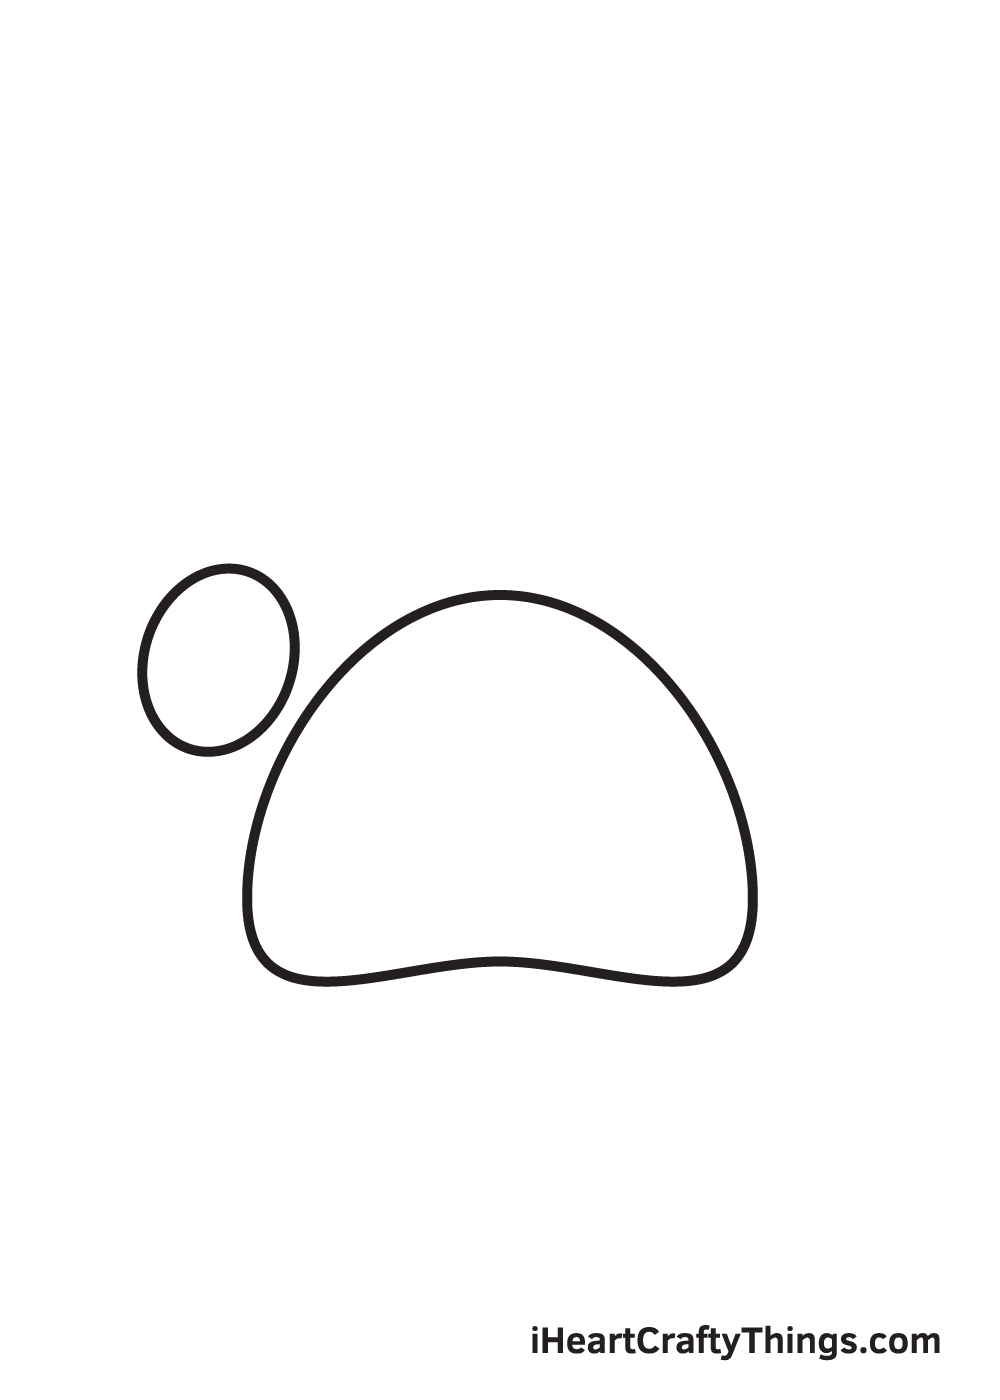
Draw a diagonal oval shape on the left side above the metacarpal pad. This forms the first digital pad of the paw print, which is located on the leftmost side.
Take note: the digital pad shouldn’t be directly touching the metacarpal pad. There should be a slight gap in between the two, similar to the illustration above.
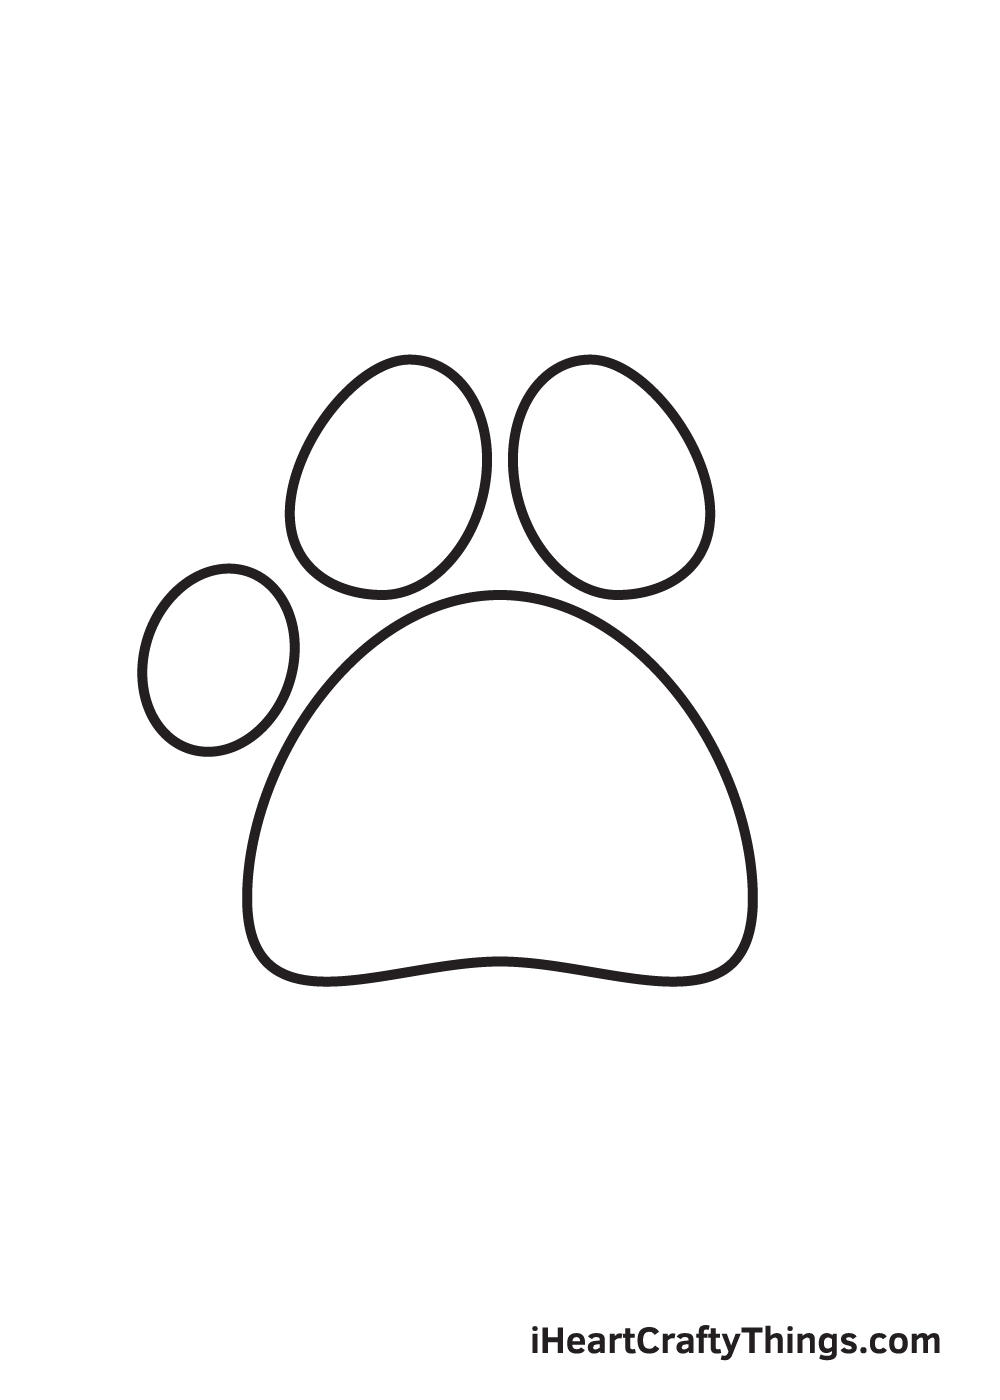
Step 3 – Draw the Paw’s Second Digital Pad
Draw a bigger oval shape beside the one we drew in the previous step. This forms the second digital pad of the paw print, which should be located right beside the first one.
Don’t worry if the shapes of the digital pads aren’t perfect! They don’t necessarily have to be. As a matter of fact, the more uneven they are, the more realistic they look!
Step 4 – Draw the Third Digital Pad of the Paw
Repeat the previous step to create the third digital pad, which should be as big as the second one.
At this point, you should now have three digital pads, and only one more is missing.
Step 5 – Complete All Four Pads of the Paw
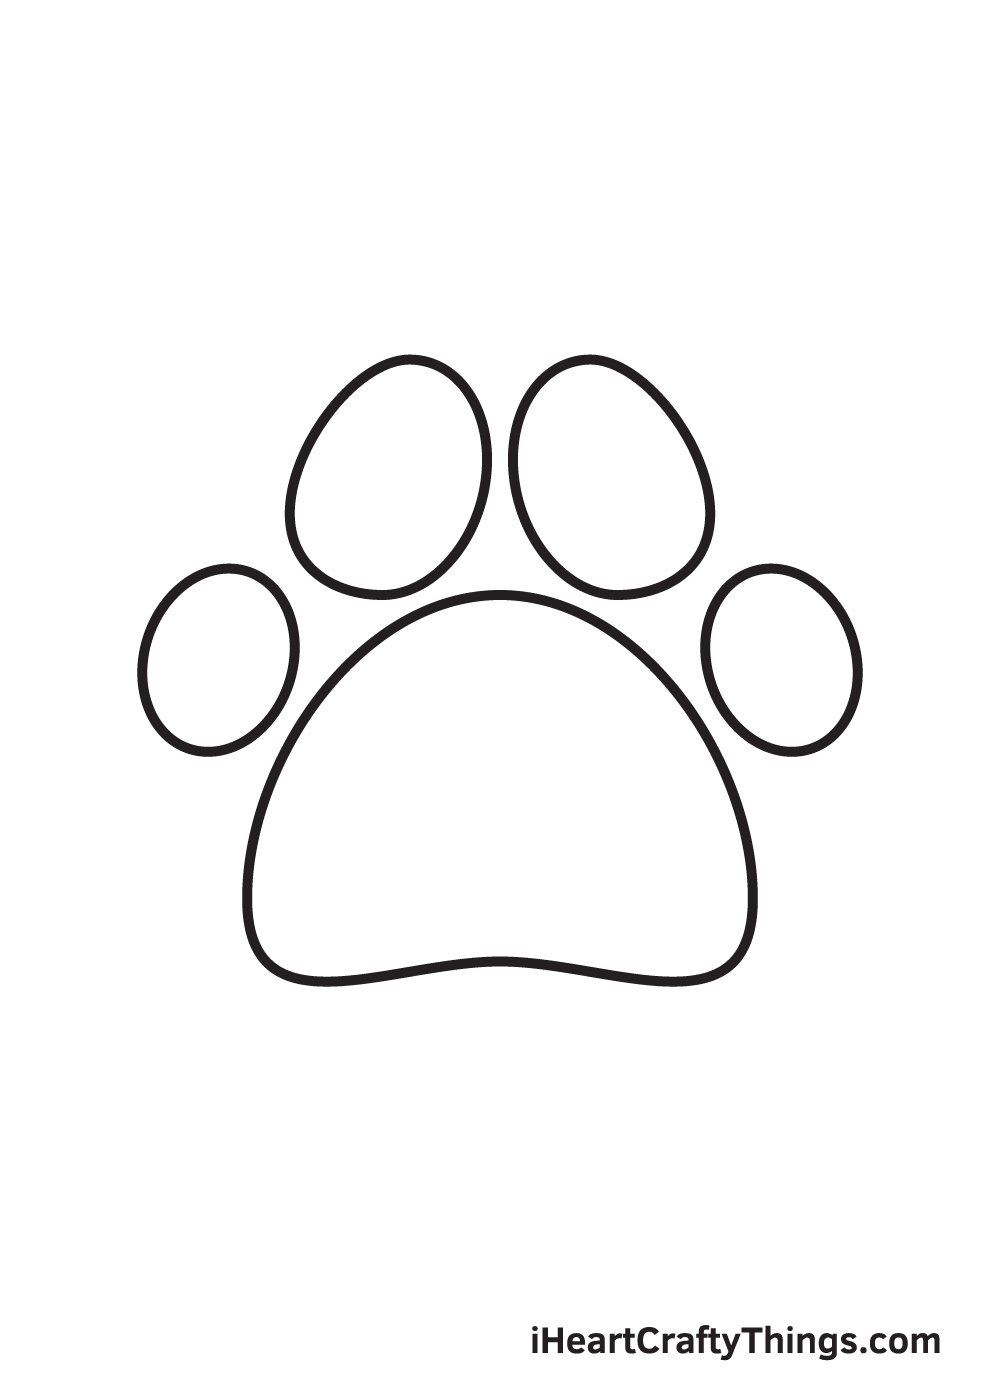
Draw a smaller oval shape similar to the size of the first digital pad we drew previously in the second step. This forms the fourth—and the last—digital pad of the paw print situated on the rightmost side.
After finishing this step, all four digital pads of the paw print should now be complete. We’re almost done—keep going!
Step 6 – Add the Claw of the Leftmost Pad
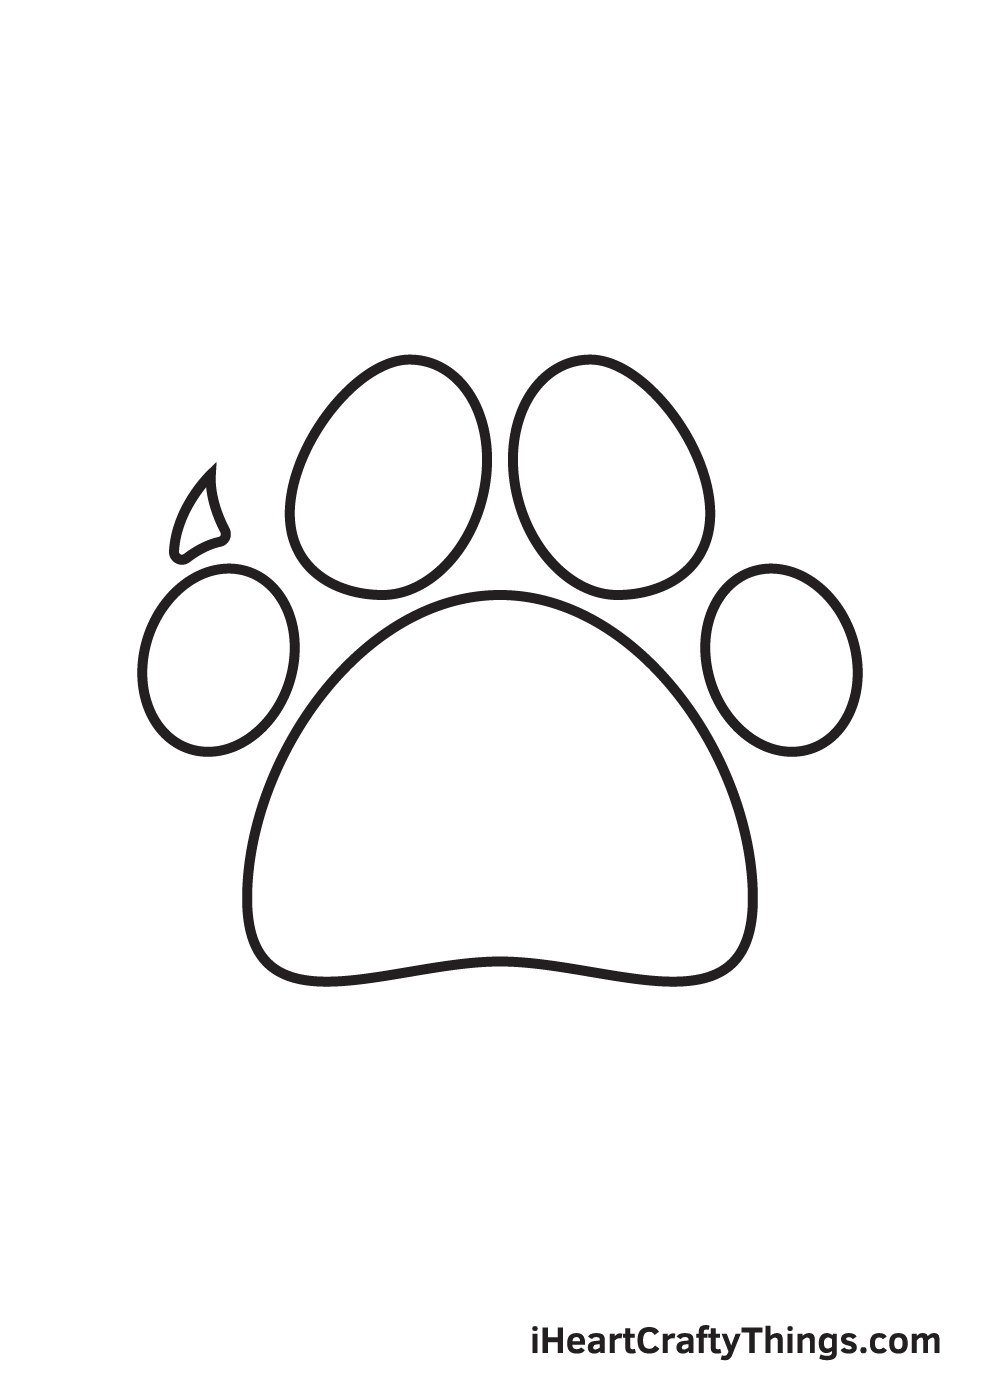
Draw a slightly curved triangle shape above the first digital pad on the leftmost side. This forms its sharp, pointed claw—one of the paw print’s most distinct features!
Make sure that the digital pad and its claw aren’t touching. There should be a small gap in between the two, as shown in the illustration above.
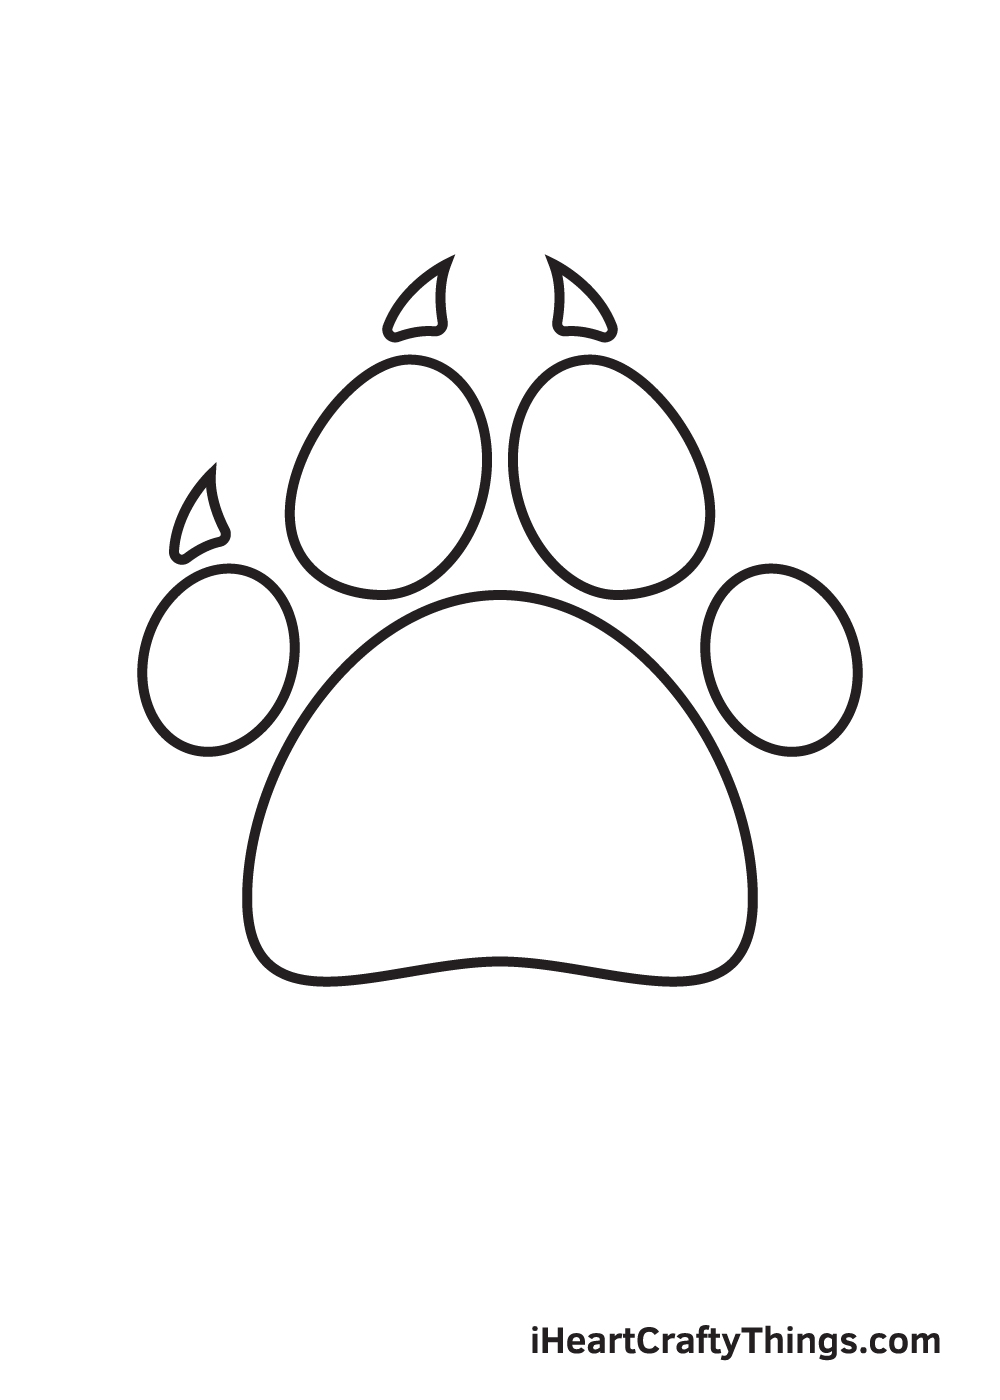
Step 7 – Draw the Claw of the Second Pad
Repeat the previous step above the next digital pad.
This forms the claw of the second digital pad in the paw print.
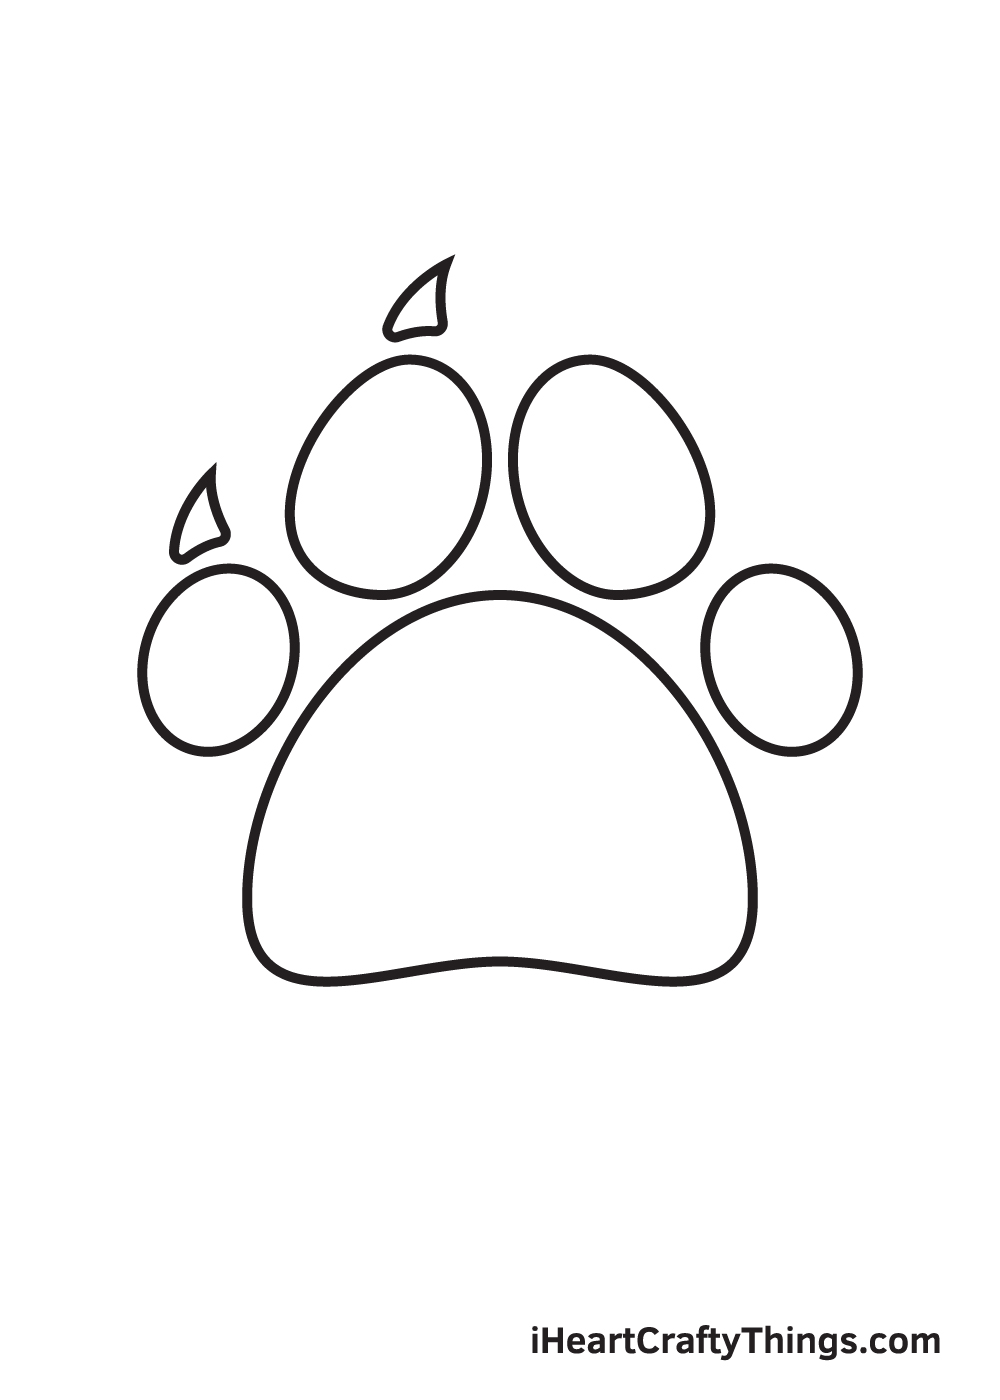
Step 8 – Next, Draw the Third Pad’s Claw
Moving forward to the third digital pad, draw a similar figure above it to create its claw.
Look at those sharp, pointed claws, you definitely wouldn’t want to mess with it, would you?
Step 9 – Complete the Claws on All Four Pads
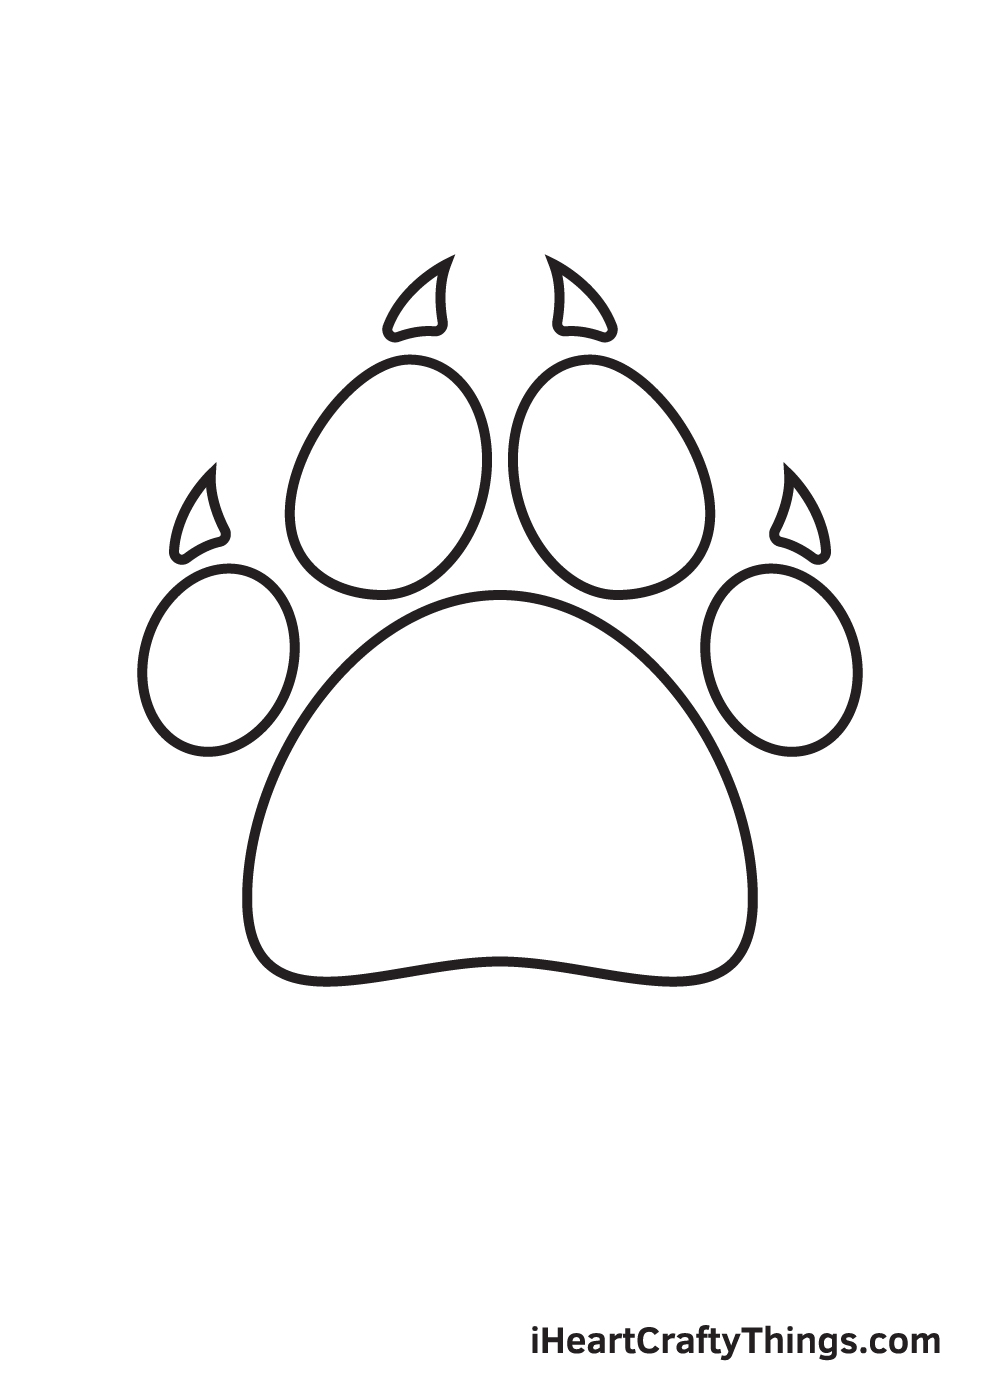
Draw another triangular shape above the digital pad on the rightmost side.
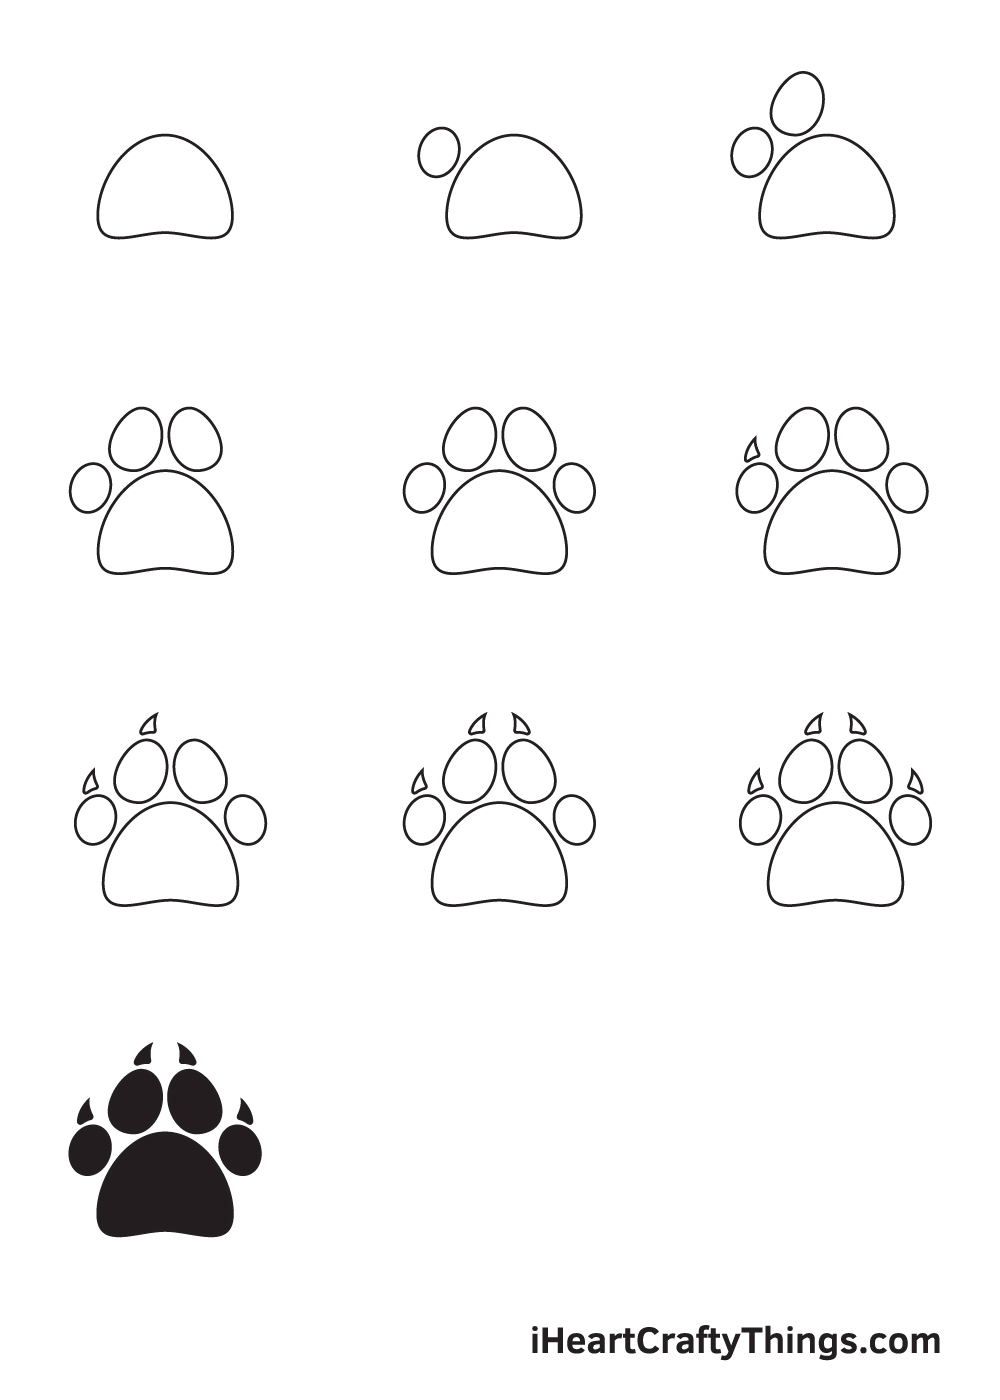
At this point, all four digital pads of the paw print should now have claws. This completes your paw print drawing. Now, all it’s missing is a splash of colors to make it colorful!
There you have it—you have successfully drawn a paw print. That means, it’s finally time for the most exciting part, which is coloring the paw print!
As you can see in the illustrations, we’ve kept the colors plain and simple. We colored the entire paw print with black to make it as realistic as possible!
You can choose to color the paw print with the same color we used or opt for a different color. You can even use more than one color to create a multi-colored paw print. How fun is that?!
Have fun playing with colors! We’re sure the colors will turn out beautifully!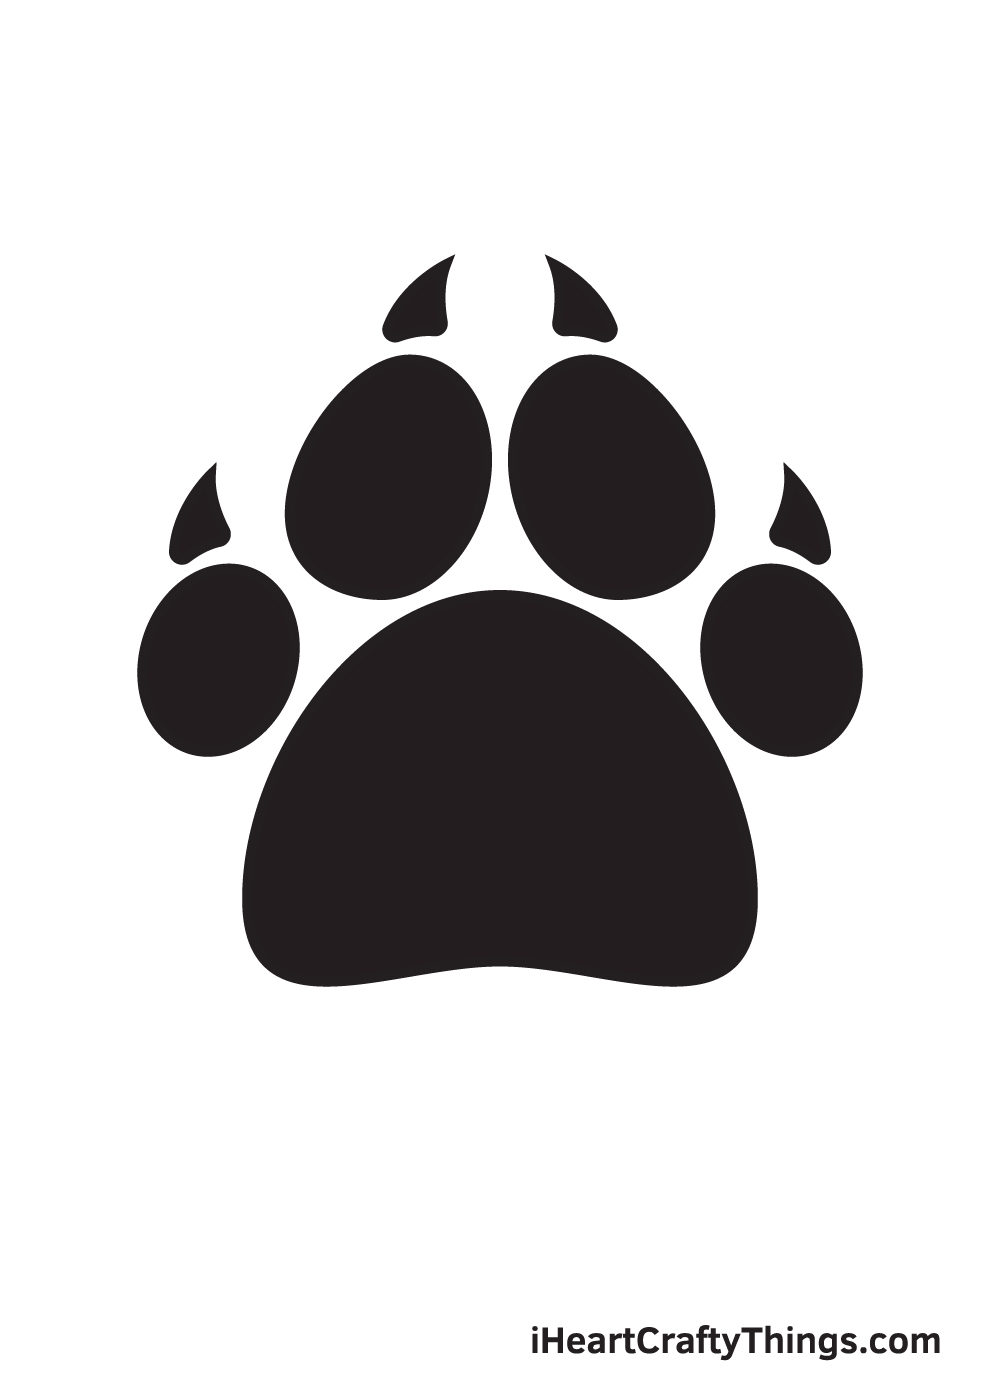
Here’s how you can make your paw print drawing even better…
Get ready to see how you can make this paw print look even more incredible! With all of the steps of this guide complete, you have a basic shape of a paw print.
Now that you have the hang of this more basic shape, you can make it more complex by adding some details and ideas of your own.
One way to do this would be to take what you have learned throughout this guide to draw a trail of paw prints. What other additions could you make to this paw print sketch?
Paw prints will be made on some kind of soft surface, and you could draw this around the pads and toes of the paw print. One example would be to draw some mud details around the print.
You could either look up some pictures of muddy prints or find some mud in real life. You could put your shoe into the mud to leave a print and take note of how the mud looks at the edges of your footprint.
In the previous suggestion, we spoke about making this drawing of a paw print more realistic by making it look like it’s in mud or other surfaces.
That’s one approach you can take, but you could also go for a more stylistic approach instead. You could do this by drawing all sorts of patterns and shapes onto the paw print.
ou could draw some leopard print, polka dots or any other pattern you think of to create a fun picture!
The last tip we will go over to make this drawing even better will involve colors. We’ve spoken about how you can add patterns and texture details, but you can also experiment with various art tools and mediums.
It can be fun to use different kinds of paints such as watercolors or acrylics to make the colors as intense or muted as you like.
You can stick to one kind of art tool, but you can also mix several different kinds to create a varied look.
Your Paw Print Drawing is Complete!
We hope you enjoy this step-by-step paw print drawing tutorial. Now that you can draw a paw print, perhaps you can draw a dog with paw prints surrounding it next?
Check out our catalog to explore drawing tutorials of various animals that may look best with a paw print!
Once you’re done drawing and coloring a paw print, you should feel proud of yourself for completing a masterpiece! Don’t forget to take a photo of your artwork and share it on our Facebook page and Pinterest.
We’re excited to see your incredible paw print drawing!