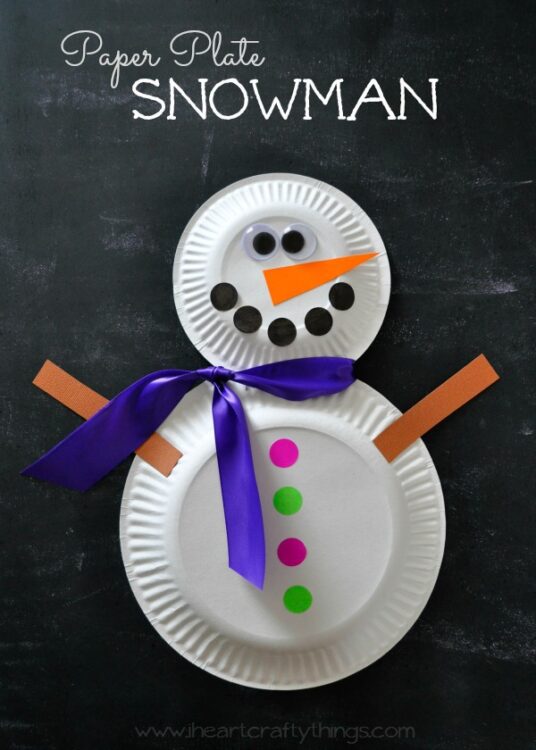
My kids look forward to building a snowman every winter. We’ve finally had enough snow outside this past week for them to go out and build one but it’s also been bitter cold. Here’s a simple way to bring the fun inside and make a Paper Plate Snowman.

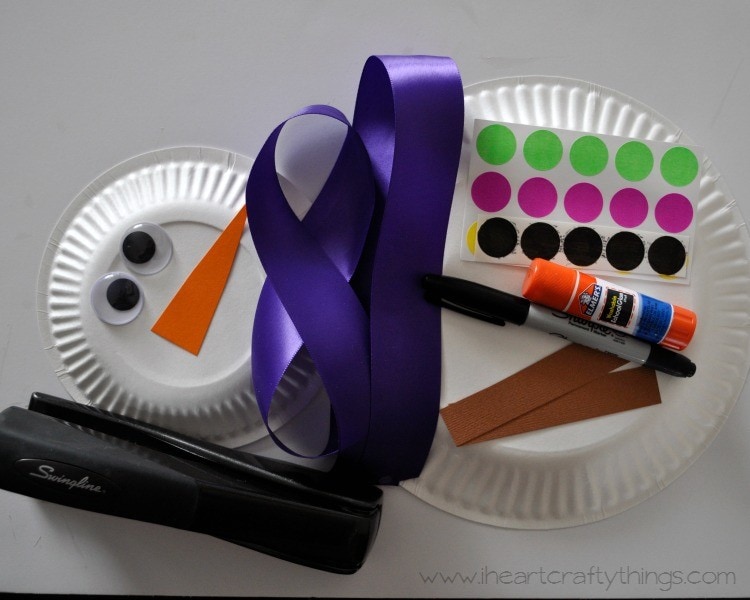
Supplies you will need:
- small paper plate
- regular-sized paper plate
- stapler
- large googly eyes
- ribbon
- round color stickers
- black permanent marker
- orange and brown cardstock paper
- glue

Directions:
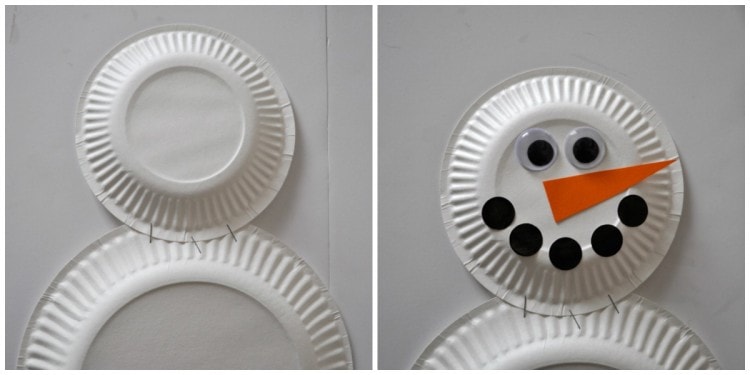
1. Staple two paper plates together
Start by stapling your small paper plate onto your large paper plate.
2. Create snowman mouth, nose and add eyes
Use your black marker to color five of your dots black. Put them onto your small paper plate for your snowman mouth. Cut a triangle nose out of your orange cardstock paper and glue it onto your small paper plate. Also, glue on your large wiggly eyes.

3. Stick snowman buttons
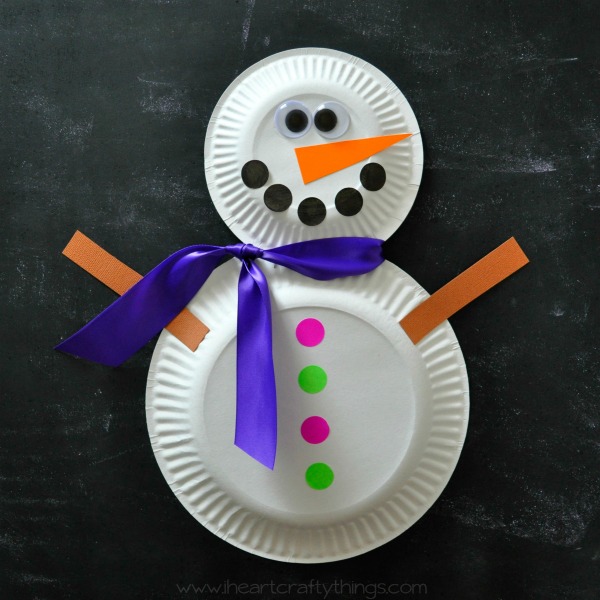
Use your colored round stickers to add buttons to your large paper plate.
4. Create snowman scarf
Wrap your ribbon around your two paper plates and tie it in a knot for a scarf. Cut off any excess ribbon.

5. Add two arms
Finish your snowman by cutting out two stick arms from your brown cardstock paper and gluing them onto your snowman.


