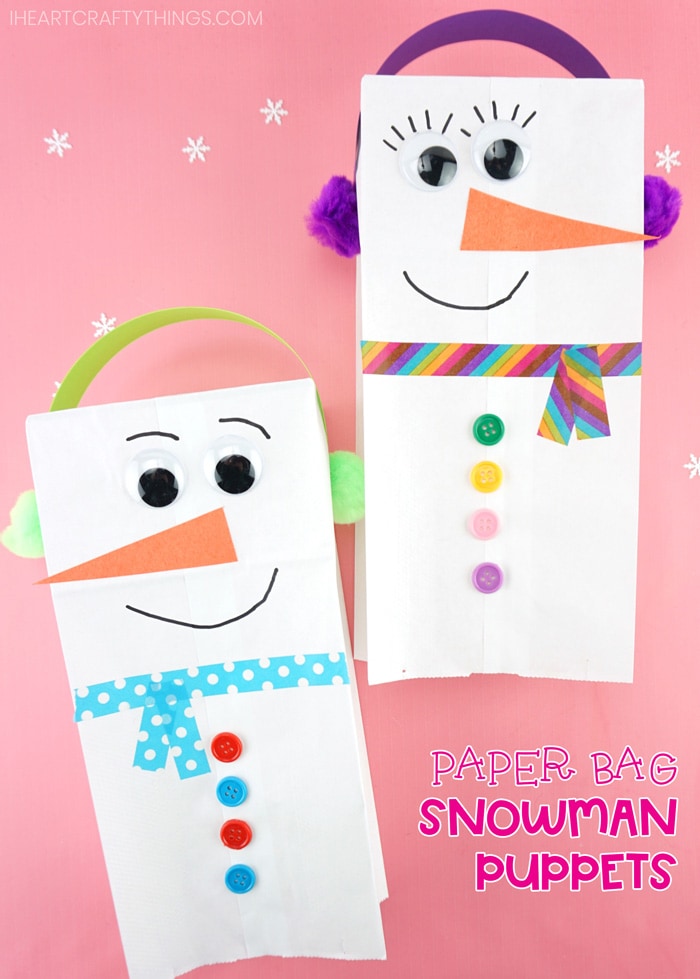
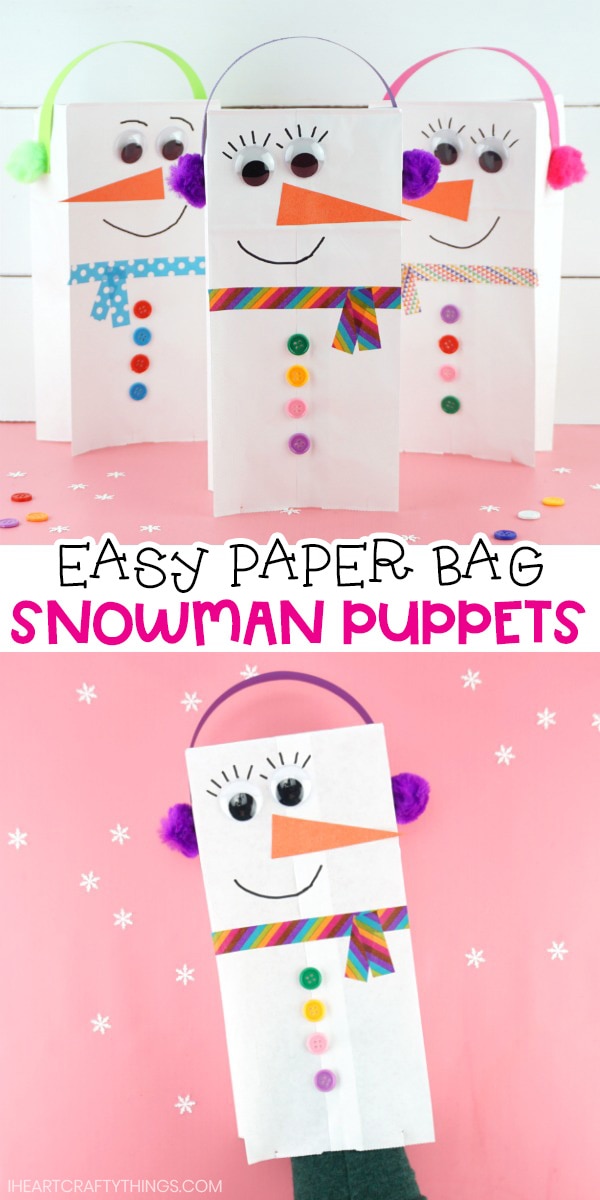
No matter what type of climate you live in there is always a great way to enjoy snowman in the winter by bringing the fun indoors. Yesterday we shared adorable bottle cap printed snowmen and today we are sharing this paper bag snowman craft puppet.
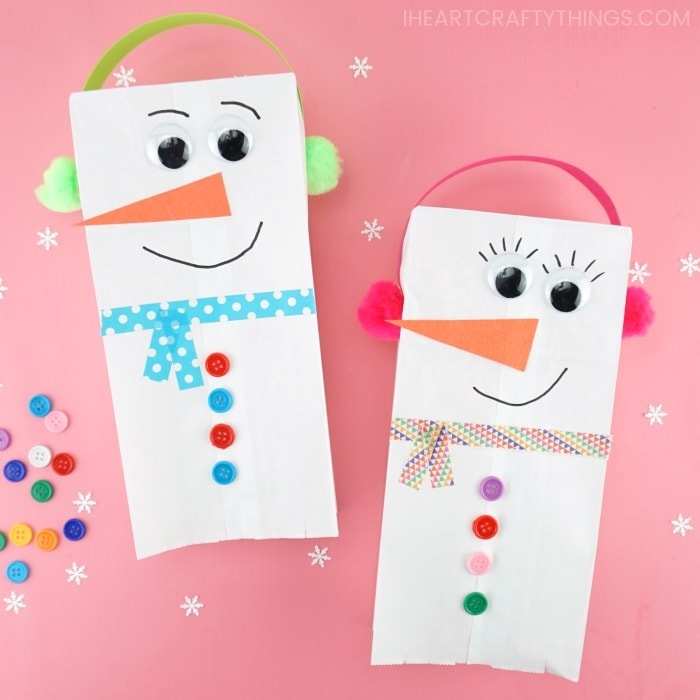
This simple paper bag craft is a perfect indoor winter craft for preschoolers and kids of all ages. It also couples great with a favorite children’s snowman book.
Supplies Needed to Make a Paper Bag Snowman Puppet:
This post contains affiliate links to the products mentioned. Read our disclosure policy for more information.
- white paper lunch bag
- orange and colored cardstock paper
- large googly eyes
- large pom-poms
- washi tape
- buttons
- black marker
- scissors
- glue stick
How to make a Paper Bag Snowman Craft
1. Lay paper bag down flat
Lay your paper bag down flat, making sure the side with the hangover flap (the bottom of the bag) is face down.
2. Cut out a triangle carrot, glue it on paper bag
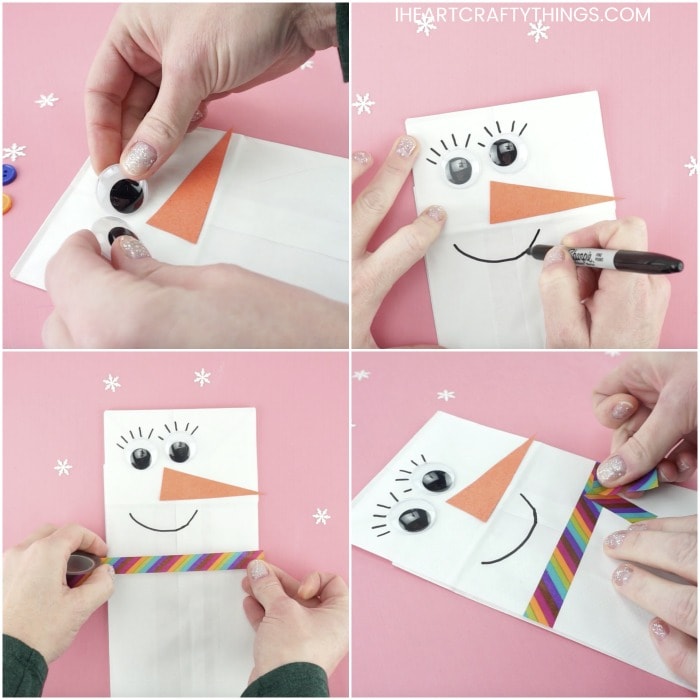
Cut out a triangle carrot nose from your orange construction paper. Glue the carrot nose on your white paper lunch bag.
3. Add googly eyes
Add googly eyes above your carrot nose. We recently bought some big adhesive googly eyes and they are perfect for a craft like this so you don’t have to wait for glue to dry.
4. Draw a mouth and any facial features you want
Use a black marker to draw a mouth and any facial features you want on your snowman. My daughter and I drew eyelashes and eyebrows onto our snowmen. It helps to give your puppet an extra fun personality.
5. Make a scarf using washi tape
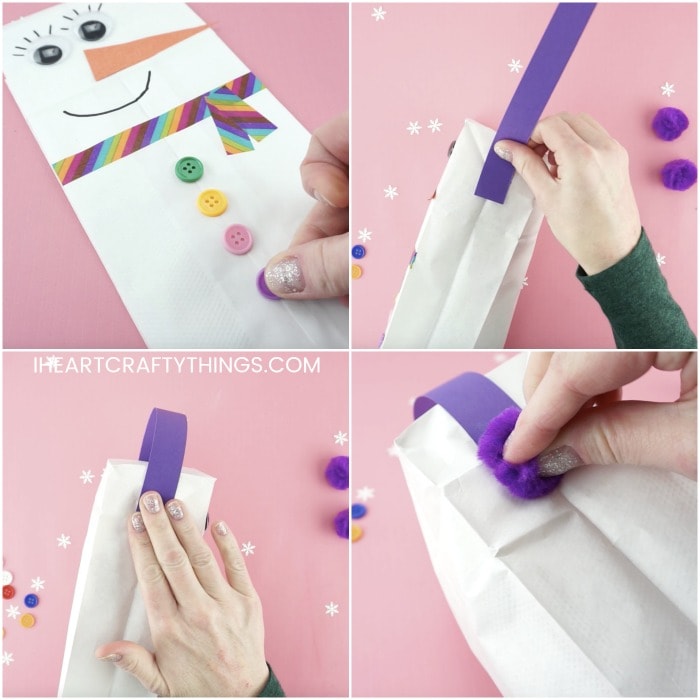
Use washi tape to make a scarf on your snowman. Start by placing a line of washi tape across the length of your paper bag. Then cut off two small pieces of washi tape about 1-2 inches in length and place them so they hang down from the scarf.
6. Glue or attach buttons
Glue or attach buttons down the bottom center of the paper bag. We have used adhesive buttons – they are super convenient for craft projects like this. Peeling off the adhesive strips on the back are also great for fine motor skills.
7. Create ear muffs
Cut a colored strip of cardstock paper that is 1-inch by 11-inches. Open up your paper bag. Add a generous amount of extra strength glue stick on one end of the paper strip. Put one hand inside your bag to help stabilize the bag while you attach the end of the paper strip to the side of the paper bag.
Use the hand on the inside of your bag as pressure and hold the strip in place until the glue has adhered to the bag. Add glue on the opposite end of the paper strip and attach it to the other side of the bag in the same way.
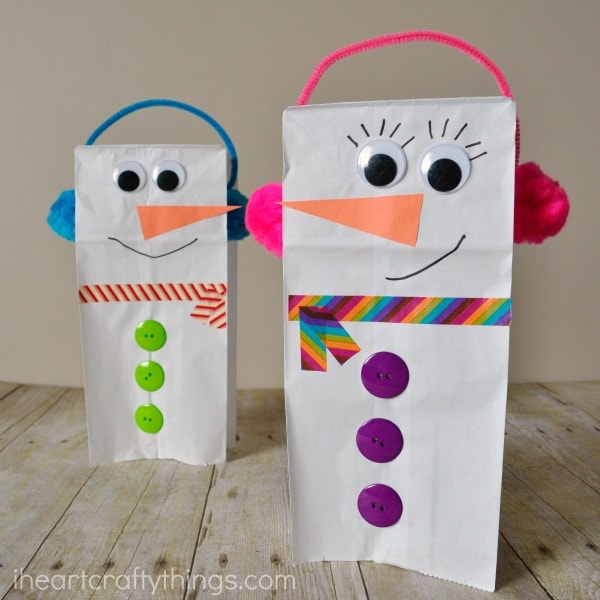
You can also use a pipe cleaner for your ear muffs. If you choose this option, attach a glue dot on each end of the pipe cleaner and then attach it on the sides of your paper bag. You could also use a dot of hot glue to attach the pipe cleaner with adult supervision.
8. Finish making your ear muffs by adding pom-pom’s
Add a generous amount of extra strength glue stick on top of each of the ends of the paper strips you just added to your paper bag, and glue on a large pom-pom to finish making your ear muffs. Let the glue on your paper bag snowman craft dry for a bit before playing with your snowman puppet.
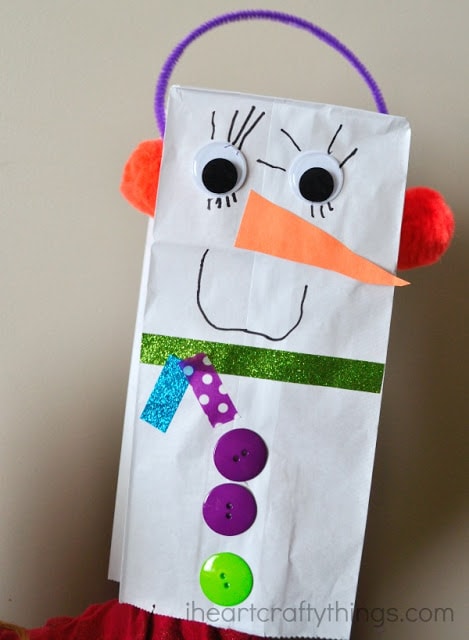
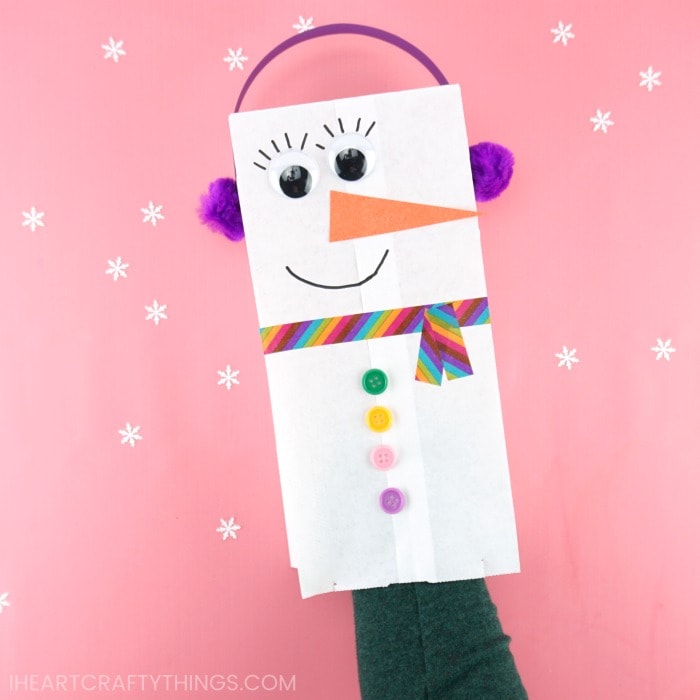
Once the glue is dry, children can put their arm inside their puppet and have fun playing with their adorable snowman!
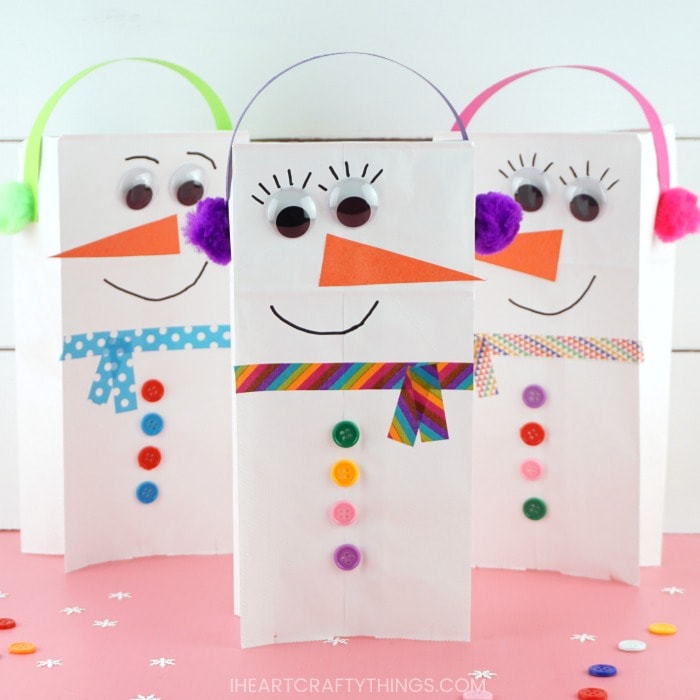
The picture above is my preschooler’s cute snowman. I adore the different color combinations she chose. As you can see, each child’s snowman is sure to come out perfectly unique from one another so this is a fun winter craft for kids’ creativity to truly shine.
