My Little Pony is a series that has been conquering the world through many different toys, TV shows, movies and more.
The little ponies have fans around the world both young and old, and these fans often like to create artwork commemorating their favorite ponies.
If you would like to do that as well, then it will be very helpful to learn how to draw My Little Pony.
By the end of this guide, you will also be able to draw your favorite pony characters!
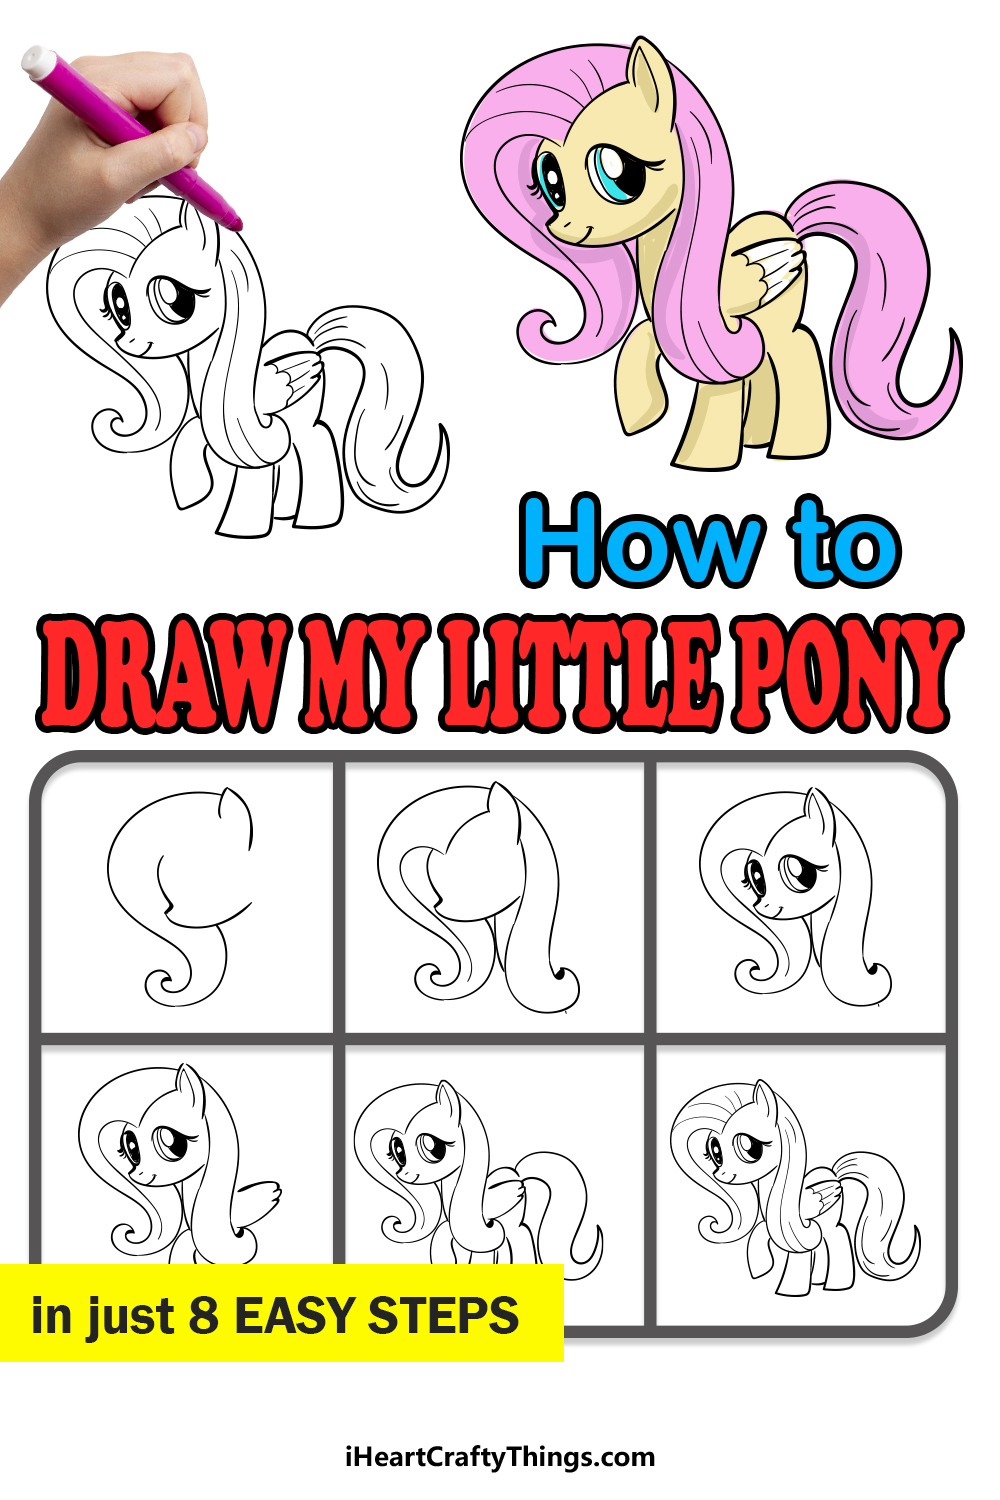
Our step-by-step guide on how to draw My Little Pony in just 8 steps will have you creating your own My Little Pony artwork with ease.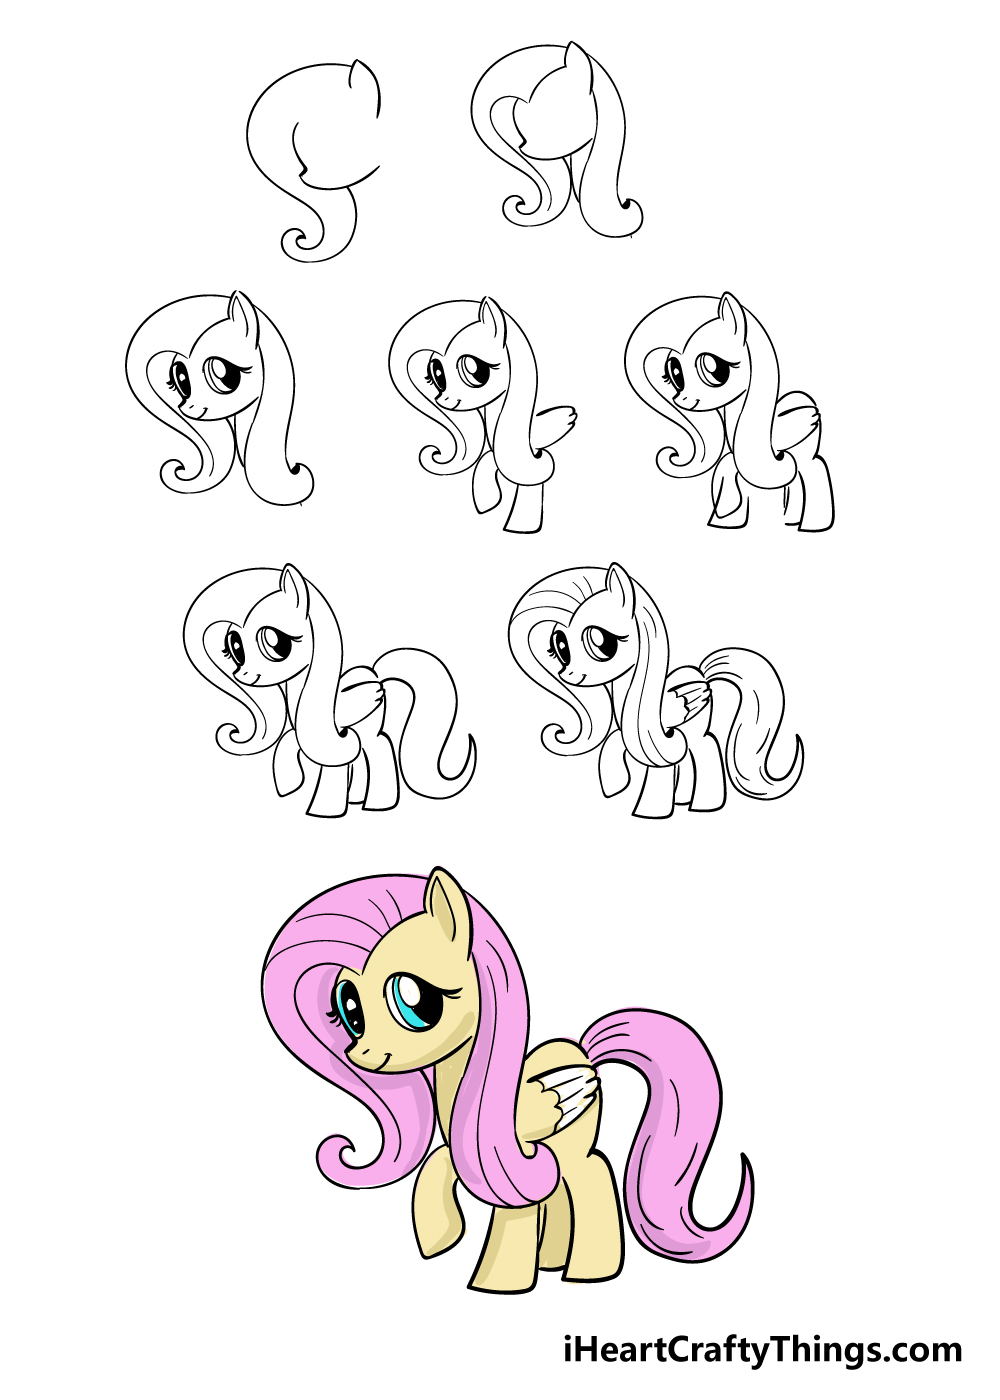
How to Draw My Little Pony – Let’s get Started!
Step 1
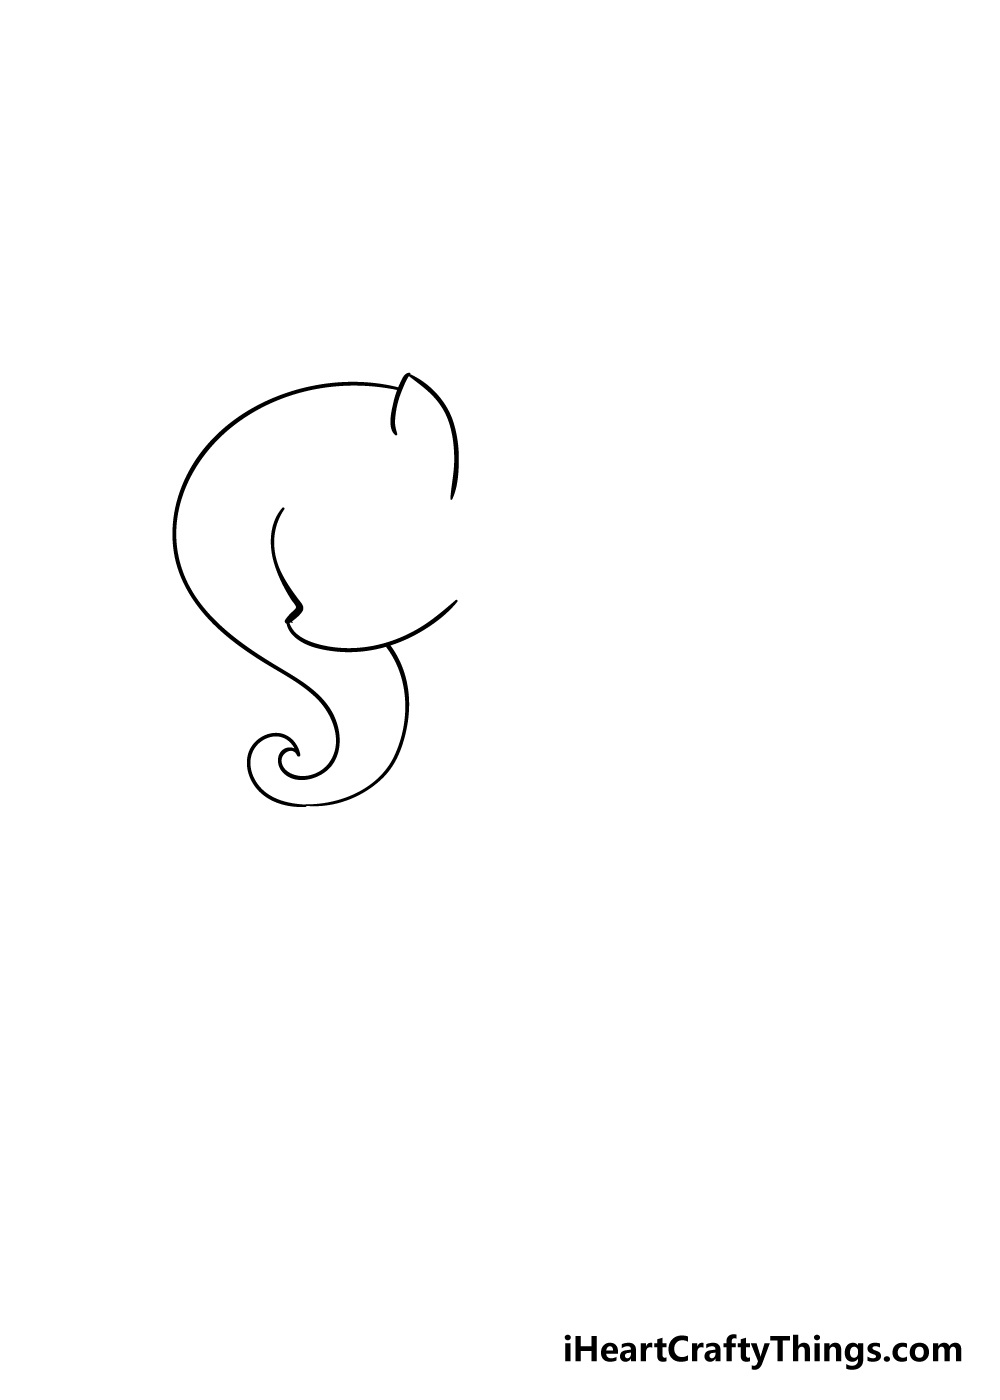
To start this guide on how to draw My Little Pony, we will begin with the head and mane of the pony.
To do this, you can draw a curved shape for the curly mane of the pony. Then, you can use a sharp line for the ear of the pony poking up from the mane.
Finally, you can draw a curved, jagged line for the face outline of the pony.
Step 2 – Next, draw the back of the pony’s hair
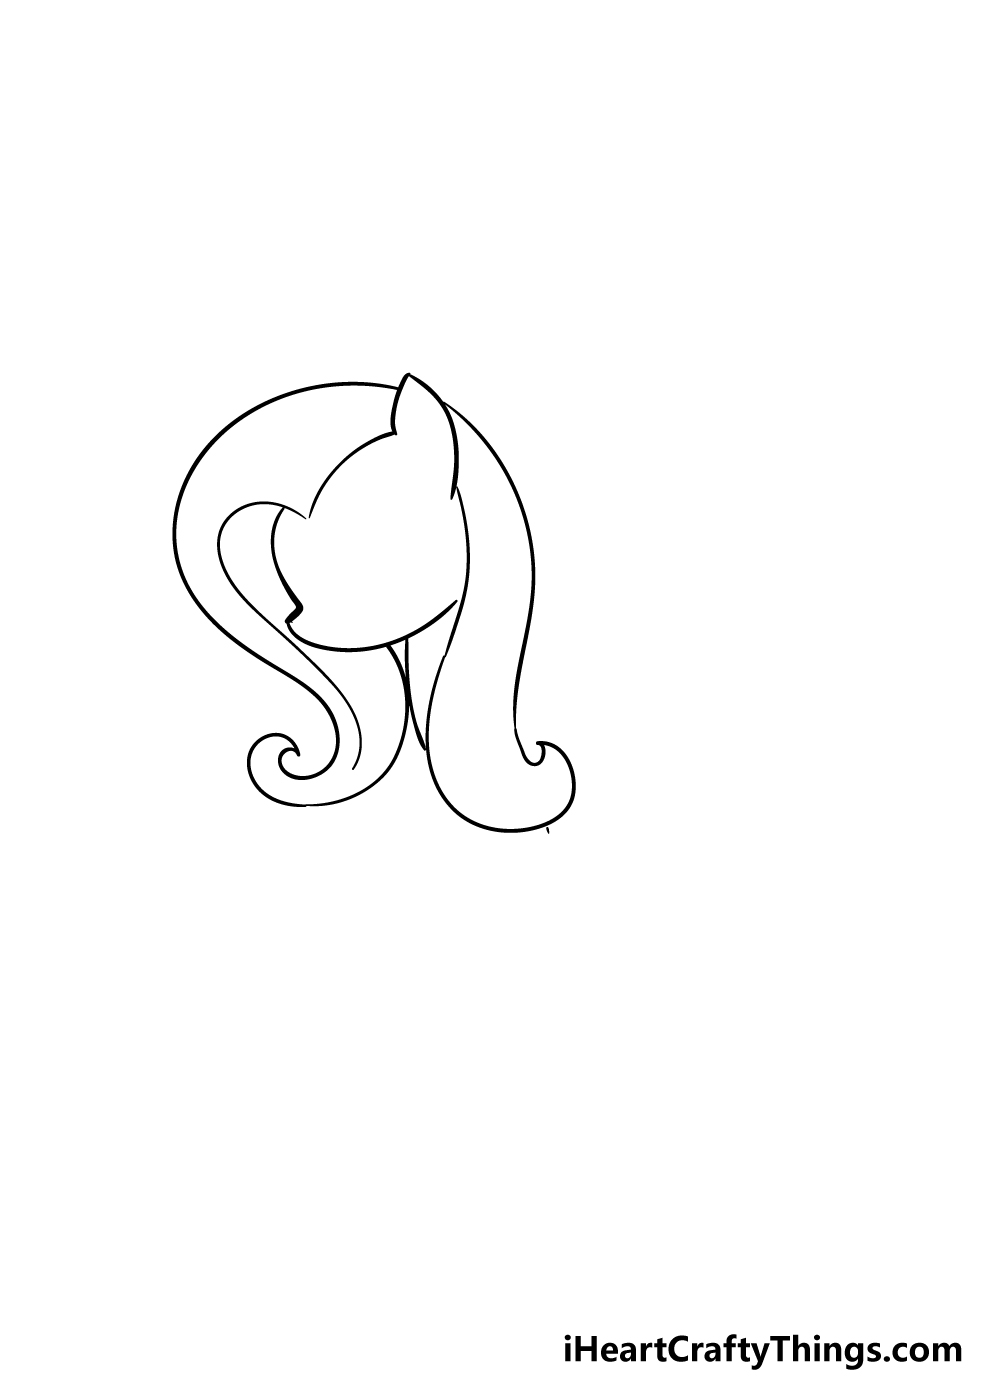
Now that you have the face outline and front of the mane drawn, you can draw the back of the pony’s hair in this step of our guide on how to draw My Little Pony.
First, you should add some curved lines inside the face and mane outline to create the inner edge of the hair.
Then, the back portion of the pony’s hair will also be drawn with some curved lines to create some wavy locks. That’s all there is to it for this step, and you’re ready for step 3!
Step 3 – Now, draw the face of your pony
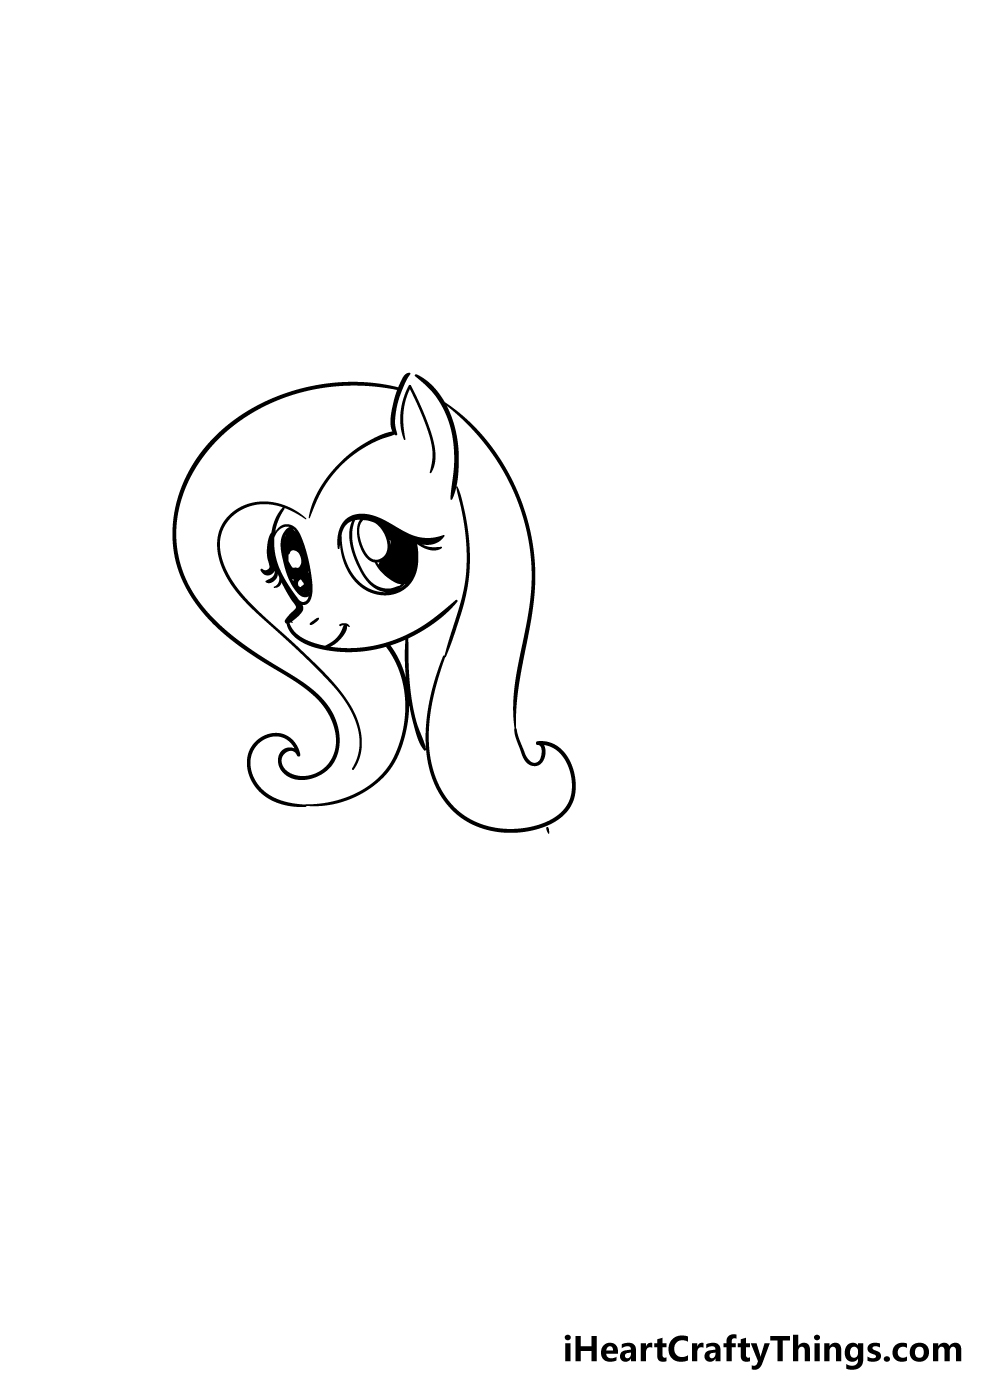
The characters in My Little Pony are recognizable for their big, expressive eyes, so we will draw those along with some other details in this step of our guide on how to draw My Little Pony.
Before you start with the eyes, you can first add a sharply curved line inside the ear outline.
Then for the eyes, they will be made of some big rounded shapes. Then, there will be a solid black circular shape within the eye outline for the big pupils.
Finally, you can use a simple curved line at the bottom of the face to give the pony a smiling mouth.
Step 4 – Next, draw the first legs and wings
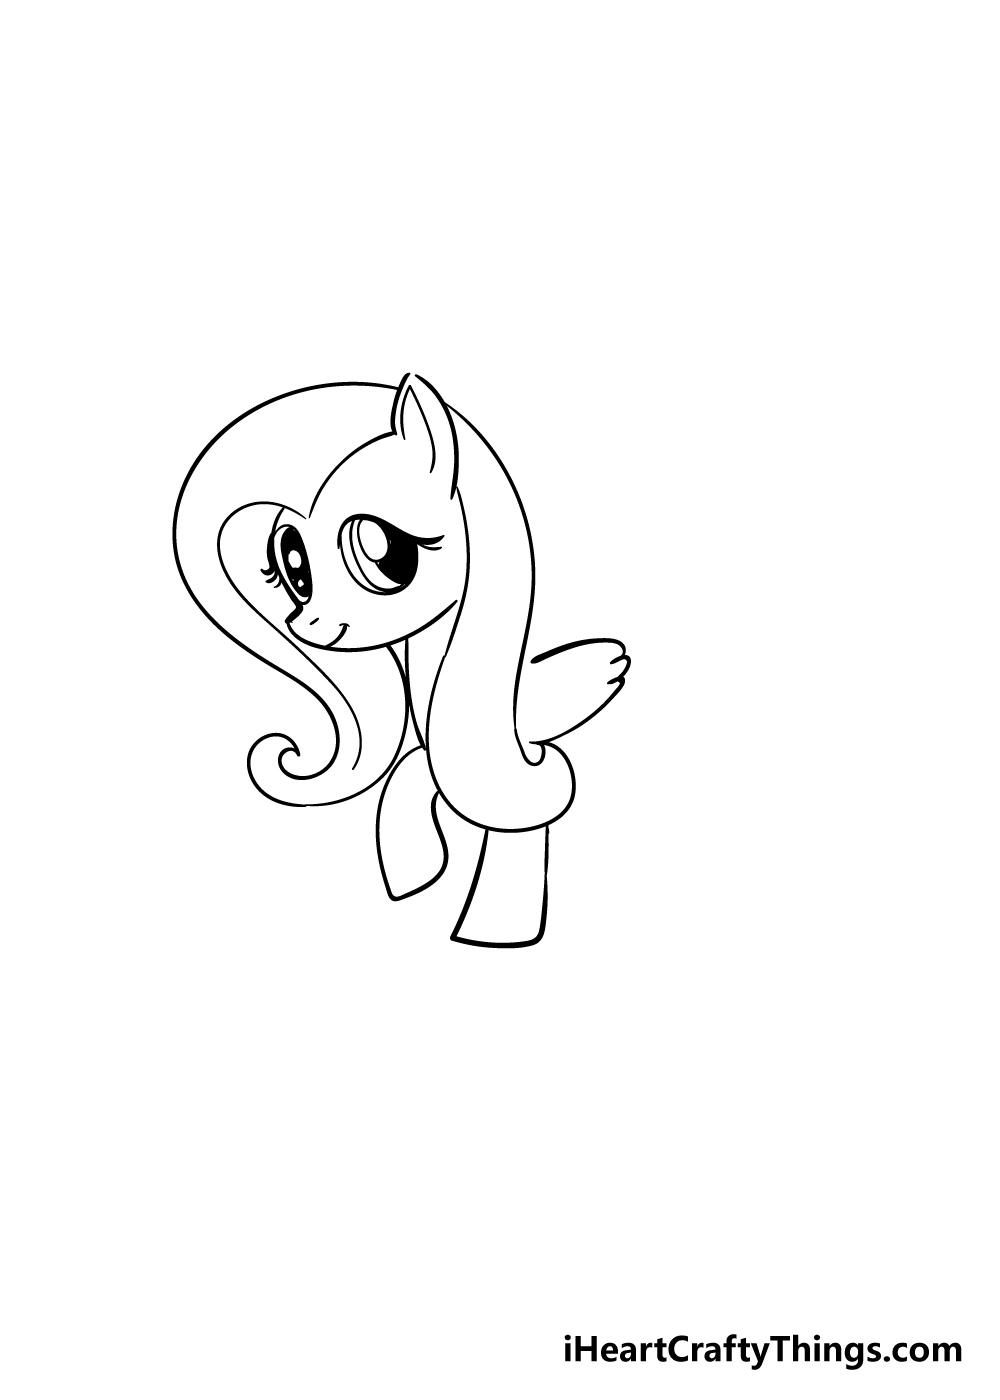
This part of your My Little Pony drawing will see you drawing the first two legs of the pony. These are made of some simple lines with one leg raised a bit and bent over.
The legs will also have flat bases to show the hooves.
Once you have these legs drawn, you can use some more curved lines near the back of the pony to add a wing to your pony.
Step 5 – Now, you can add the back legs
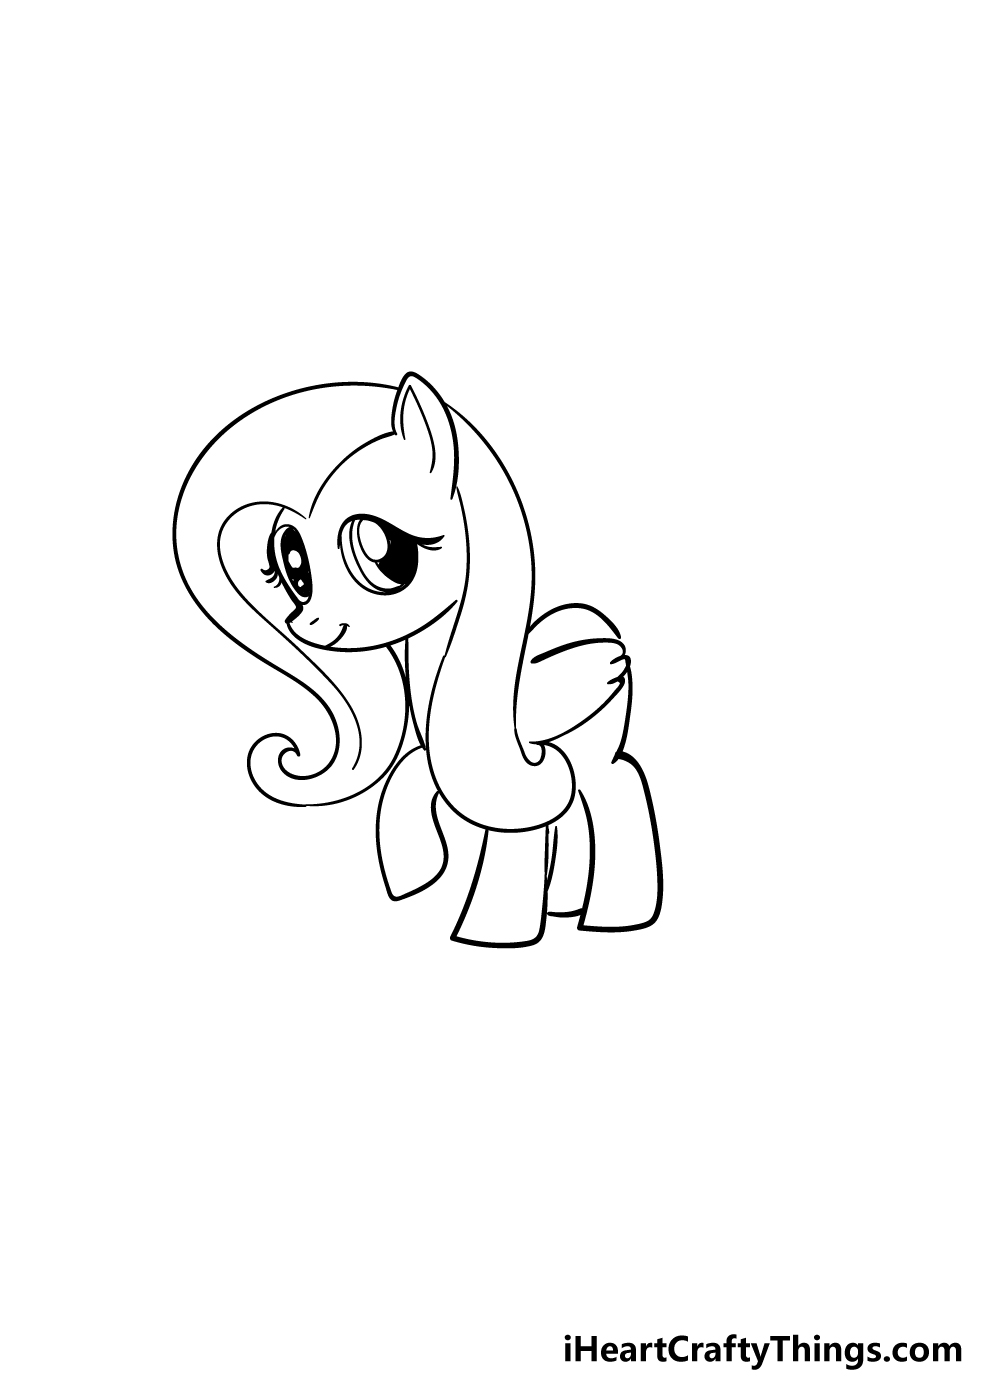
You’ve already drawn two legs of the pony, and in this step of our guide on how to draw My Little Pony we will add the last two.
First, you can use a curved line for the back of the pony as it appears in the reference image. Then, you can draw two more legs that look very similar to the first two that you drew.
Step 6 – Next, draw a tail for the pony
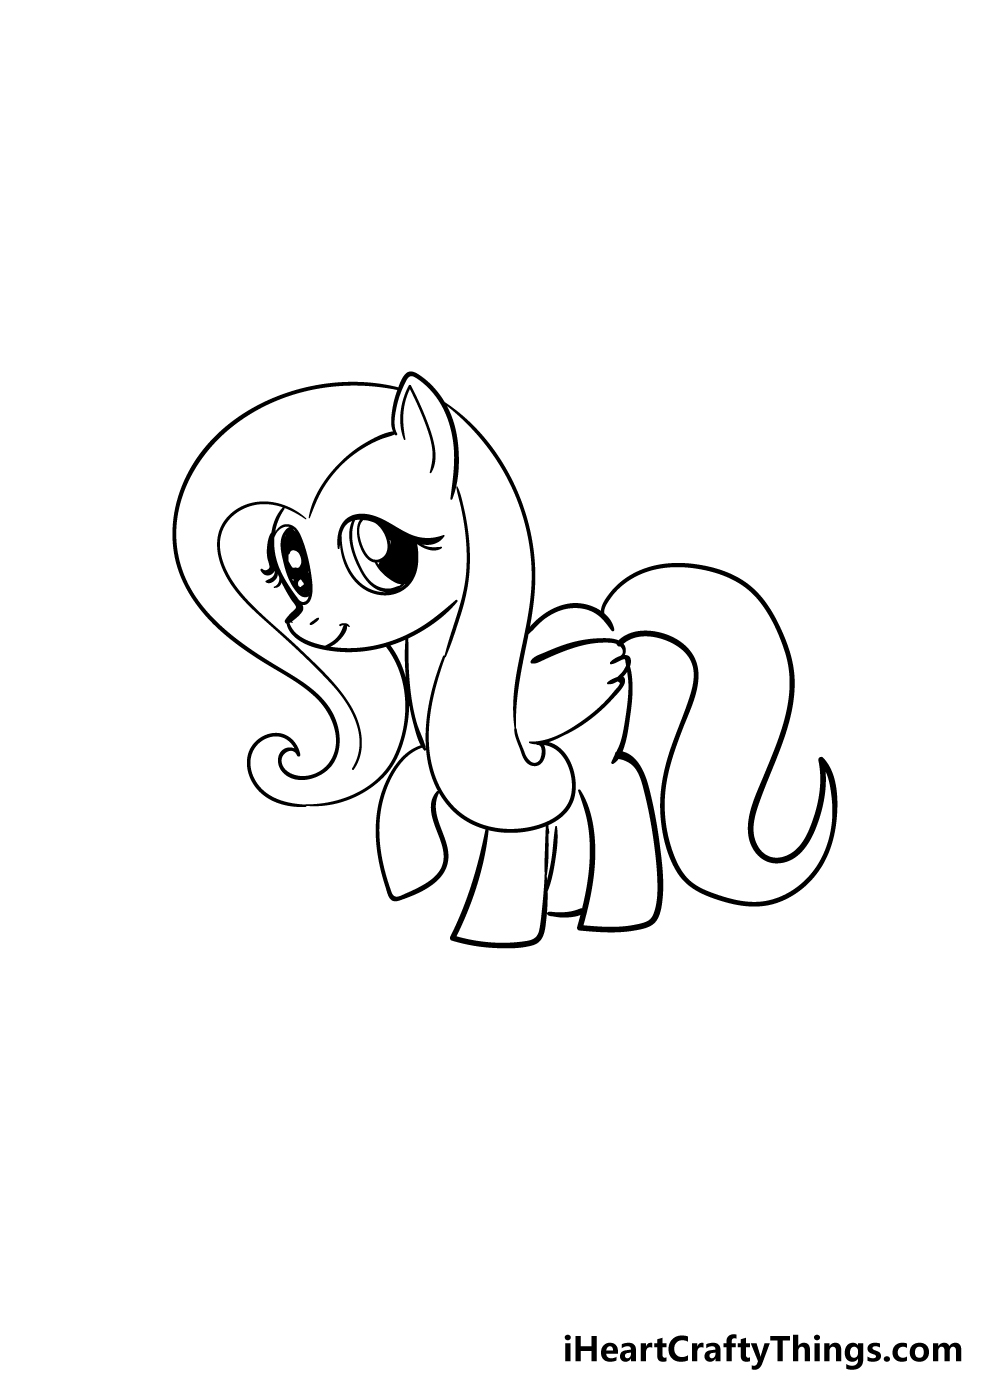
The characters in My Little Pony often have big bushy tails, and the one you’re drawing will be no exception!
To add a tail to your My Little Pony drawing, simply use some more curving rounded lines coming from the back of the pony. This will give your pony a nice curly tail!
Step 7 – Then, draw the final details
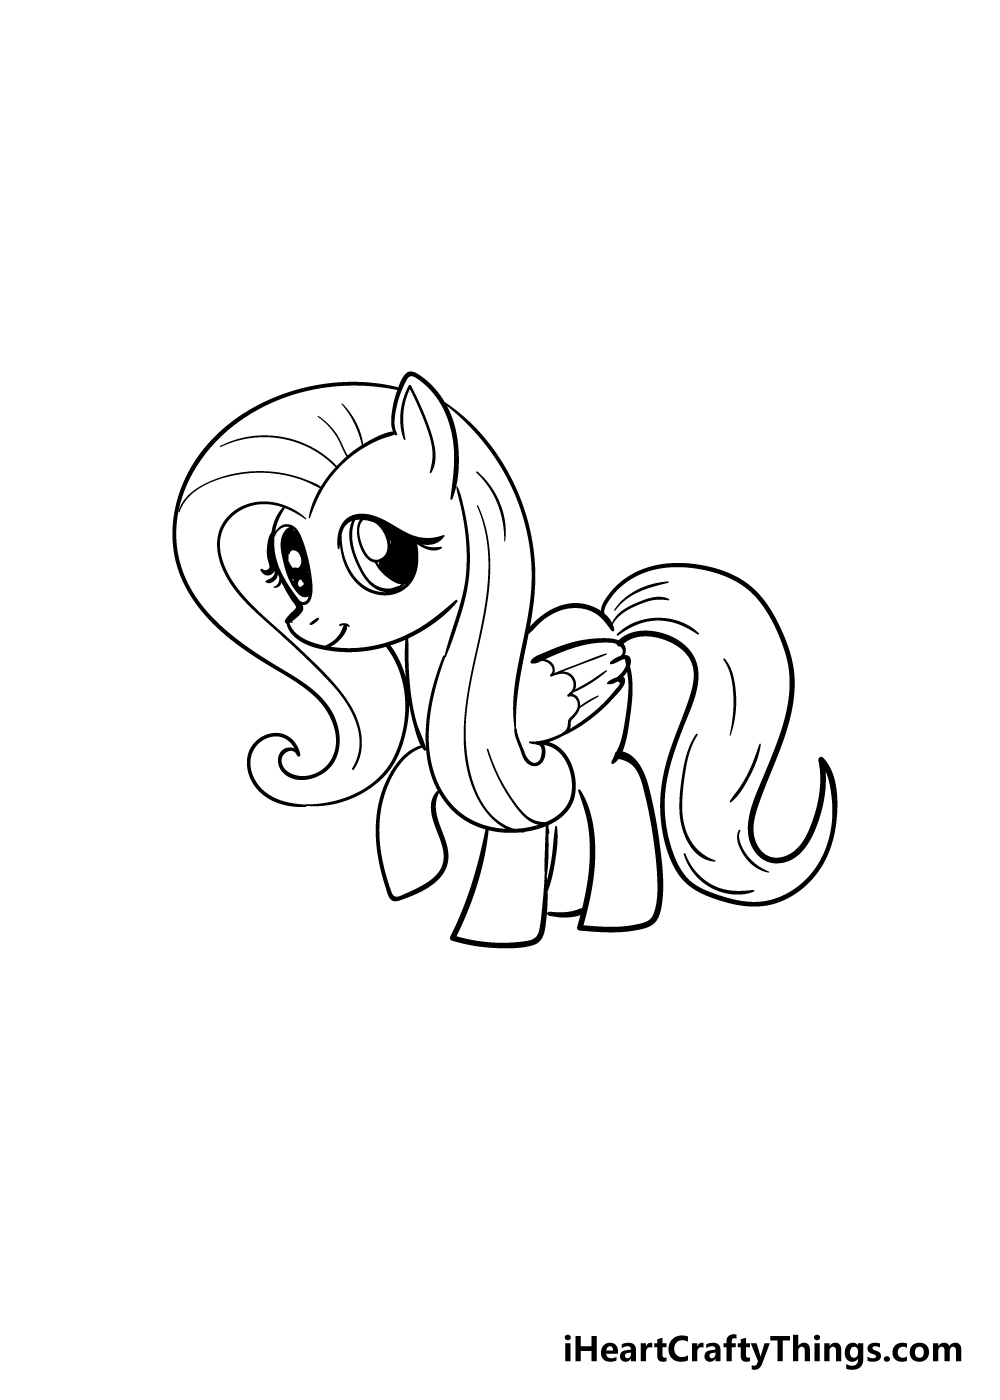
Before you bring some beautiful colors to your pony, we have some final details to add in this step of our guide on how to draw My Little Pony.
For these details, you can add some thin, curved lines throughout the tail and hair of your pony. These are the details that we have added, but you can also add some details of your own!
You could also customize this pony to look like your favorite character. How will you finish off your picture before the final step?
Step 8 – Now finish off your My Little Pony drawing with some color
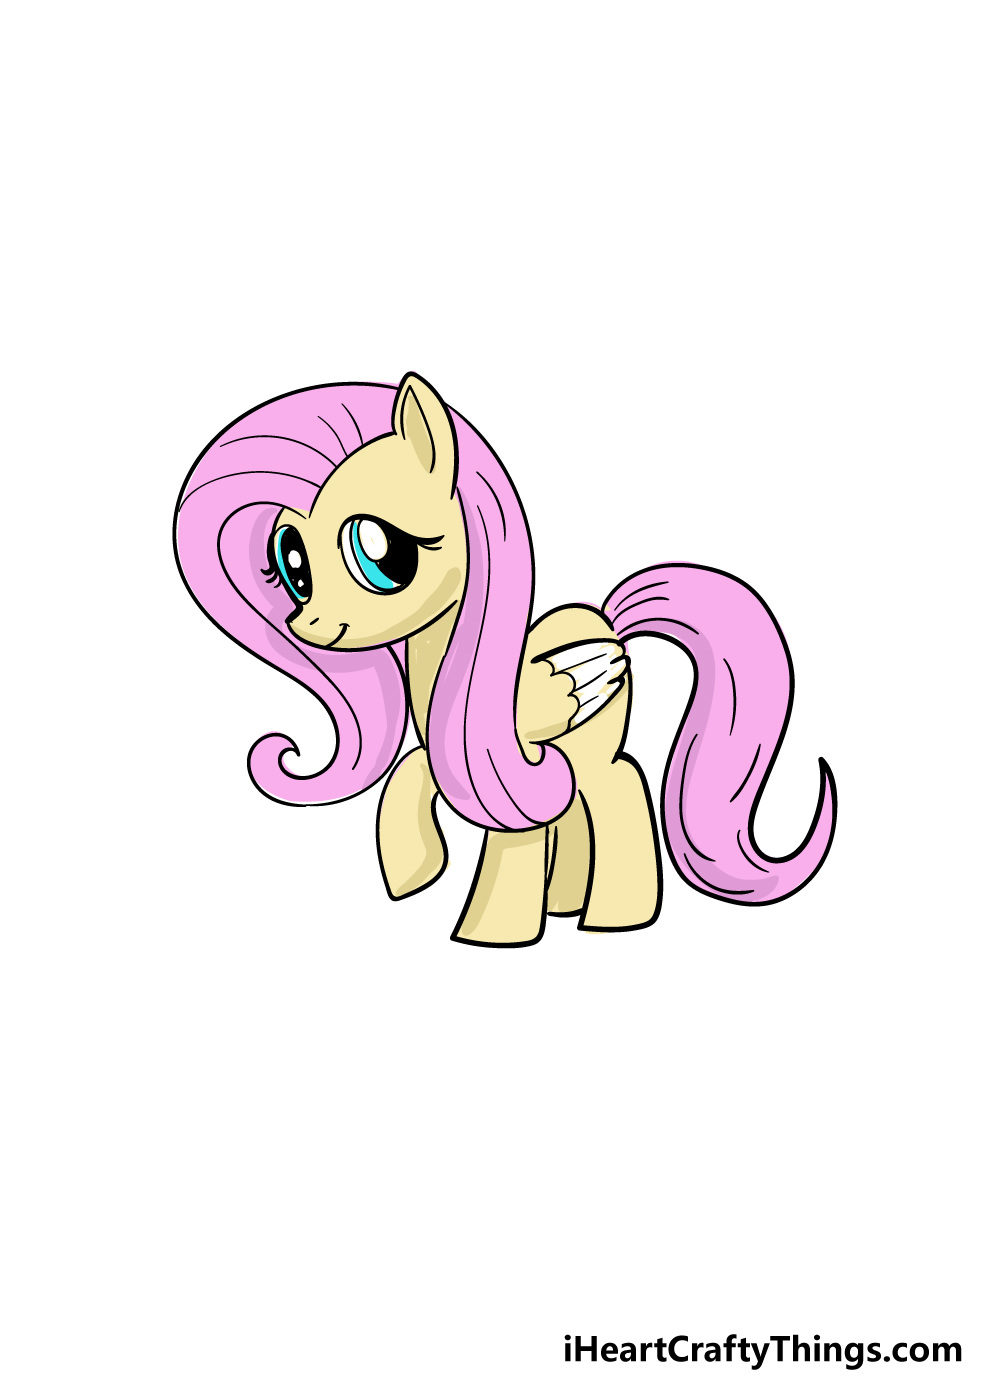
This final step of your My Little Pony drawing will see you adding some beautiful colors to your picture!
We used a combination of tan and pink colors for our picture, but for this step you should use any colors that you would like.
You could also use your colors to help customize your drawing and could recreate your favorite characters or even make your own!
Once you know which colors you would like, then you can decide which art mediums you can use. If
I were coloring this in I would be using some bright mediums like acrylic paints, colored pens or markers for colors that pop!
It would look uniquely great no matter which mediums you use, so let your imagination run wild!
4 More Ways To Make Your My Little Pony Drawing Unique
Create some artistic magic with these tips for your My Little Pony sketch!
The pony that we created for this My Little Pony drawing is a great example of one of the many characters from the series. The pony could easily be adapted into whoever your favorite character is as well!
By changing her mane, markings or face, you could easily recreate your favorite pony. Or, maybe you might like to make your very own My Little Pony character!
If you were to do that, what do you think you would name this new pony?
Once you have changed this pony to look exactly as you want it, you could then give her some friends. Taking what you learned in the guide, you can design as many ponies as you want for this My Little Pony sketch.
They could even be in different poses or have some fun facial expressions. Do you think you would use existing characters from the series or create an entirely new roster of your own characters?
The next step towards creating a fun scene for this drawing of My Little Pony would be to draw a background. You would have a lot of freedom when it comes to background settings you could use!
There might be some locations from the series that you like, and these would be great to use as inspiration. You may even prefer to design your own backgrounds to take your pony on a whole new adventure.
What are some background settings you would like to use?
To finish off this My Little Pony drawing in style, you can use all your favorite colors and art tools. The ponies from the series show off all the colors of the rainbow, so you would be able to use anything you want.
When it comes to different mediums, you may feel confined to using mediums like colored pens, crayons or paints.
However, you could make it even more stunning with crafts like glitters, stickers and even beads!
Your My Little Pony Drawing is Complete!
That brings us to the end of this step-by-step guide on how to draw My Little Pony! We hope that you had a lot of fun recreating your favorite My Little Pony characters using this guide.
If you follow this guide, take it slow and do your best then you’ll be creating your own My Little Pony artworks before you know it!
You can also customize this guide by adding in distinctive elements from your favorite characters.
There are plenty of ways that you can really make this drawing your own as well. You could create some cool new details, create a beautiful background or by changing up the pose of the pony.
You could also incorporate some fun crafts such as glitter which will provide some lovely details to it!
Once you’re finished with this guide, you can have more drawing fun on our website, as we have tons of awesome guides for you to enjoy. We upload new ones all the time as well, so be sure to visit often!
We would also love to see your finished My Little Pony drawing, so please let us take a look by sharing it on our Facebook and Pinterest pages for us to enjoy!