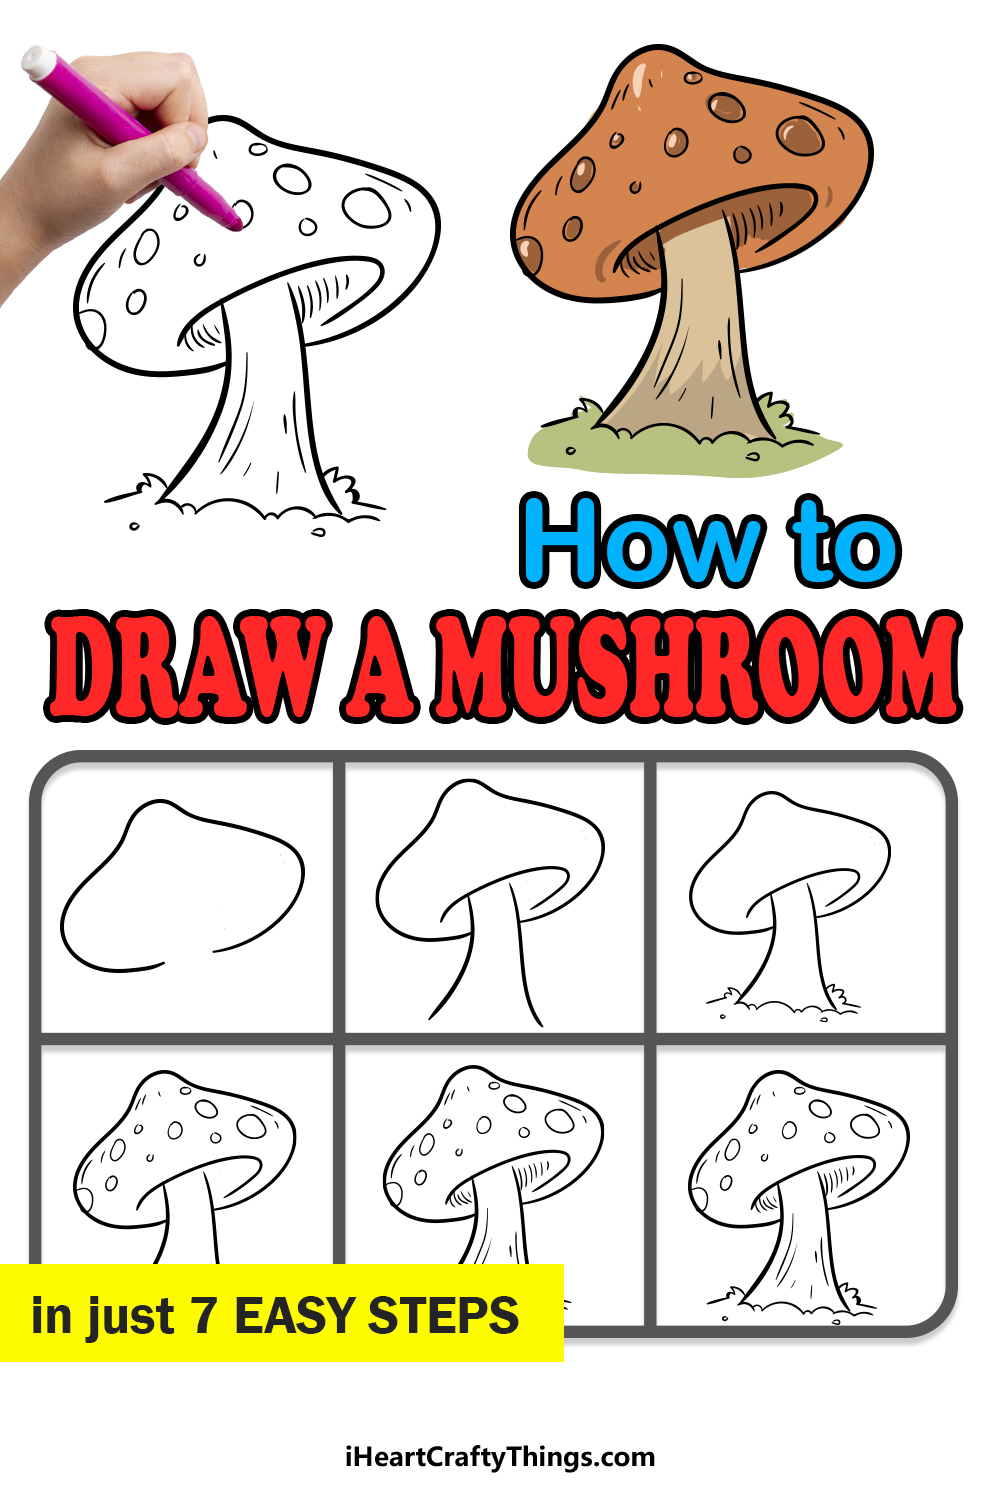
Learning how to draw a mushroom is easier than you think! The step-by-step guide before you will show you that anyone can draw a mushroom when they know the right tricks.
Mushrooms are so distinctive looking, and while this makes them instantly recognizable it can make them tricky to draw. In this guide, the design of the mushroom has been simplified to basic lines and shapes that will come together to form this mushroom.
Seeing it broken down like this should help to make the design click in your mind, making it so much simpler for you to grasp the basics.
We also added some smaller details to add some texture to the cap, stem and other elements of the mushroom to make your drawing more dynamic. Once you have finished the design, you could also draw a background or even add some fun cartoon characters to interact with it.
Just follow along with the steps and you will have a complete drawing to be proud of.

Watch This Step-By-Step Guide On How To Draw A Mushroom
How to Draw A Mushroom – Let’s get Started!
Step 1

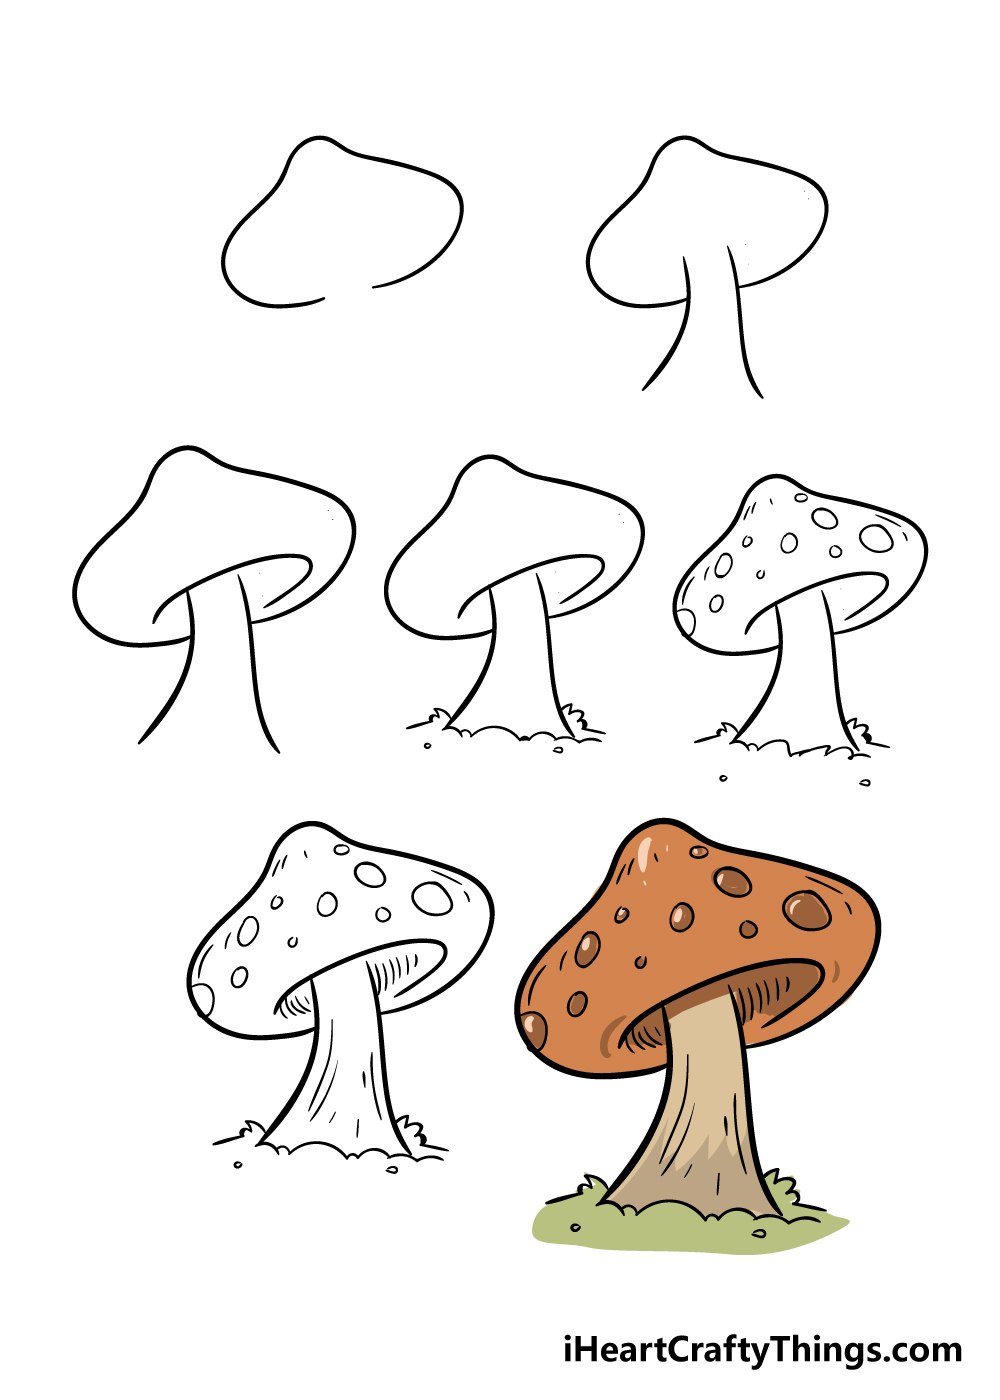
The first thing that you’ll probably notice about a mushroom is the top of it, which is called a cap.
It’s the first part that you see, so it’s the first part that we will draw for this first step of our guide on how to draw a mushroom.
For this step, it would be very helpful to refer closely to the reference image we have while you draw.
When drawing something like a mushroom, it’s easy to make it seem a bit too flat or a bit too bulbous, so by referring to the image you can get it looking just right.
Be sure to leave a gap at the bottom for the stalk that you will draw soon!
This shape can be a bit tricky, so don’t be afraid to draw with a pencil first and then go over it with a pen when you’re happy with how it looks.
Step 2 – Draw the stalk of your mushroom

For this part of your mushroom drawing, we will draw a stalk for it.
The stalk of our guide starts out thin at the top and gets thicker as it gets lower down, but you can make it thinner or thicker if you wish.
This mushroom is also quite tall, so you could make it shorter if you want as well.
For this guide, we will use two curved lines coming down from the gap you left earlier.
Step 3 – Next, use a curved line for the inner portion of the mushroom

We will start on the interior of your mushroom in this step of our guide on how to draw a mushroom.
To do this, draw a curved line over the top of the stalk that is inside the cap of your mushroom.
Try to angle the curve of this line in the way that it does in the reference picture, as we will add more details to it later.
Step 4 – Now, draw a grassy base for your mushroom drawing

For this next step, we shall add a base for your mushroom drawing.
Using some sharply curved lines, you can easily create a grassy base for your mushroom to make it appear like our reference image.
While this is one way you can go about it, there are other options you could choose instead.
For example, you could make the lines even more jagged to make the grassy base even wilder.
You could make it more of a flat dirt base with a straighter line, and there are many other options you could go for as well!
Step 5 – Draw some shapes on your mushroom

Mushrooms tend to have some pretty and intricate patterns on them in addition to coming in many bright and beautiful colors.
In this step, we shall start to draw some patterns on your mushroom drawing.
This is a step where you don’t need to follow the guide exactly, and there is room for your to get creative with it.
You could vary the positioning of the shapes, or even change them into different ones! How do you think you will decorate the cap of your mushroom?
Step 6 – Next, draw some final details

This sixth step of our guide on how to draw a mushroom will focus on some final details before moving on to the last step.
We have shown you some details that will help to bring your mushroom to life, and these include some lines on the stalk of your mushroom and lots of thin lines inside the cap of the mushroom.
These lines form what are called the gills of the mushroom, and they make a great finishing touch.
These are the details that we would add, but you can draw some of your own as well!
You could get really creative and draw a background for your mushroom drawing, or even have a fun addition like a gnome taking a nap underneath it.
Step 7 – Finish off your mushroom drawing with some color

Mushrooms can come in some incredible color schemes, and that gives you a lot of freedom when coloring in your drawing.
Often, mushrooms that have bright, vibrant colors will be poisonous, while ones that have more muted colors are usually safe to eat.
Now, you can decide what kind of mushroom you would like to create.
Will you use bright colors along with vibrant mediums like acrylic pains or colored pens to create a striking, poisonous mushroom?
Or, will you create a mushroom that would be at home in a stew by using muted colors along with mediums such as watercolors and colored pencils?
There are so many options for you to get creative with, and we will look forward to seeing what you come up with!
Do this to take your mushroom drawing to the next level
We think these tips on how to improve your mushroom drawing will really grow on you!
Mushrooms are really pleasant to look at, as they look like little umbrellas or structures that small creatures may hang out under.
We mentioned that they’re often used in pictures involving fairies and other mystical creatures, so you could add some of these to the mushroom drawing!
Having a little fairy or maybe a cute frog sitting on or around the mushroom would make for such a fun little detail. What else could be using this mushroom for a fun day out?
Two mushrooms are better than one, and it doesn’t even have to stop there! Now that you know how to create a mushroom sketch, you could add a few more to go with this one we have created.
You could make a whole field of mushrooms if you wanted to create a stunning scene!
Mushrooms can also come in many different variations, so you could really get creative with the shapes and patterns each mushroom has.
Smaller details can really bring a picture to life, and the same is true for your drawing of a mushroom!
You could add small details such as moss, plants and other natural elements on and around the mushroom.
Also, adding smaller lines throughout the structure of the mushroom can make it look more textured, and that will help it to look even more dynamic.
Another idea would be to add some little insects and other tiny creatures on the mushroom’s surface!
When it comes to colors, you have so many different options that you can choose from.
In the guide, we mentioned how you could either go for a bright and bold approach or keep things more subtle and muted.
In addition to changing up your mediums and colors, you could even paint some glue around the base of the mushroom and put some dirt from your yard on it.
That is one way to really give the colors some actual texture. Just make sure to not make a mess!
Your Mushroom Drawing is Complete!
Your mushroom is fully drawn and beautifully colored in, and that means that you have reached the end of our guide on how to draw a mushroom!
We really hope that working through this guide was a lot of fun for you to use, and we also hope that it helped to make drawing a mushroom easy for you to do as well.
Now it’s up to you to show us how creative you can be with your drawing, and you could do this with anything from the colors and mediums you use to some amazing background elements.
The only limit is your imagination, and we’re sure to see some incredible creativity on display!
There is much more drawing fun in store for you on our website, as we not only have plenty of guides already uploaded for you but will also be bringing out many more constantly.
We would love to see your incredible mushroom drawing once it’s done, so we hope that you will share it on our Facebook and Pinterest pages for us to enjoy!
Here Is An Easy Mushroom Drawing To Inspire You!

Mushrooms are very strange looking things, but they do make any area they’re in more interesting to look at. People love to draw and paint mushrooms because of how strange and cool they look.
If you would like to portray one, then our artist Amanda has created an easy mushroom drawing for kids to help you.
This picture will help you with your own drawing, as it shows you one of the ways you can complete your artwork.
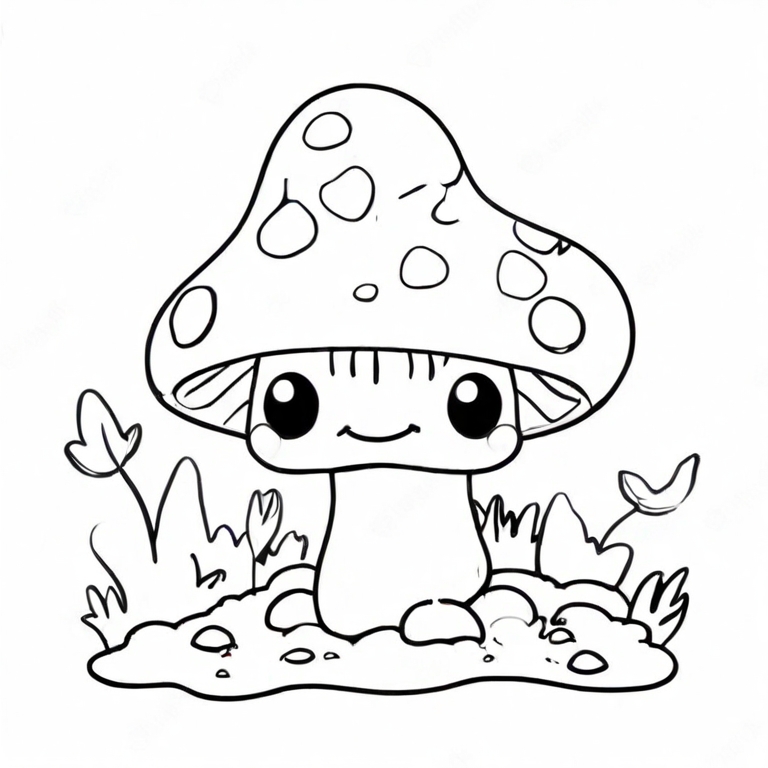
The mushroom has plenty of details on it, including some spots and texture details. There is also a cute face on the mushroom to give it some more personality.
There is also a background with a base for the mushroom that you can extend and add to as you wish. With so many options available, you can really make this mushroom look amazing!


