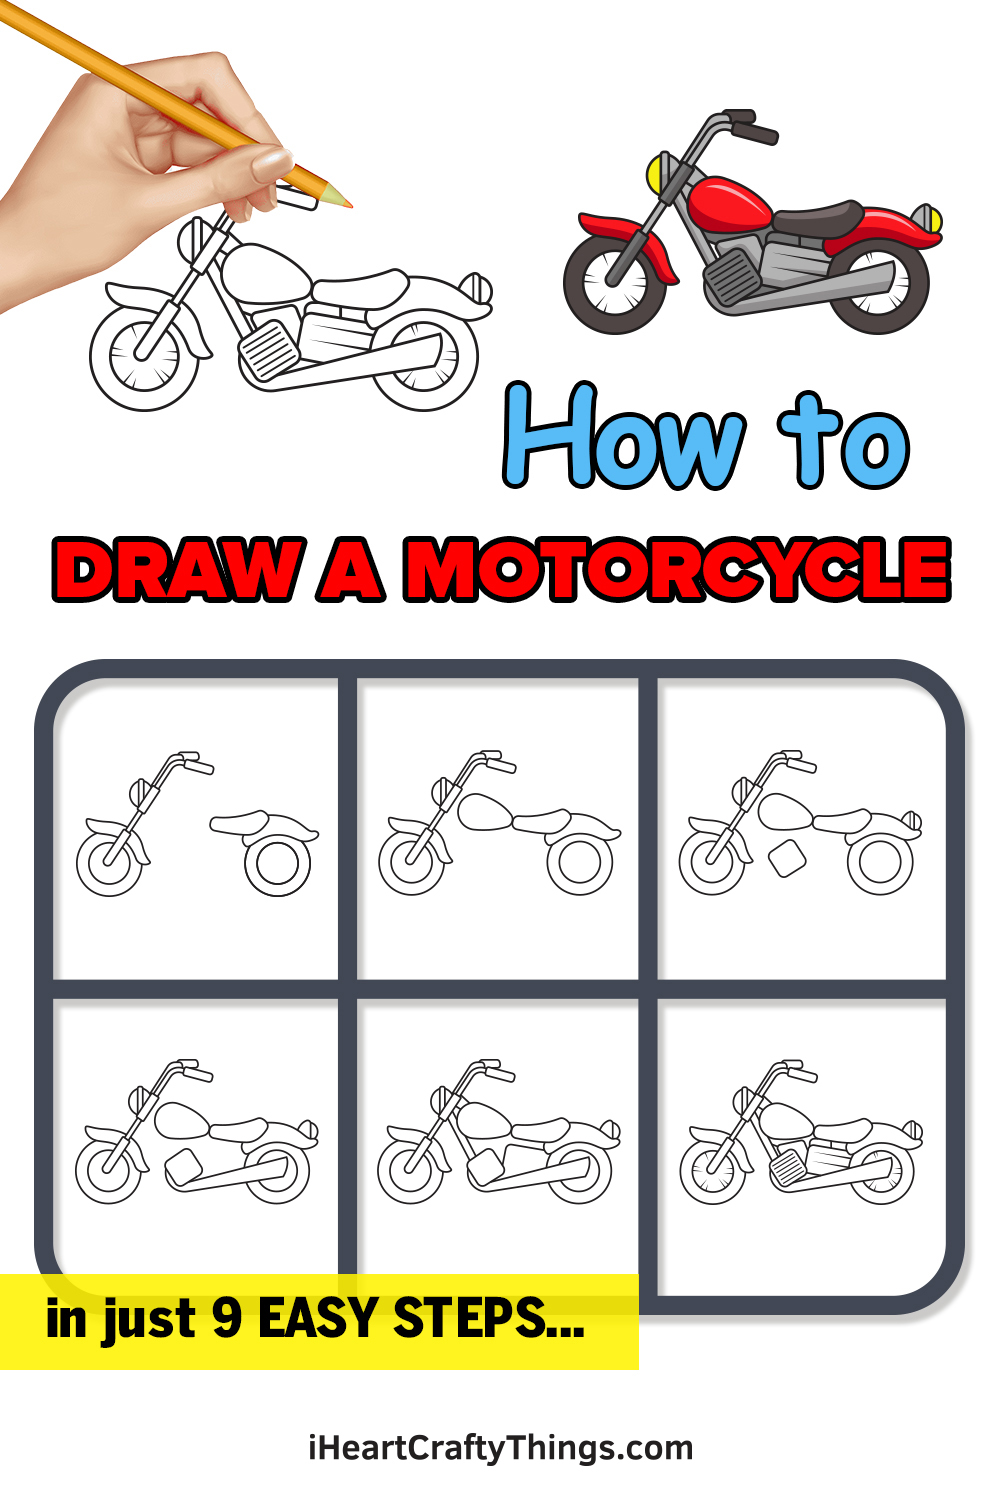
Bike enthusiasts will love this guide on how to draw a motorcycle for kids! It will be fun and easy for anyone to work though these steps to make their ideal motorcycle.
Motorcycles come in all shapes, sizes and capabilities. Everyone who loves them has their favorite, and everyone dreams of the motorcycle they would love to have for themselves.
Not everyone gets to live out the dream of owning their ideal bike, but drawing it can be the next best thing! By the end of this guide, you will be able to recreate a simple motorcycle design.
Once you have the hang of it, you can then take it even further and change a few details in order to show off your perfect dream bike. You could even draw a background to show where you would like to ride such a bike.
It’s all just a few steps away, so let’s begin!
Watch And Learn How To Make Your Bike Drawing
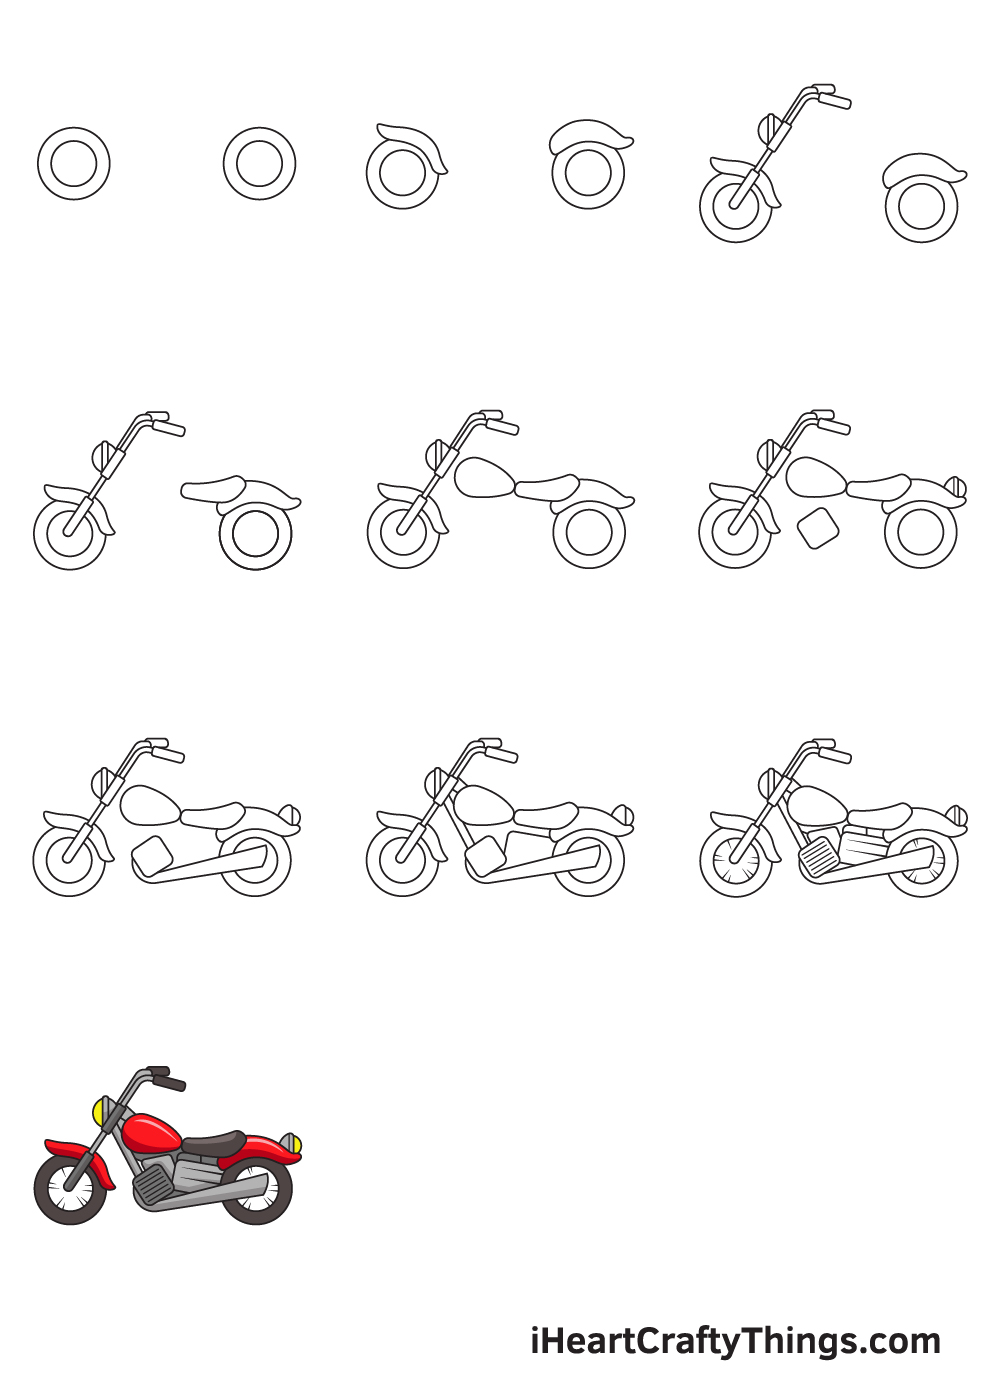
How to Draw a Motorcycle – Let’s get started!
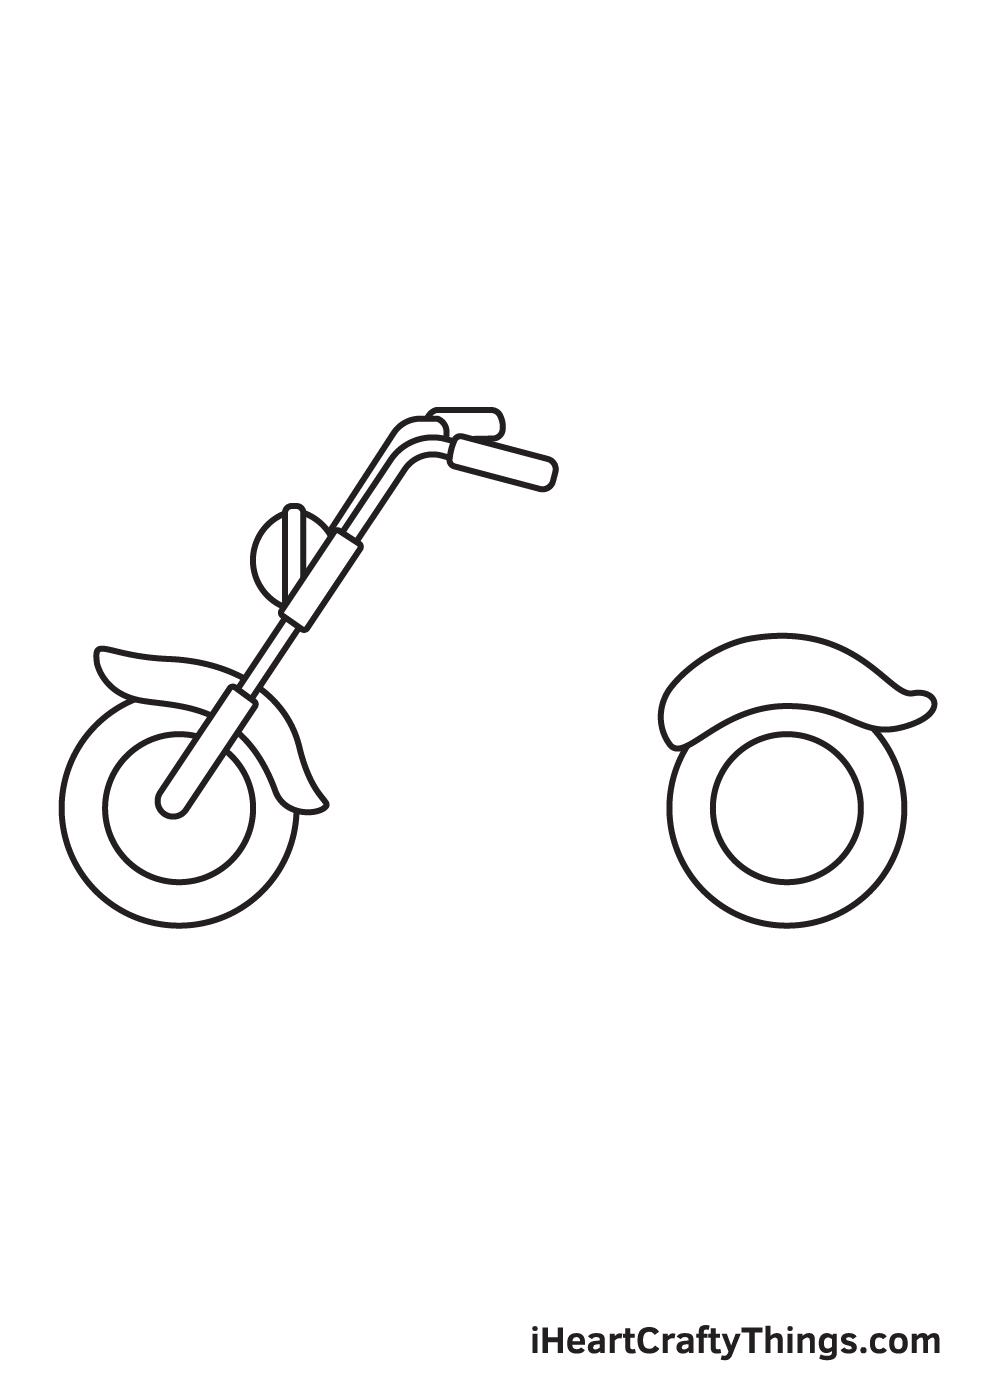
Step 1
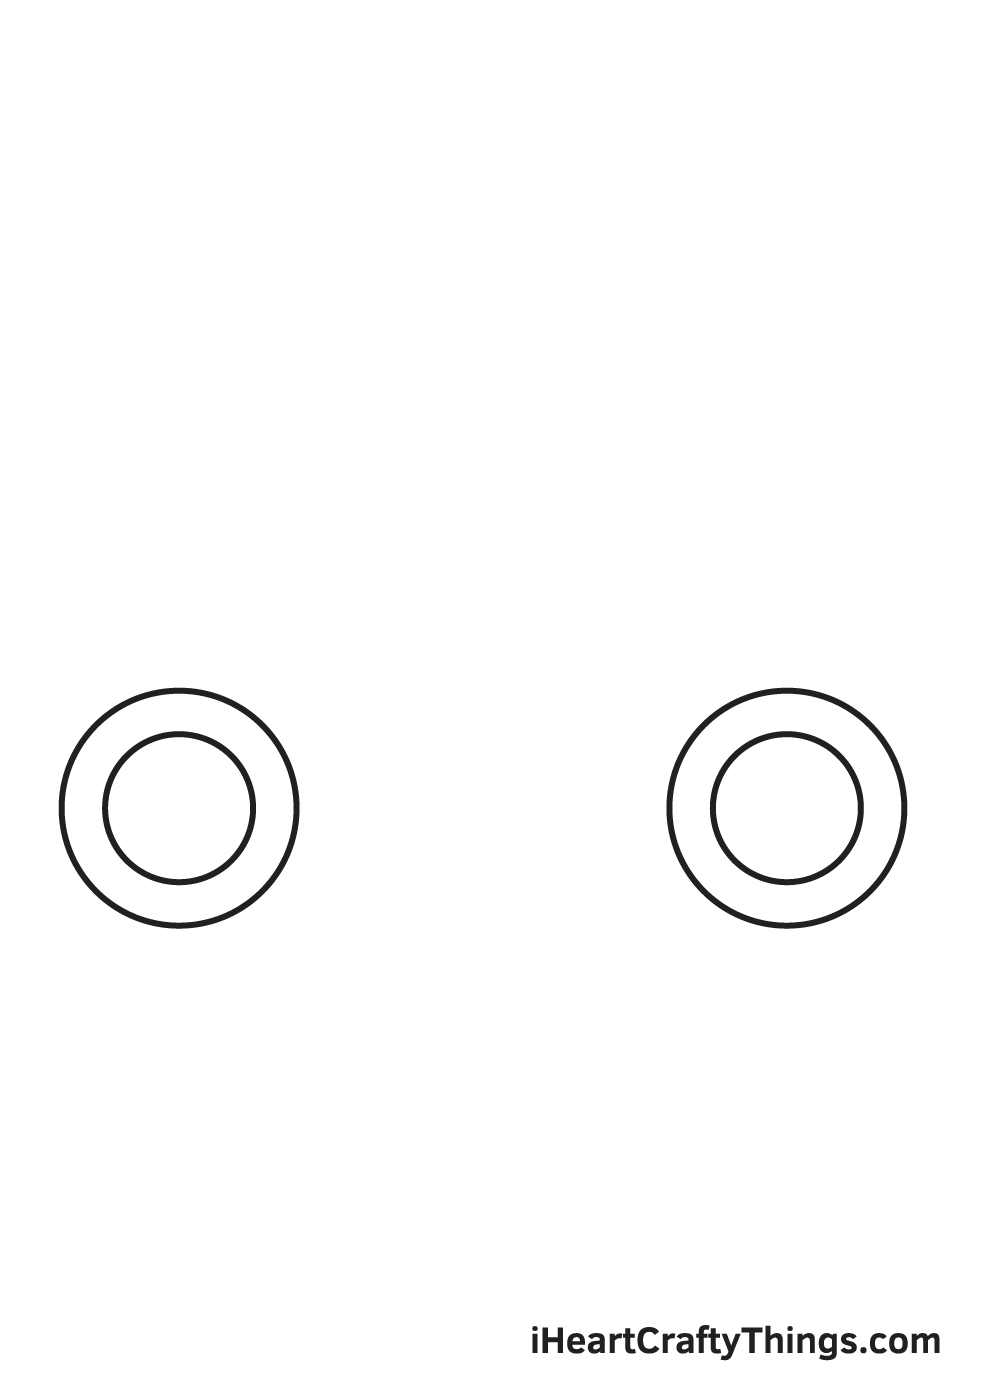
Draw two circles with another smaller circle inside right below the middle of your paper. This forms the front and the rear wheel of the motorcycle.
Make sure that the wheels will be drawn in the correct spot by creating reference lines.
Draw an intersecting horizontal and vertical line across your paper. The wheels should be drawn right underneath the horizontal line in the middle.
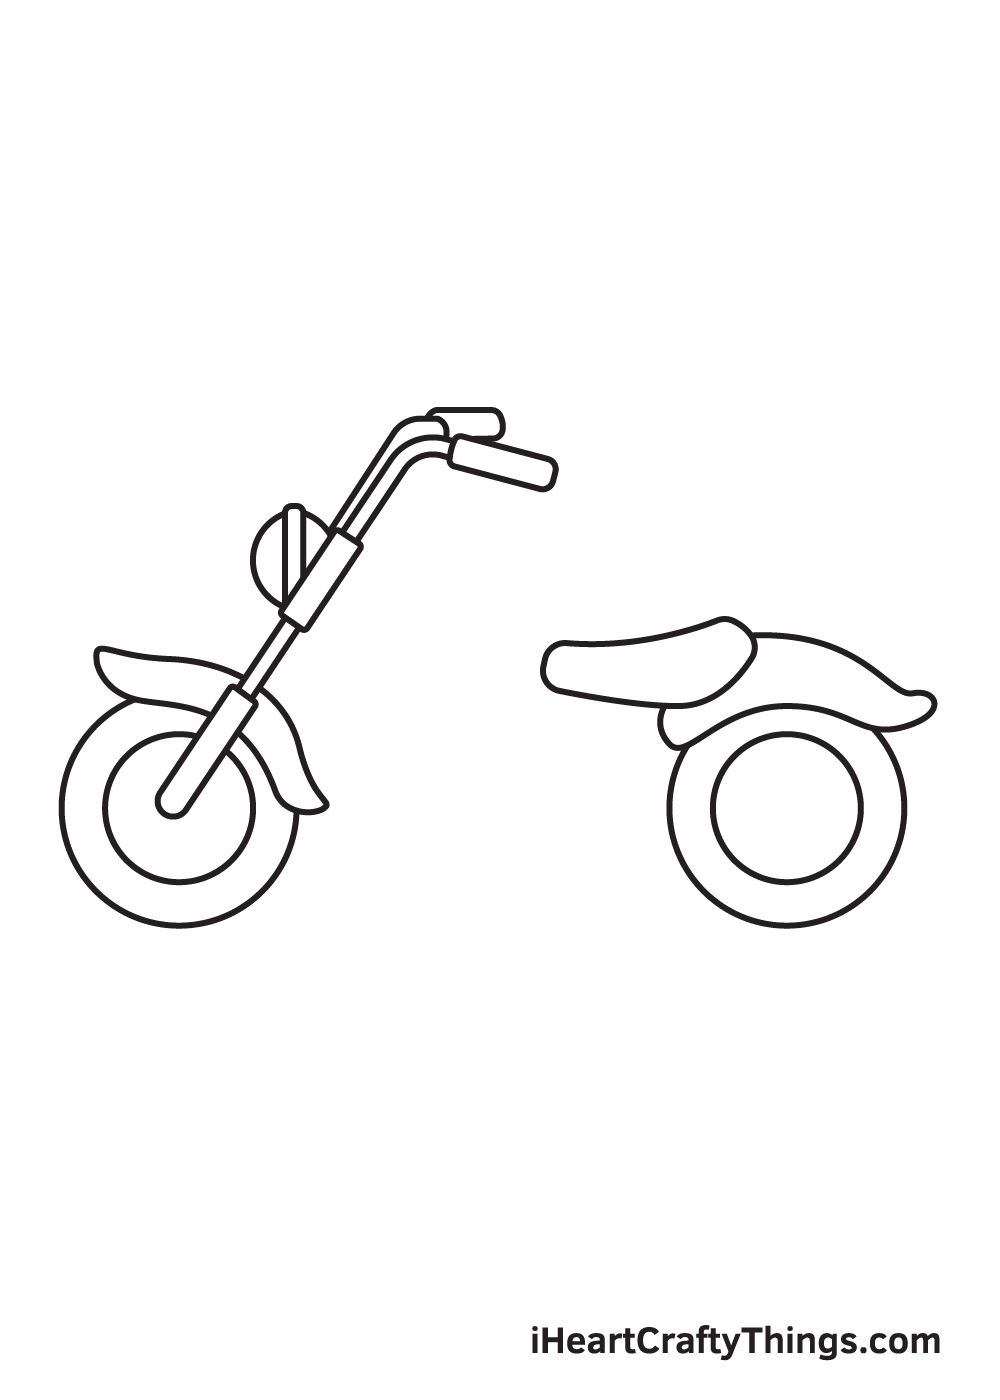
Step 2 – How to Draw the Wheels of the Motorcycle
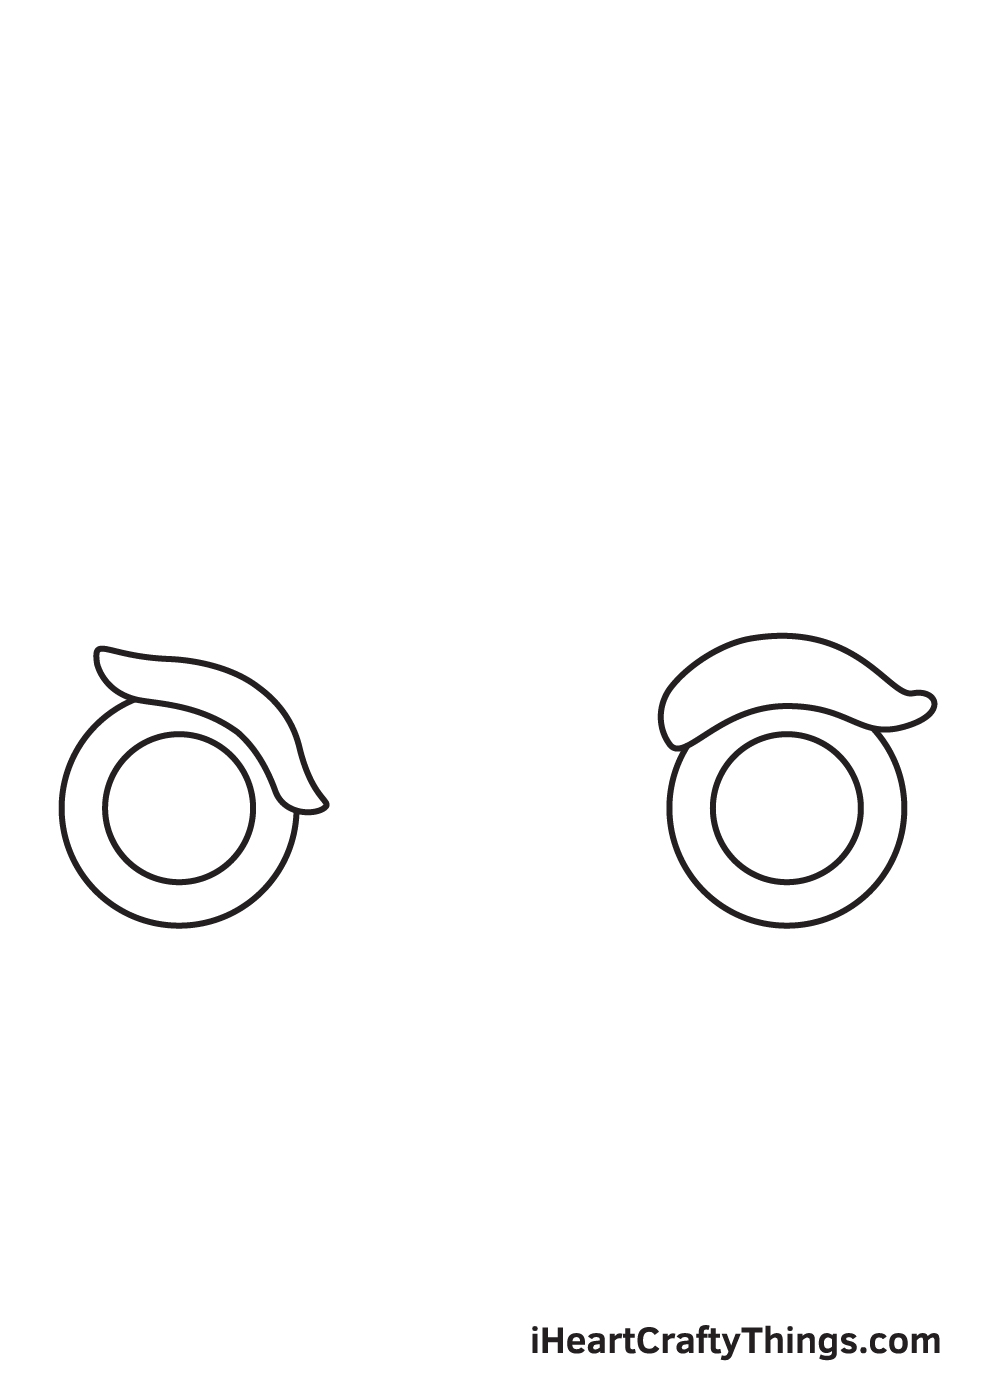
Draw a curved, elongated figure with tapered ends above the upper right side of the front wheel.
Then, draw another figure with a similar shape above the rear wheel. This forms the platforms at the top of both wheels. These two platforms also serve as the hard protective shell covering the wheels.
Step 3 – Next, Draw the Throttle and the Headlight
Draw a slightly diagonal shaft directly connected to the front wheel. Make sure to add a bigger line figure at the bottom, in the middle, and at the top of the shaft. This creates the coverings as well as the handles of the motorcycle.
Afterwards, draw a semicircle on the right side in the middle of the shaft we drew just now.
This forms the headlight in the front of the motorcycle. Then, draw two parallel diagonal lines across the headlight.
Step 4 – Afterwards, Draw the Motorcycle’s Seat
Draw a curved figure attached to the platform right above the rear wheel.
This creates the motorcycle’s seat, which is where riders sit on when driving the motorcycle.
Step 5 – Then, Draw the Gas Tank of the Motorcycle
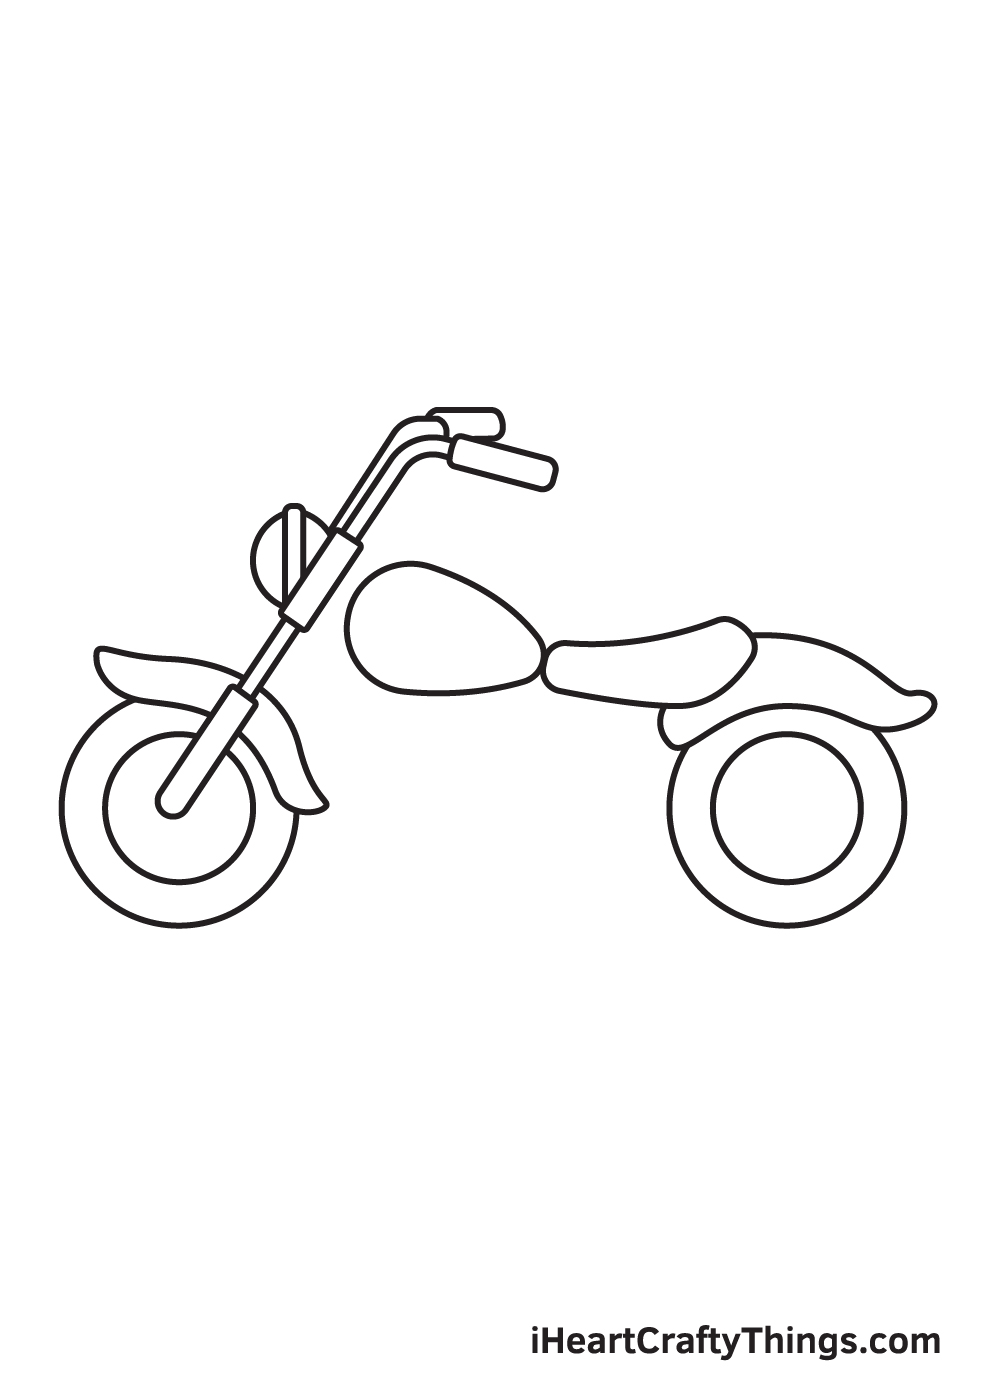
Draw a sideways irregular oval shape right next to the motorcycle’s seat. This forms the gas tank of the motorcycle, where the gas is stored.
Make sure that the left side of the figure is wider and more rounded while its right side should be more narrow and tapered.
Step 6 – Now, Draw the Oil Tank and the Tail Light
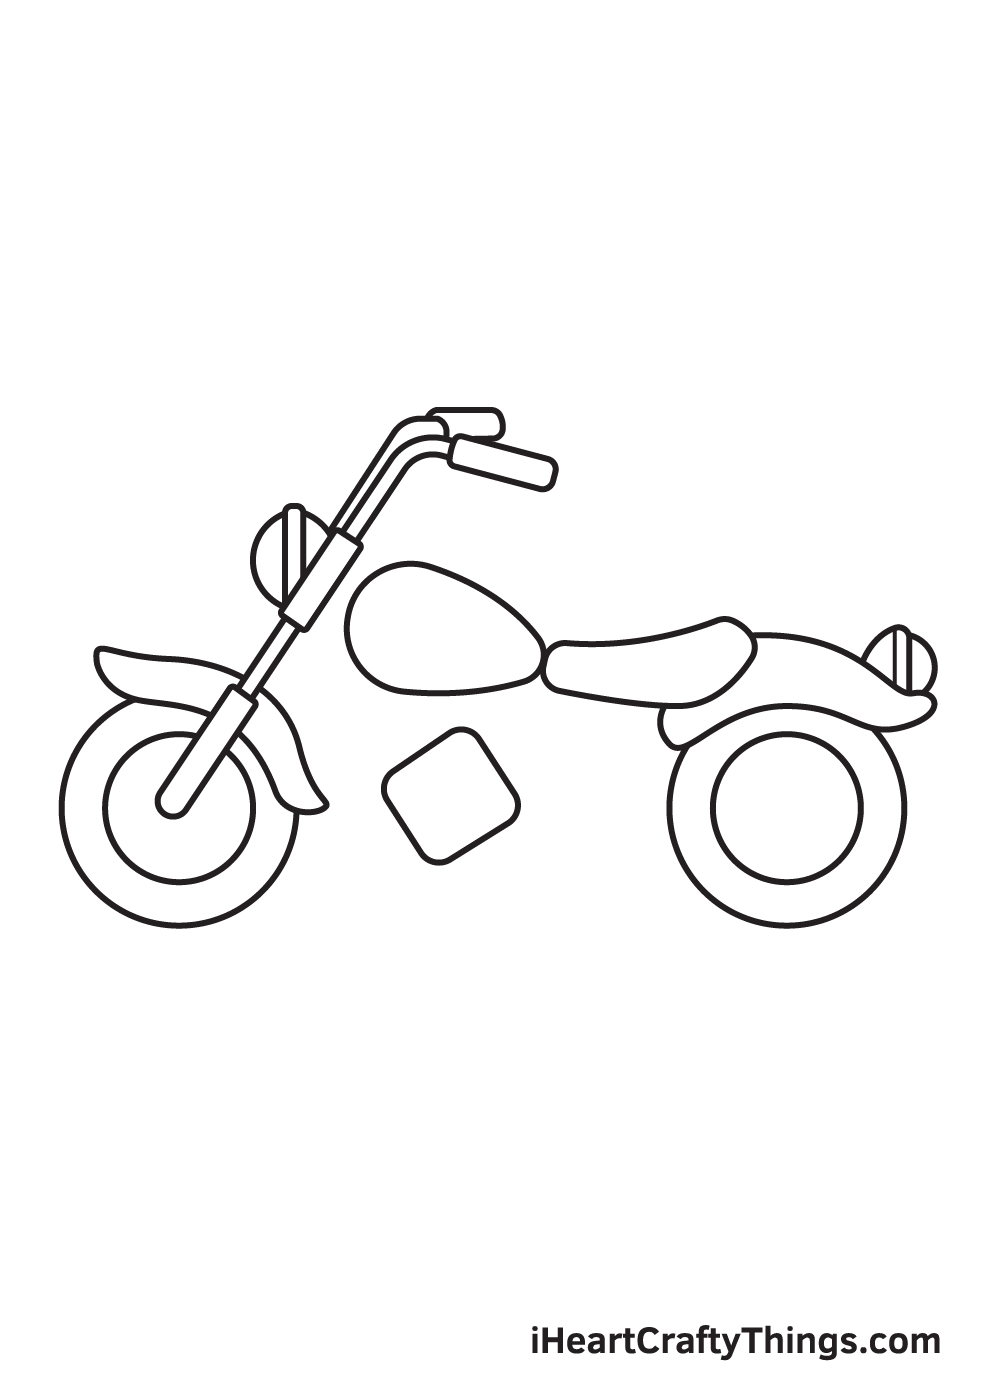
Draw a tilted cube figure with curved edges right underneath the gas tank. This forms the oil tank of the motorcycle.
For the tail light, simply draw a semicircle with two lines in the middle attached to the platform above the rear wheel. This creates the tail light of the motorcycle.
Step 7 – Next, Draw the Muffler of the Motorcycle

Draw a sideways elongated cone figure directly connected to the oil tank, which we drew in the previous step. This creates the muffler of the motorcycle.
Keep in mind that the muffler should begin from the oil tank and extend all the way to the rear wheel of the motorcycle, as shown in the illustration above.
Step 8 – Afterwards, Draw the Body of the Motorcycle
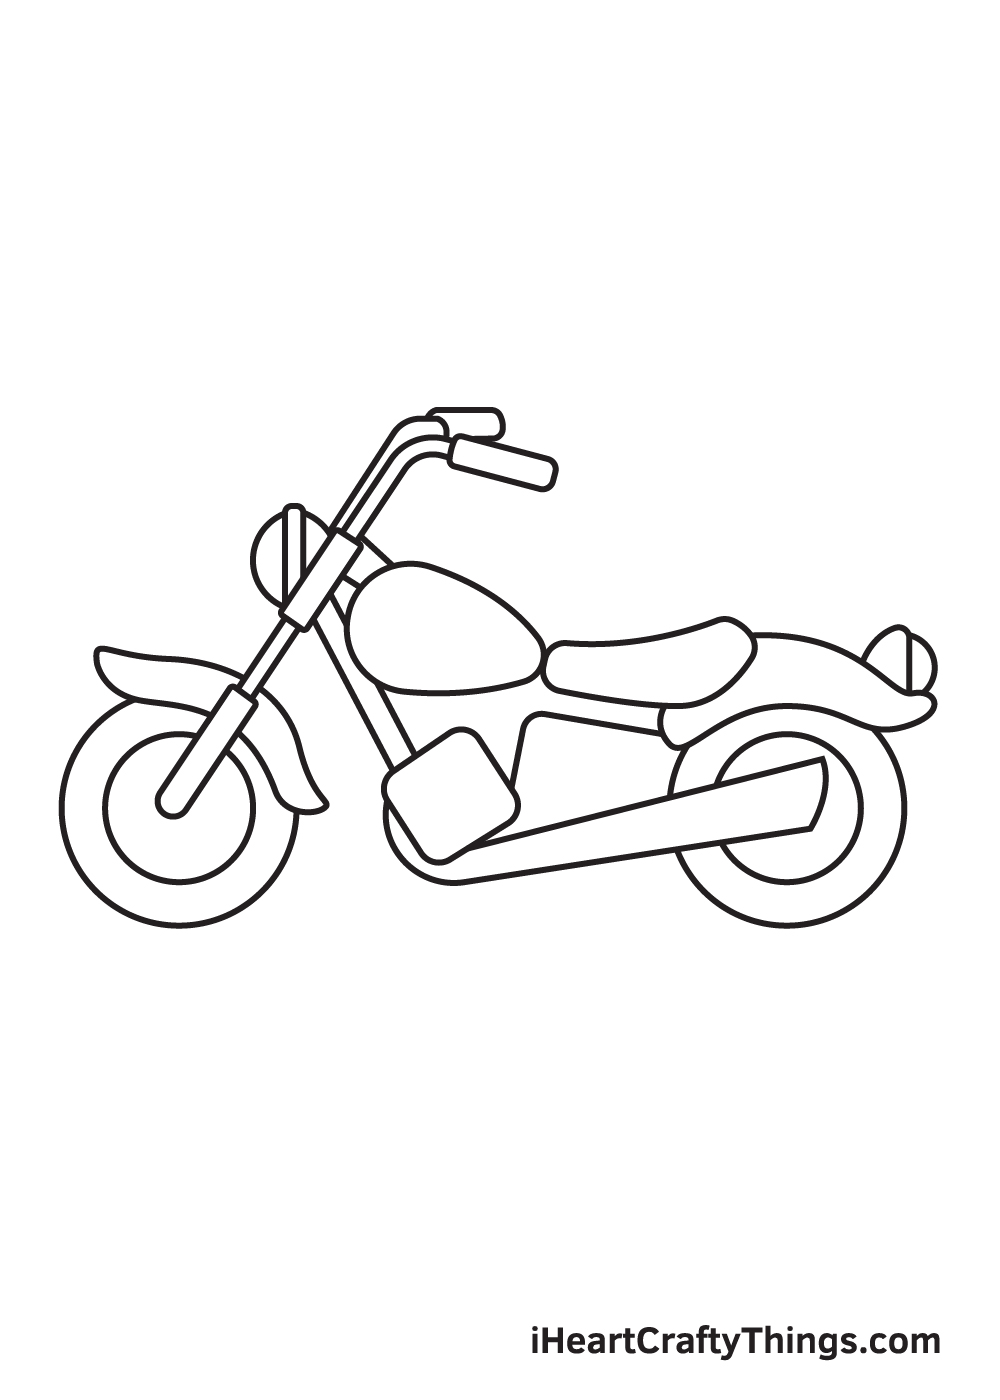
Draw two parallel lines connecting the shaft of the motorcycle and the oil tank at the bottom.
Then, draw an angled line connecting the oil tank and the platform above the rear wheel. This structures the body that supports all parts of the motorcycle.
As you can see in the illustration, the motorcycle is nearly complete! Now, all it’s missing are some details and patterns to complete the drawing!
Step 9 – Add Details and Patterns on the Motorcycle
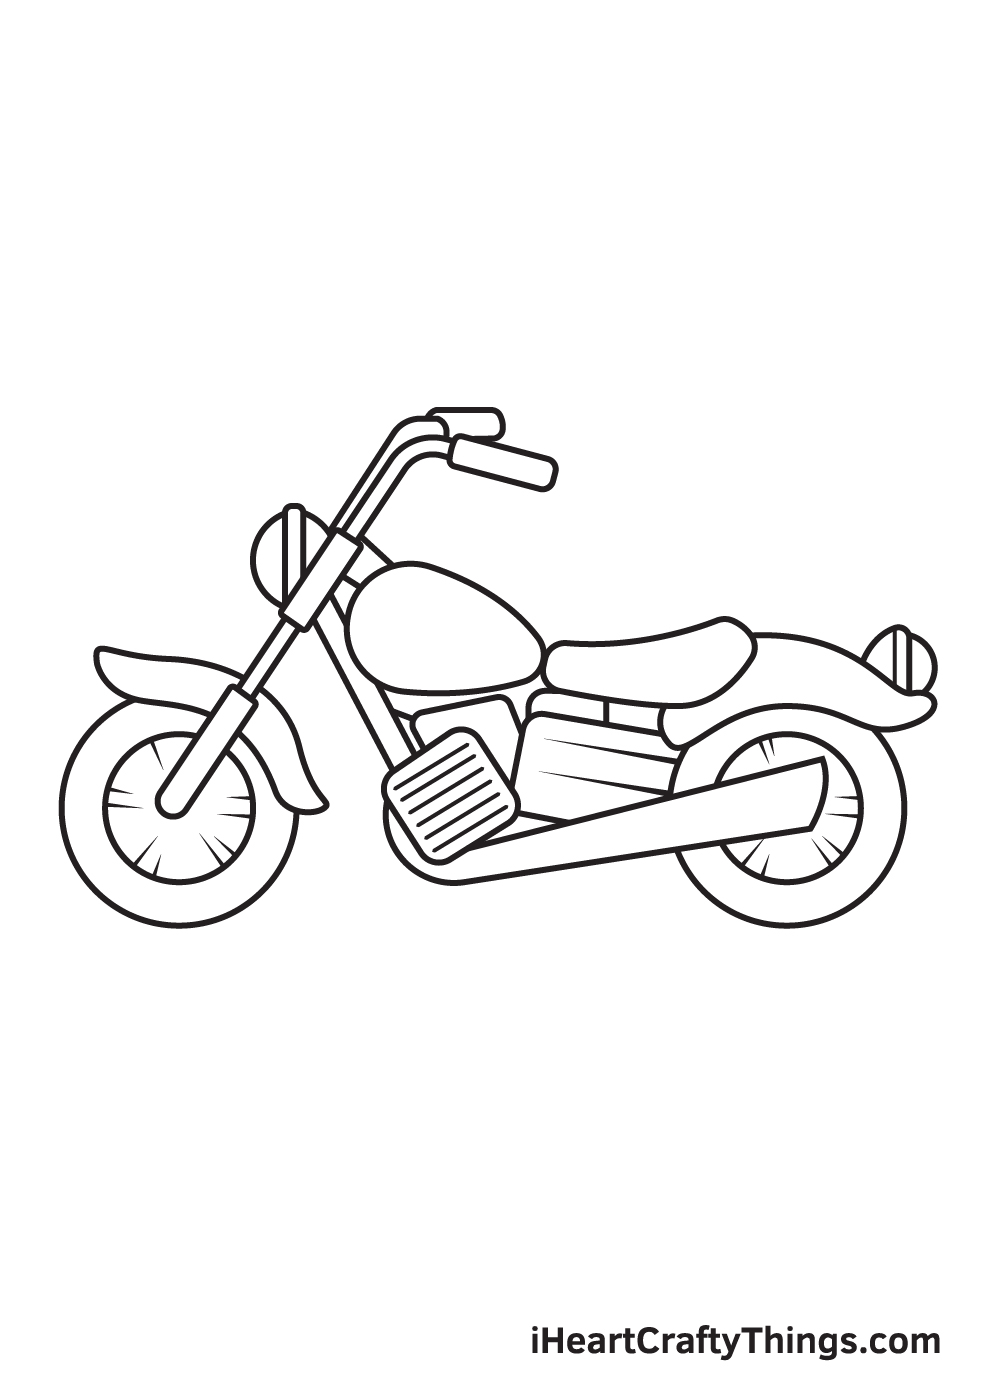
Add multiple short lines around the rim of both wheels. Then, draw parallel diagonal lines on the surface of the oil tank. This adds details and patterns on the motorcycle, making it appear more realistic!
Don’t forget to add a few more partly visible square figures underneath the seat to complete all parts of the motorcycle!
There you have it—you have successfully drawn a motorcycle! Now, it’s finally time to add colors on the motorcycle to make it colorful and even more realistic!
Motorcycles exist in a wide range of colors, which gives you a lot of color options to choose from when coloring the motorcycle!
Feel free to use any colors you prefer. We suggest using more than one color to make the motorcycle stand out more!
Have fun playing with colors and watch as the motorcycle ultimately comes to life!
Do this to take your motorcycle drawing to the next level
Take a ride through these tips that will help you improve your drawing even further!
Drawing a motorcycle is no easy task, and this one we worked on in this guide presented a few challenges that we wanted to help you overcome.
Once you have the hang of this motorcycle sketch, you could change up certain details to create a new style of motorcycle.
Changing details such as the wheels, handlebars, mudguards and other elements can help to drastically change the design. Do you have a favorite motorcycle brand you could recreate?
If you would like to go with our previous suggestion or just make the existing design more detailed, you may want to consider using some kind of reference.
You could either use some photos online or ask someone you may know who owns a real motorcycle.
Using a real reference can help you make drawing the smaller details so much easier! It can also help with making it as realistic as possible.
Next, we would recommend adding a background to this motorcycle drawing. Doing this will allow you to show where you would like to be cruising on this motorcycle.
There are so many different places you could draw in the background. Once you have chosen a background setting, you could also add a driver to the motorcycle.
Maybe you could make it look like yourself to make it look as if it is you that is riding it! What background would you like for this picture?
Part of what makes a motorcycle look cool are the colors that are used to decorate it.
We showed you one way that you could color this one in the guide, but you could use any other colors you love to make your own perfect model.
When coloring, you may want to use a few mediums that allow for more precision.
Colored pens, pencils and markers are perfect for coloring smaller spaces and details, and so they would be perfect for details like the mirrors, wheels and handlebars.
Your Motorcycle Drawing is Complete!
We hope you had fun drawing a motorcycle with this step-by-step drawing tutorial.
Now that you can draw a motorcycle, drawing a character riding a motorcycle sounds like a great idea for your next drawing activity! Check out our tutorials on how to draw a boy or a girl to make it happen!
A motorcycle has intricate features and patterns, so being able to draw one is a great achievement!
Make sure to take a photo of your masterpiece and share it on our Facebook page and on Pinterest. You’ve worked so hard for it, so it’s definitely worth sharing!
We’re excited to see your cool motorcycle drawing!
Here Is A Motorcycle Drawing To Inspire You!
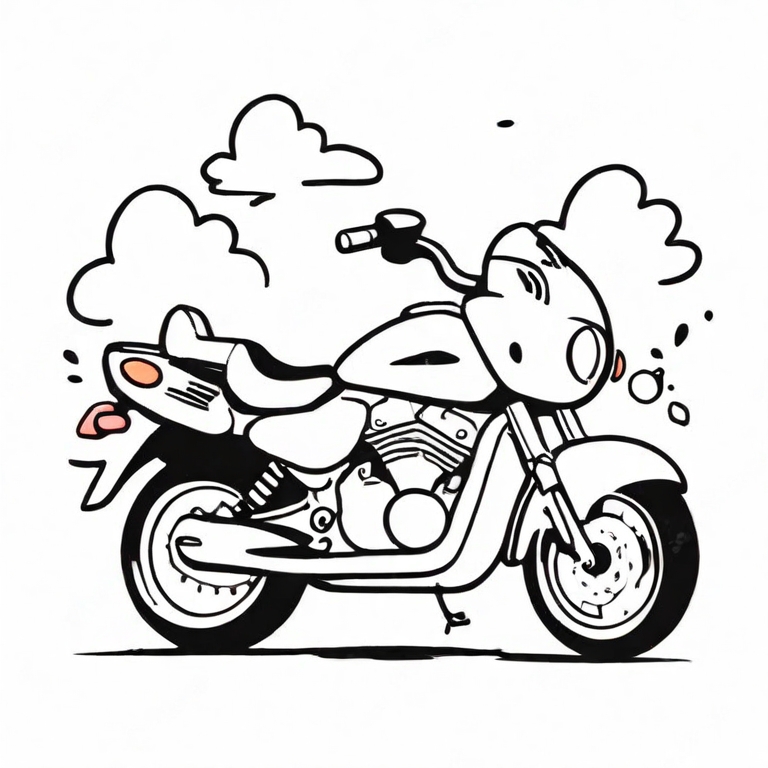
Motorcycles represent a form of freedom that allows you to go almost anywhere you want. That’s part why they’re so popular, and many people consider themselves to be motorcycle enthusiasts.
If you have ever wanted to create your very own motorcycle design, then this motorcycle drawing for kids will be the perfect inspiration. It was designed by our artist Amanda to help you as you draw.
She did an amazing job with the details, as they allow you to clearly see all of the components that make up a motorcycle. These can work as a basic guideline that can help get you started.
You can also change a few of the details if there is a specific brand of motorcycle you would like to portray. It would be great to see how you finish off this awesome design!