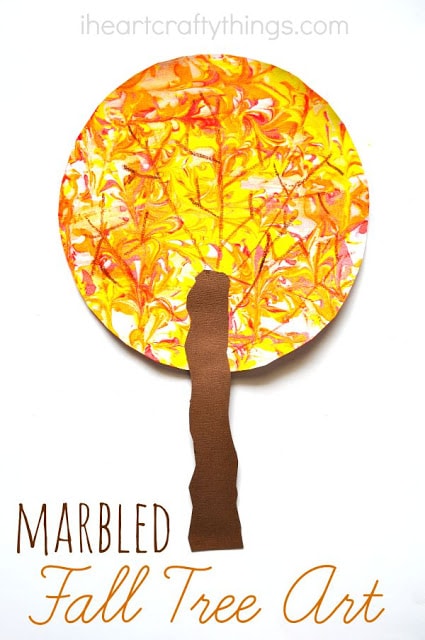
One of my kids’ favorite painting techniques is marbled shaving cream painting. Have you tried it before? Today we got crafty and made this beautiful Marbled Fall Tree Craft for Kids. The marbled look and the beautiful fall colors make it absolutely stunning! This is a project that can be completed by all different age groups. In fact, the one I’m sharing today was made entirely by 10 year old. My preschooler was also able to make the craft with a little assistance.

This post contains affiliate links for your convenience. Read our Disclosure Policy for more information.
Supplies you will need:
- white and brown cardstock paper
- shaving cream
- red, orange and yellow acrylic paint
- shallow container
- toothpick
- squeegee
- brown crayon
- scissors
- glue
Directions:
1. Cut a white circle
Start by cutting a circle out of your white cardstock paper. We traced a bowl onto our paper for the circle and then cut it out.
2. Fill the bottom of container with shaving cream and make it as smooth
Fill the bottom of your shallow container with shaving cream. Use your rubber spatula to spread it out evenly across the bottom of the container and make it as smooth as you can.
3. Squirt paints onto shaving cream in thin strikes
Squirt your red, yellow and orange paint onto your shaving cream in long thin streaks. We put the paint in various directions. Use your toothpick to make lines horizontal, vertical and diagonal along the paint to make a marbled design in your paint.
4. Press white circle down into shaving cream&paint and make sure paint sticks to it
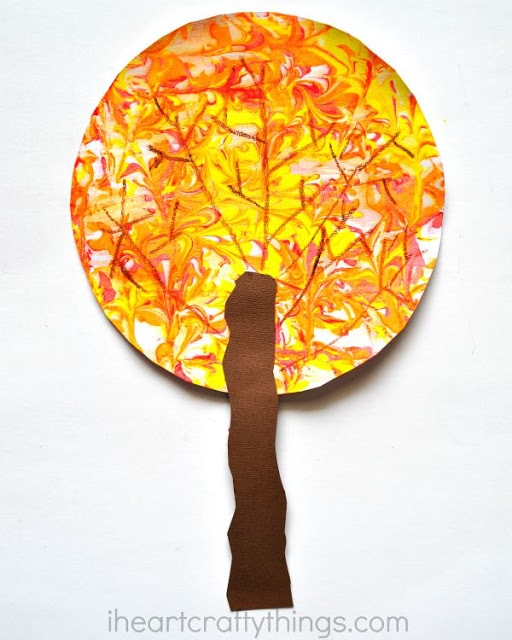
Press your white circle down into the shaving cream and paint and lightly rub all over your paper to make sure the paint sticks to the entire circle. Carefully remove the circle from the container and let it sit for 1-2 minutes. Then use your squeegee to remove the shaving cream and paint from your circle. You are left with a beautiful marbled design on your paper!
5. Cut out trunk and glue onto the tree
Once your marbled circle has dried, cut a trunk out of your brown cardstock paper and glue it onto your tree. Finish your tree by using a brown crayon to draw tree limbs on it.