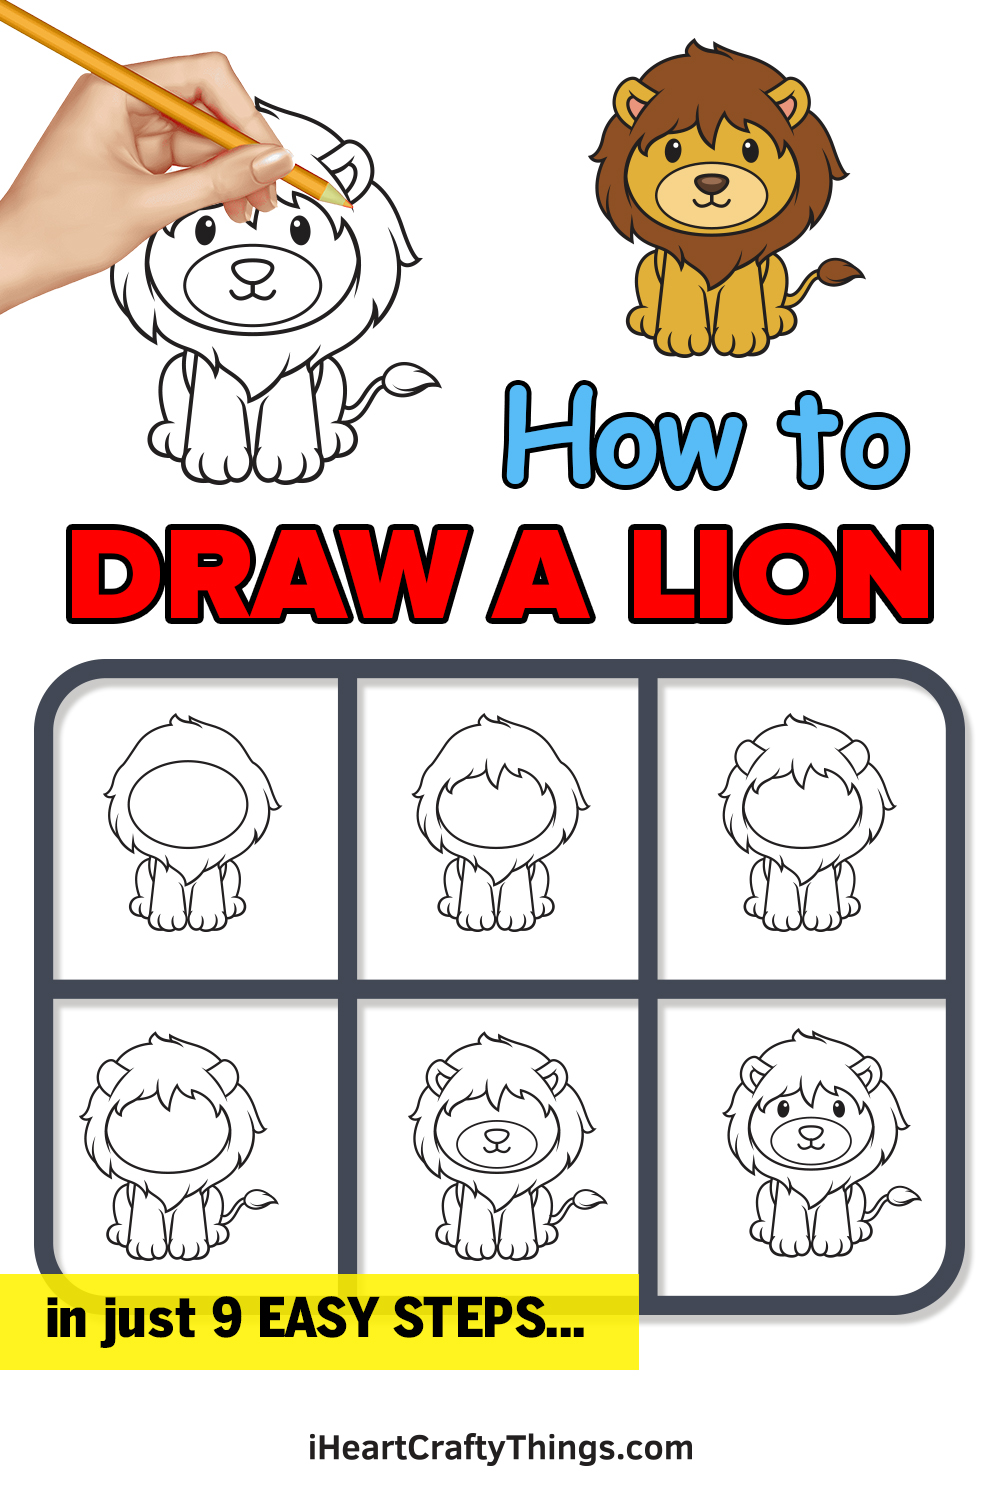
Welcome to this step-by-step guide on how to draw a lion for kids! It’s easier than ever to create your own lion pal when you work through the process we have for you.
They say lions are the king of the jungle, and it’s easy to see why. Lions look really majestic with their manes and they sound intimidating thanks to their mighty roars.
For this guide, I wanted to make it simple to create a cute cartoon lion that you can then customize and add to. You could make a background for the lion or even add other animals for it to interact with.
Before that though, the steps will show you how to draw essential details like the main, paws and feline face of this adorable lion. Take it slowly, follow the steps and see how simple it is when you know what to do.
Let’s stop lion around and begin by taking on the first step!
Watch Along And See The Steps To Make Your Cartoon Lion
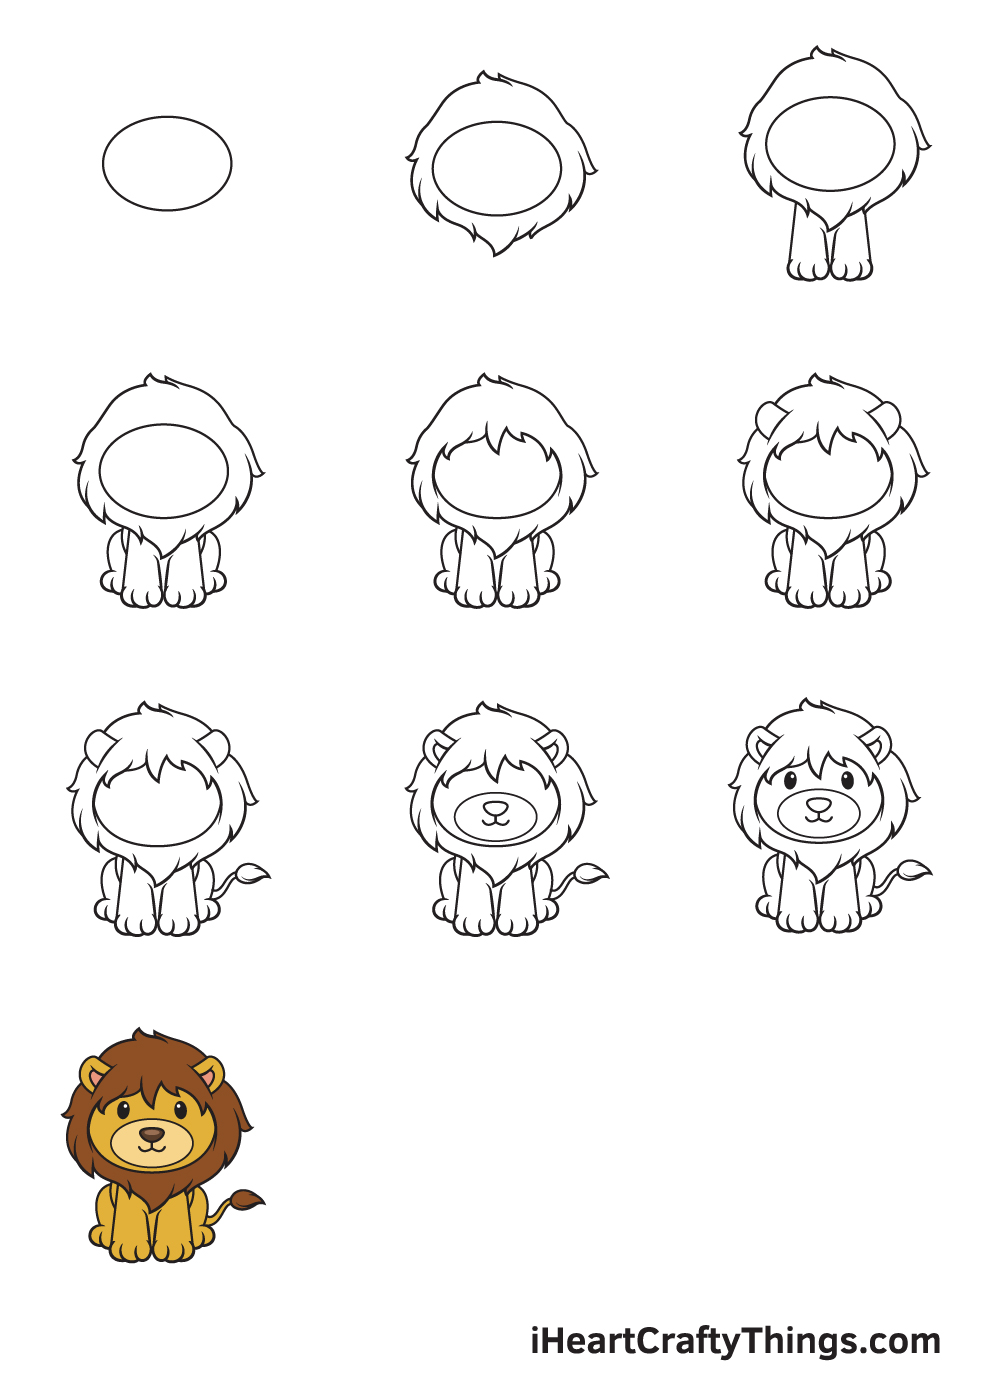
How to Draw a Lion – Let’s get started!
Step 1

Start by drawing a sideways oval shape in the middle of your paper. This creates a rough sketch of the shape of the lion’s head.
Remember, when drawing an outline, draw with a gentle grip and light strokes. Avoid pressing down too hard with your pencil so you can get rid of any overlapping lines later on.
To make sure that the lion will be drawn in the center, you can create reference lines by drawing an intersecting horizontal and vertical line across your paper.
The point where the two lines meet marks the spot where you should draw the oval shape.
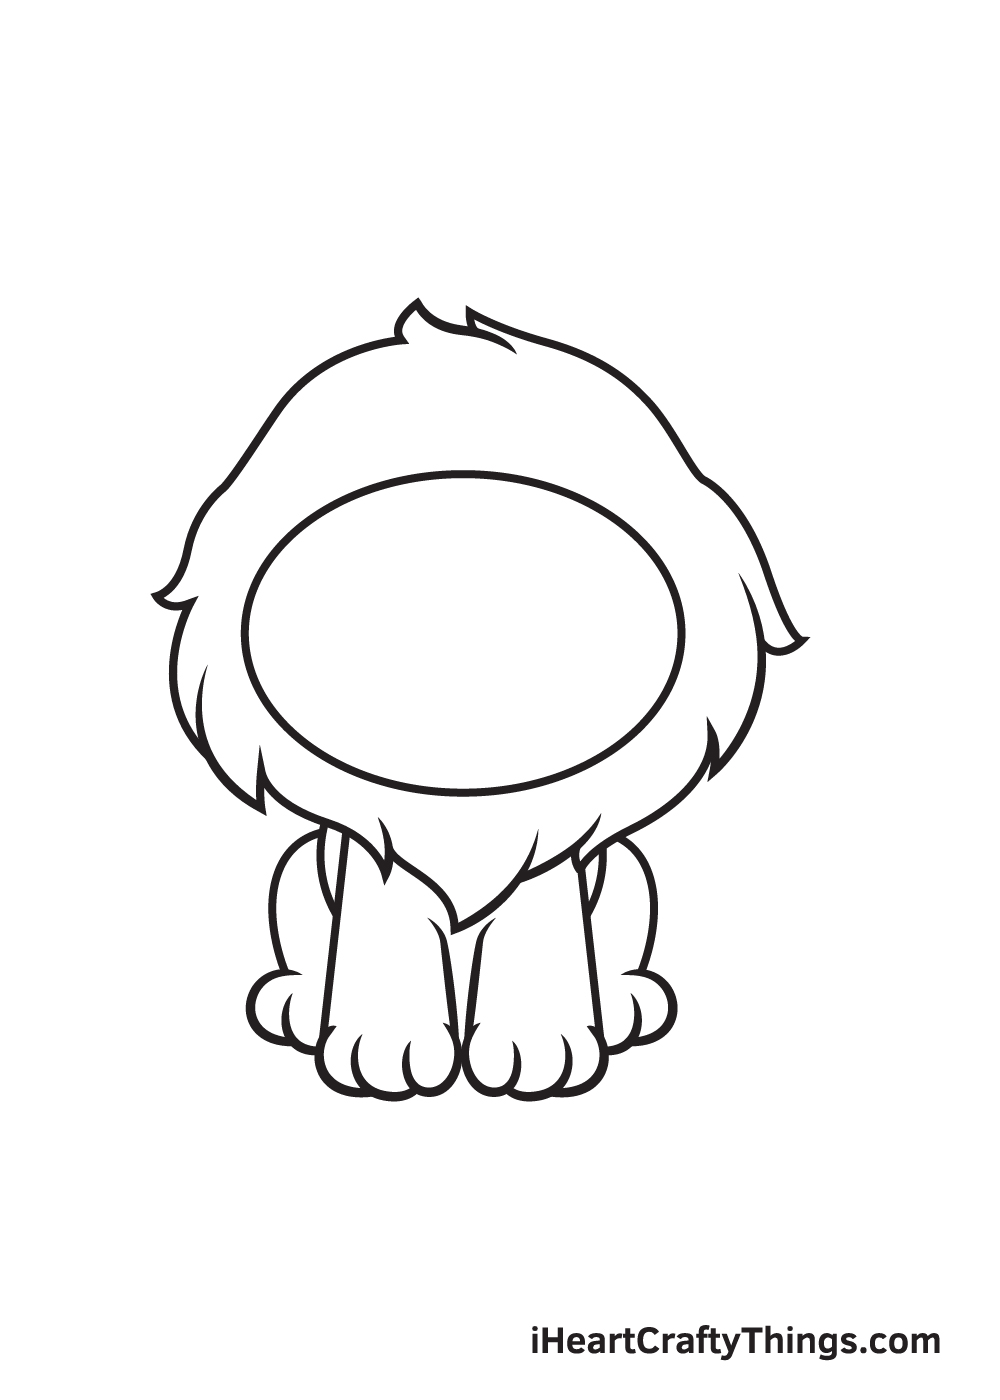
Step 2 – Create an Outline of the Lion’s Head
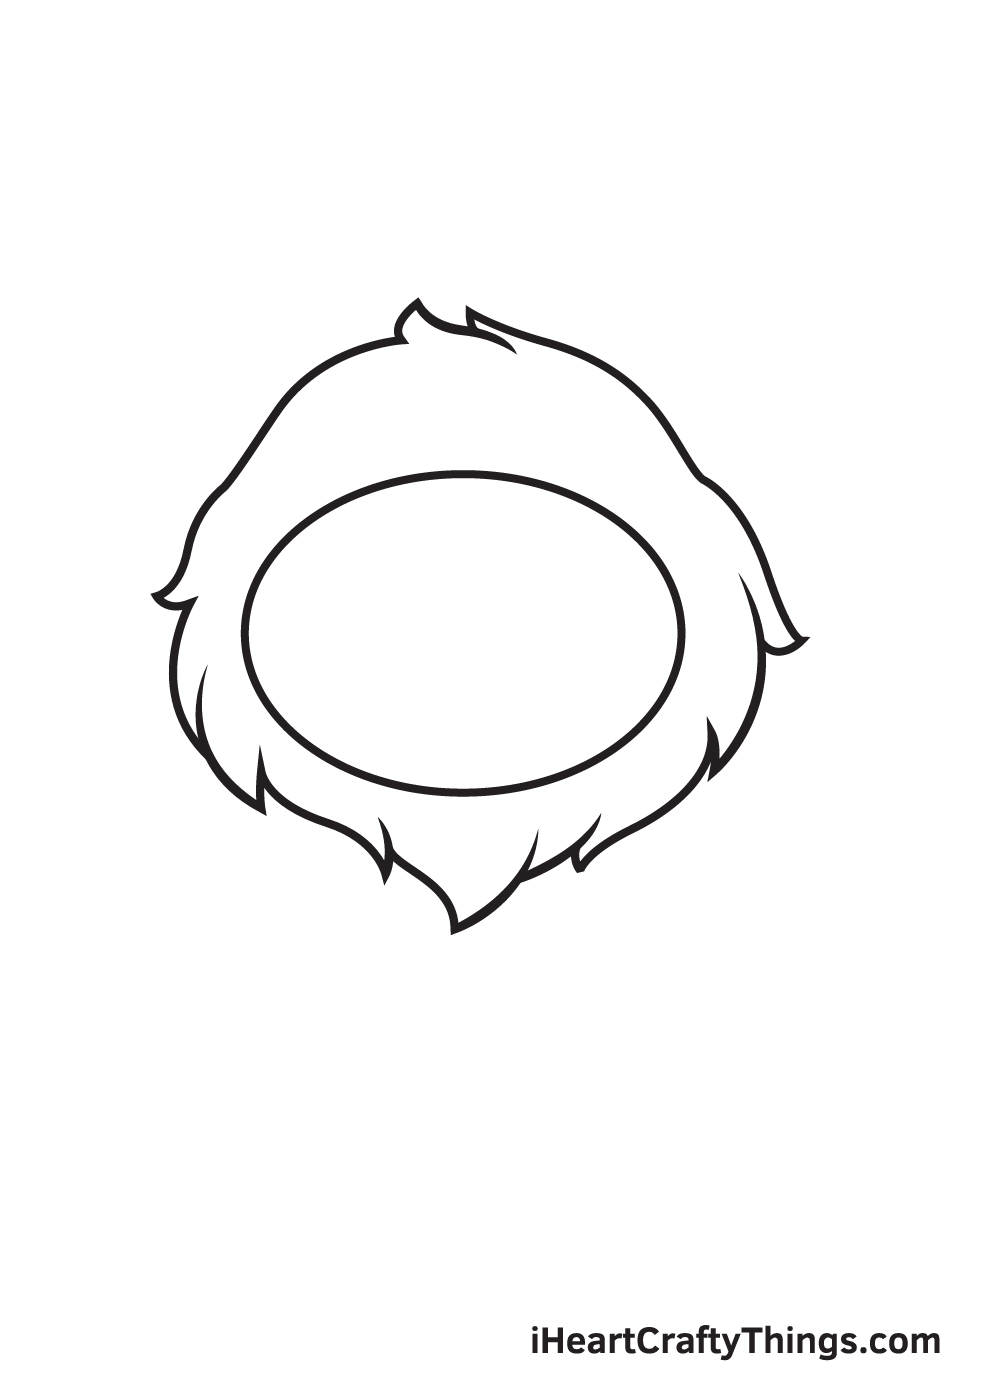
Draw the lion’s mane surrounding the sideways oval shape that we drew in the previous step.
Don’t forget to add clumps of hair to add texture, making the mane look soft and furry—as how it should really be!
After finishing the step, the outline of the lion’s head along with its mane should now be visible.
Step 3 – Next, Draw the Front Legs of the Lion
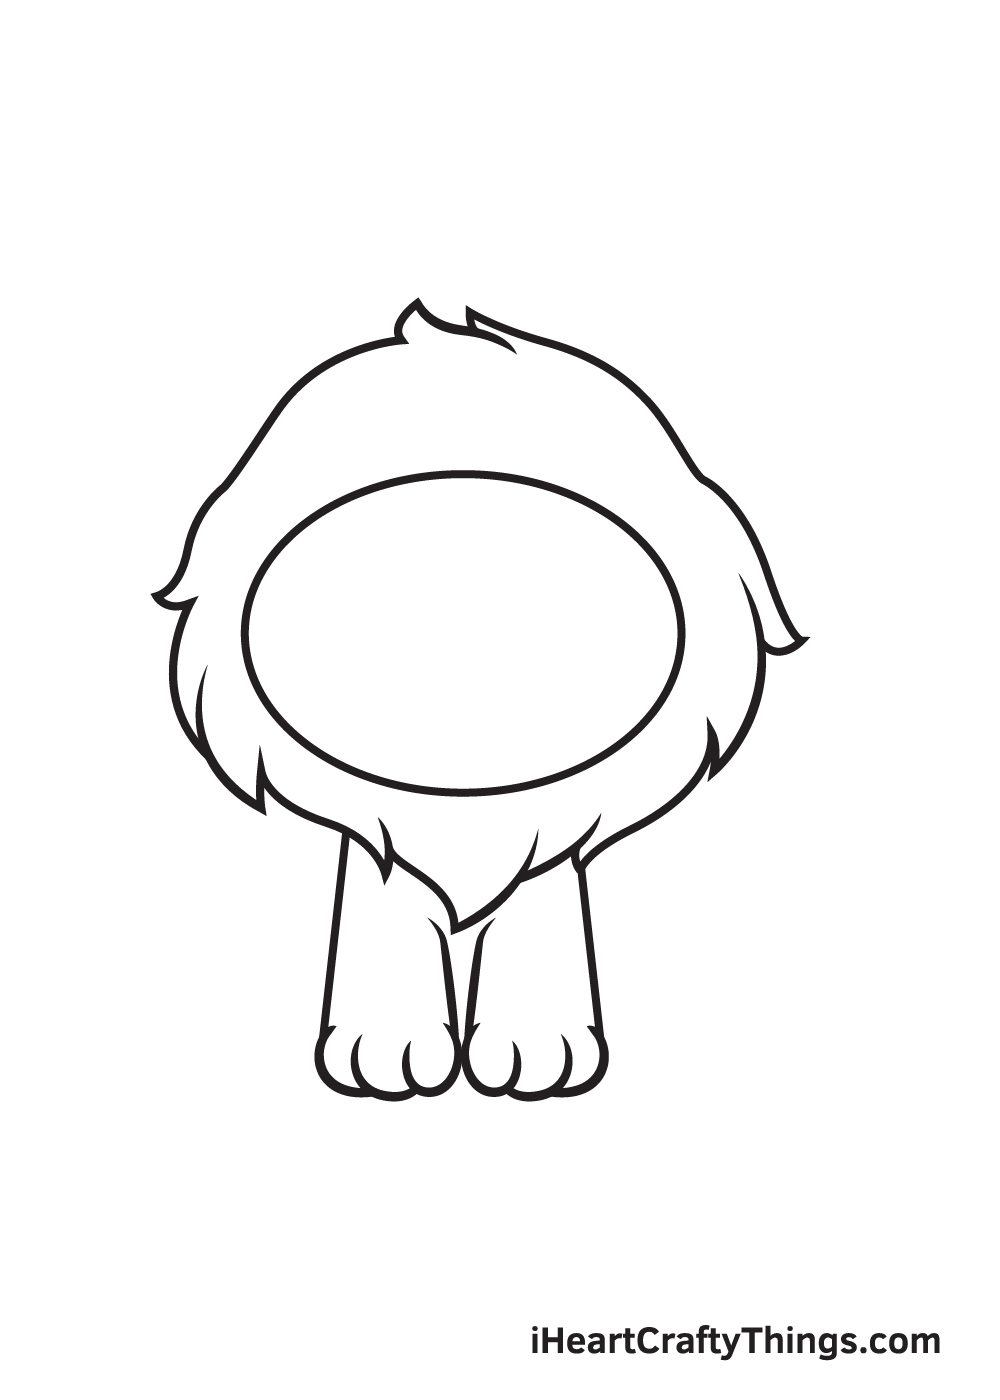
Right underneath the lion’s head, draw two legs side by side with three visible paws at the bottom.
The leg can be structured by simply drawing two parallel vertical lines with three curves alongside each other to create the paws.
Repeat the same step on the opposite side to create the right leg. At this point, both front legs of the lion should be complete.
Step 4 – Afterwards, Draw the Lion’s Hind Legs
On each side of the lion’s lower body, draw an angled curve to form the hind legs. Afterwards, draw a semicircle with another curved line side by side at the bottom of each leg.
This forms the feet of the lion, thus completing its hind legs.
Since the lion is facing straight up, both of its hind legs are only partly visible.
Step 5 – Then, Draw the Mane on the Lion’s Head

Draw multiple connected curvy pointed shapes encompassing the lion’s top of the head. This forms the thick and long mane of the lion.
Make sure to get rid of the outline overlapping within the lion’s mane! This helps keep your drawing neat and tidy.
Step 6 – Now, Draw the Pair of Ears of the Lion
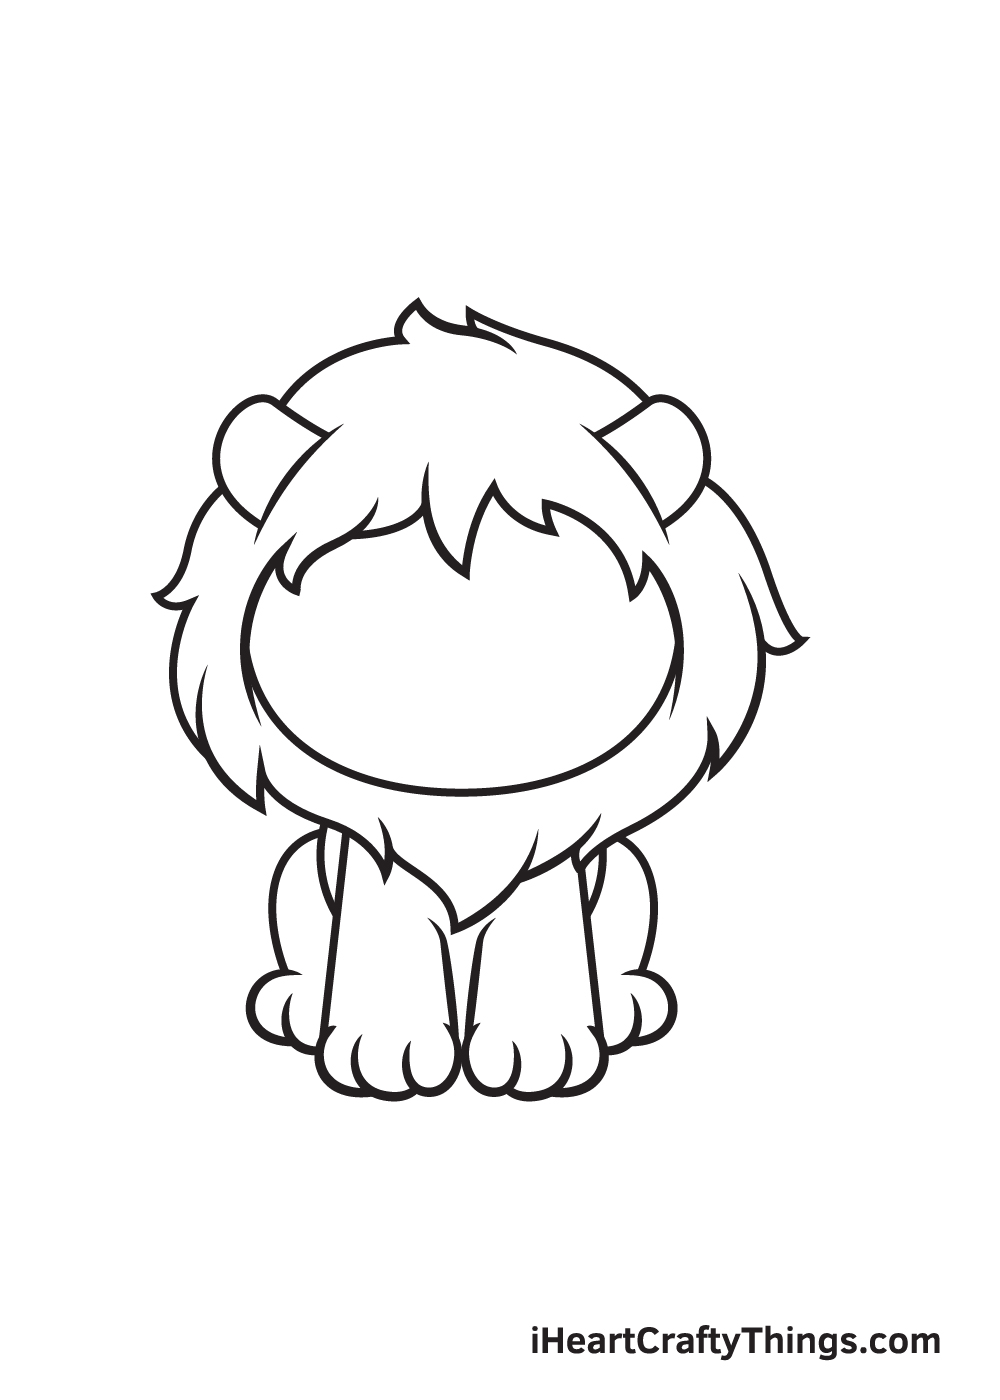
Within the mane of the lion, draw an inverted U-shaped figure on each side at the top of its head.
Afterward, close off the figure by drawing a line on the bottom. This creates the left and right ear of the lion.
The lion’s pair of ears are typically rounded and standing upright, so keep that in mind when drawing the ears of the lion.
Bonus: Create Some Different Facial Expressions For Variety
We’re about to get to the cute facial expression of this drawing in the next step of this guide on how to draw a lion. Before we do, we couldn’t help but see the empty space on the face and see possibilities!
The facial design you are about to add looks great, but it could also be fun to create some facial designs of your own. There are so many possibilities here, and you may want to make a few versions of the drawing to explore them.
One option would be to create a realistic face for the lion, or at least one that is a bit more realistic. You could prepare for this by looking at some photos of real lions.
Then, try to show the details of the face on your picture. You could also make the rest of the lion’s design more realistic to match it.
If you like the cartoon style but want to change it a bit, then you could change the facial expression. Lions can get pretty fearsome, so that could be something you would like to represent.
By easily changing just a few details, you could make the lion look angry, for example. Or his mouth could be open to show him in the middle of a mighty roar.
These simple changes can make your lion drawing look even more unique, and you may be surprised what a big difference it can make. You could also add something simple like a bone sticking out of his mouth.
This would make it look like he’s just eaten, and it would be a fun touch. Now we are interested to see what you choose to show on the face!
Will you stick to the design in the guide or will you create your own facial design?
Step 7 – Afterwards, Add the Tail of the Lion
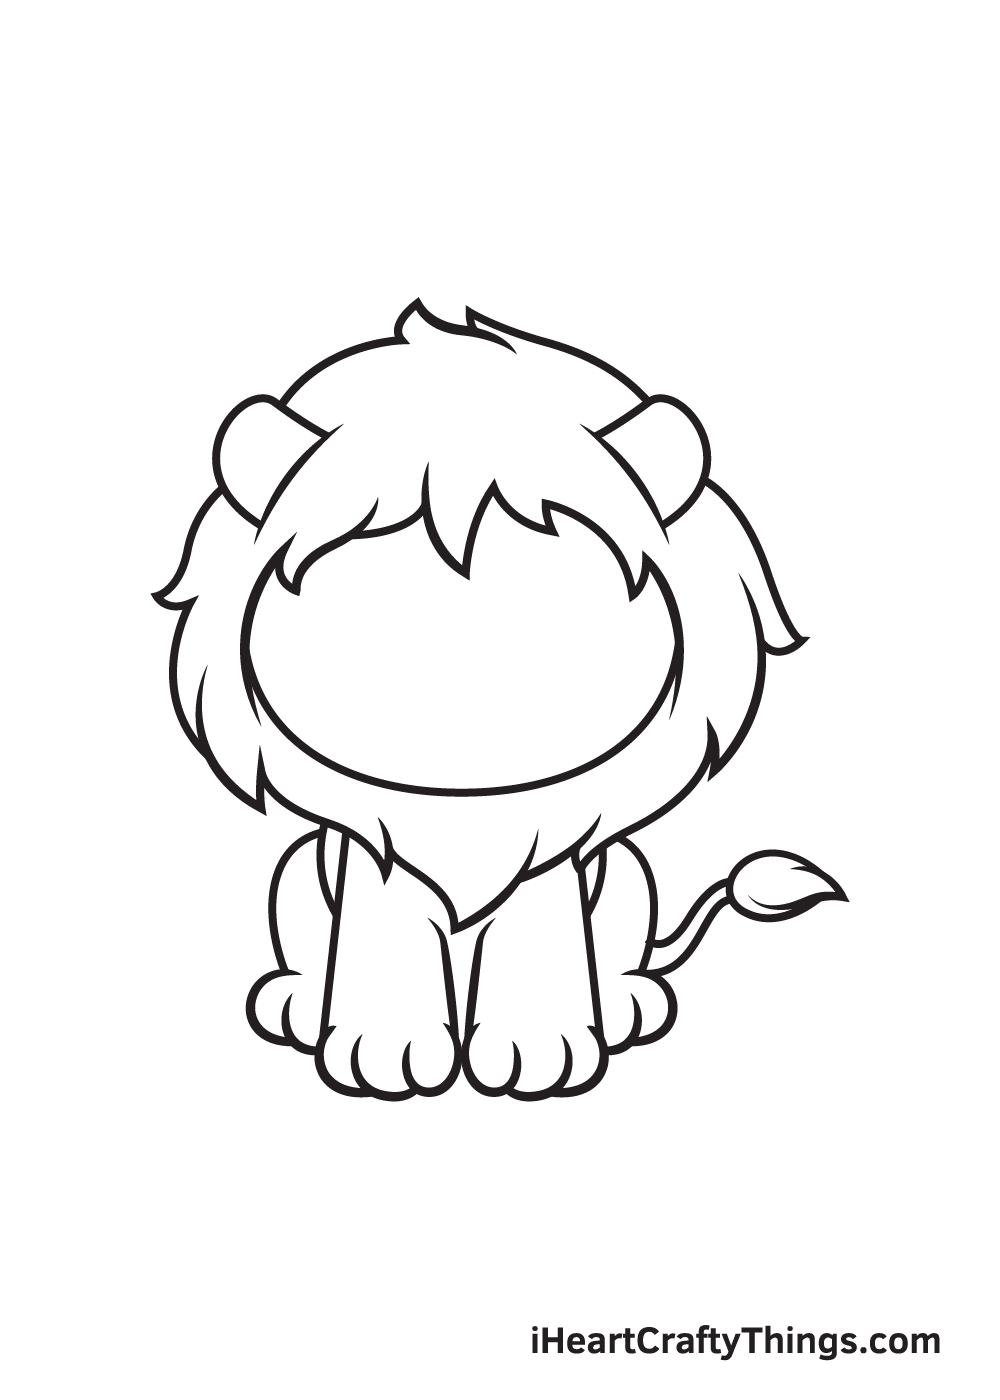
Draw a thin, elongated line shape emerging from the lower right side of the lion’s body. This forms the tail of the lion.
Afterwards, draw a piece of thick fur on the tip of the tail—it’s one of the lion’s distinct physical features!
Step 8 – Draw the Nose and the Mouth of the Lion
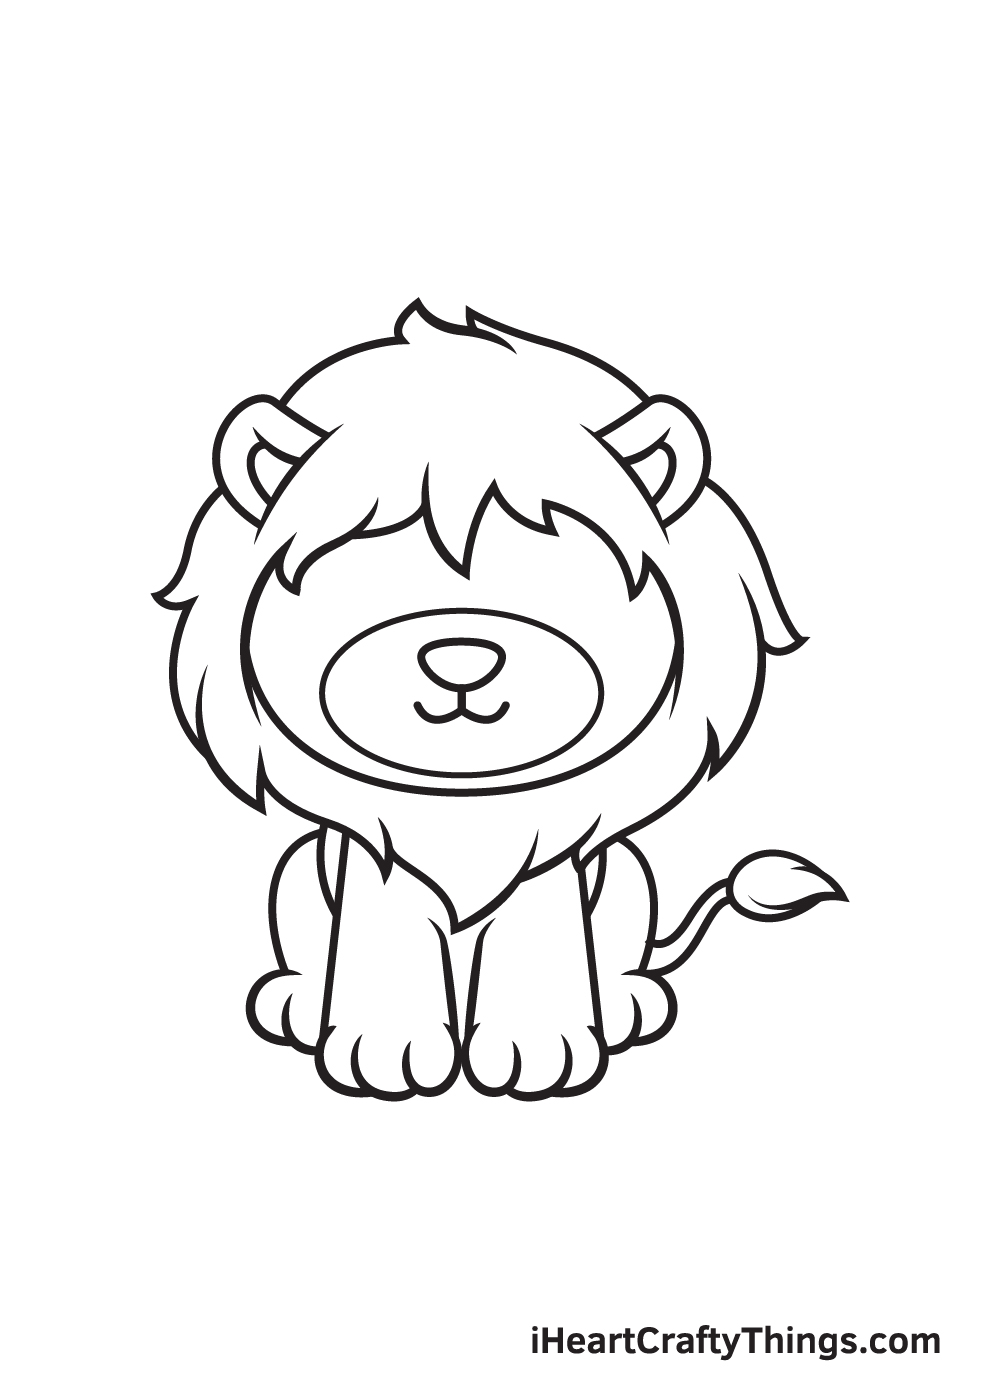
Draw a sideways oval shape on the bottom part of the lion’s face. This outlines the snout of the lion, where we will be drawing its nose and mouth next.
For the nose, draw an inverted triangle shape. Then, right underneath the nose, draw a short vertical line with an upward curve on each side to create the lion’s mouth.
Add details on the lion’s ears by simply drawing an inner figure following the outline of each ear. This creates the appearance of the inside ears.
Step 9 – Now, Draw the Eyes to Complete the Look
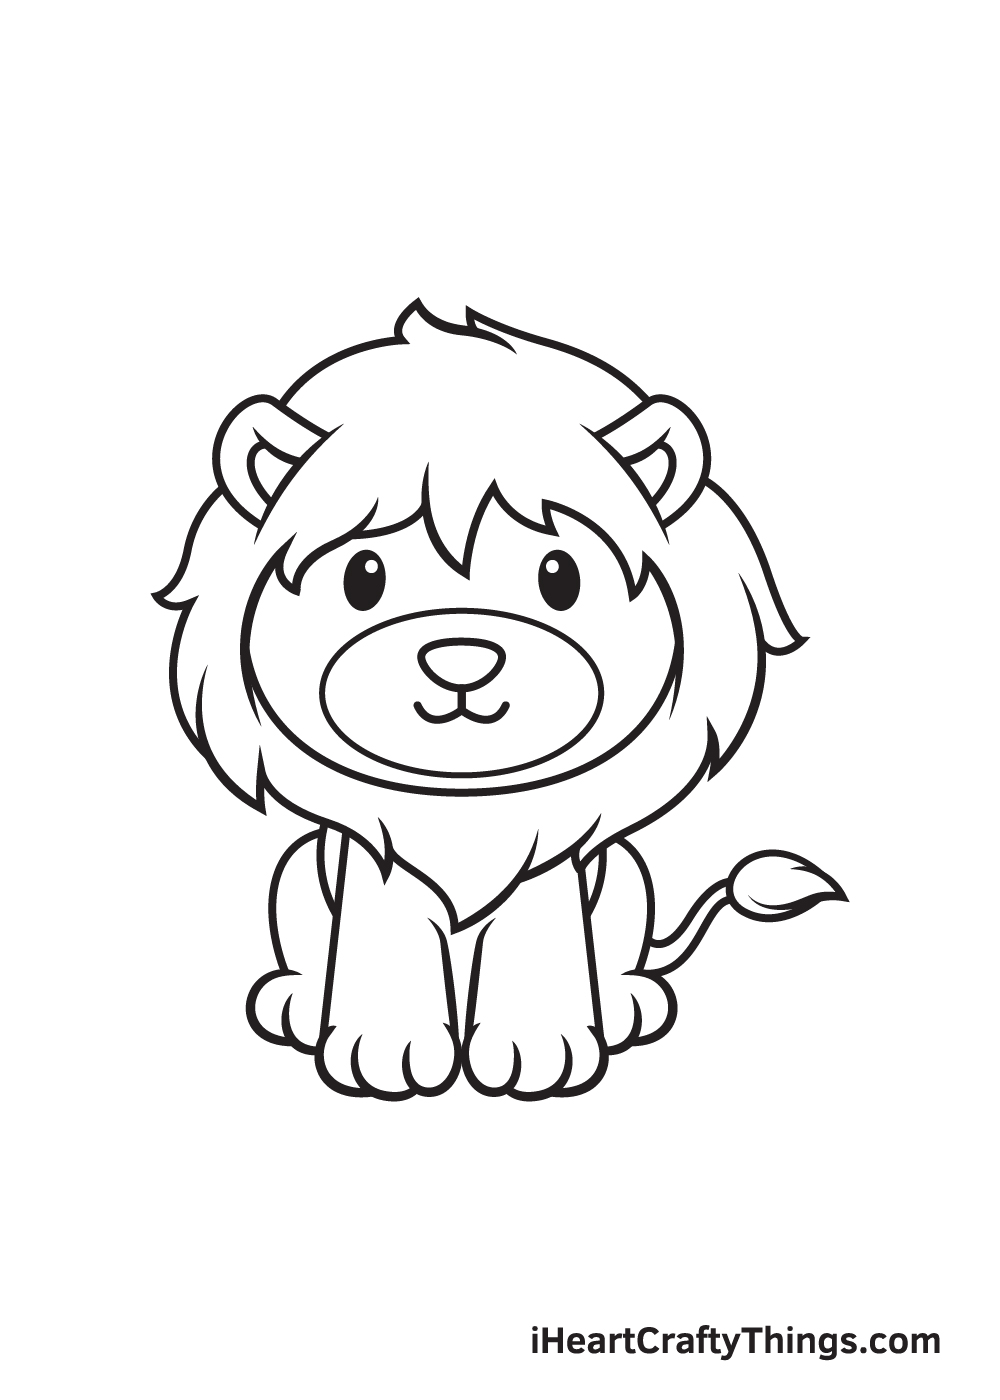
Finalize your lion drawing by adding a pair of eyes! Draw two standing oval shapes above the lion’s snout. Then, draw a tiny circle shape inside each eye.
Afterwards, shade the entire eyes except for the small circle. This creates a dramatic “sparkling eyes” effect, making the lion look even more adorable!
As you can see in the illustration, the lion has finally come together. Now all it’s missing is a dash of colors to bring the lion to life!
Go ahead and grab your favorite coloring materials because it’s time for the most fun part—coloring your drawing!
The color of a lion’s coat is primarily yellow-gold, while the color of its mane ranges from blond to reddish-brown to black.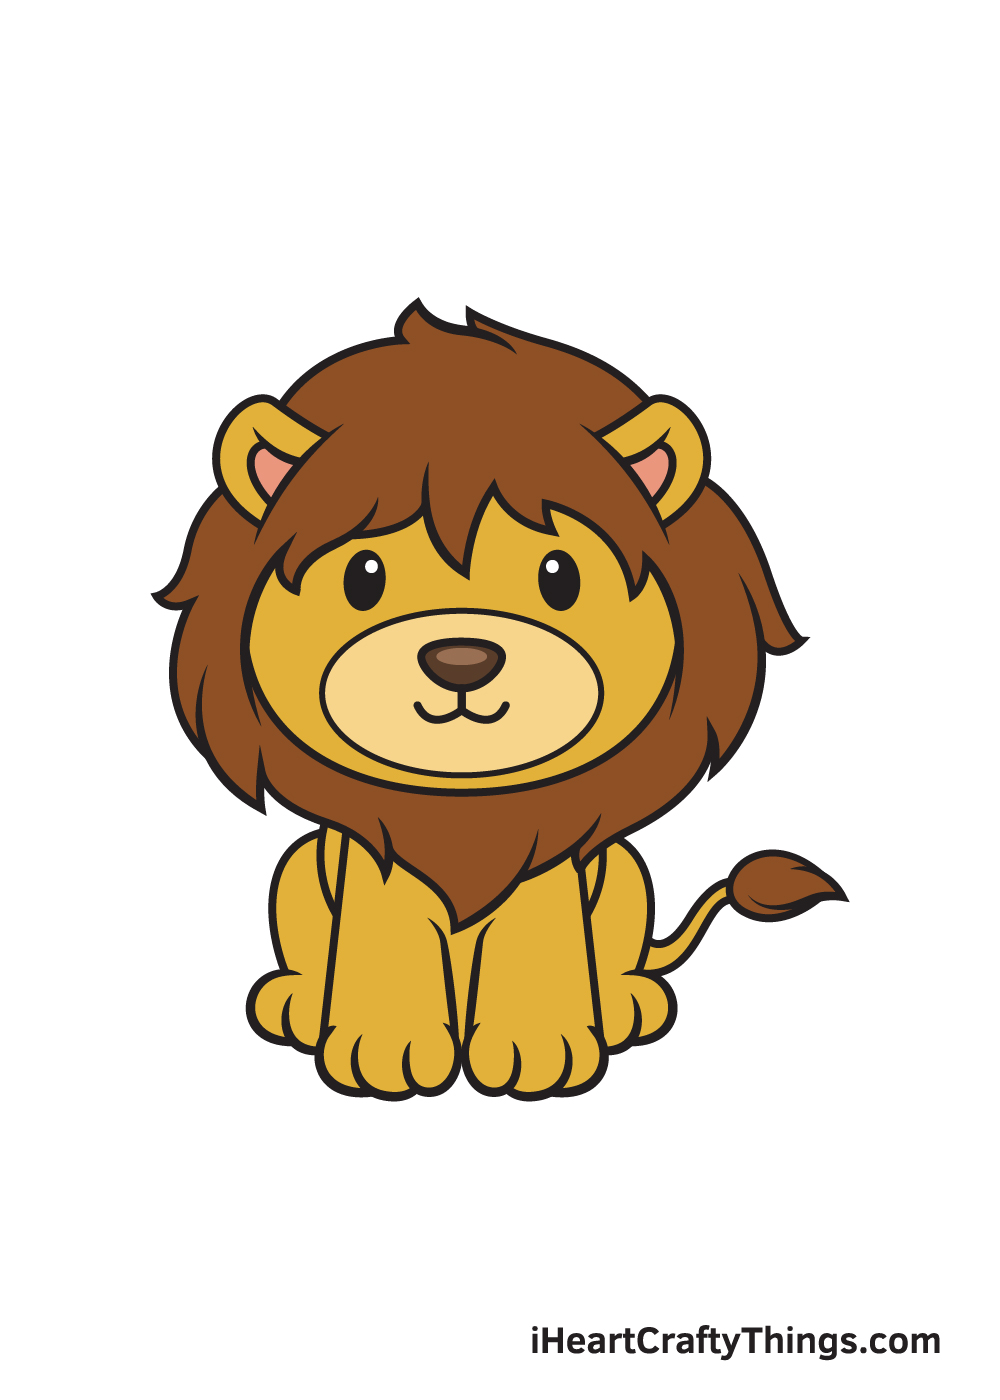
We colored the lion’s coat with yellowish brown and we used a darker shade of brown on the mane, as seen in the illustration above.
You can choose to color your lion using the same colors or handpick a unique set of colors. Either way, we’re sure the colors will turn out beautifully!
4 More Ways To Make Your Lion Drawing Unique
Have a wild time creating some art with these 4 fun and easy tips!
It’s always fun to add a background to a drawing, and you would have so many options for this lion sketch!
Lions are found naturally in the African savannah, and you could look up some pictures if you want to create that setting.
Alternatively, you could also create any kind of background settings you like whether the setting is realistic or not. What kinds of settings would you like to put this adorable lion into?
Whether in the wild or seen at a zoo, lions are usually surrounded by many other animals. It would be fun to add some of those animals to your lion drawing!
If you were to do this, you could keep the African animal theme and add animals such as zebras, giraffes, elephants or more. That’s one way, but who’s to say that you can’t add any other wild and wonderful creatures you like?
There are so many ways you could make this drawing come alive with wildlife, so which animals would you choose?
Once you have mastered this drawing of a lion, you could also draw it in different poses and positions. For instance, maybe it could be running or pouncing.
You could also change smaller details such as the facial expression to also give the image a different feel. If you want to try and change the design, this can be done so by just changing a few of the steps in the guide.
What kinds of fun poses can you think to put this lion in?
Using fun colors and art mediums can really help to make this lion sketch even more special. While these can be used to great effect, you can take it even further by incorporating some crafts.
For instance, you could buy some brown felt material, cut it into the shape of the lion’s mane and then glue it over. Adding some real texture like this can make the picture to see and touch!
Your Lion Drawing is Complete!
It was a lot of fun learning how to draw a lion with this step-by-step lion drawing tutorial, isn’t it?
Lions are majestic creatures and this comprehensive guide perfectly captures their beauty into a piece of paper.
If you enjoyed drawing a lion, then you might be interested in drawing other animals like a zebra, elephant, and many more!
Feel free to check out our “How to Draw” catalog to explore more fun drawing tutorials like this!
Completing an elaborate lion drawing is an achievement, so you should feel proud of yourself for finishing a masterpiece!
Don’t forget to take a photo of your artwork once you’re done! Then, make sure to post it on our Facebook page and on Pinterest.
We would love to see your intricate lion drawing!
Here Is A Cute Lion Drawing To Inspire You!
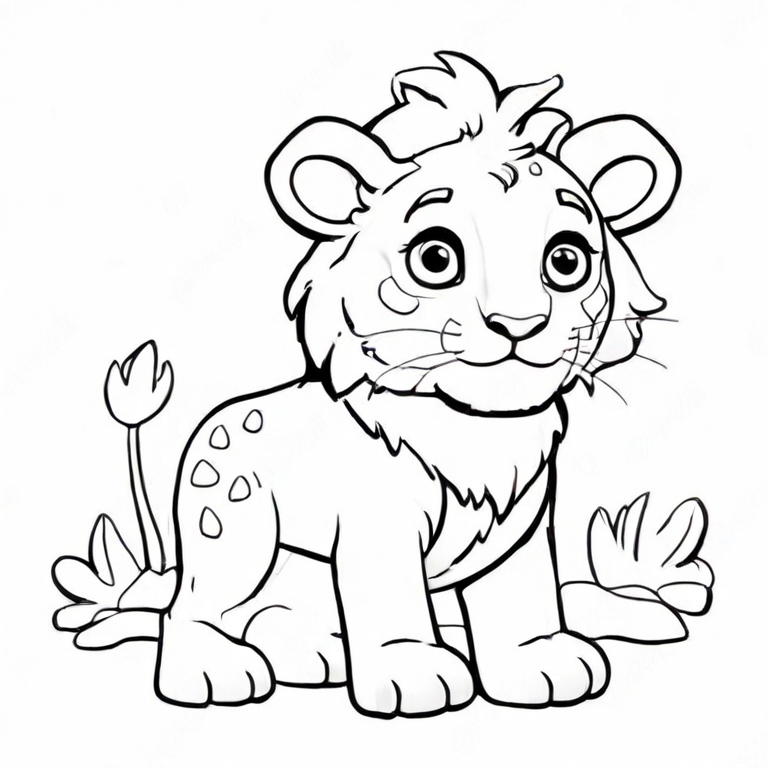
Lions are known to be fearsome creatures that dominate their food chains, but when they’re cubs they’re actually very cute. This is shown in this cute lion drawing for kids done by our artist Amanda.
The lion cub is just too adorable, and Amanda has included some amazing details. You can even see that this cub is starting to grow its mane.
She also included some background details that you can admire as well, and it helps to create a sense of place for this cute lion sketch.
When you draw your own version, you can add even more to the background if you want to challenge yourself. Remember to also add any colors you may like to make the drawing even better.
If you’re really feeling confident, then you can also add more animal friends for the lion!