


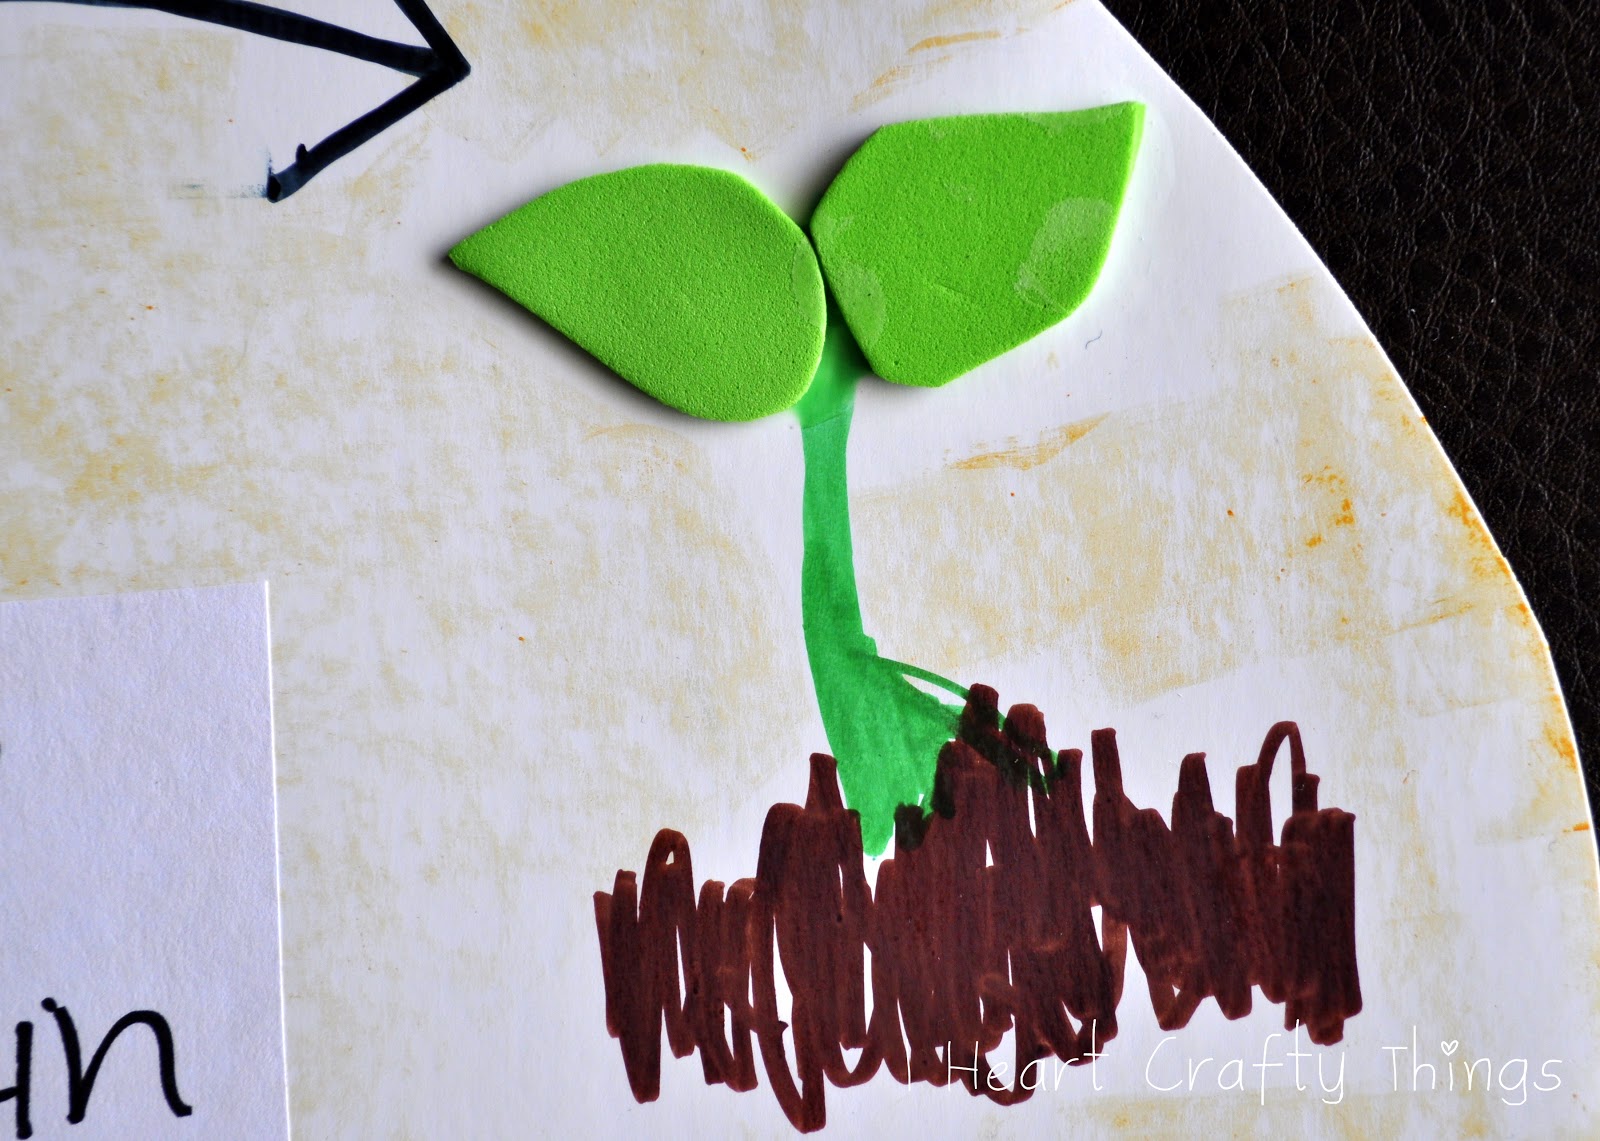
Next, he created the plant coming out of the ground. Brown marker for the ground, green marker for the plant coming out of the ground, and for some visual effect, he cut some green leaves out of a foam sheet and glued them on.
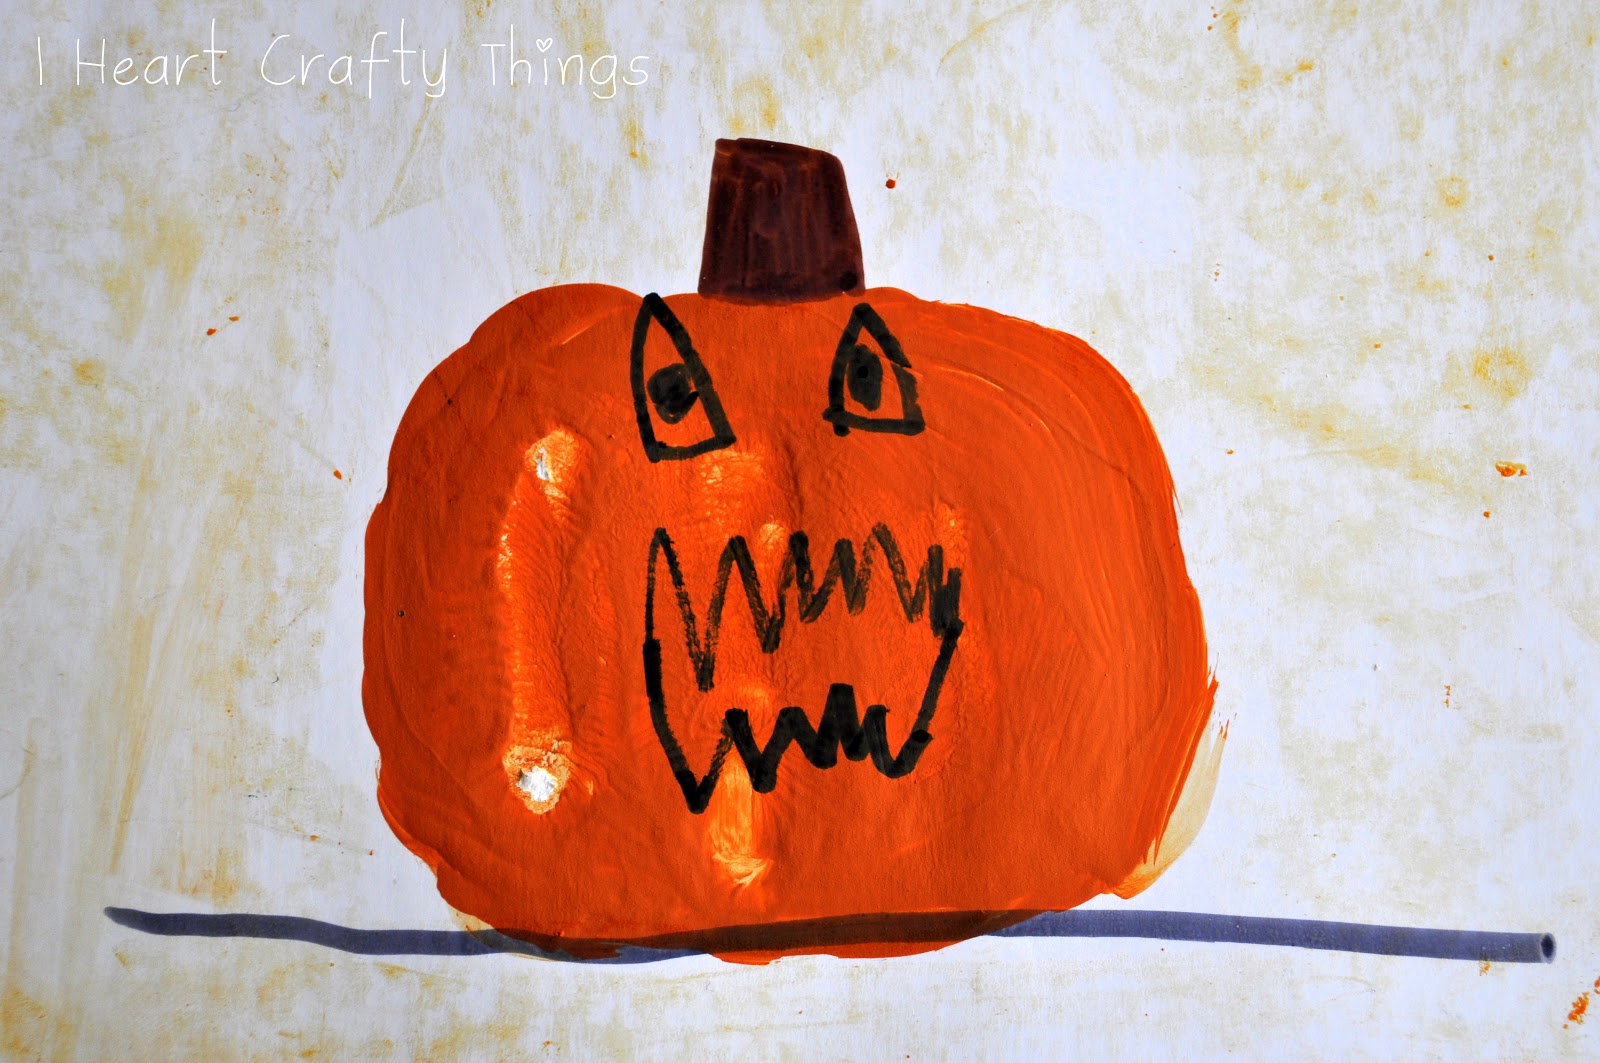
To make our full grown pumpkin, my son dipped his fist in green paint and pressed it down to make the shape of a pumpkin. It wasn’t exactly round how he wanted, so he used a paint brush to touch it up. When the paint was completely dry, he used markers to add the stem, jack-o-lantern face, and a line for the ground.
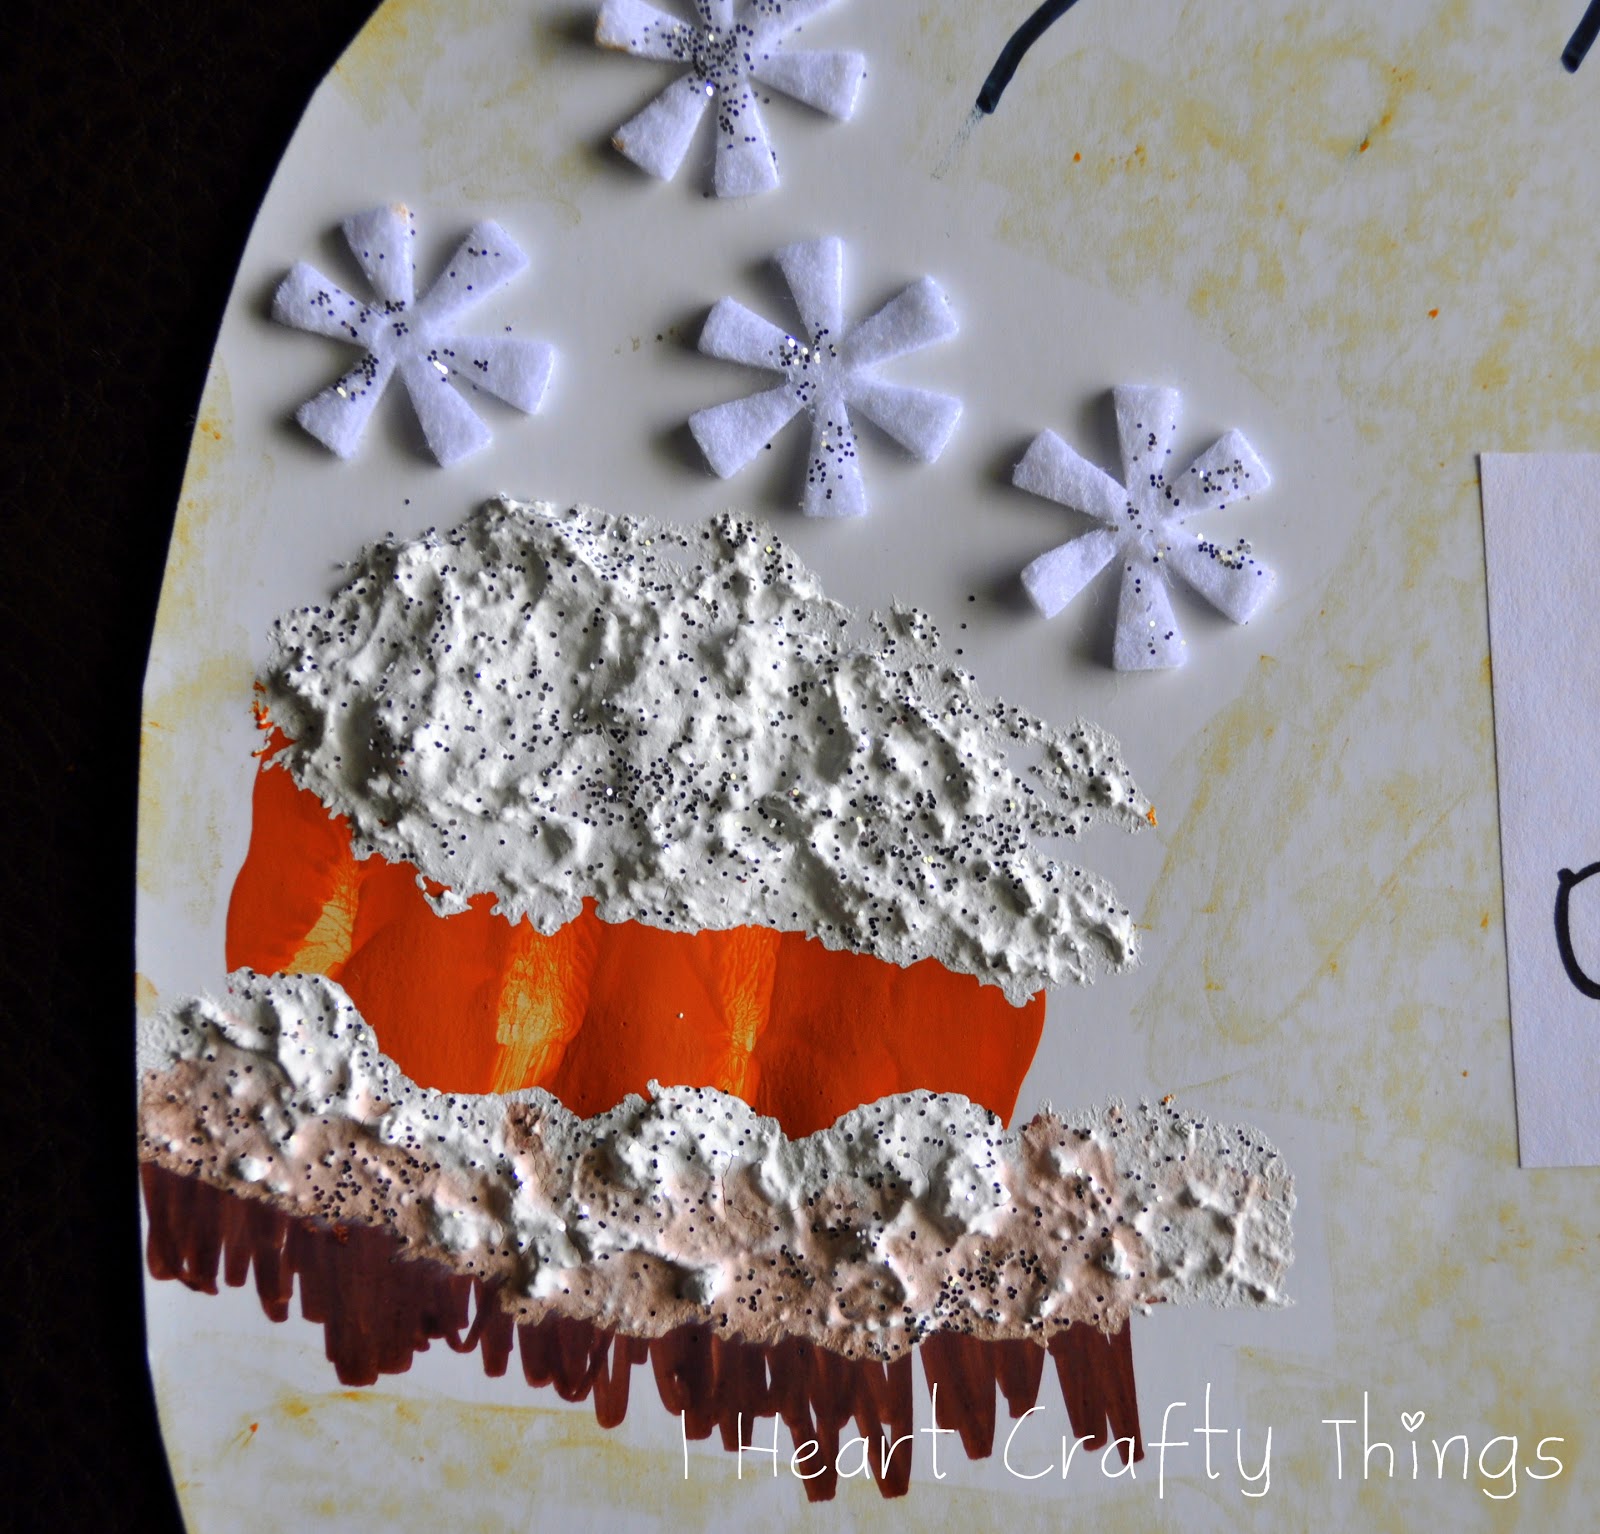
The Winter pumpkin scene was the most fun. We made another pumpkin fist for the pumpkin and let it dry completely, then added ground underneath it with marker. To make the fun snow effect, I mixed flour and white paint together until it made a thick paste consistency, then my son painted snow on top of the pumpkin and on the ground underneath it.
To make the paste, I started with equal parts of flour and paint, and then just added more paint a little at a time until I got the consistency I wanted. If you are only doing one project, you seriously only need like a teaspoon of flour. While the snow was still wet, he sprinkled silver glitter over it. I also found some small snowflake stickers I had from last year and he added them to the top like the snow was falling down. He sprinkled glitter on those too.
I helped my son draw arrows connecting each section and printed out the “Life Cycle of a Pumpkin” for him to glue in the middle. To finish it up I took the paper off an orange crayon, my son laid the crayon down on the poster board, and lightly colored over the open spaces to give it some color. We also did brown crayon for the stem at the top.
