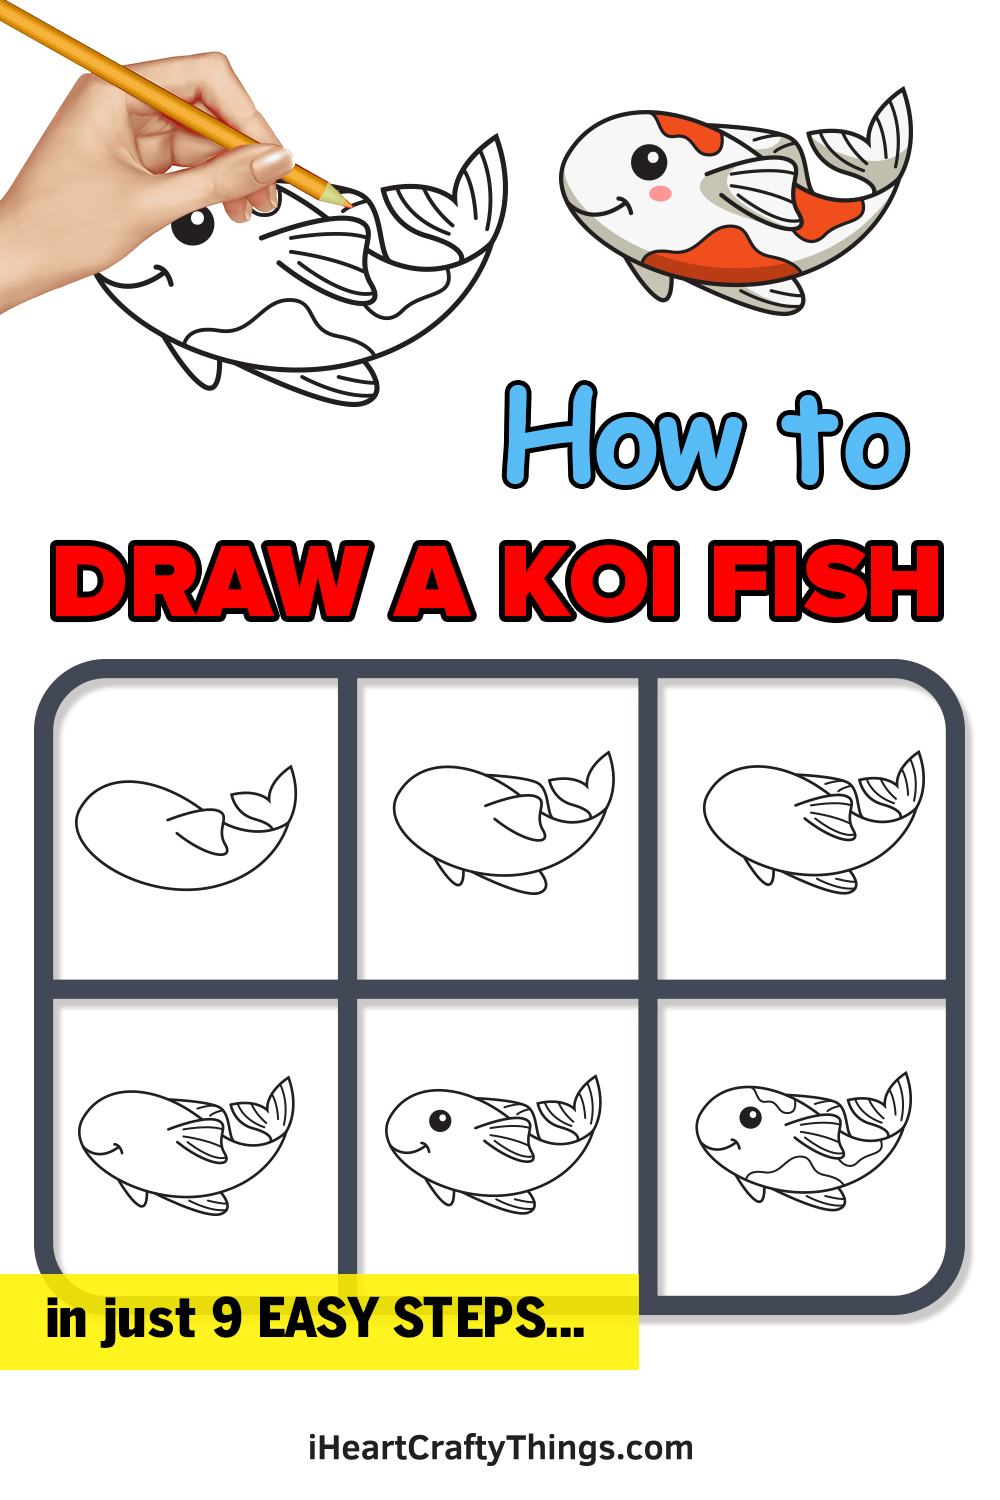
If you want to know how to draw a koi fish, then this tutorial for kids is for you! Get ready to discover how easy it is to make your own drawing of this beautiful fish.
Koi fish represent calm and tranquility to me, as it’s so relaxing to sit and watch them swimming in a pond. In Japanese and Chinese cultures they also represent things like luck and prosperity.
Whatever they may mean to you, there is little doubt that they are beautiful fish. They have beautiful spotted coloring and a distinctive look, but how easy is it to draw them?
It can be tricky when you don’t know what to do, as they have some specific detailing that needs to look right. That’s why in this guide, I will break it down into smaller steps so you can get to grips with how to do it and create some koi fish art of your very own!
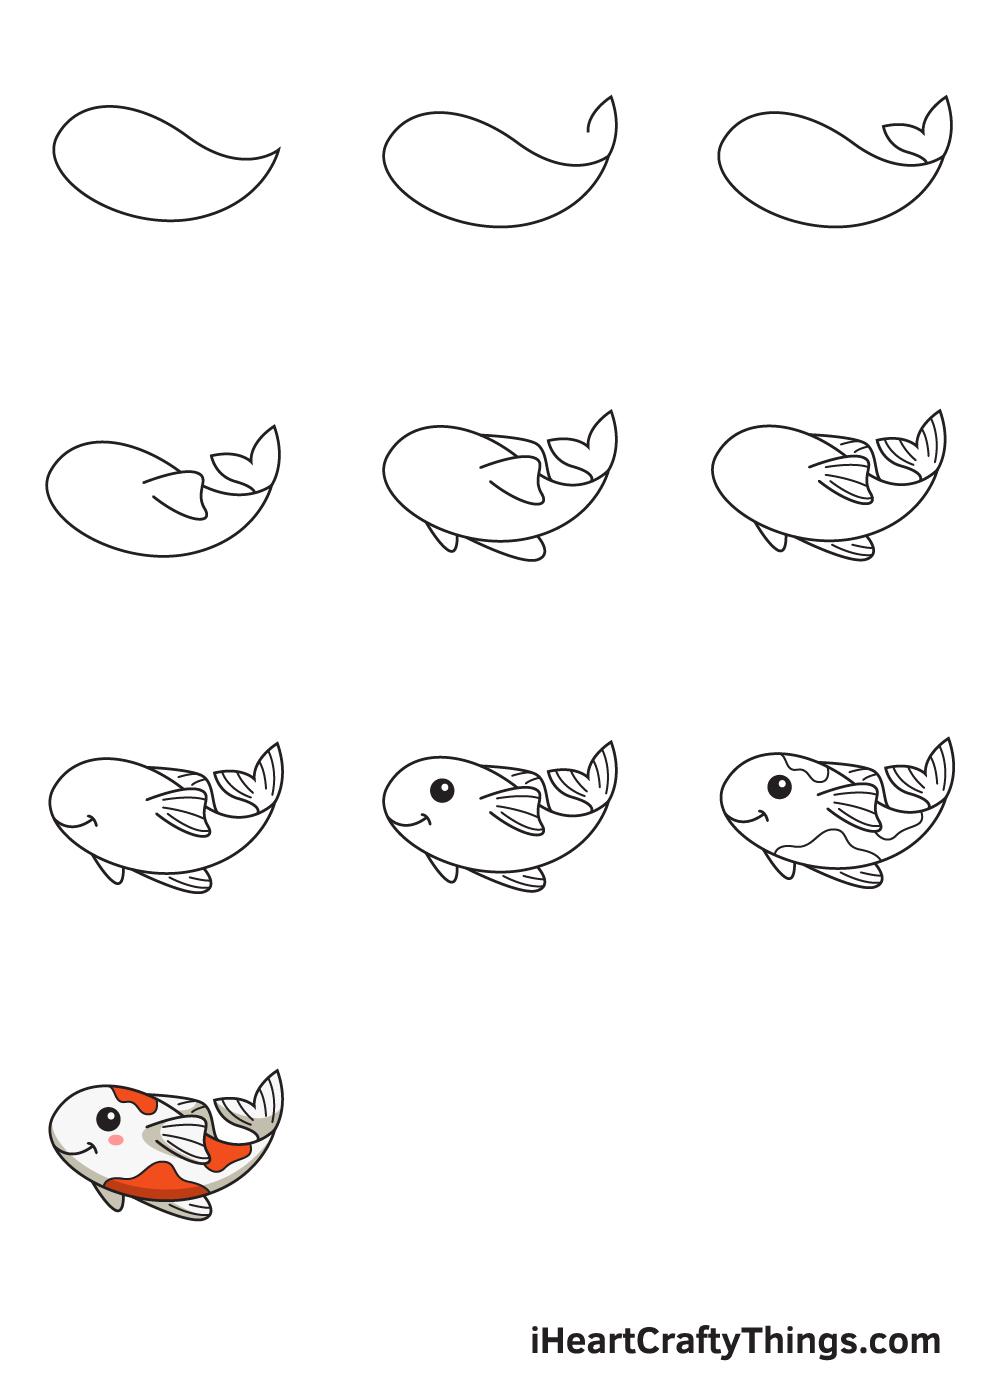
Watch And Learn How To Make A Koi Fish Drawing
How to Draw a Koi Fish – Let’s get started!
Step 1
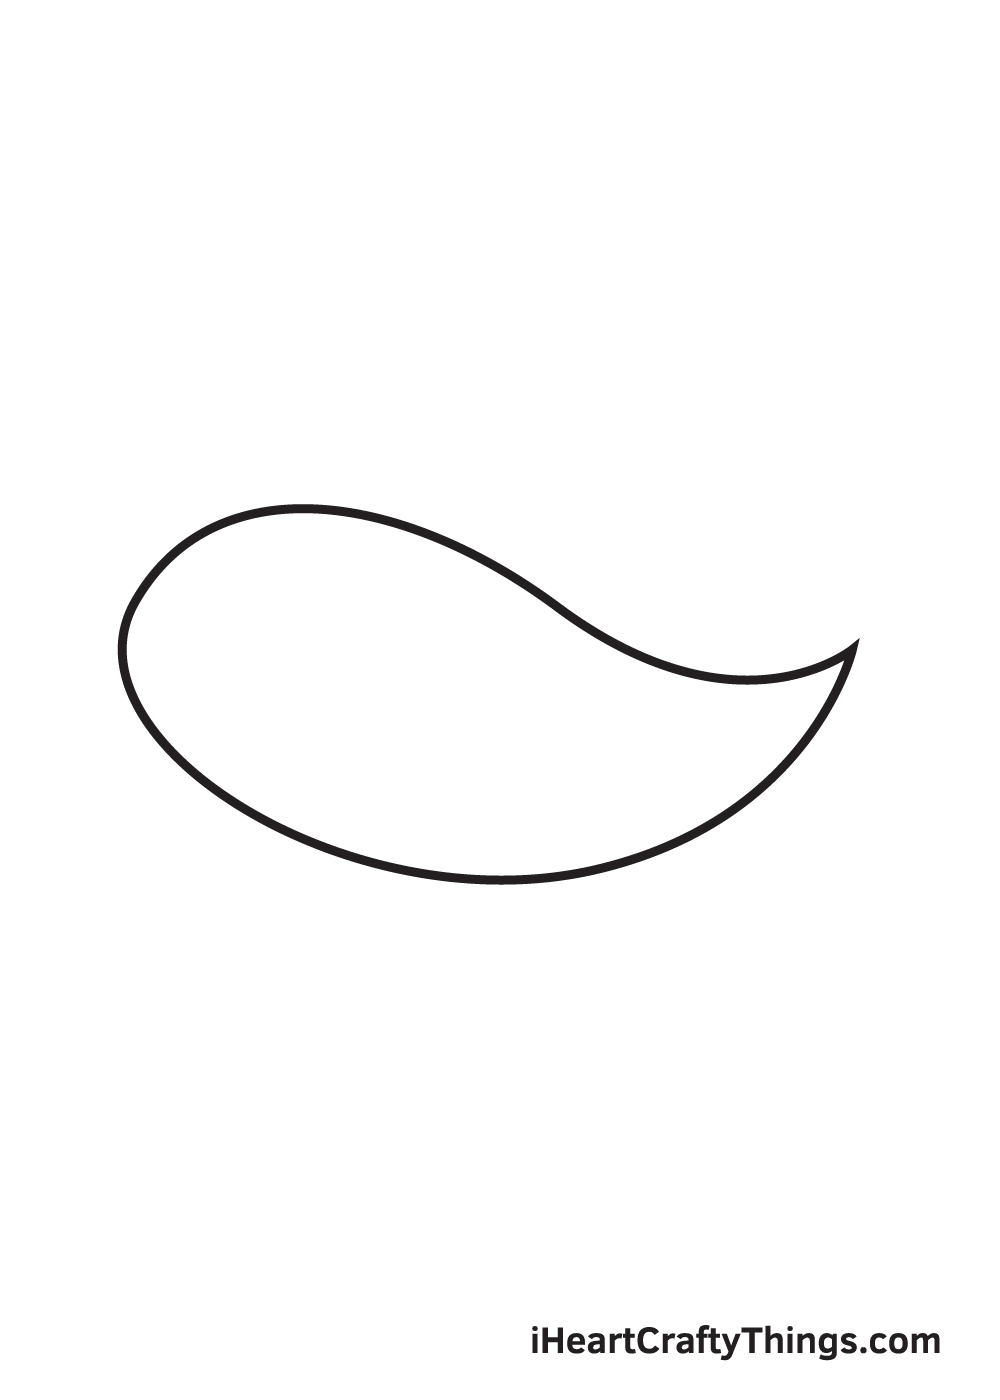
Starting in the very middle of your paper, draw a curved droplet shape to outline the shape of the koi fish.
In order to ensure that the koi fish will be drawn in the very center of your paper, draw an intersecting horizontal and vertical line across your paper to create reference lines.
The point where the two lines meet is where you should draw the body of your koi fish.
Step 2 – Outline the Body of the Koi Fish
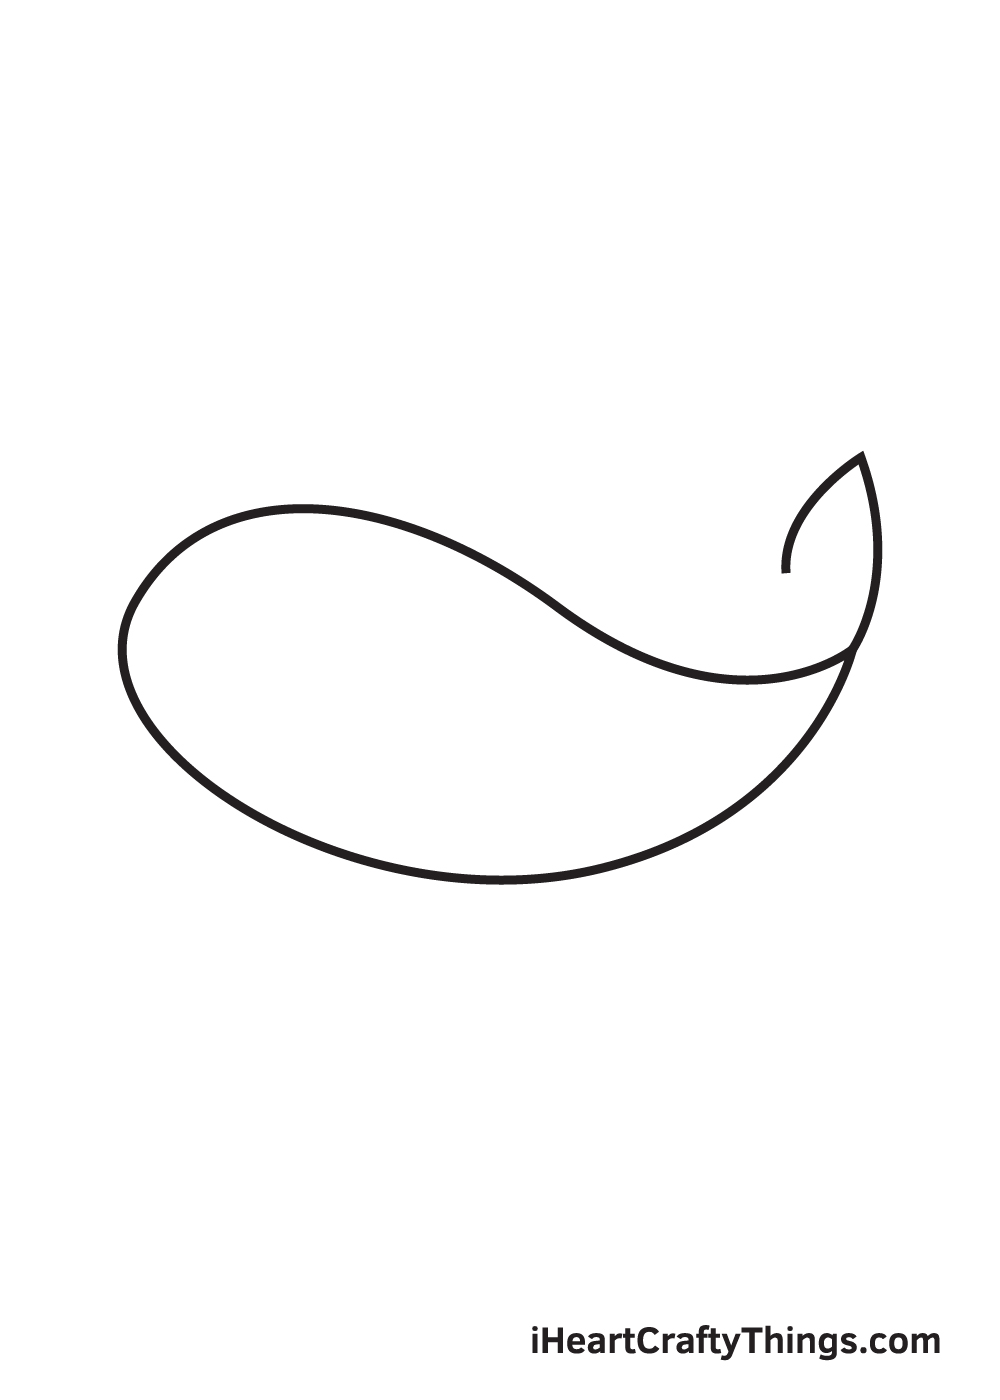
On the pointed end of the koi fish’s body, draw an upward curved line. Then, draw a halfway downward curved line beginning from the end point of the line we drew just now. This outlines one or the half of the koi fish’s caudal fin or tail.
When drawn correctly, its shape should look like a three-quarters outline of a leaf.
Step 3 – Complete the Caudal Fin or the Tail
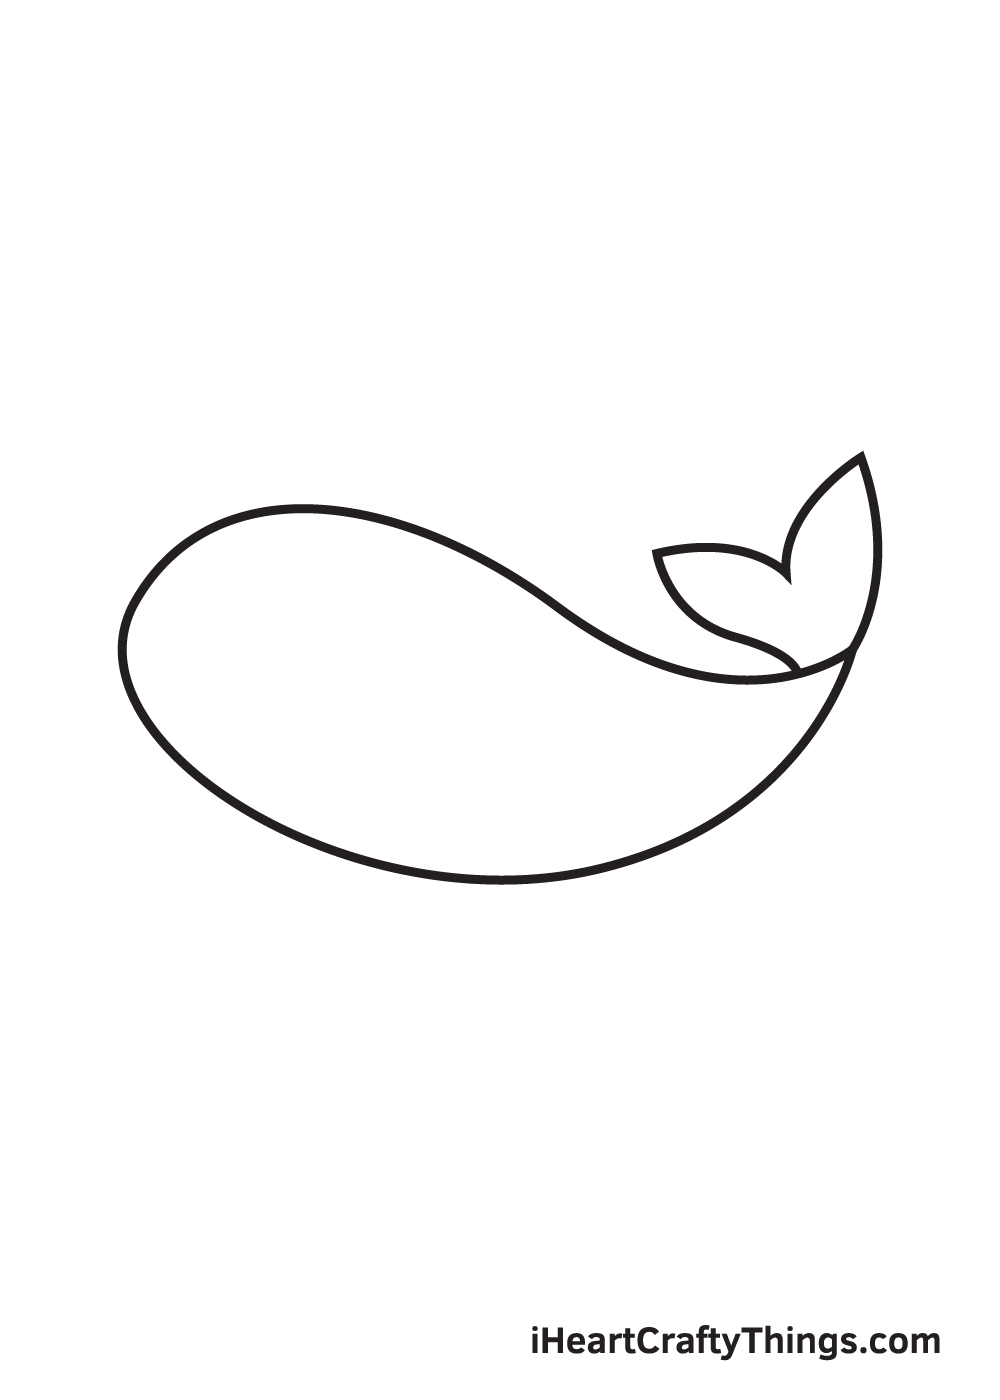
Using the outline of the half caudal fin we drew in the previous step, draw a similar shape right beside it to finalize the koi fish’s caudal fin.
After finishing this step, the tail of your koi fish should now be full and complete.
Step 4 – Now, Draw the Pectoral Fin
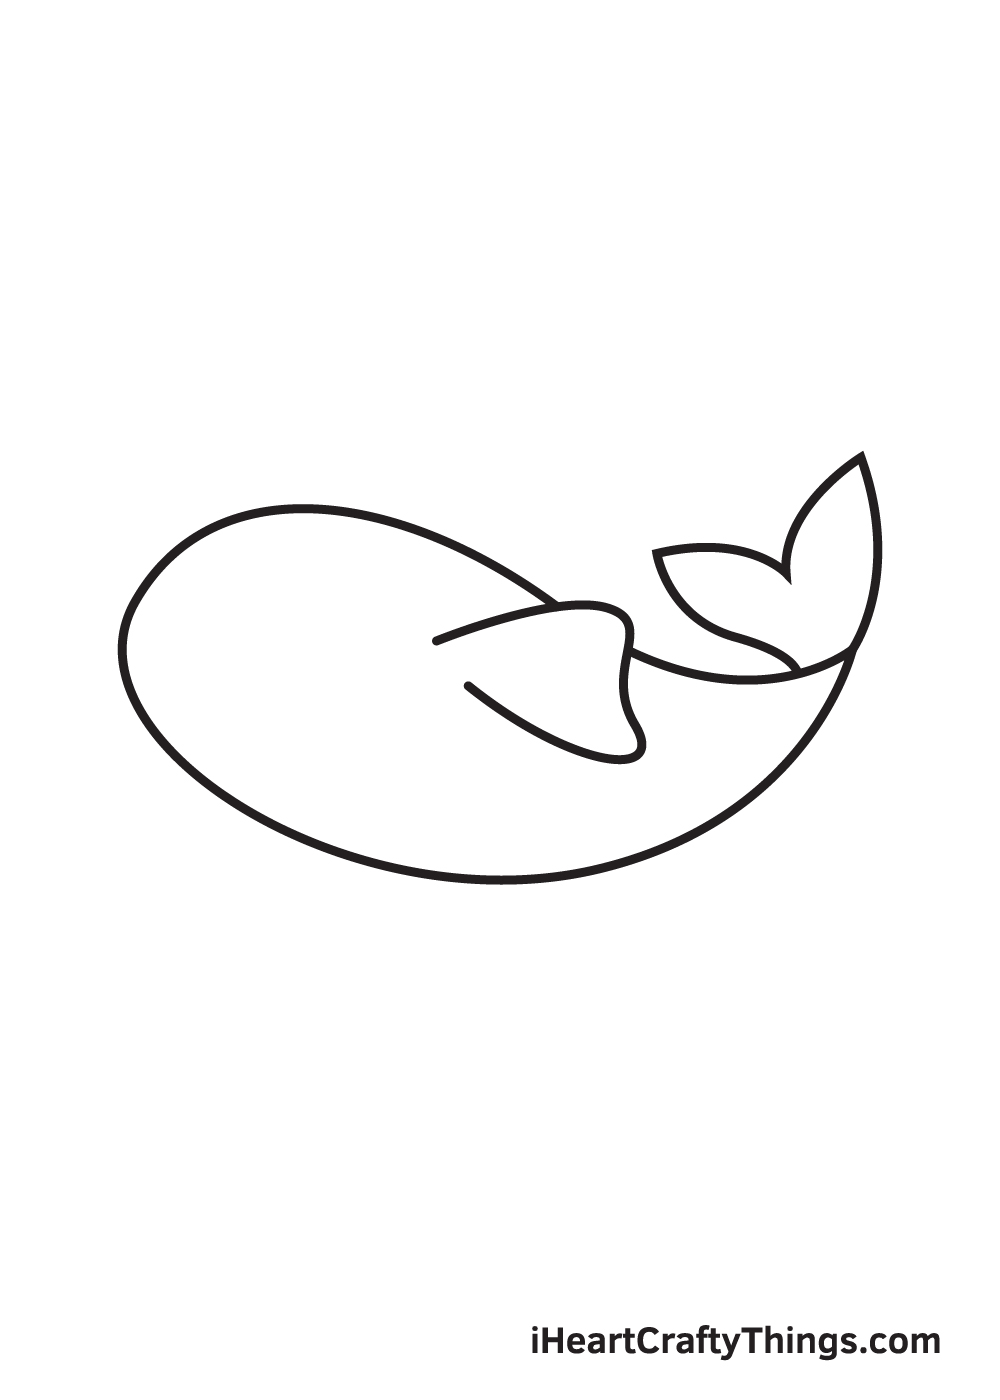
In this step, we will now be structuring the fin on the side of the koi fish’s body. Start by drawing an upward diagonal line.
Then, draw an inward curved vertical line starting from the end point of the line going downwards. Lastly, draw another diagonal line to complete the form of the fin.
Keep in mind that the two end points of the outline shouldn’t be connected. Also, make sure that the corners of the fin should be curved rather than pointed.
Step 5 – Draw All the Upper and Lower Fins
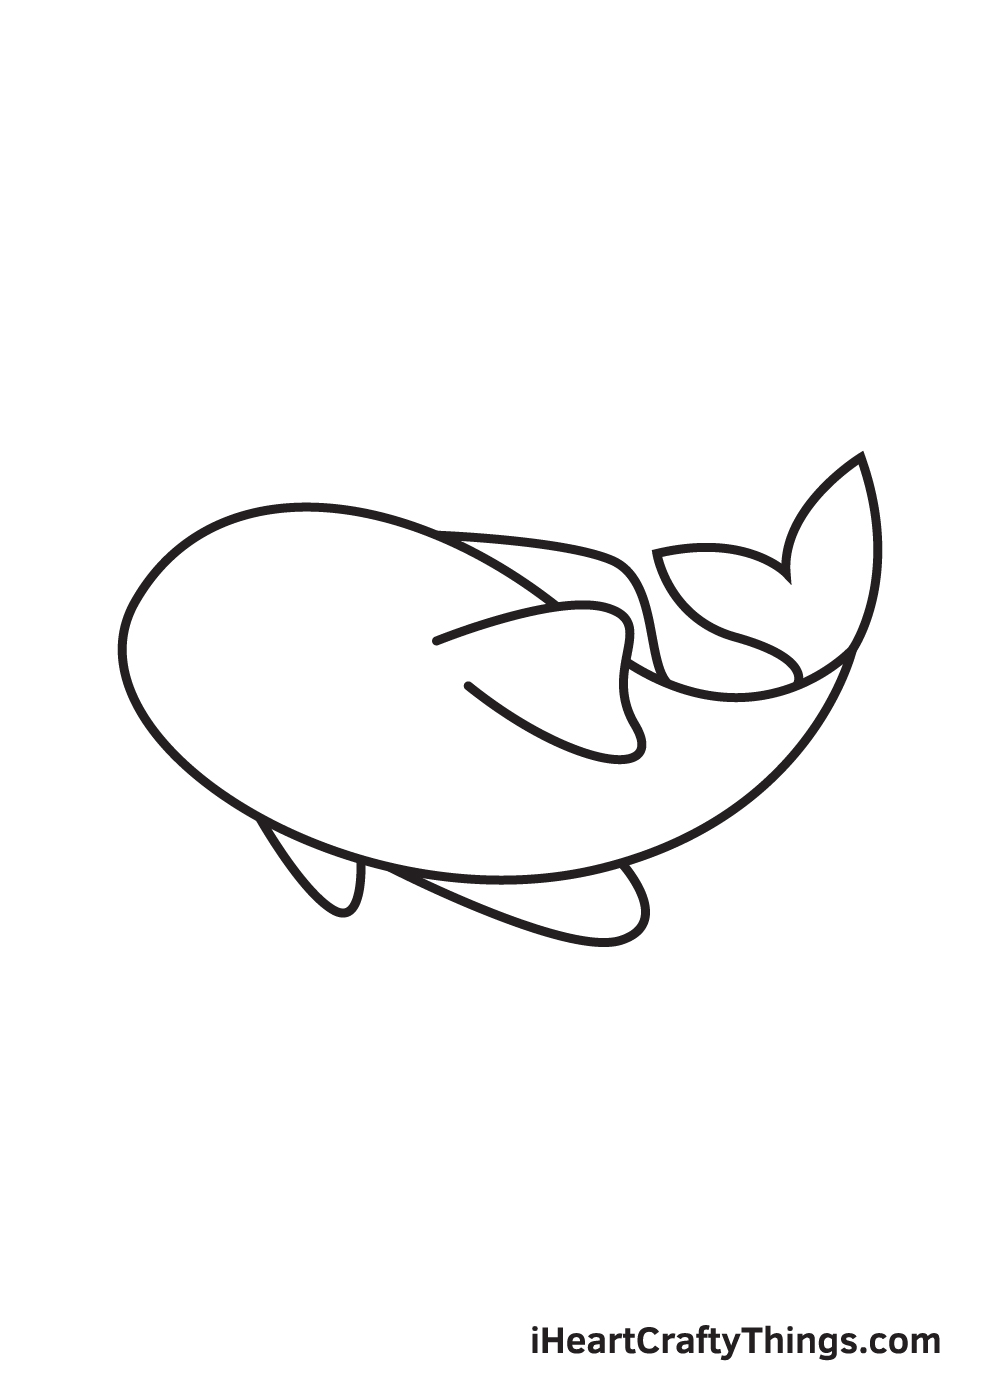
The enormous fin at the top of a koi fish’s body is called dorsal fin, while the two small ones at the bottom are called ventral fin and anal fin respectively.
Start by creating the fin at the top by drawing a wide curved line with both of its end points touching the surface of the koi fish’s body.
Afterwards, draw two similar lines at the bottom of the koi fish’s body. The fin on the right side should be relatively bigger than the one on the left side.
Step 6 – Add Patterns on All the Fins
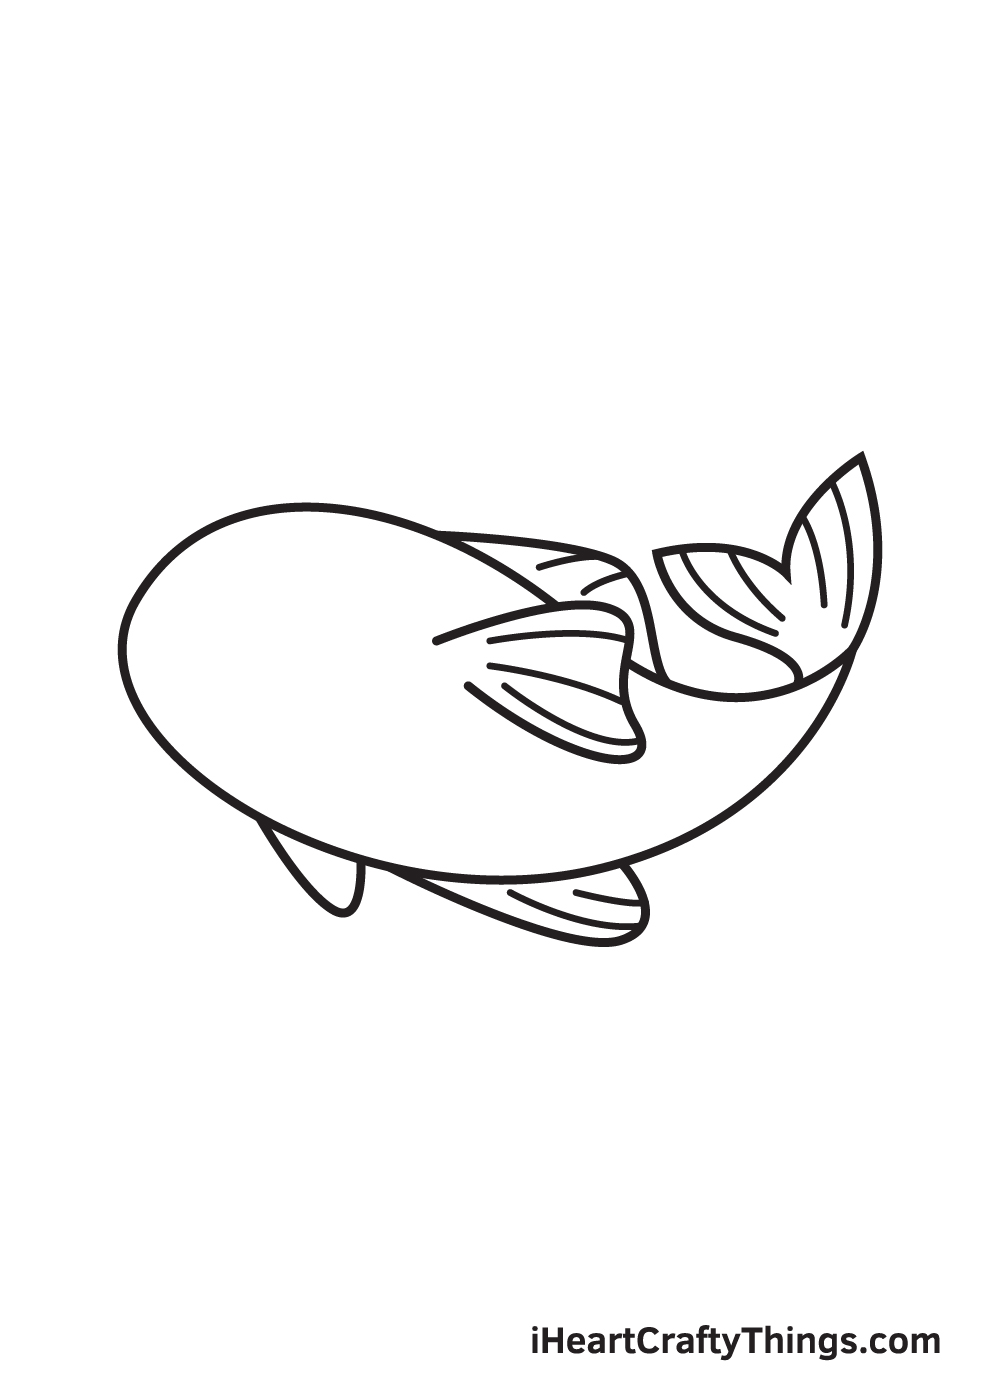
After completing all the fins of the koi fish, it’s time to add patterns and textures on it to make it appear more dimensional and realistic.
Draw multiple lines across the surface of all the fins to create its distinctive pattern. Bear in mind that the lines within the fins shouldn’t be straight lines, rather it should be aligned with the natural outline of the fins.
Step 7 – Put a Smile on the Koi Fish’s Face
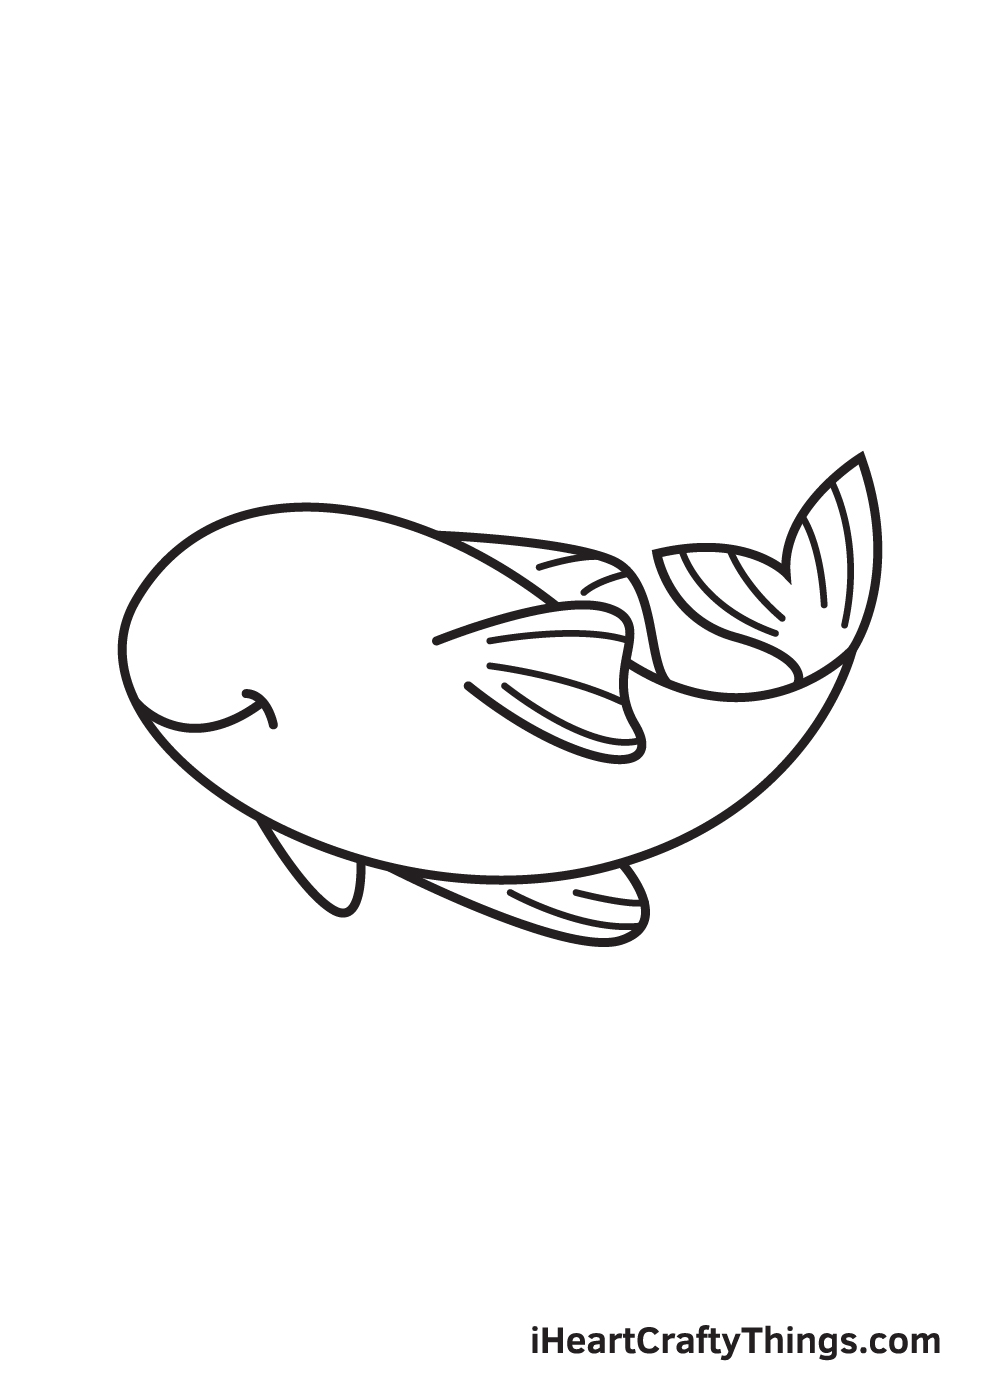
Make your koi fish look happy by drawing an upward curved line on its face to create a huge grin.
Then, draw another curved line on the end point of the smile line to finish the look!
Step 8 – Draw a Huge, Gleaming Eye
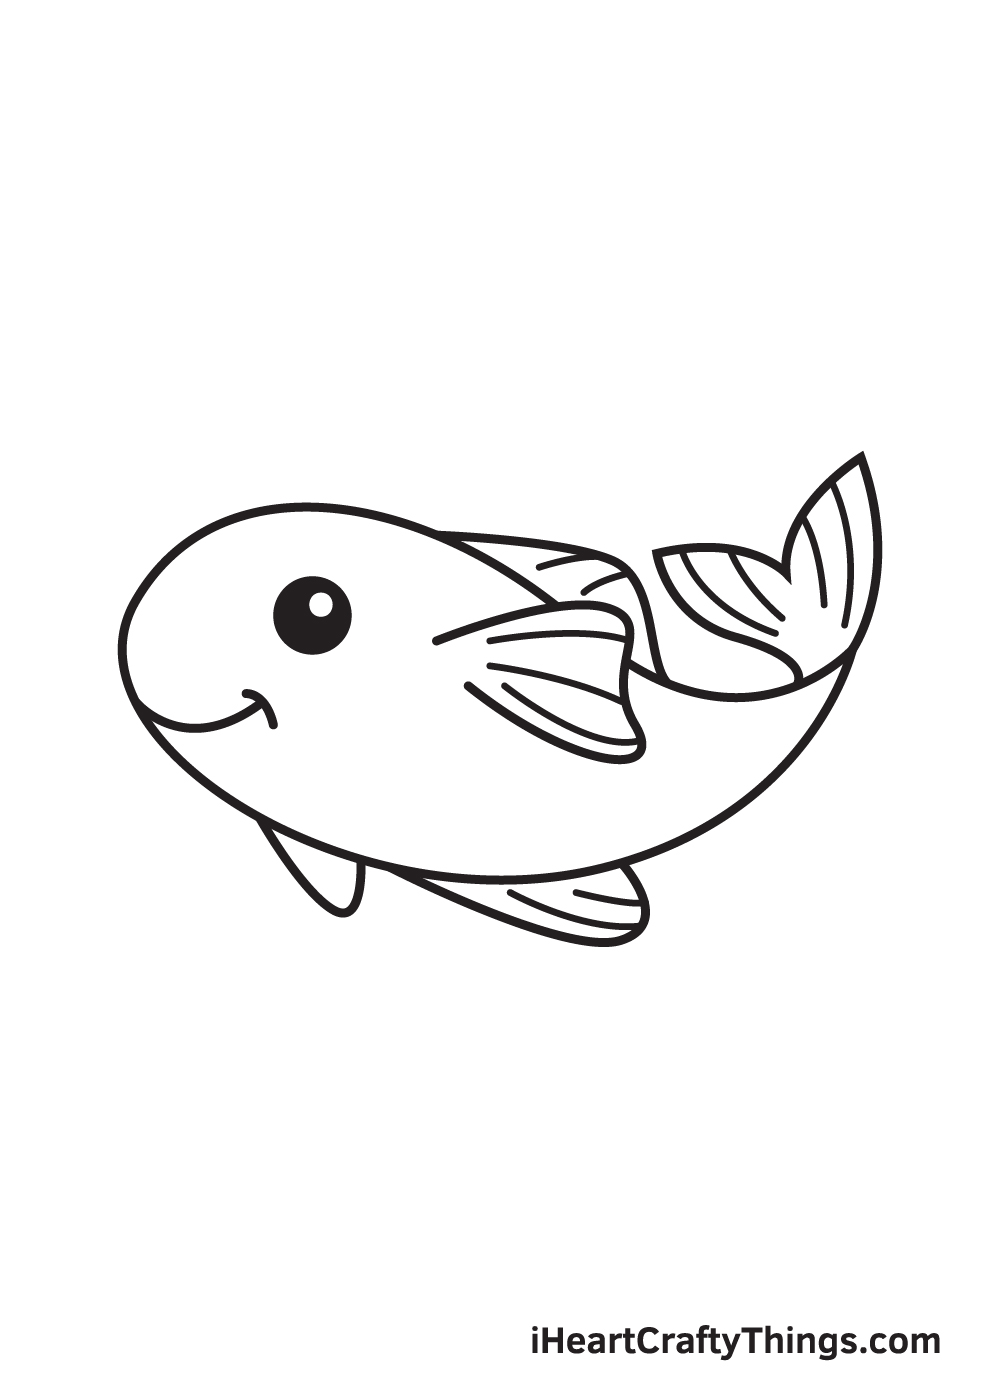
Since the koi fish is facing sideways, only one eye is visible, thus we will be drawing only one. Draw a perfect circle above the koi fish’s mouth to outline the eye.
Then, draw a small circle within the eye to create the iris.
In order to create a realistic-looking gleaming eye effect, shade the entire eye except the tiny circle inside. This trick can make the facial expression of any character look more adorable!
Step 9 – Now, Add Patterns All Over the Koi Fish’s Scales
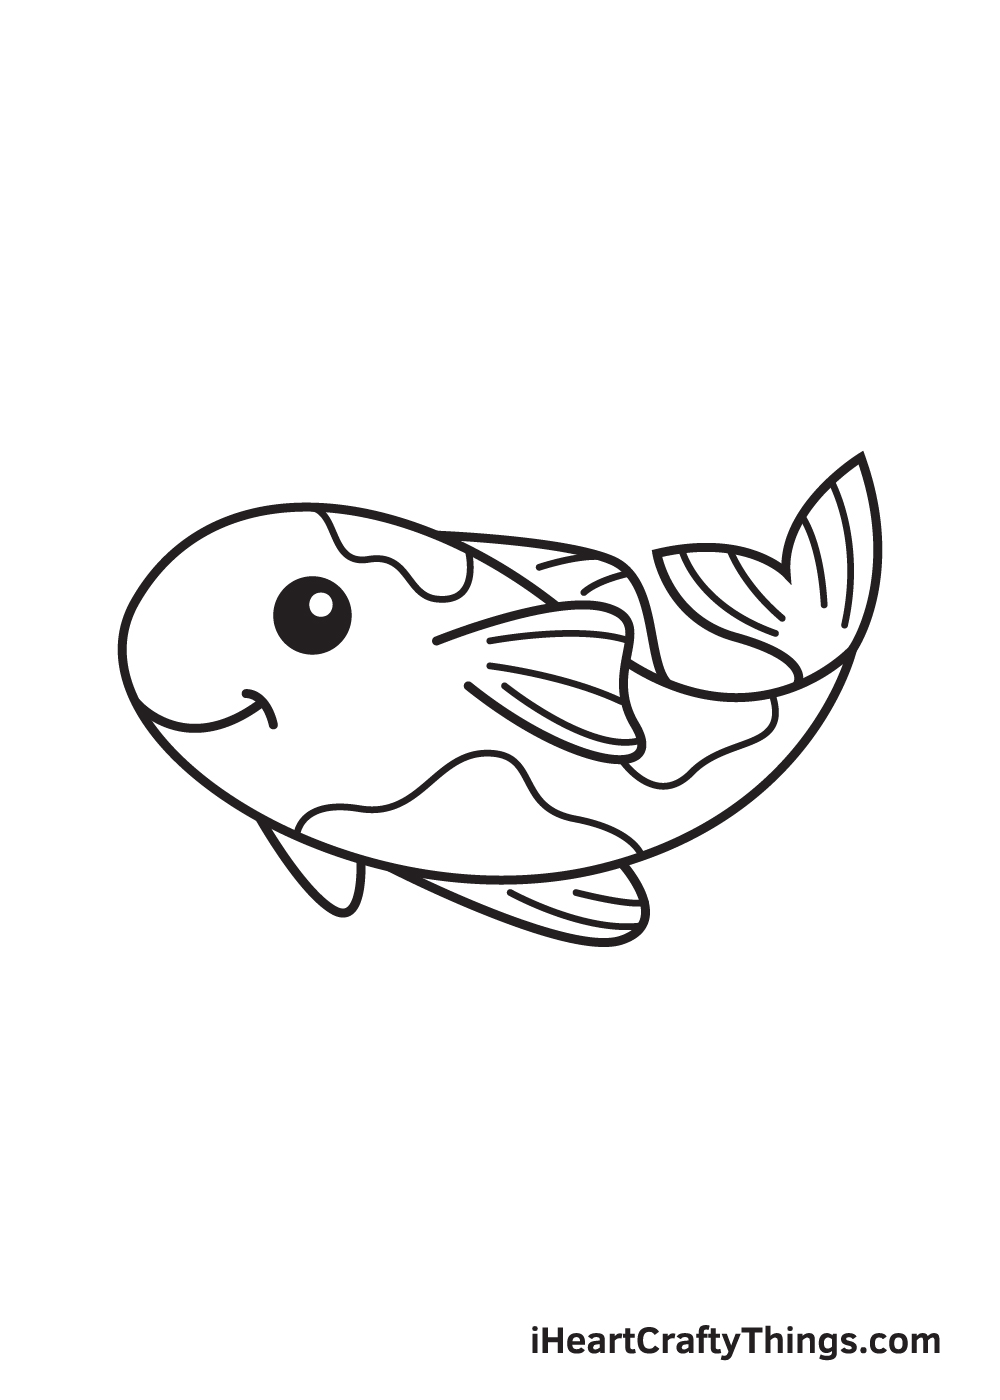
Koi fishes are particularly known for the unique patterns imprinted on their scales. It’s actually really easy to create these patterns. Simply draw multiple uneven shapes all over their body.
Avoid stressing over the proportion of these outlines. It doesn’t have to be perfect. As a matter of fact, the more uneven these patterns are, the more realistic they will look!
Now that we have successfully drawn a koi fish, it’s time for the most enjoyable part, which is choosing the colors and coloring your koi fish drawing!
Koi fishes typically have varying combinations of black, white, and orange colors. However, there are some koi species that are purely gold or platinum in color.
You can opt to follow their standard colors or use a unique set of colors! Either way, we’re sure you can color your koi fish beautifully and make it stand out.
Enjoy coloring your drawing and watch as your koi fish ultimately comes to life!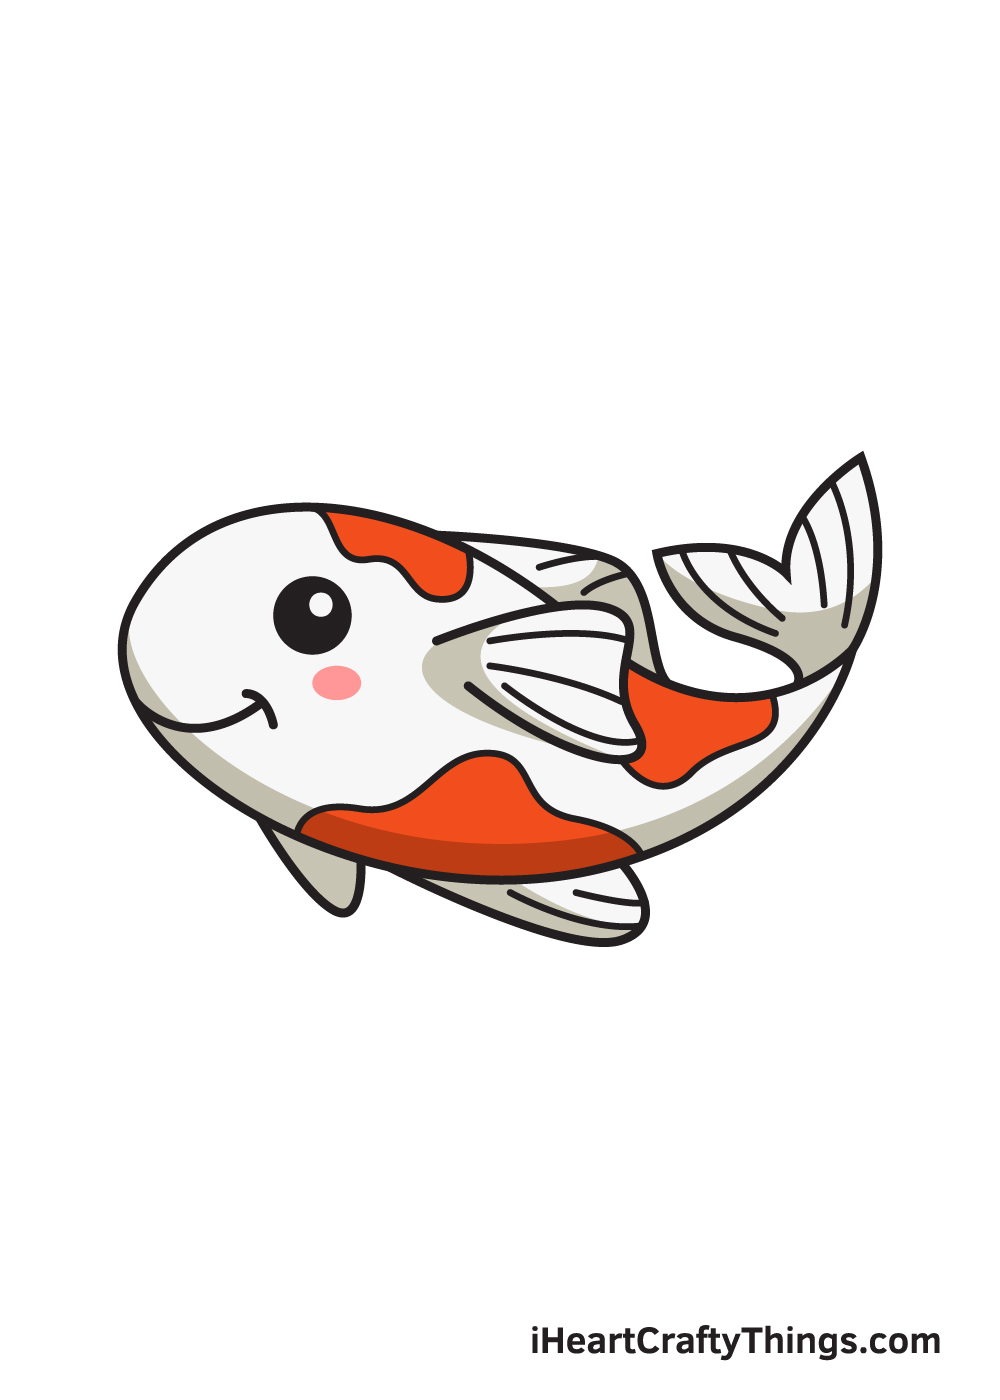
5 Tips To Make Your Koi Fish Drawing Even Better!
You’ll be swimming in great ideas for your koi fish sketch after these 5 tips!
When you look in a pond that contains koi fish, you will often see quite a few swimming around. For that reason, it could be fun to add some more friends to this drawing of a koi fish!
You could add as many as you like, and all you would have to do is follow the guide again and change a few details on each fish.
Whether you add more koi fish to this drawing or not, you could change it up by altering the markings on the fish.
Koi fish can have many different kinds of colors and markings on them, so you could really get creative with it. What sorts of colors would you like to add to these beautiful fish?
You also don’t have to stick to just koi fish when populating this koi fish drawing. You could also add any other breeds of fish that you could expect to see in a pond with koi fish.
There are so many different kinds of fish you could add to this peaceful scene! What are some favorite fish breeds you could use to populate this image?
Speaking of a pond setting, it would also be great to add a background for this picture. You could keep it quite simple by just having some little lines to show the flowing water.
Or, you could add lots of details such as rocks and small plants under the water. What are some other details you could add to make this pond setting a paradise for koi fish?
Finally, we think it would be great to use some cool and unusual art mediums to color your koi fish sketch. For example, you could put a light sprinkling of blue glitter over the image.
This would make it look like the water is sparkling in the sun, and it would really help to draw the eye. What other fun art mediums could be used to elevate this drawing?
Your Koi Fish Drawing is Complete!
We hope you enjoy this step-by-step koi fish drawing tutorial. We think this artwork would make an amazing house decoration. It can be hanged up on your wall once it is colored and framed.
In which part of your house do you imagine this koi fish drawing would look great?
Remember, all of our drawing tutorials are 100% free for you to use as a guide.
We are uploading new content regularly, so make sure to keep re-visiting our catalog to enjoy all-new drawing tutorials. What kind of fish would you like to learn how to draw next?
Once you’ve finished your masterpiece, don’t forget to show off the results of your hard work by sharing it on our Facebook page and on Pinterest.
While you’re at it, please like our Facebook page as well! Your support would mean the world to us.
We are looking forward to seeing your colorful koi fish drawing!
Here Is A Koi Fish Sketch To Inspire You!
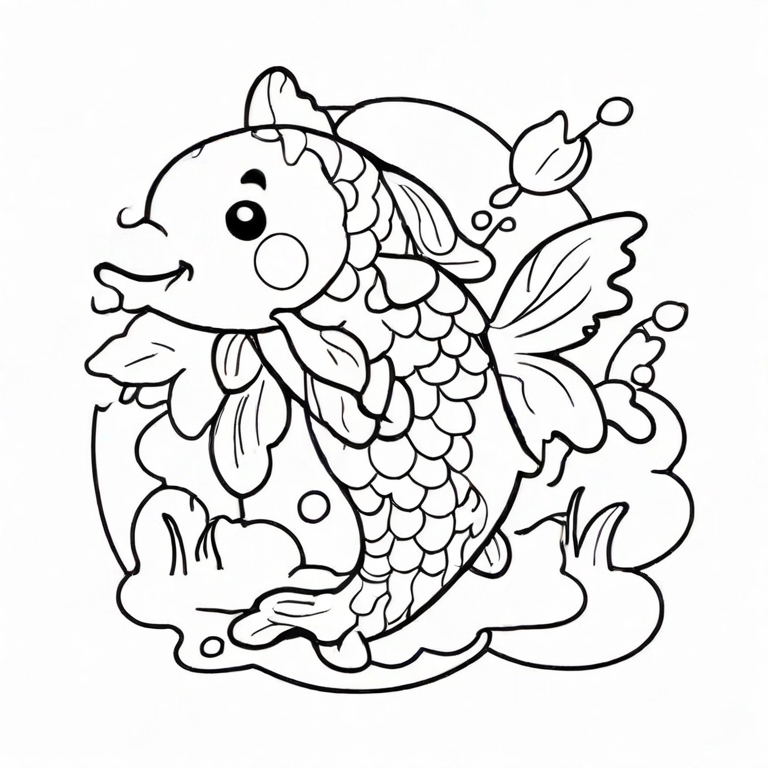
You’ve worked hard on this guide, and hopefully you’ve had a fun time drawing this famous fish. If you need a bit of extra inspiration, we have this koi fish sketch from our artist Amanda to help you!
Amanda has created a truly stunning portrayal of a koi fish with this drawing. One of the highlights would have to be the many scales on the side of the fish.
These can require a bit of patience to draw, but that patience is well worth it. She also added plenty of details around the fish to create a background setting for the fish.
When you draw your own version, you could add even more details to the design. Or, you may want to keep it simpler, in which case you could keep the design or even scale it back, pun intended!
