There are many different natural occurrences that are incredibly dangerous and destructive. They can range from tornadoes and tsunamis to earthquakes and floods.
One of the most devastating of these natural disasters would have to be hurricanes. These are some of the most vicious, destructive storms that can hit, and they are always a major threat whenever they hit.
While they are horrific, they can also be quite awe-inspiring, and many people like to learn how to draw a hurricane so that they can replicate the intensity they bring.
They can be a bit tricky to draw, but with the right tutorial, it can be made much easier! That’s why you will want to read all the way to the end of the guide.
This step-by-step guide on how to draw a hurricane will show you how to draw this destructive marvel.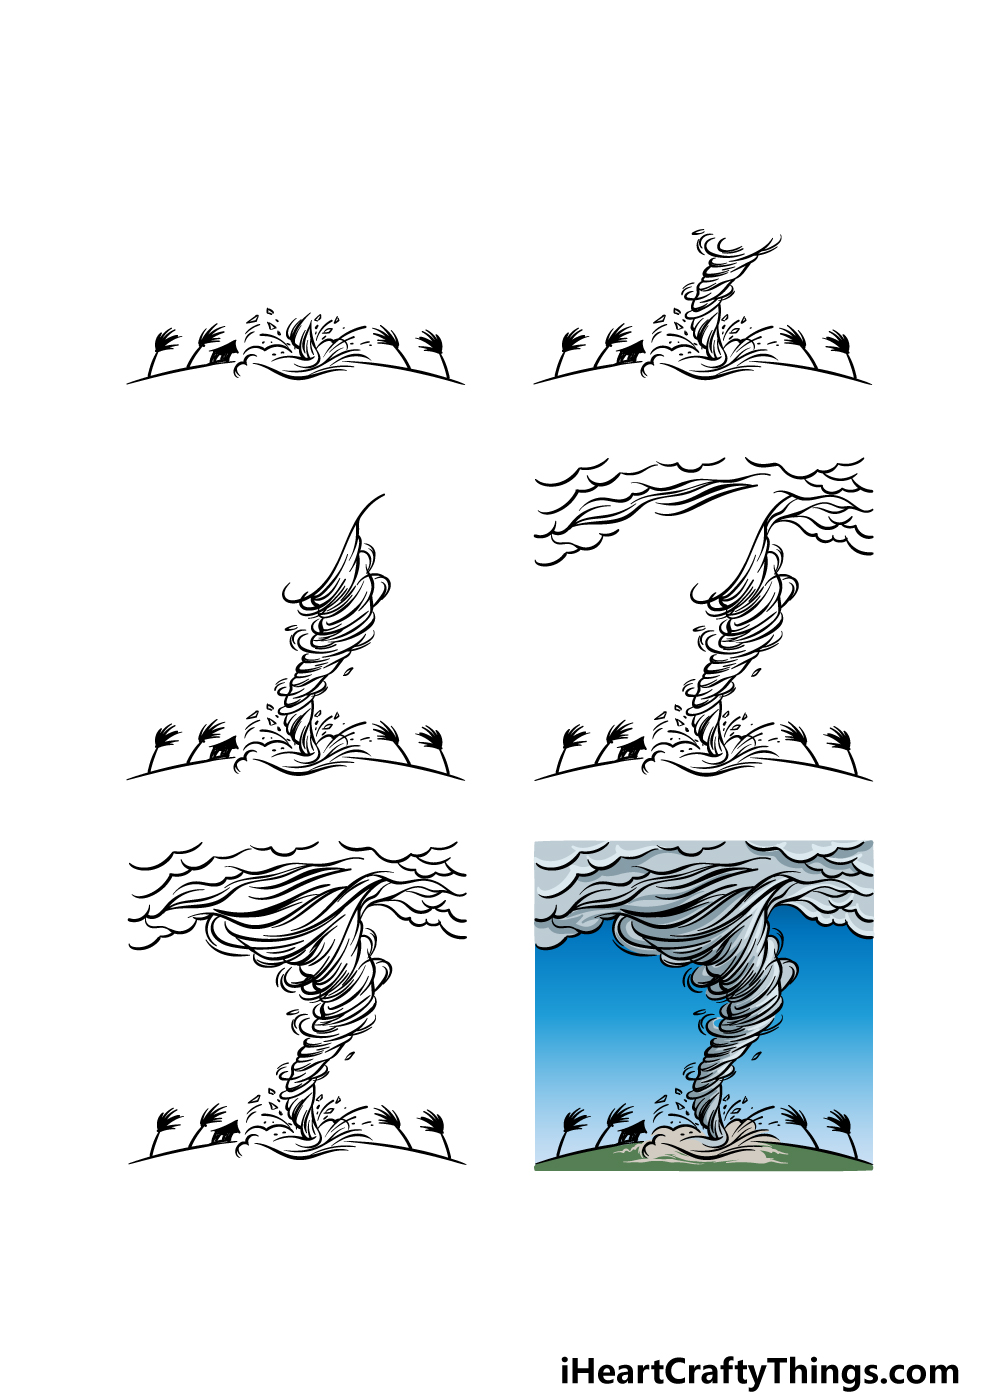
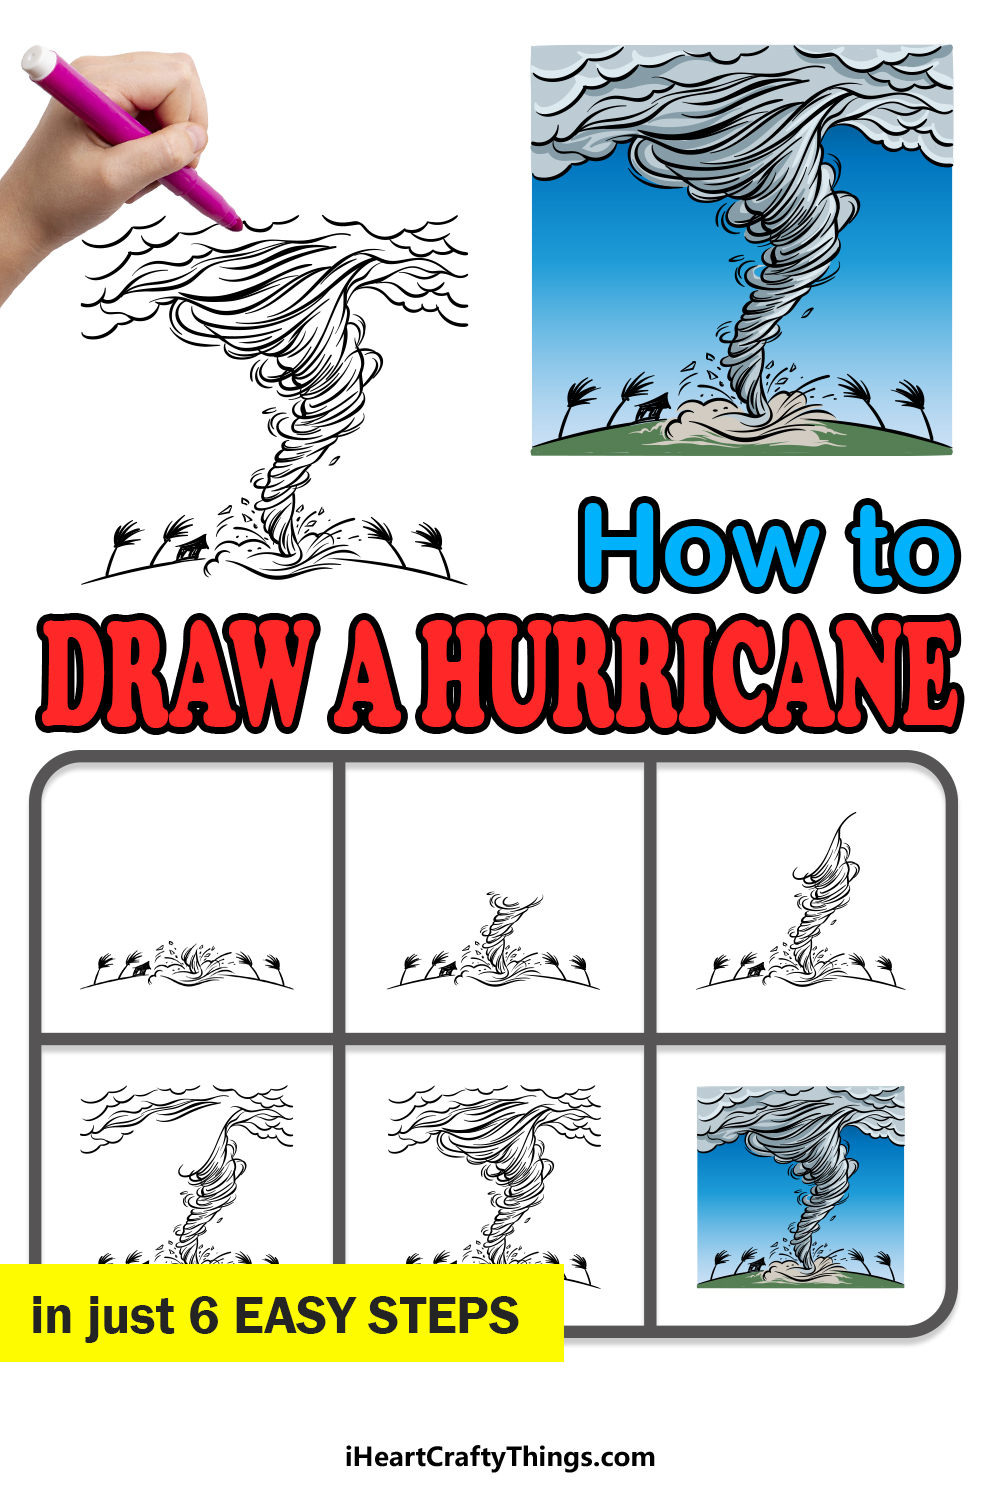
How to Draw A Hurricane – Let’s Get Started!
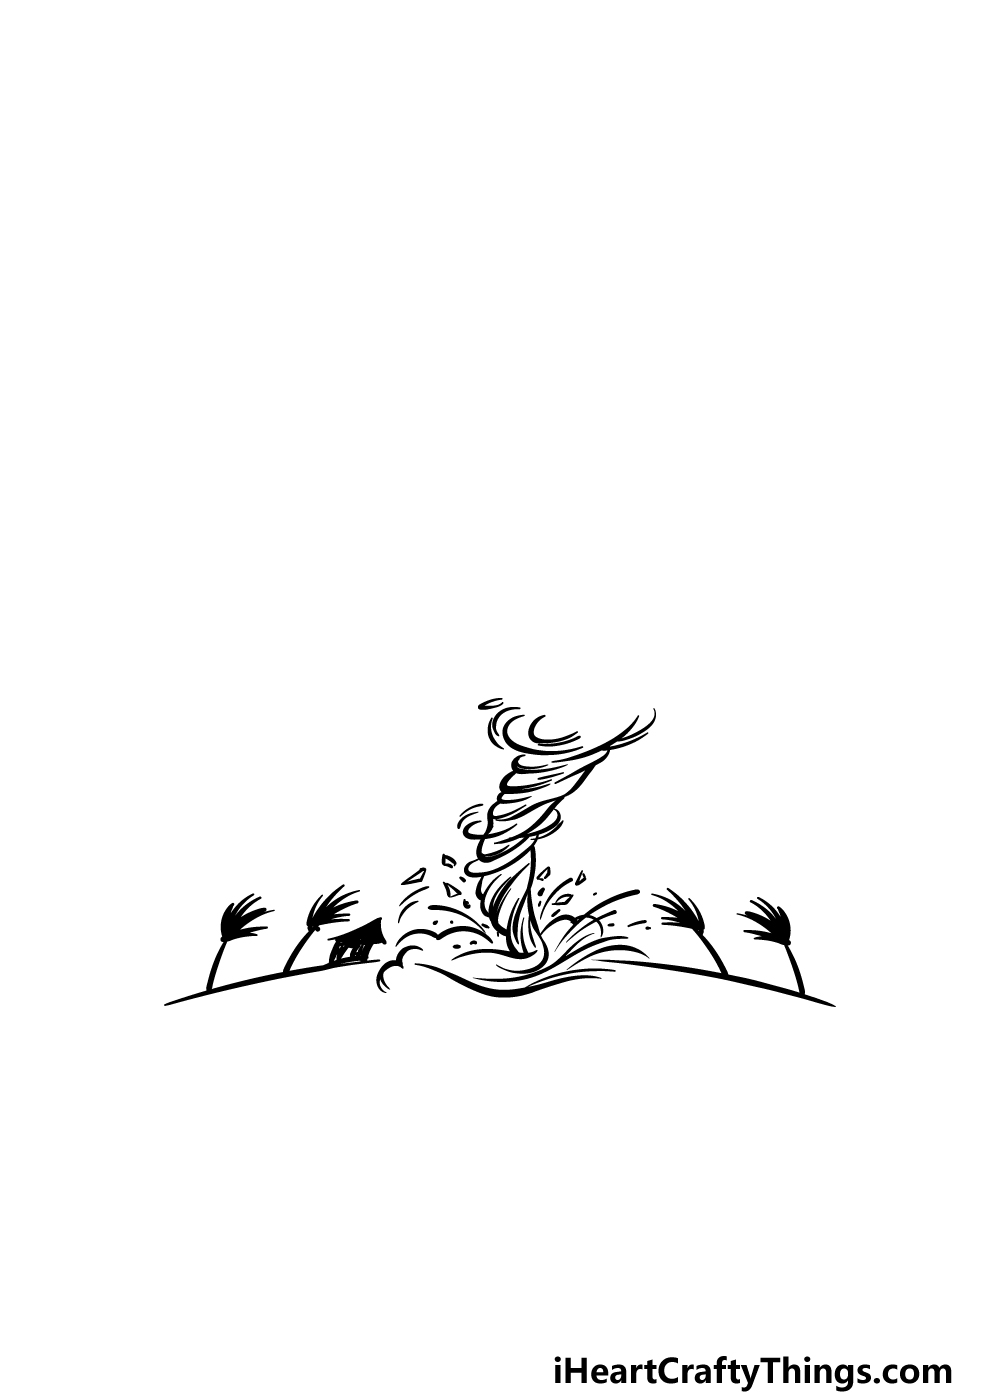
Step 1

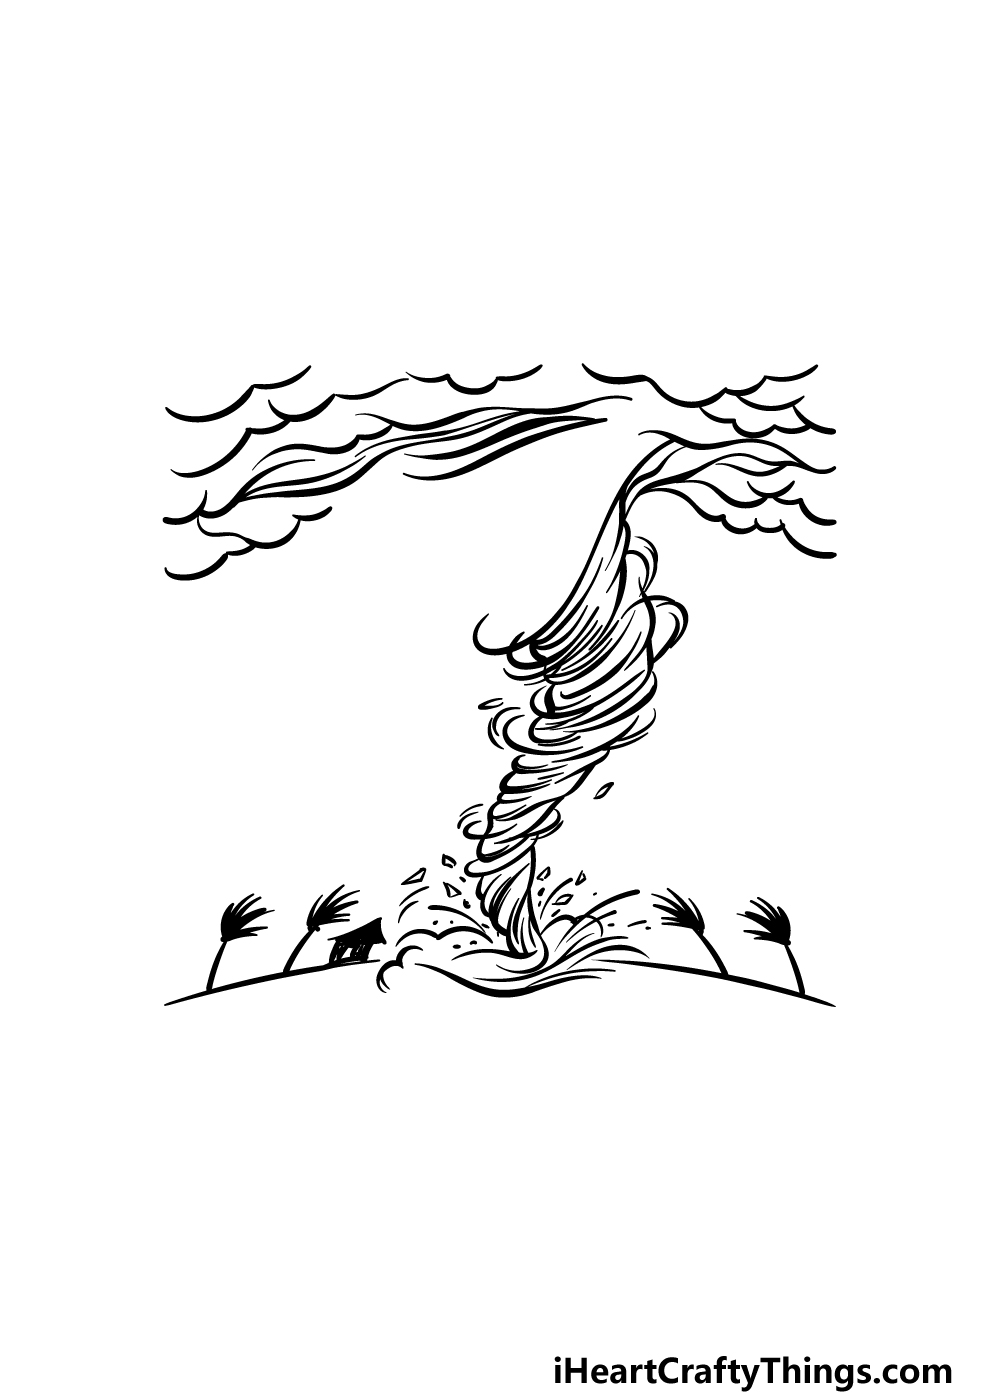
For this first step of our guide on how to draw a hurricane, we shall start at the place you would not want to be when one hits: the base!
First, draw two curved lines with a gap in between them for the ground where the hurricane will be moving over.
You can then use some simple shapes to draw some unfortunate trees and houses, and for added effect you can draw them angled towards the center of the hurricane.
Then we shall be using lots of curved lines to create the swirling dust at the base of the hurricane, and then you can draw some lines and small pieces of debris coming up.
Once these details are drawn, you can then move on to the next step.
Step 2 – Next, draw more of the hurricane itself
In this step of your hurricane drawing, we will be adding more to the hurricane.
The first half of the hurricane will be quite thin and twisted, and it will be drawn with lots of curved lines connecting to one another.
At the top of the section that we will be drawing now, you can add some larger curved lines to make the structure of the hurricane look more erratic.
Then, you will be ready to proceed to step 3!
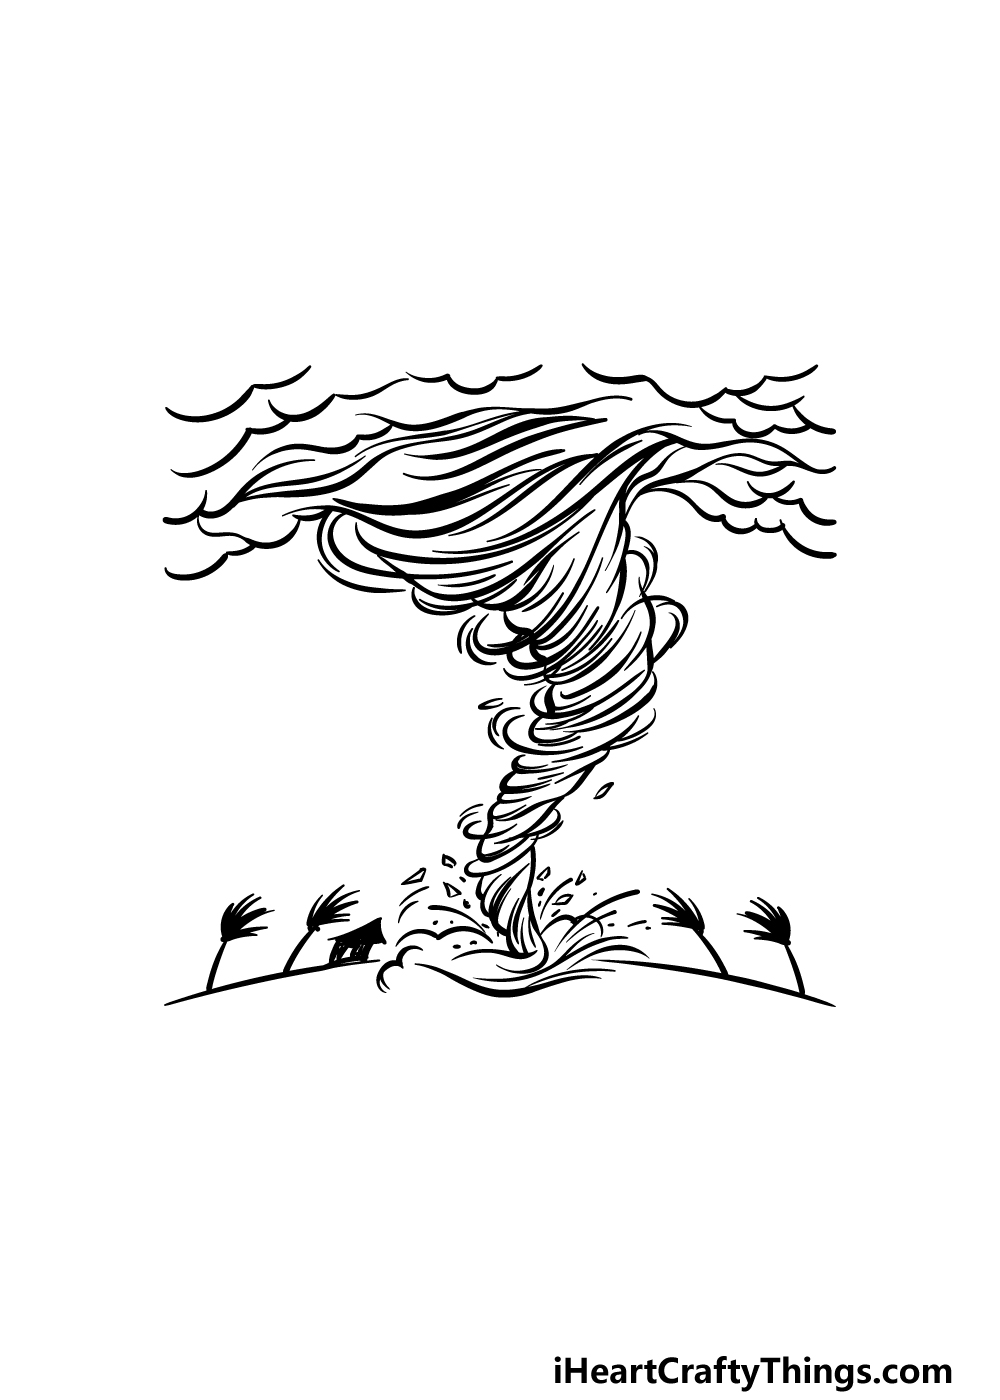
Step 3 – Now, draw the next section of the hurricane
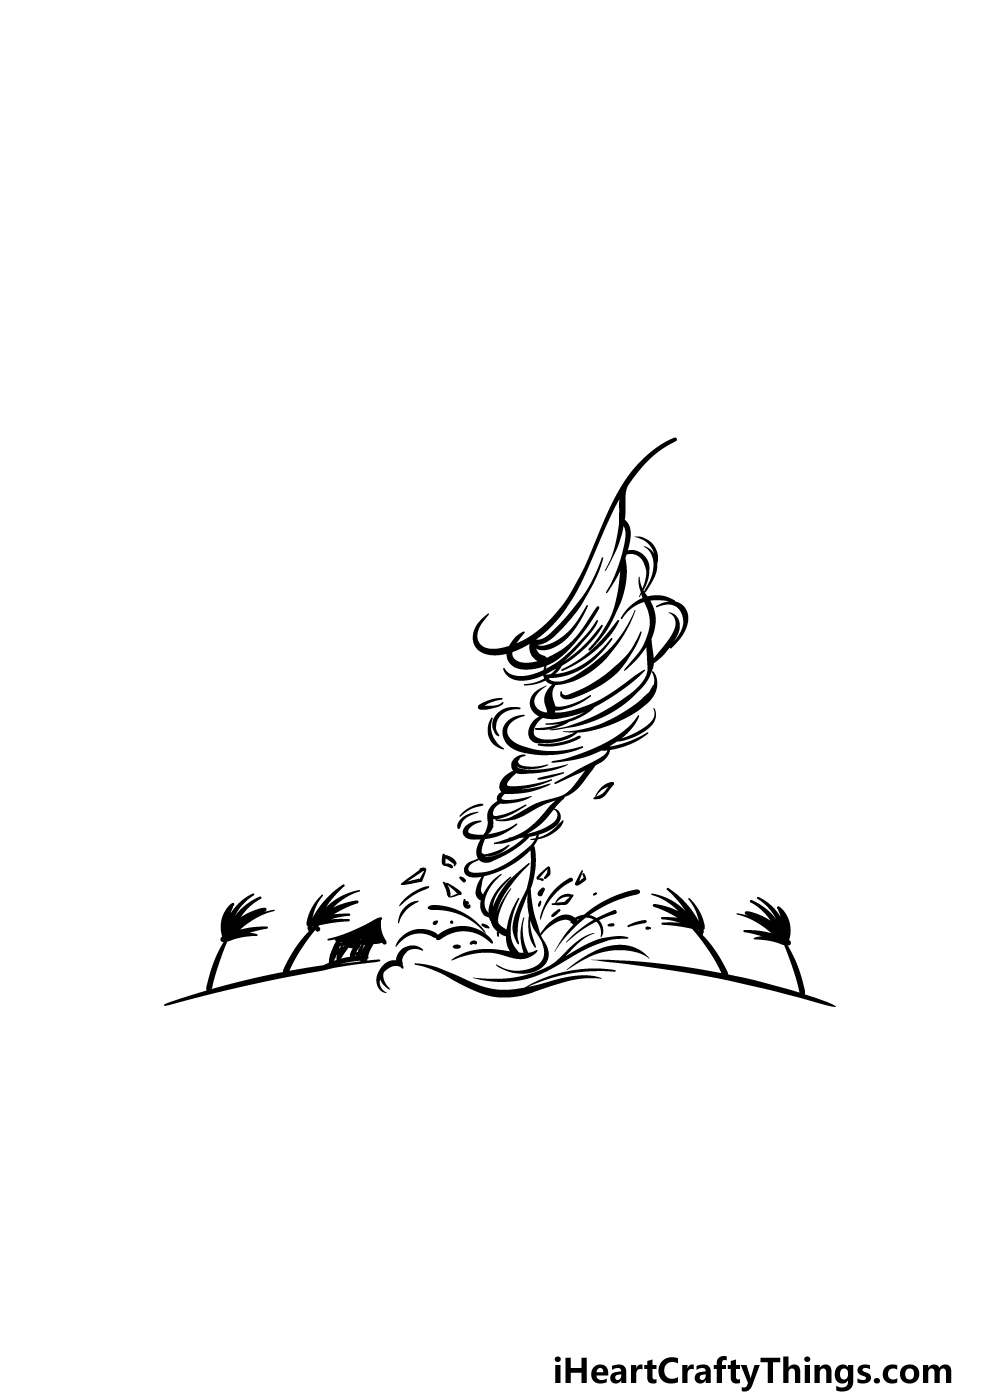
Continuing with this guide on how to draw a hurricane, you can now draw the next section.
At this point, the body of the hurricane will start to get a bit thicker as it goes upward. It will also start twisting sharply to the left, as shown in our reference image.
By twisting it to the left, you can start angling it towards the sky, but we will draw that part later on.
Be sure to also incorporate some open, curved lines at the top of this section, and then we will be ready to draw more sections into that empty space later on in this guide.
Step 4 – Next, draw some clouds above the hurricane
For this fourth step of this guide on how to draw a hurricane, we shall move the focus away from the hurricane itself and draw the clouds gathering up above the hurricane.
To draw these clouds, you can use lots of bumpy lines to create the puffy clouds. You’ll want to use lots of these small bumpy lines to make the cloud cover look a bit more intense.
Then, you can also draw some longer curved lines for the area where the hurricane will connect to the cloud cover.
You will then be ready to add the final details and elements in the next step, so let’s proceed!
Step 5 – Add the final details to your hurricane drawing
Now you have arrived at the fifth step of this guide on how to draw a hurricane. In this step, we will be finishing off the final details and sections to get you ready for the final step of the guide.
To do this, you will be drawing the final section of the hurricane. This section will be drawn with more of the wavy lines that you drew amongst the clouds in the previous step.
Once you have drawn this final section of the hurricane, you will be ready for the final part!
Before you move on, you can also add some details of your own. These details could include some debris flying around, or you could add some more to the background of the image.
These are just a few ideas, but what else can you think of to add?
Step 6 – Finish off your hurricane drawing with color
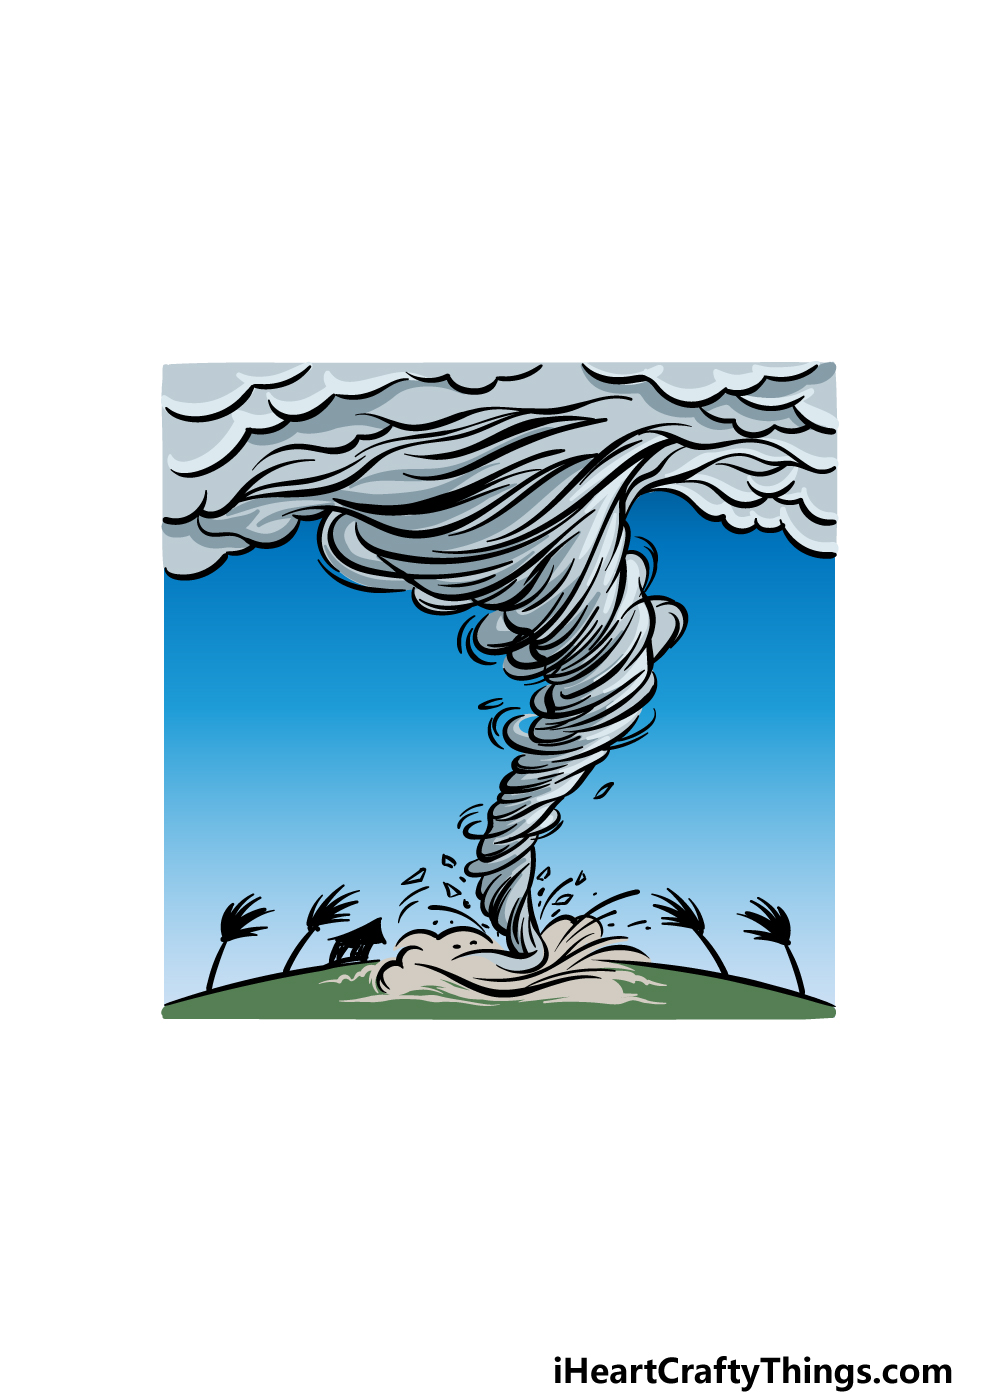
For this final part of your hurricane drawing, you can finish it off by adding some colors to it. In our reference image, you will see just one of the many ways that you could color this image in!
We used a variety of different grey shades for the hurricane itself, and then we used a blue gradient for the sky behind it.
We then finished off with some greens for the grass to add some brighter colors.
You could go for similar colors in your own rendition of this drawing, but there are also many more colors you could go for!
Once you know what colors you would like to use, what art tools and mediums do you think you will use to achieve them? We can’t wait to see!
Do this to take your hurricane drawing to the next level
Take these tips for your hurricane sketch for a spin as we make it look even better!
In real life, hurricanes will cause tons of flying debris in the air around them which can make them even more destructive. This would be a great detail to add to your drawing of a hurricane!
Adding this debris could be fairly simple, as it could be added with a series of very small lines and shapes circling the hurricane.
It would be a simple yet effective detail to finish off this destructive force of nature!
What kinds of debris do you think would be around this hurricane?
A hurricane is never a welcome sight in any community. Adding some buildings to this scene would show what structures are unfortunate enough to encounter this huge hurricane.
This would also be a good suggestion if you added some debris as we suggested in the previous step. You could show the buildings getting ripped apart to really highlight the power of a hurricane.
What sorts of buildings would you like to add to showcase the destructive capabilities of a hurricane?
The style that this hurricane drawing is portrayed in is really great and detailed. There are other drawing styles that you can use to make it more personalized to your own tastes, however.
For example, you could make it more cartoony by removing some details and changing the shape. You may even want to make it more realistic by making some of the linework a bit more subtle.
What art styles could you use for this?
Another way to get a different look for your hurricane sketch is by changing up the art tools and mediums you use. Using paints would be a good place to start, as you can get some wonderfully twisty lines and effects.
Another interesting thing to try would be by gluing some cotton wool over the hurricane to make it look fluffy and textured. It can be lots of fun trying out some cool and unusual mediums!
Your Hurricane Drawing is Complete!
That brings you to the end of our guide on how to draw a hurricane!
You certainly wouldn’t want to be around when one of these hurricanes hit in real life, but we hope that it was an enjoyable experience for you to learn how to draw one!
When you have completed all of these steps, you can also add some ideas of your own to really personalize the image.
We mentioned a few ideas that you could try, but what else can you think of that would complete this picture?
You can also check out our website when you’re ready for more drawing fun, as we have tons of guides ready for you there! We also have more guides coming soon, so stay tuned for those.
Please also remember to share your finished hurricane drawing on our Facebook and Pinterest pages. That would be the best way to let us take a look!