Many plants and flowers manage to gain associations and fame that are not tied to them just being beautiful or healthy.
While the holly is a beautiful plant, it’s not necessarily known for that, as it has most of its reputation tied to Christmas time.
This is a plant that you will see used as a decoration in all manner of ways around the festive season. Learning how to draw a holly is a great way to get even further into the Christmas spirit!
If this sounds like something you would like to do then you’re in the right place!
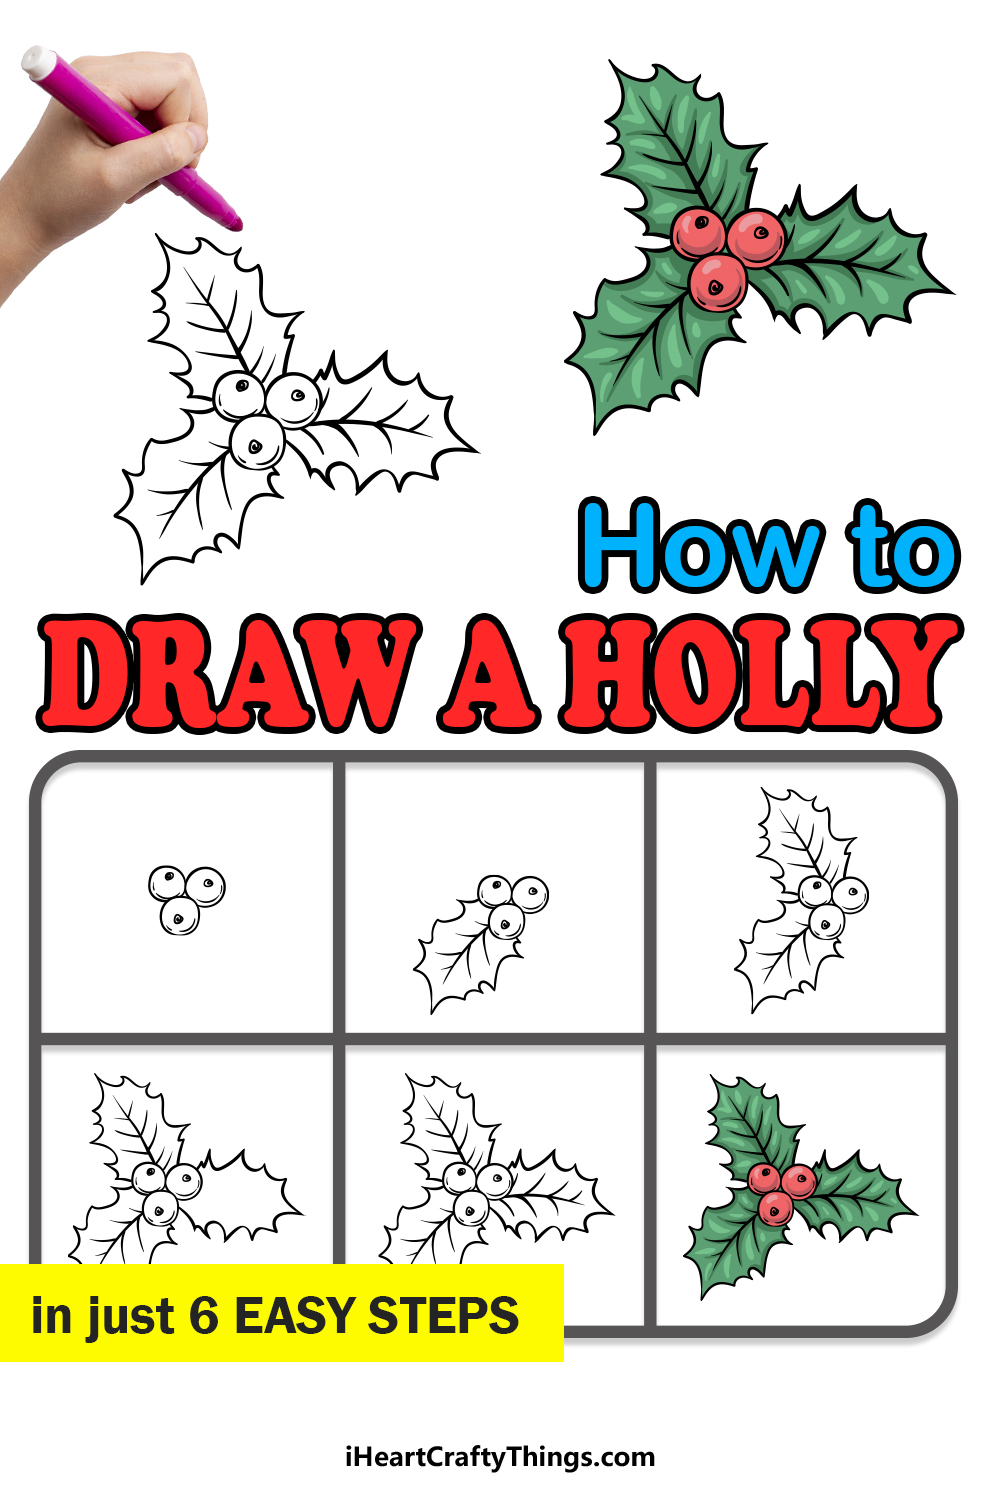
Our step-by-step guide on how to draw holly in 6 steps will show you how to create some great artwork featuring this pretty, festive plant.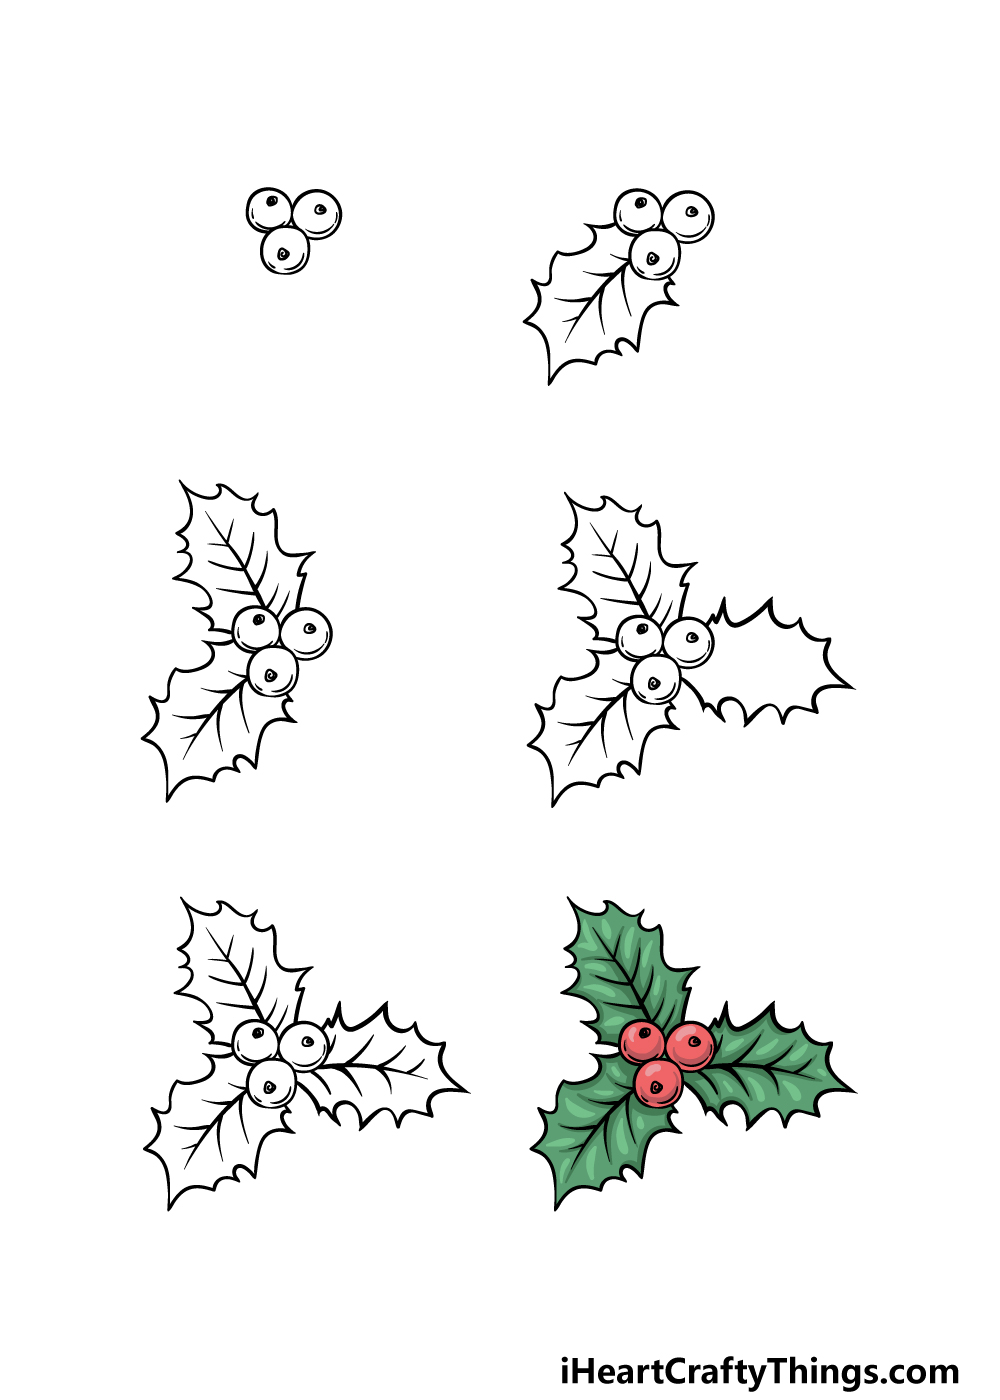
How to Draw A Holly – Let’s Get Started!
Step 1

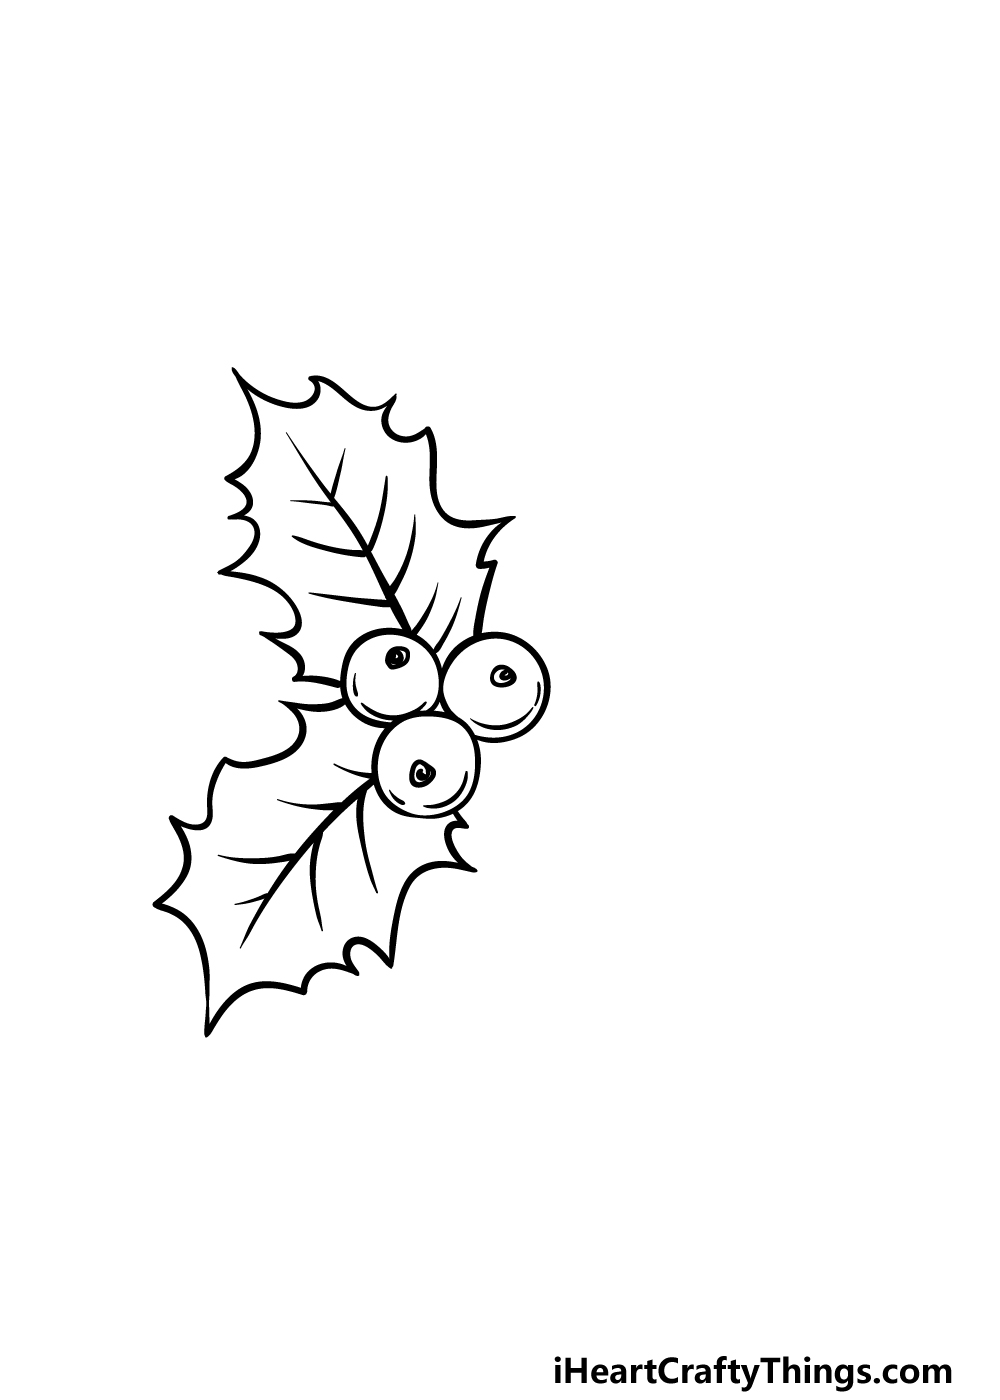
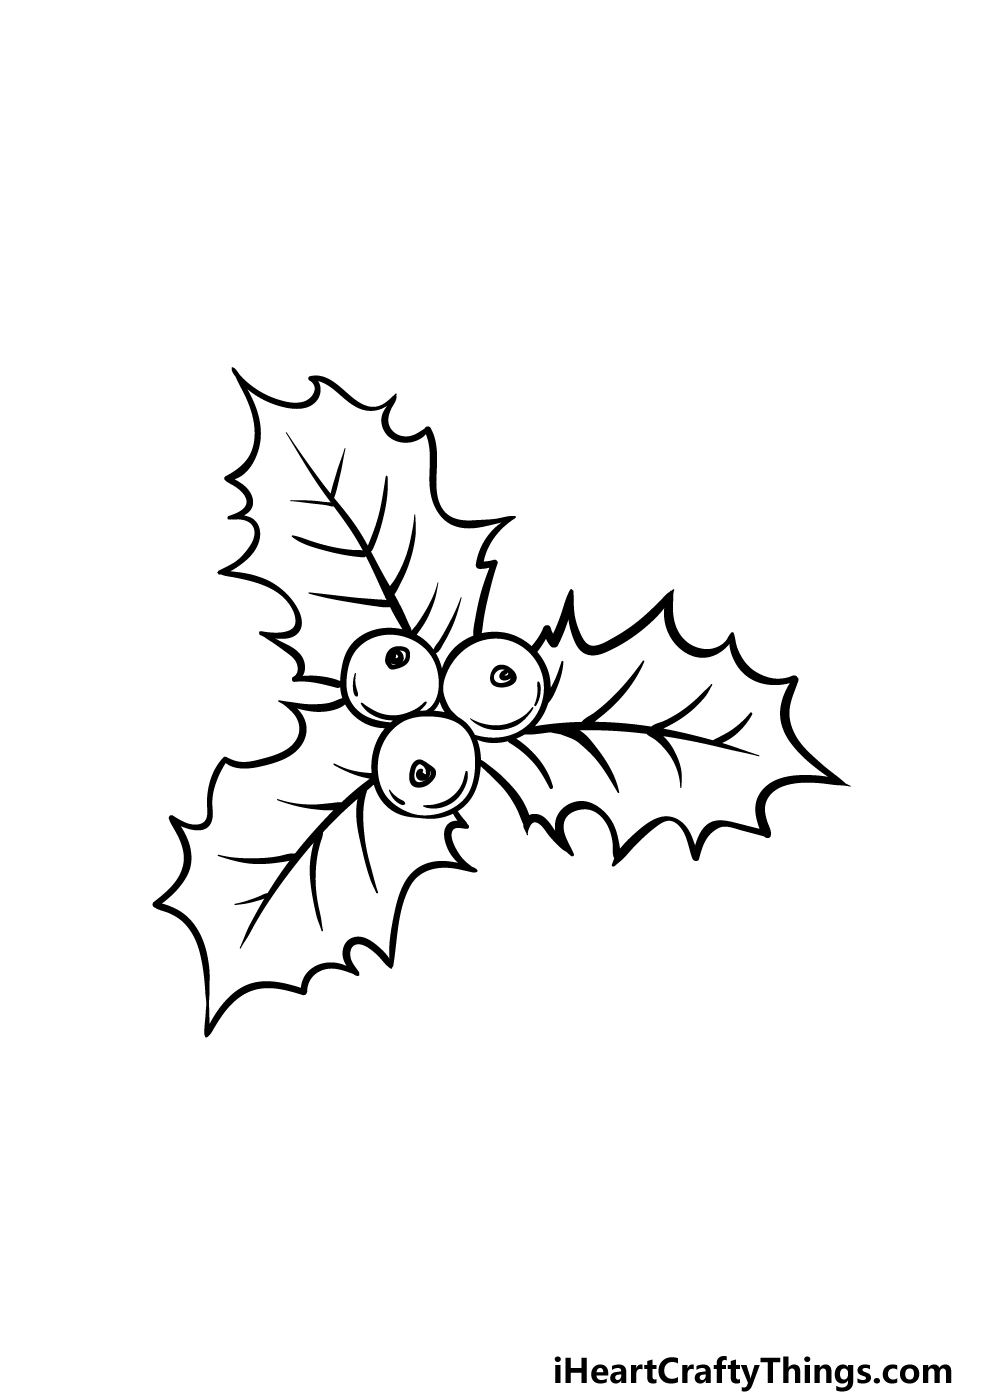
For the first step of our guide on how to draw a holly, we will begin with the three red berries at its center. To do this, you can start by drawing three circles next to each other.
These circles don’t have to be perfect, so you can draw them freehand.
Once they are drawn, you can then add some detailing to them. These details will include drawing a small circular shape near the center of each berry.
Then, we will also be drawing some simple curved lines near the base of each berry for some further detailing.
Step 2 – Next, draw the first leaf for the holly

While holly is well known for its bright red berries, it’s also equally distinct thanks to the unusual leaves attached to it.
We will be adding the first of these leaves in this part of your holly drawing. The outline of the leaf has lots of pointy parts in the outline, so you can use several curved lines that culminate in these sharp points.
Once you have drawn the outline, we will then draw some inner detail. To do this, draw a curved line down the center, and then draw several more curved lines coming off of it.
Once you have this first leaf looking as it does in our reference image we can then move on to the next step.
Step 3 – Draw the second leaf for the holly
You’ve drawn one leaf in this guide on how to draw a holly, so you should have an easy time drawing a few more!
For this third part, you will essentially be replicating what you did in the previous step. That means that we will be drawing an outline using a curved line that forms the pointy tips poking off of the leaf.
We will also need to add the inner vein details to the inner portion of the leaf as we did before. There will be just one more leaf to add in the next step, so when you’re ready we can move on!
Step 4 – Now, draw the outline for the third leaf
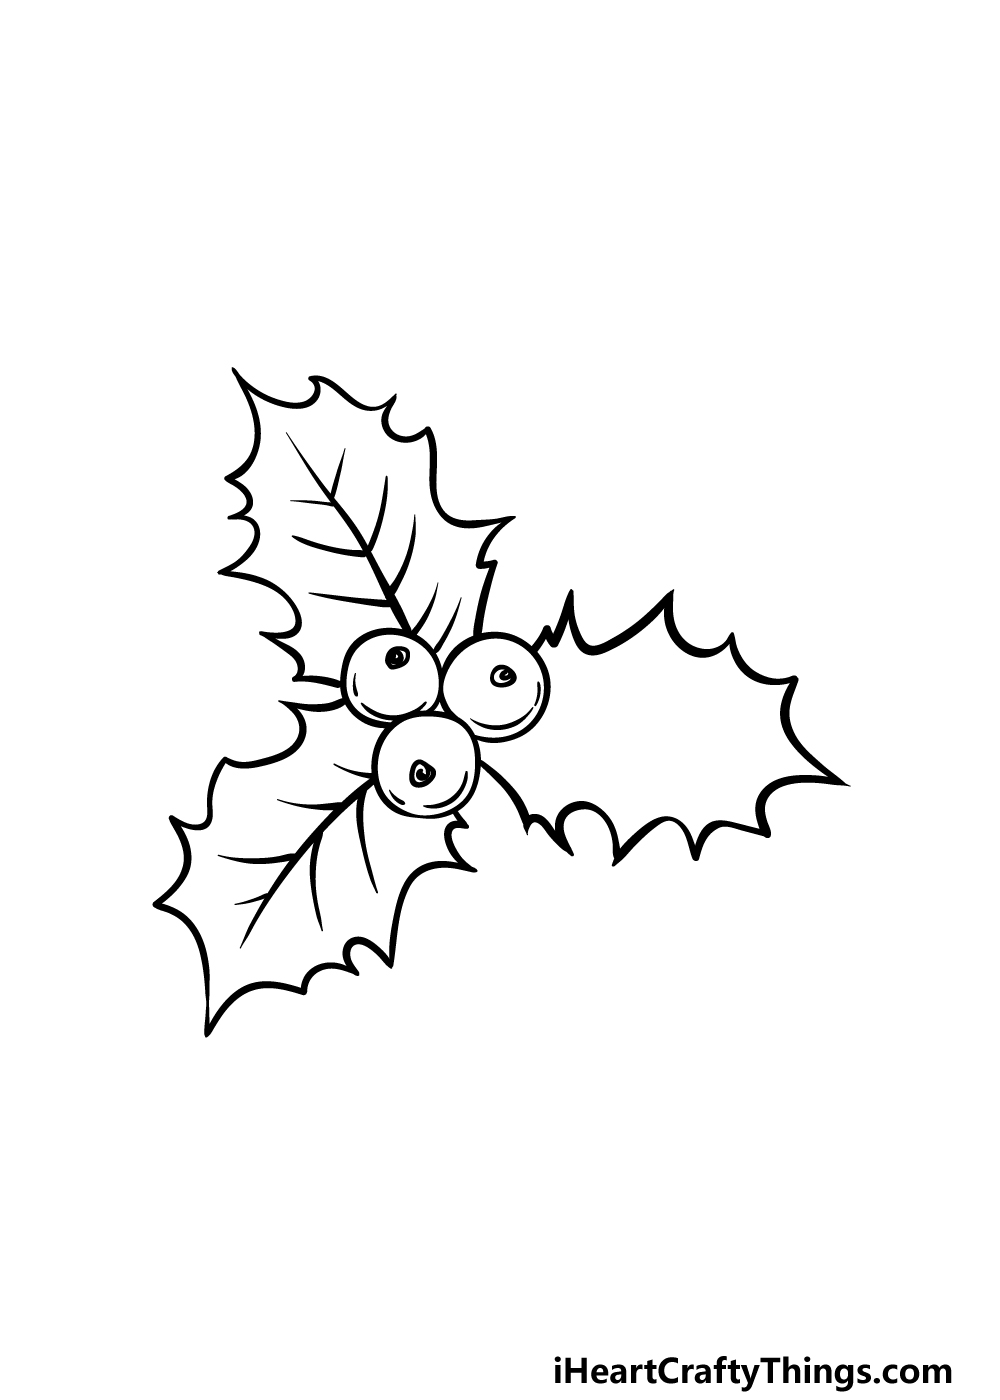
For the fourth step of your holly drawing, we will start drawing the third and final leaf of the plant.
This final leaf will fill in the last empty space that was left on the lower right-hand side of the drawing.
As with the others, you will be drawing the outline using some curved lines for more of those distinctive pointy tips.
Once this outline is complete, we will finish off the final details in the next step.
Step 5 – Add some final details to your holly drawing
Something is missing from that last leaf that you drew, and we will fix that in this step of our guide on how to draw a holly.
To complete this last leaf, all you need to do is draw some more of those vein details onto the leaf. That means once again drawing a central curved line with smaller ones coming off of it.
That will complete the holly, but there is also room for you to add some creative touches. Holly plants are often a part of wreaths and other traditional Christmas decorations, so it could be fun to draw a background incorporating this holly into one of these decorations.
Alternatively, you could also draw a background that shows where this holly would be growing in nature. These are just a few ideas you could try, but what else can you think of to finish it off?
Step 6 – Finish off your holly drawing with some color
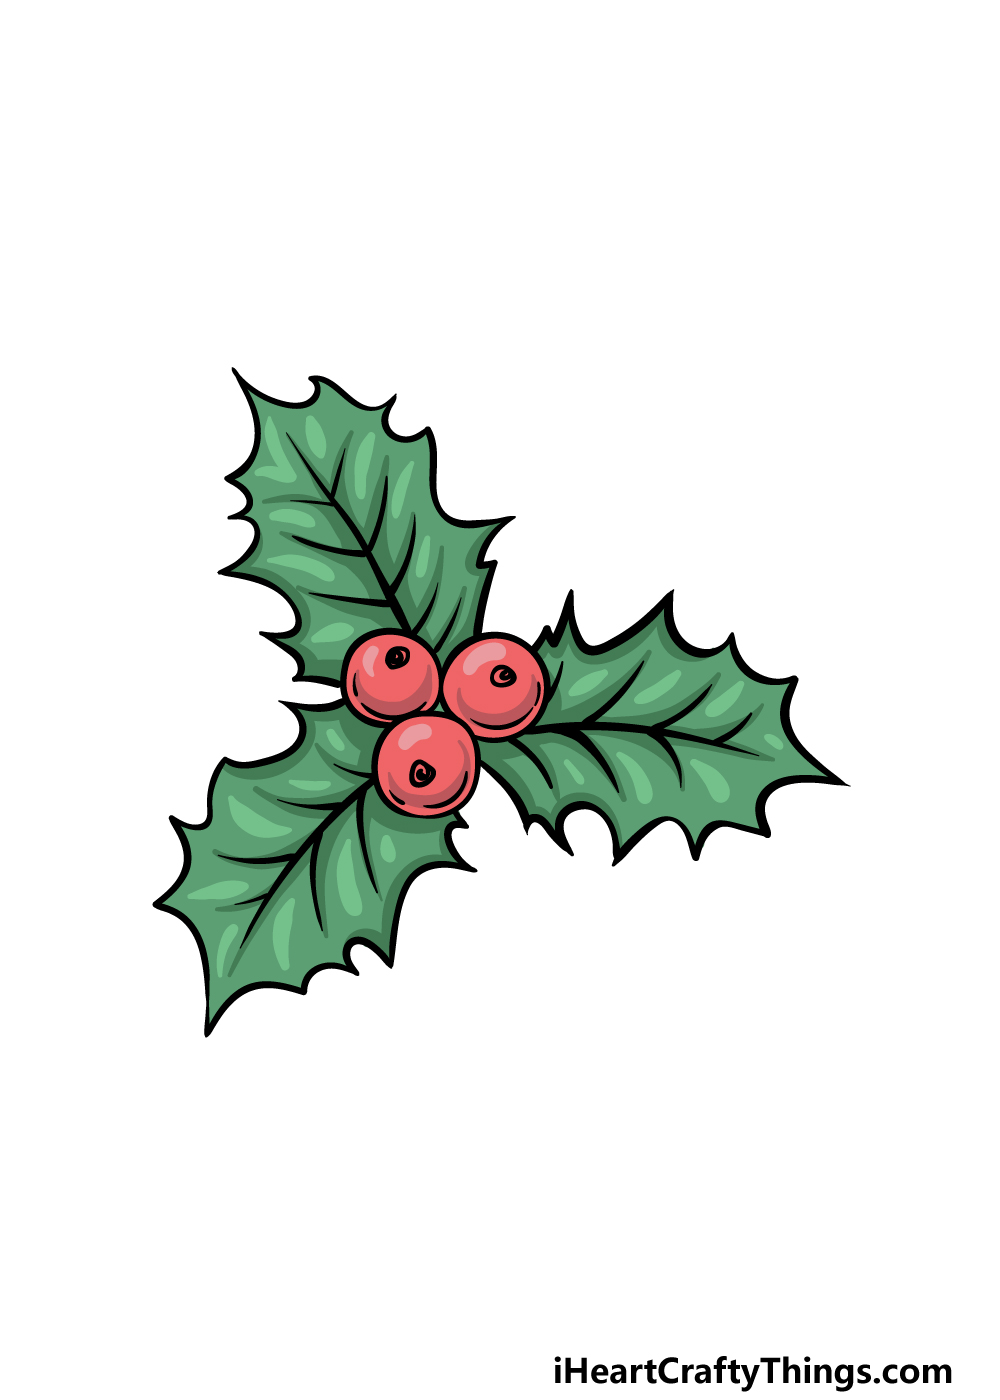
In this final step of your holly drawing, you will be finishing off with some amazing colors! Holly plants are well known for their bright red and green color scheme, and that is what we went for in our example image.
Even though we stuck with these two colors primarily, there are still ways to make the colors look more dynamic.
As shown in our reference image, you can use varying light and dark shades of these colors, as this helps to create some texture and shading detail. You could also go for a more stylistic look and use some other colors that you love for it!
The mediums you choose to use can also have a huge impact on how the colors appear. If you want a bright, striking image, you could use some thick acrylic paints or colored markers.
For a softer, more subdued picture you could use some watercolors or colored pencils. How will you color in your holly drawing?
Do this to take your holly drawing to the next level
Get into the festive spirit as we show you some tips for your holly sketch!
When it’s getting closer to Christmas, you will see all sorts of ornaments and decorations. The holly plant is just one of these, and you could add all the Christmas decorations you want to this holly drawing!
This could include some candy canes, stars or angels to name just a few. You could make a really fun arrangement of all the Christmas decorations you would like to have around.
What are some decorations that you would maybe like to add to this drawing?
Another way to incorporate more decorations into this drawing of holly would be by drawing a background. You could show where this holly is being displayed if you were to do this!
It could be above a door or maybe over the mantlepiece with a Christmas stocking for just two ideas. There are loads of different settings that you can expect to see holly!
That means that you would be able to create all kinds of amazing settings for this image.
When deciding on how to color this holly sketch, you can also play around with some fun art tools and mediums. We spoke about how you can use various art mediums in the guide, but it would also be fun to use some crafts!
These could include real tinsel, beads and other crafts to make the holly really pop off the page. What are some other unusual crafts and art tools you could use?
Once your holly drawing is all done and has all the touches you want to add, you could also turn it into a lovely Christmas card! You could do this by drawing the picture onto some cardboard.
Once it’s done, you can then add some text and any other elements that you want before adding a heartfelt message.
This would make the perfect gift to give someone at Christmas, and you could really turn it into a stunning card if you use all our tips!
Your Holly Drawing is Complete!
Whether Christmas is coming up or you’re stuck in the heat of Summer, we hope that this guide on how to draw a holly brought you some festive cheer!
Even though holly isn’t the most structurally complex plant out there, it can still present challenges when drawing it.
If you follow this guide and try your best then you will certainly overcome any of these challenges!
Once you’re done, how will you finish off this picture? The natural choice would be to incorporate it into a Christmas theme, but there is plenty that you could do with it!
Our website has many more drawing guides featuring more plants, other objects and even famous characters and people. We have more on the way soon, so definitely keep checking in!
We would love to see what you did to finish off your holly drawing, so please remember to share it on our Facebook and Pinterest pages for us to see.