


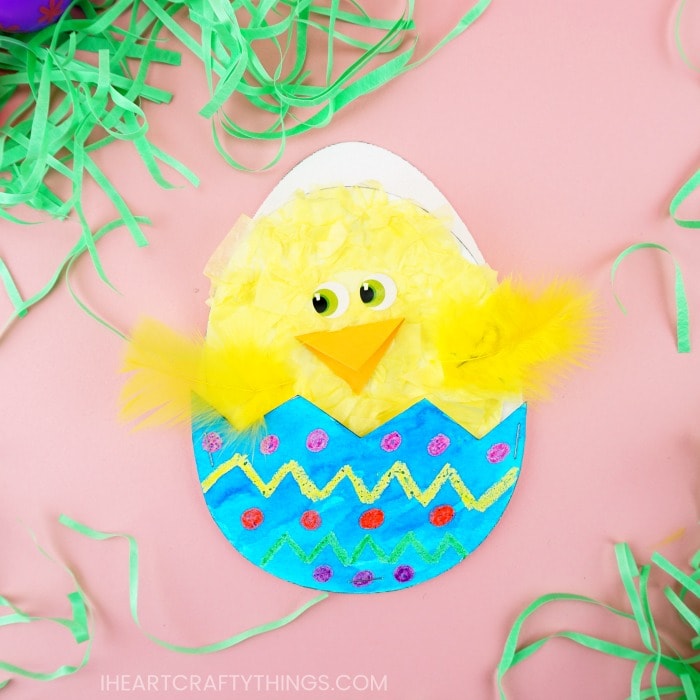
We have been having so much fun with making chick crafts this year! I think this Chick Hatching Craft is our last one for this Easter season, but it might just be my most favorite one yet. Not only do you get to decorate an egg with a the fun crayon resist and watercolor art technique, but the chick slides in and out of the egg like it’s hatching out. Too cute right?!
Grab our printable pattern and get ready for an afternoon of fun creating this darling chick craft.
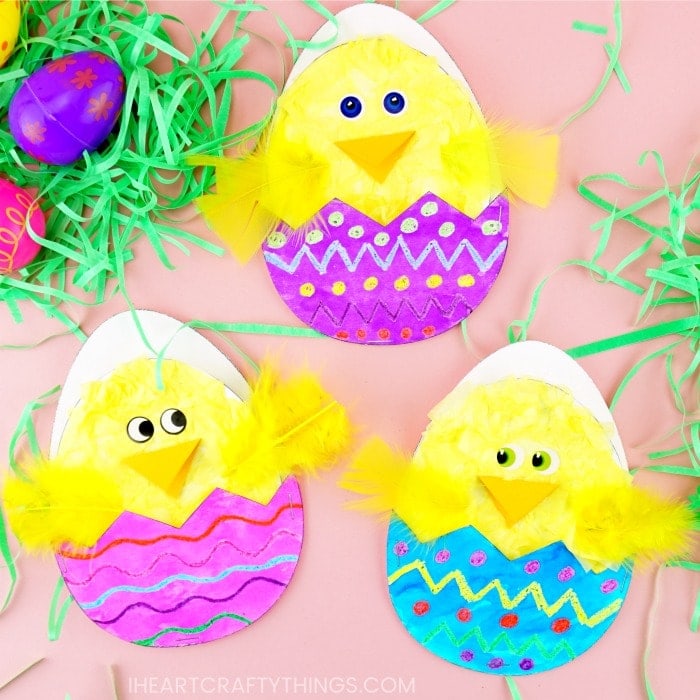
This simple Easter chick craft idea is great for toddlers, preschoolers and kids of all ages. It also makes a great Easter art display for a classroom bulletin board. Kids are sure to have a great time with the entire art process of making their own chick hatching out it’s egg.
This post contains affiliate links to the products mentioned.
Supplies needed:
- hatching chick craft template <—- GET THE TEMPLATE HERE
- white and orange cardstock
- yellow tissue paper
- yellow feathers
- crayons
- watercolors
- googly eyes or googly eye stickers
- school glue
- glue stick
- scissors
- stapler (optional)
Tutorial:
1. Print & cut out template
Start by printing out the chick hatching craft template and cut out all three pieces of the template.
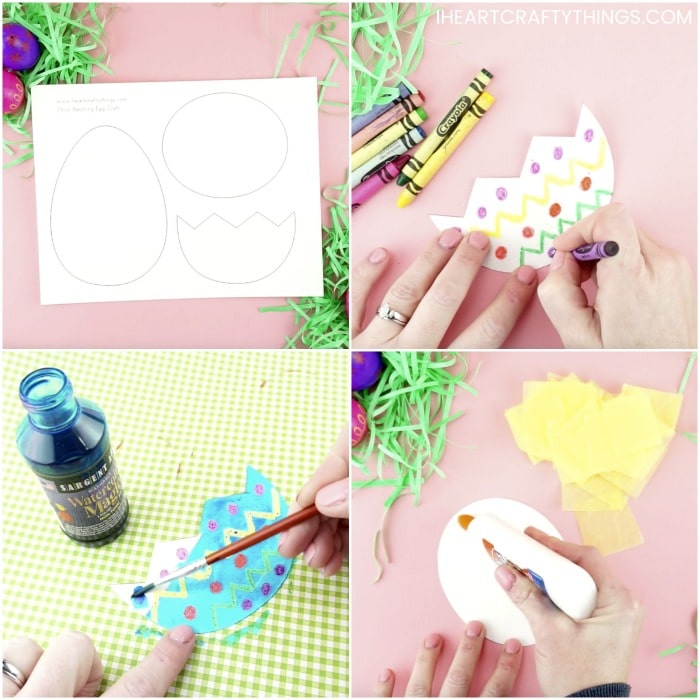
2. Color your design
Take the egg cracked piece and color designs on it with crayons. Then use your watercolors to paint the cracked egg section. The crayon resists the watercolors so you end up with a brightly decorated egg. Set it aside to dry.
3. Glue tissue paper on oval shape
Use the smaller oval shape to make your chick. Cut some of your yellow tissue paper into squares. Put lines of glue all over your oval and place your crinkled tissue paper all over the paper.
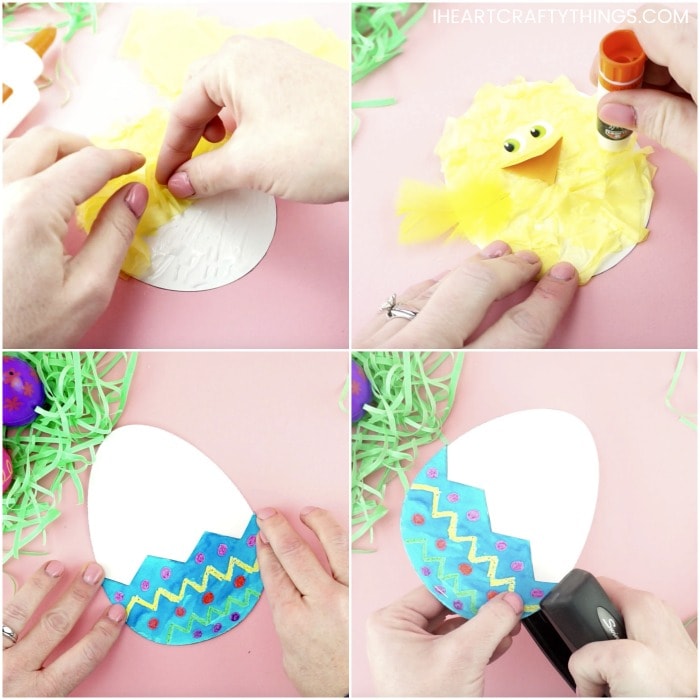
4. Glue on beak, eyes & feathers
Cut out a diamond shaped mouth folded in half for the beak from your orange cardstock paper and glue it onto your chick. Also glue on your googly eyes or add googly eyes stickers on your chick craft. Finally, glue two yellow fluffy feathers onto your chick.
5. Glue your painted design on egg shape
Once your watercolor painted egg has dried, put glue ONLY along the outside edge of it (not at the top edge) and glue it onto your white egg shape. This creates a little pocket for your chick to fit in.
We also added a few staples around the gg to help it stay in place. This is optional but is recommended if children will be playing with the craft after it is made.
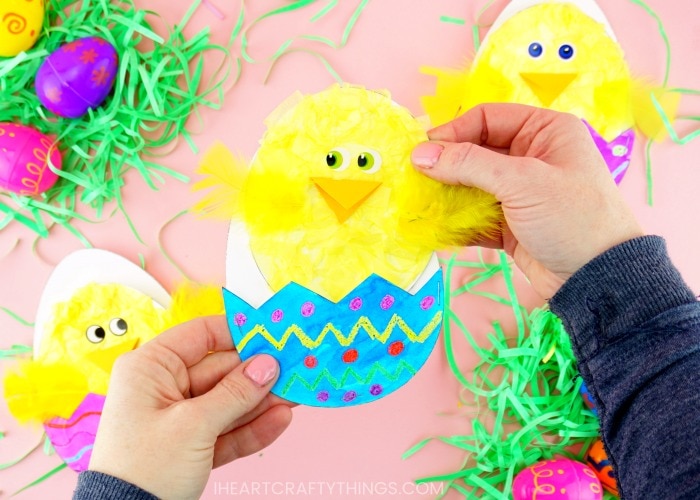
6. Slide chicken in
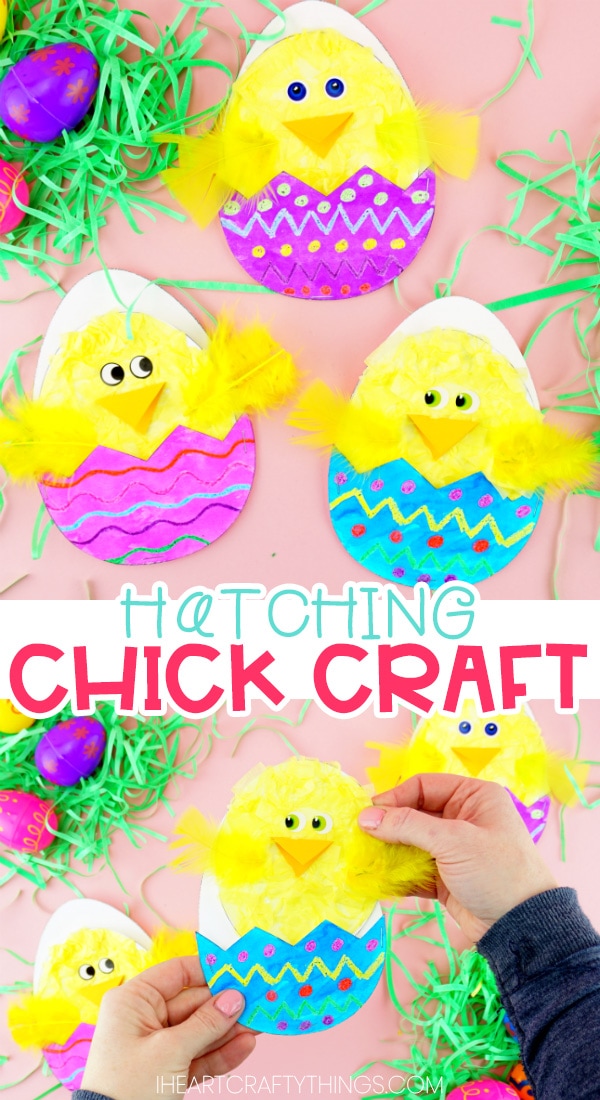
Once all of your pieces have dried, you can slide your chick in and out of your egg and pretend that it is hatching.
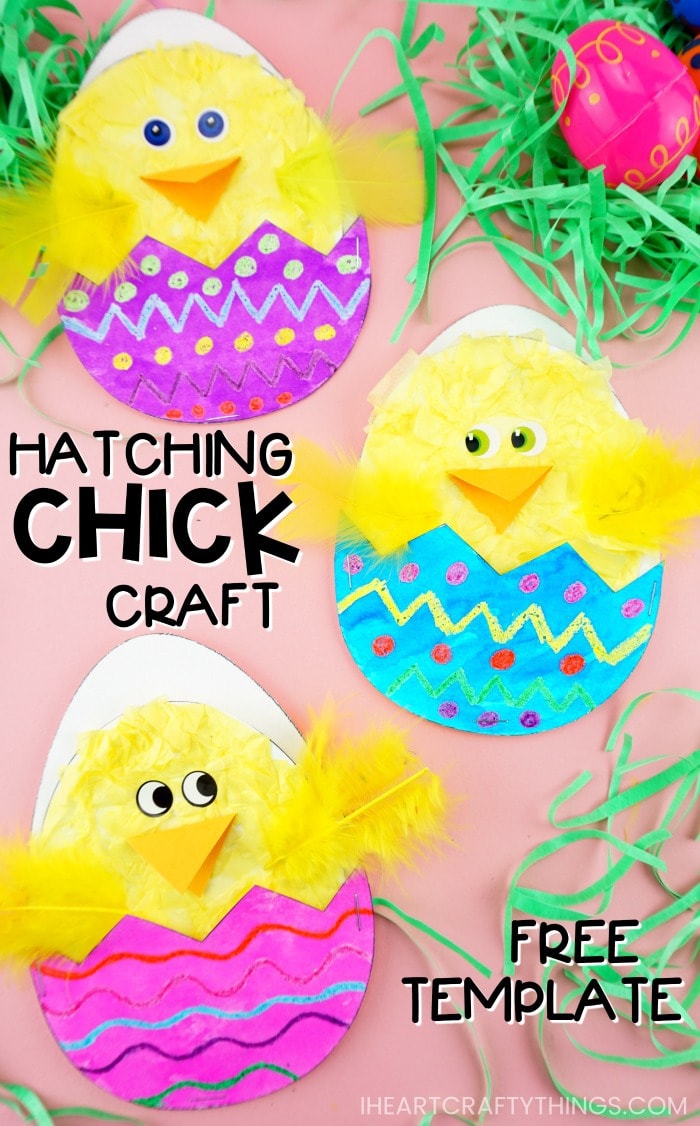
Isn’t it adorable?! If you are doing this hatching chick craft with several kids or in a classroom setting, you can have them color the chick with crayons to save on time or paint it yellow as another alternative.
The cracked egg shape can also be easily just colored with crayons to save time and the watercolors omitted. We do love and recommend the look of the crayon resist with the watercolors though!
Video Tutorial: How to Make a Hatching Chick Craft
Watch the video below to be guided through each step of our colorful chick craft. Find more chick crafts and easy Easter craft ideas by browsing the categories at the top menu bar of our website.