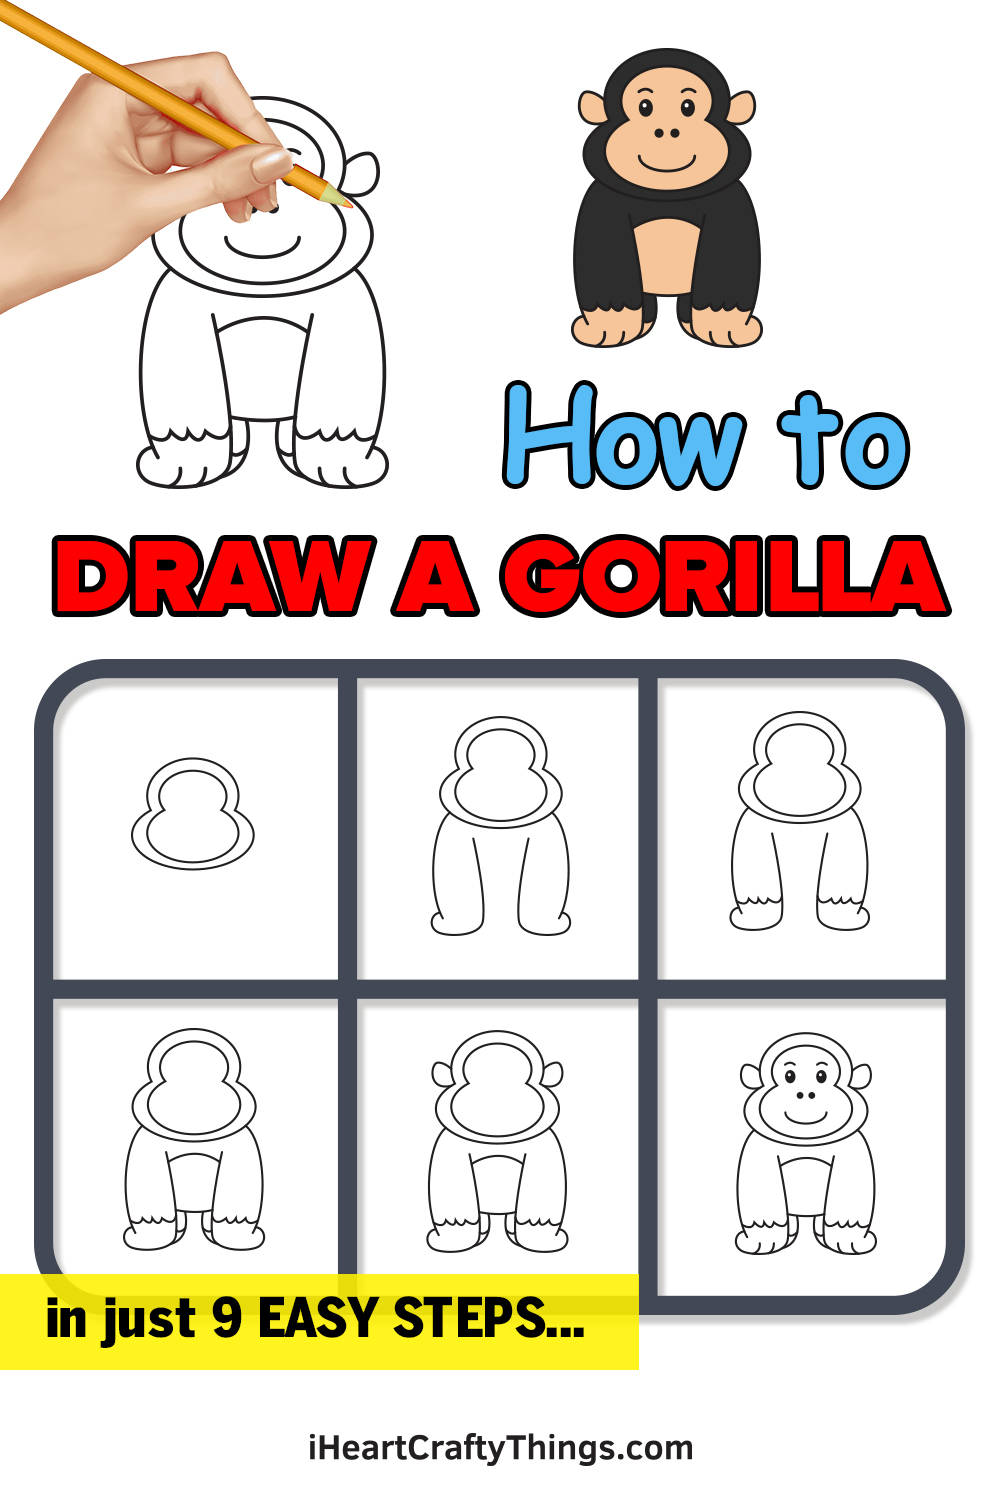
Anyone wanting to learn how to draw a gorilla will love this guide for kids! A cute cartoon gorilla friend is just moments away when you follow the steps.
Gorillas are considered great apes, and these majestic creatures are quite a wonder to behold in person. They have a unique bulky look that is also paired with high levels of intelligence.
They’re a favorite animal of many people, and it’s easy to see why! If you love the cartoon design below, then you’ll be happy to know that drawing it is easier than you think.
I’ll be taking you through all of the steps while explaining how to do each one. By the end, you will see just how simple it really is!
Once it’s done, you could make a whole jungle paradise for your gorilla by adding a background.
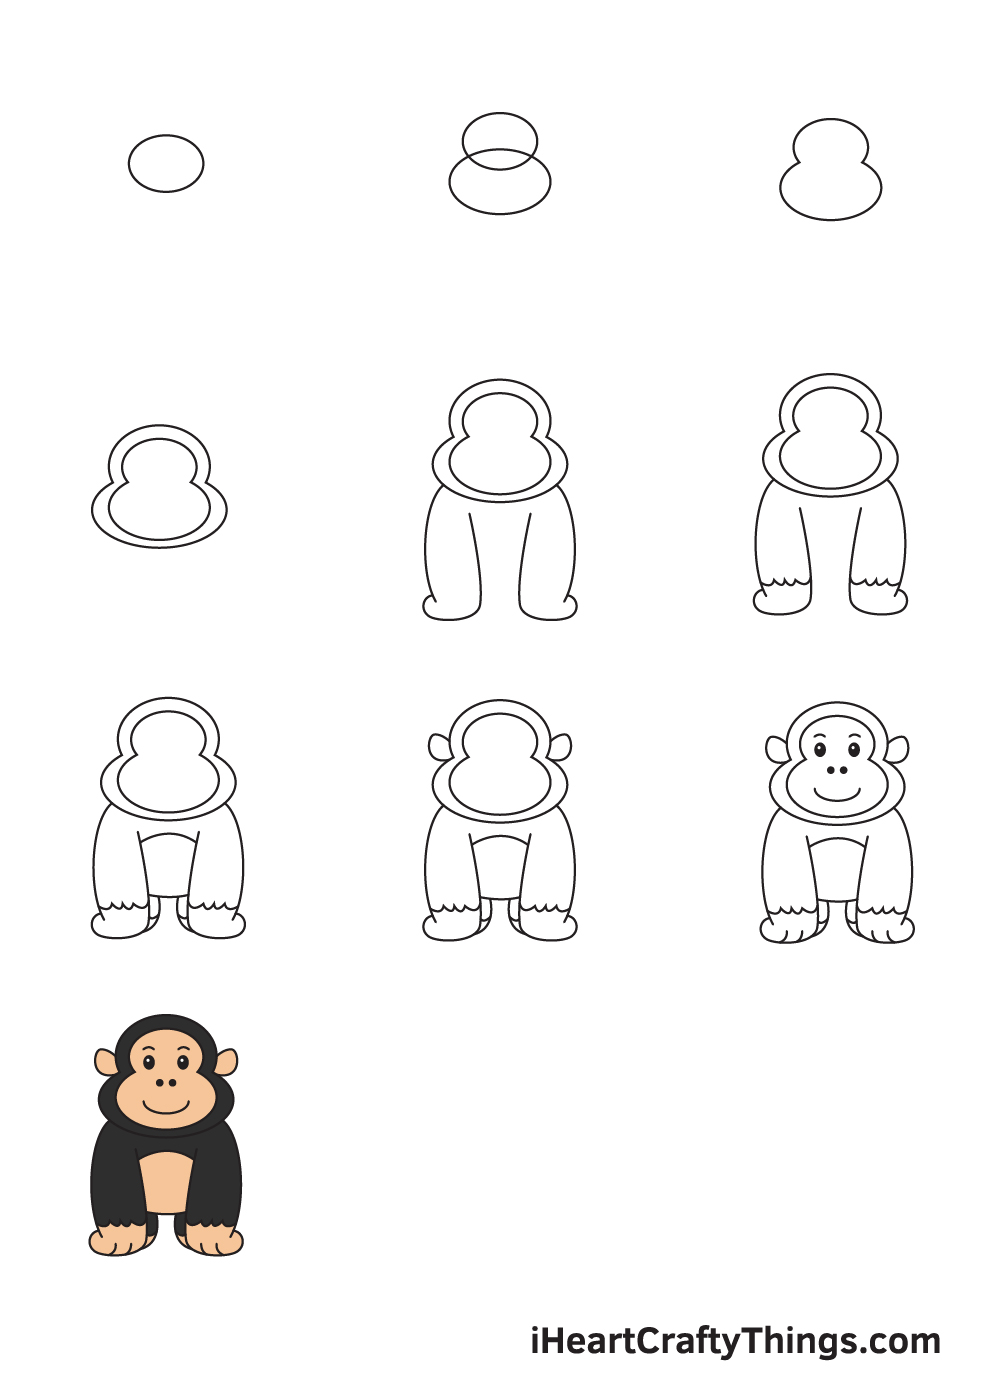
Watch The Steps On How To Make Your Gorilla Drawing
How to Draw a Gorilla – Let’s get started!
Step 1
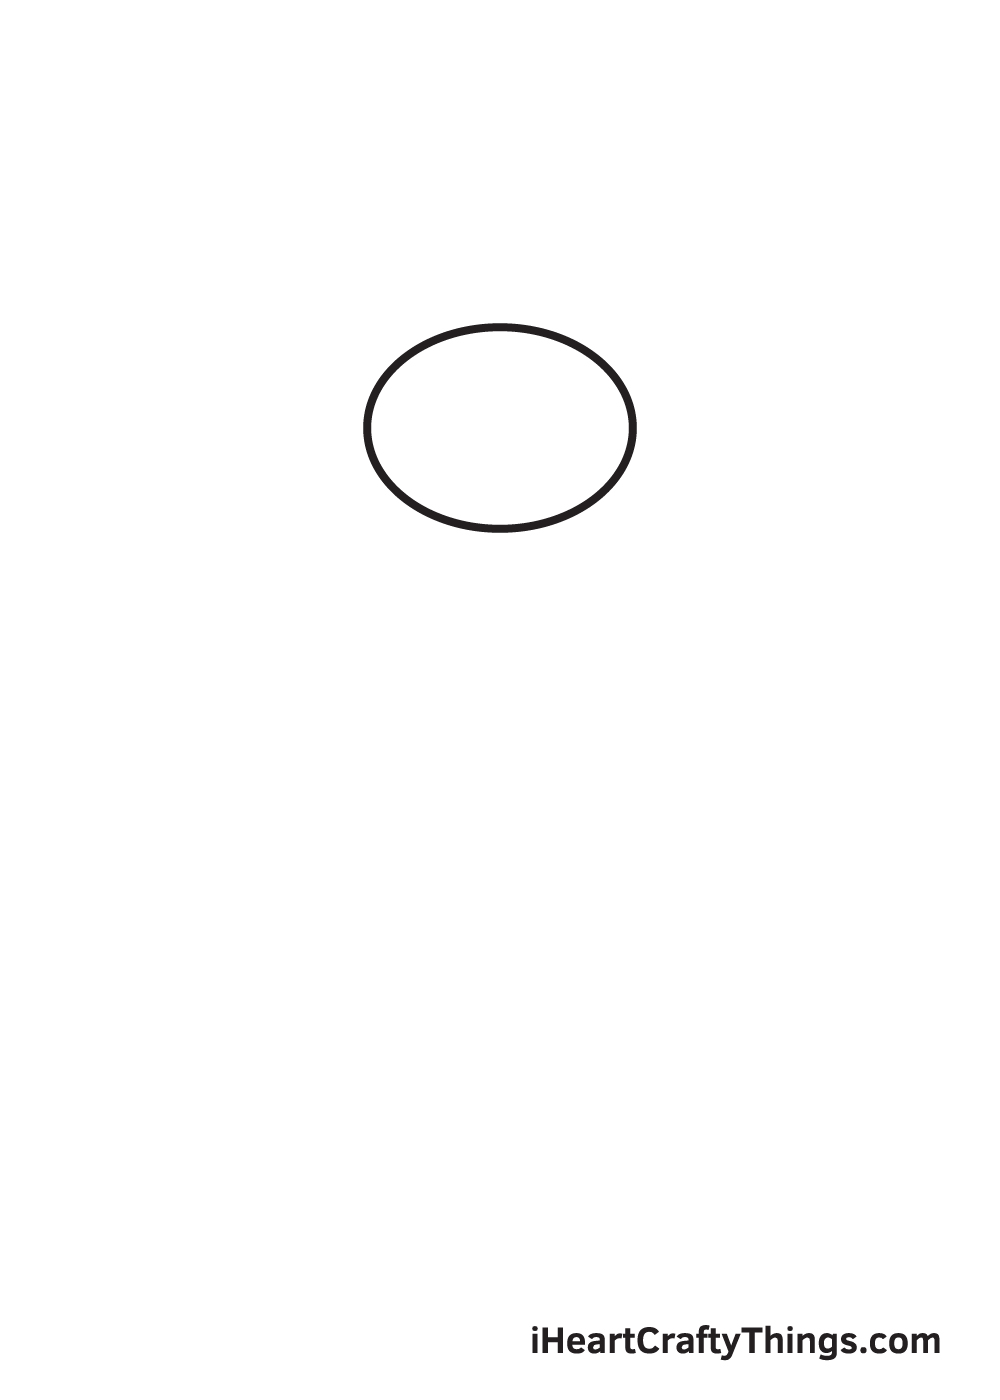
Starting on the upper portion of your paper, sketch a sideways oval shape to structure the top part of the gorilla’s head.
To ensure that the gorilla will be drawn in the center of your paper, create reference lines by drawing an intersecting horizontal and vertical line across your paper.
The vertical line above the horizontal line is exactly where you should draw the oval shape.
Step 2 – Draw Basic Shapes to Form the Gorilla’s Head
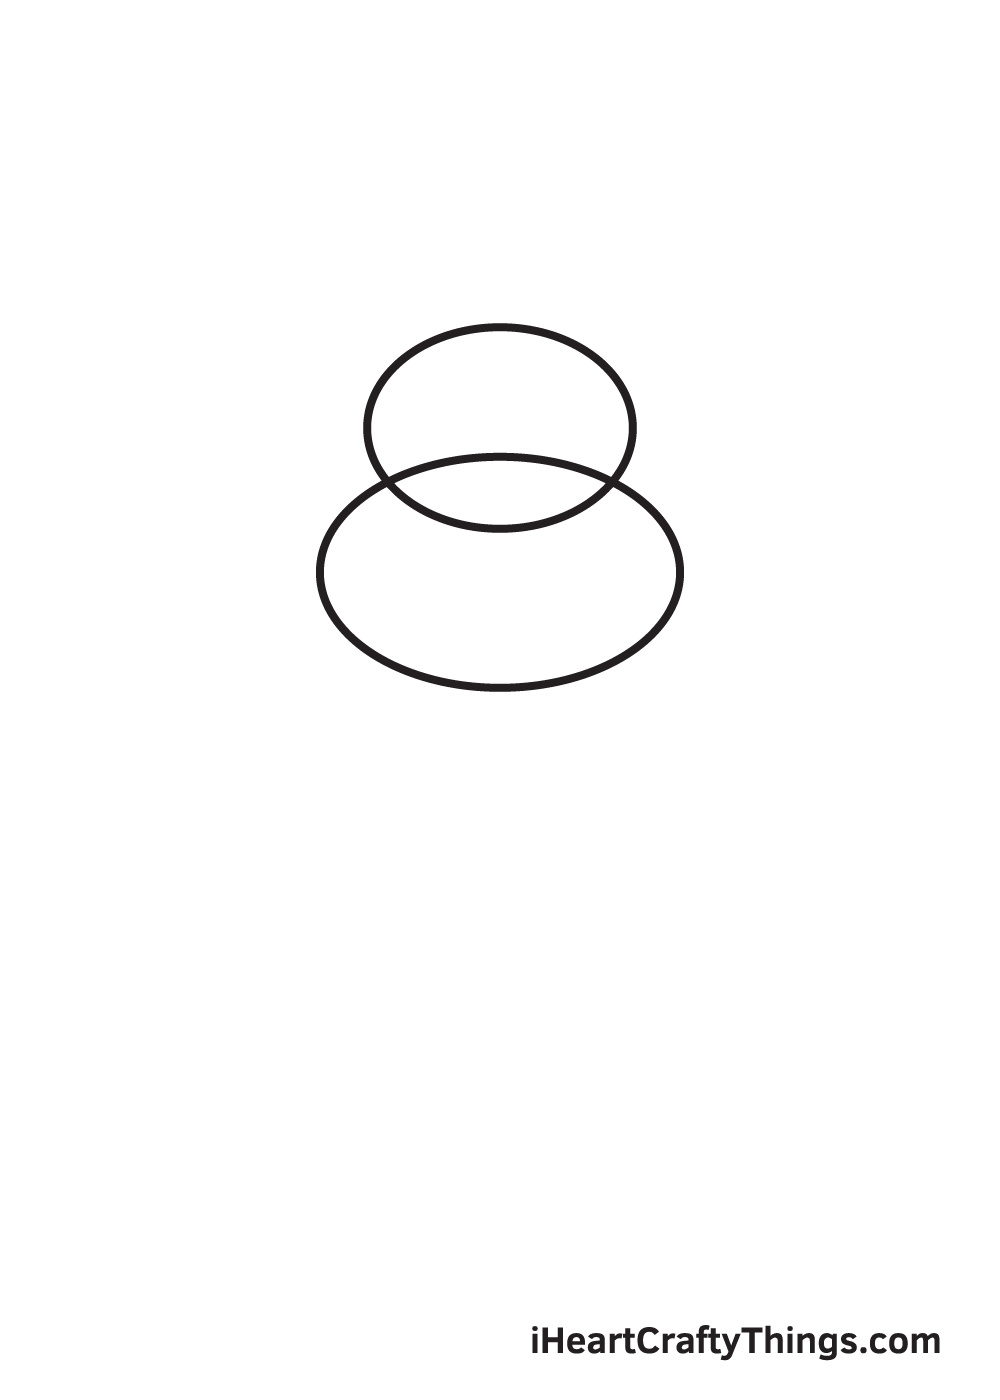
Draw another sideways oval shape right underneath—and overlapping—the one we drew in the previous step.
This time, however, the oval shape should be relatively bigger than the previous one, as shown in the illustration.
Avoid pressing down too hard with your pencil when outlining the rough sketch of the gorilla’s head. It’s important to draw with light strokes so you can easily remove some parts of the outline you no longer need later on.
Step 3 – Refine the Head of the Gorilla’s Outline
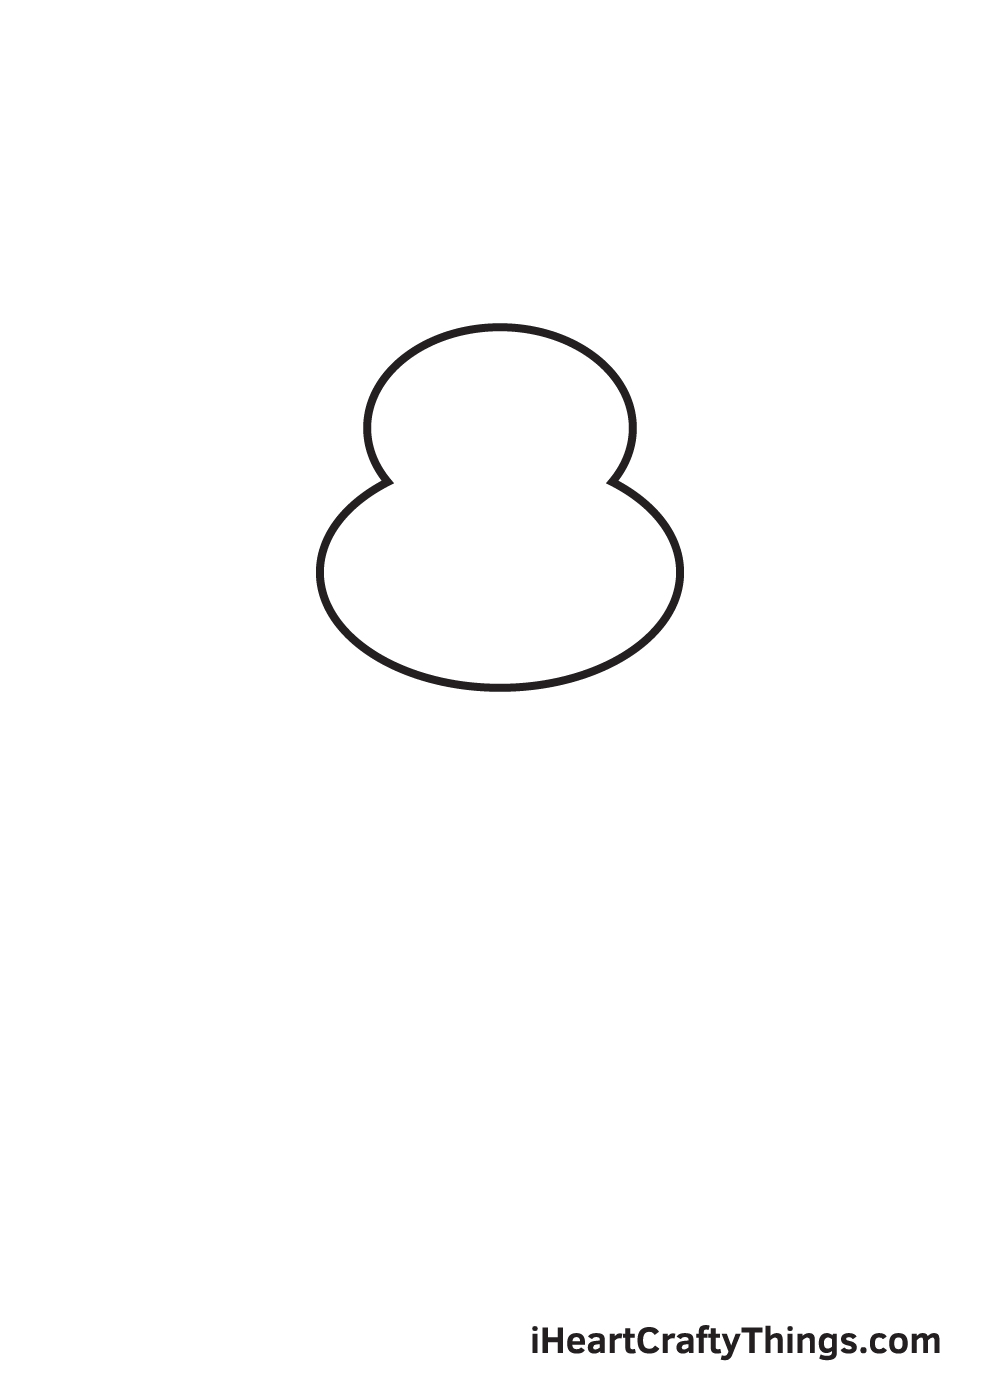
Now, it’s time to polish up the outline of the gorilla’s head using the conjoined oval shapes as a guide.
To clarify the structure of the gorilla’s head, simply erase the overlapping lines within the two shapes to reveal the finalized outline. This defines the inner outline of the head of the gorilla.
Step 4 – Create the Outer Outline of the Gorilla’s Head
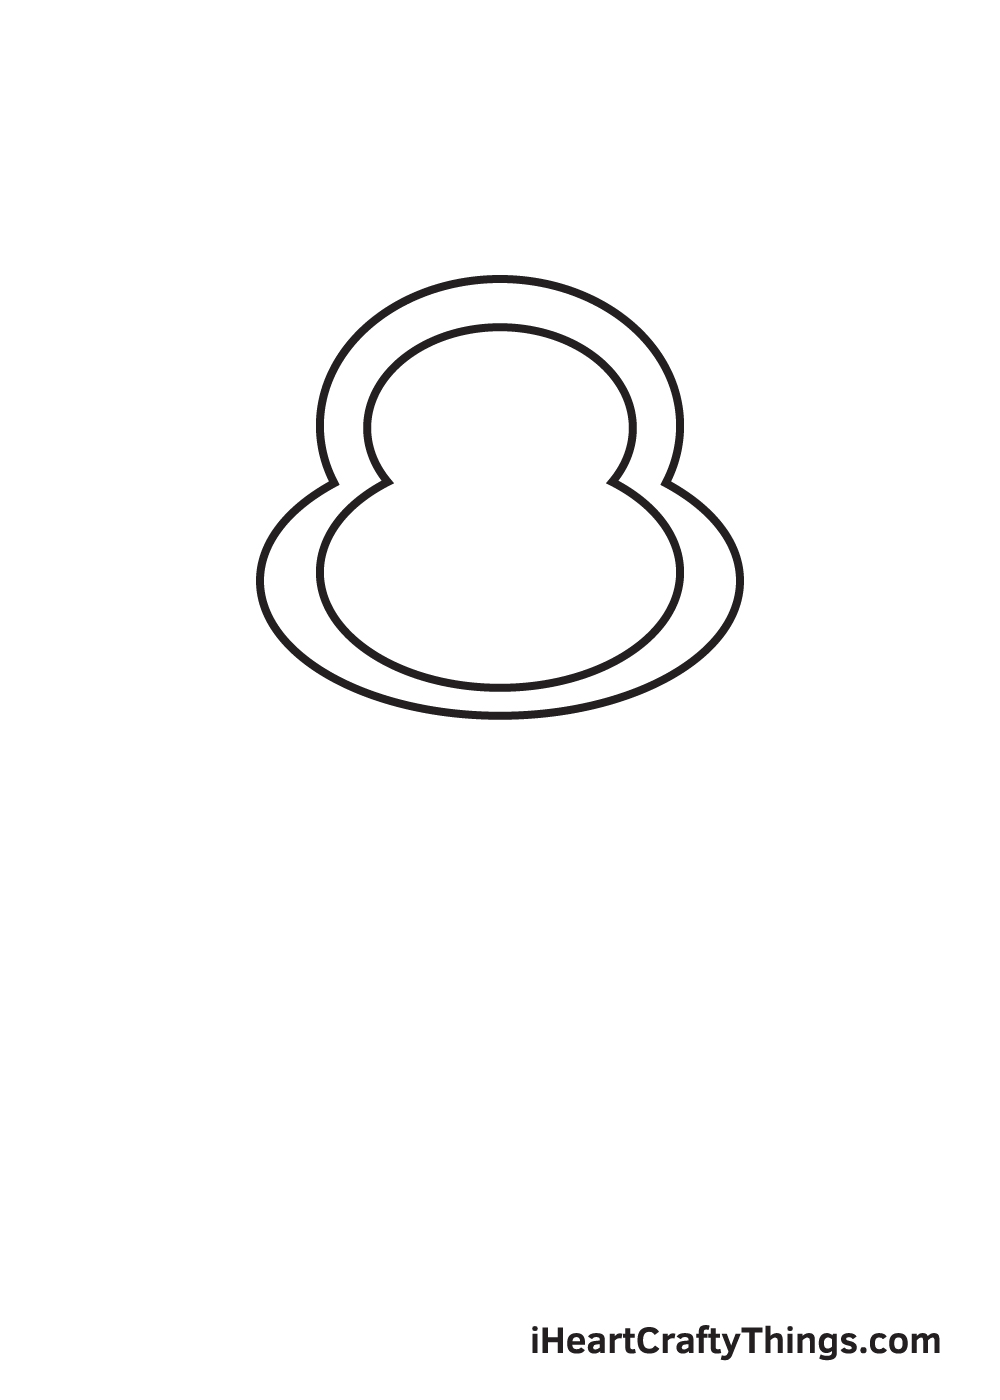
Draw another outline outside the previous one, tracing along the original form to define the outer figure of the gorilla’s head.
Once you’ve completed this step, you should now have a parallel outline, as shown in the illustration.
Step 5 – Next, Draw the Gorilla’s Pair of Arms
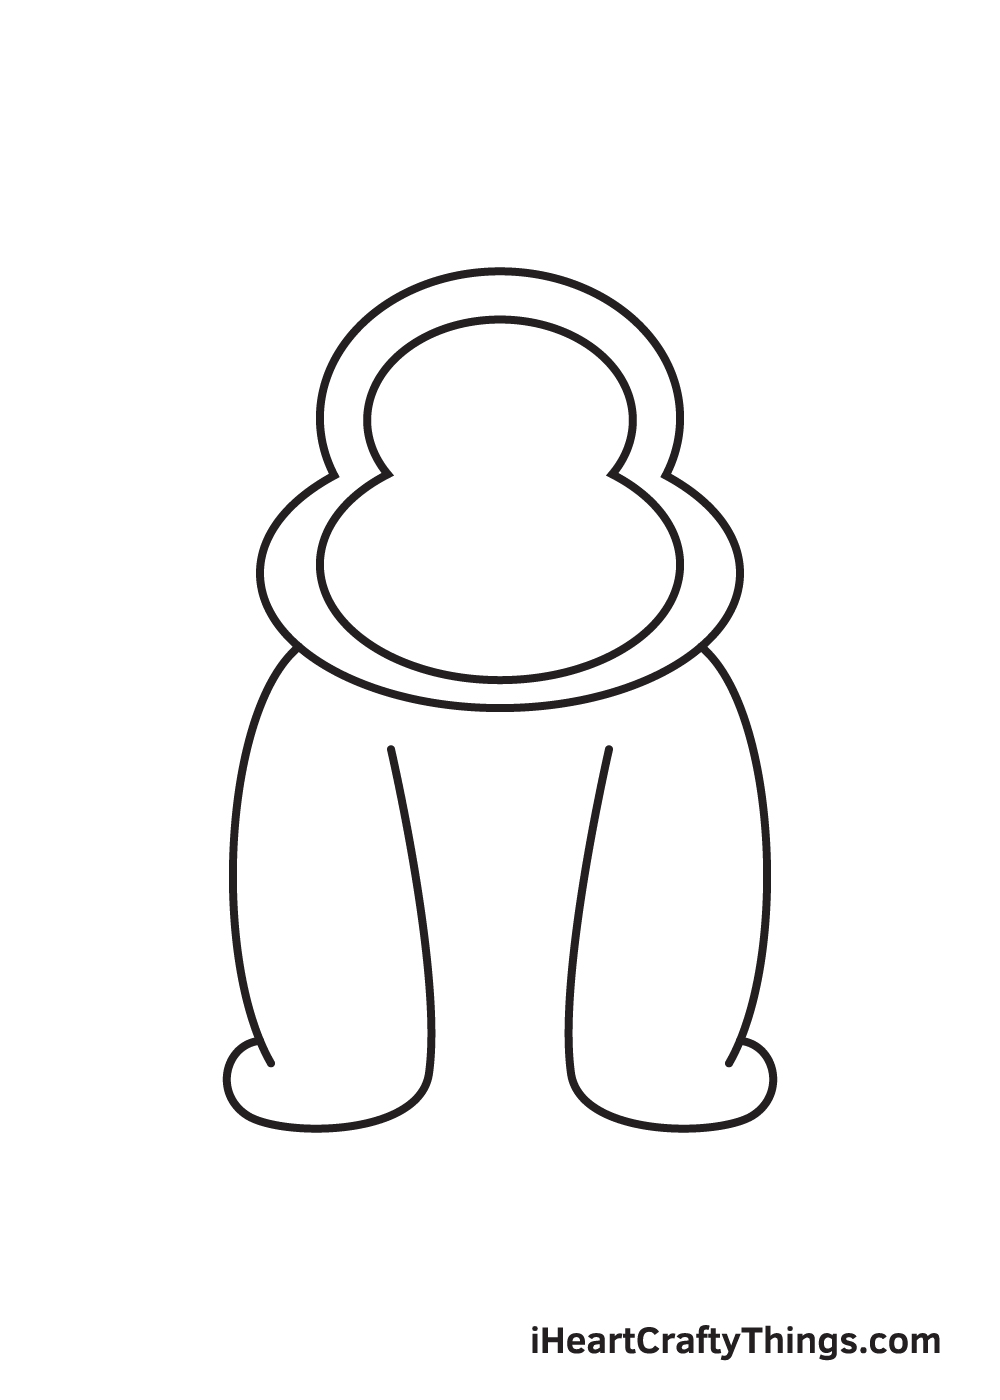
After completing the structure of the gorilla’s head, we will now be moving on to its body.
Draw curved lines right underneath the head to form a pair of arms. Keep in mind that gorillas naturally have brawny build, so make sure to draw beefy arms.
Don’t forget to draw a rounded shape at the bottom of each arm for the gorilla’s hands!
Step 6 – Afterwards, Add Patterns on the Gorilla’s Arms
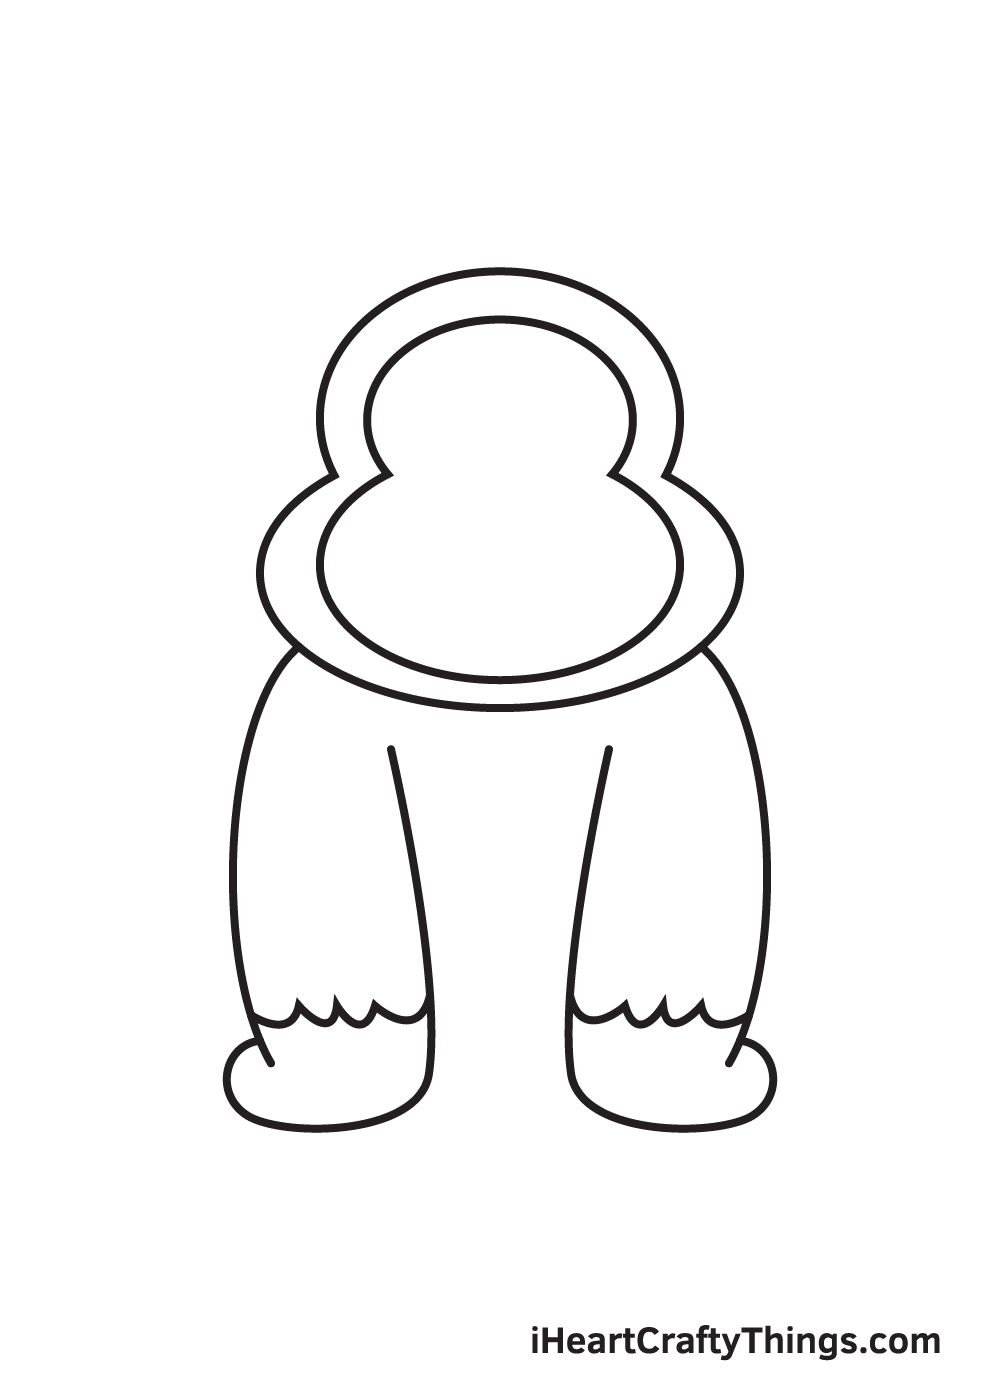
Continue by drawing connected curved lines above each of the gorilla’s wrist to add furry texture on its arms.
This will help make your drawing look realistic!
Step 7 – Then, Draw the Lower Body of the Gorilla
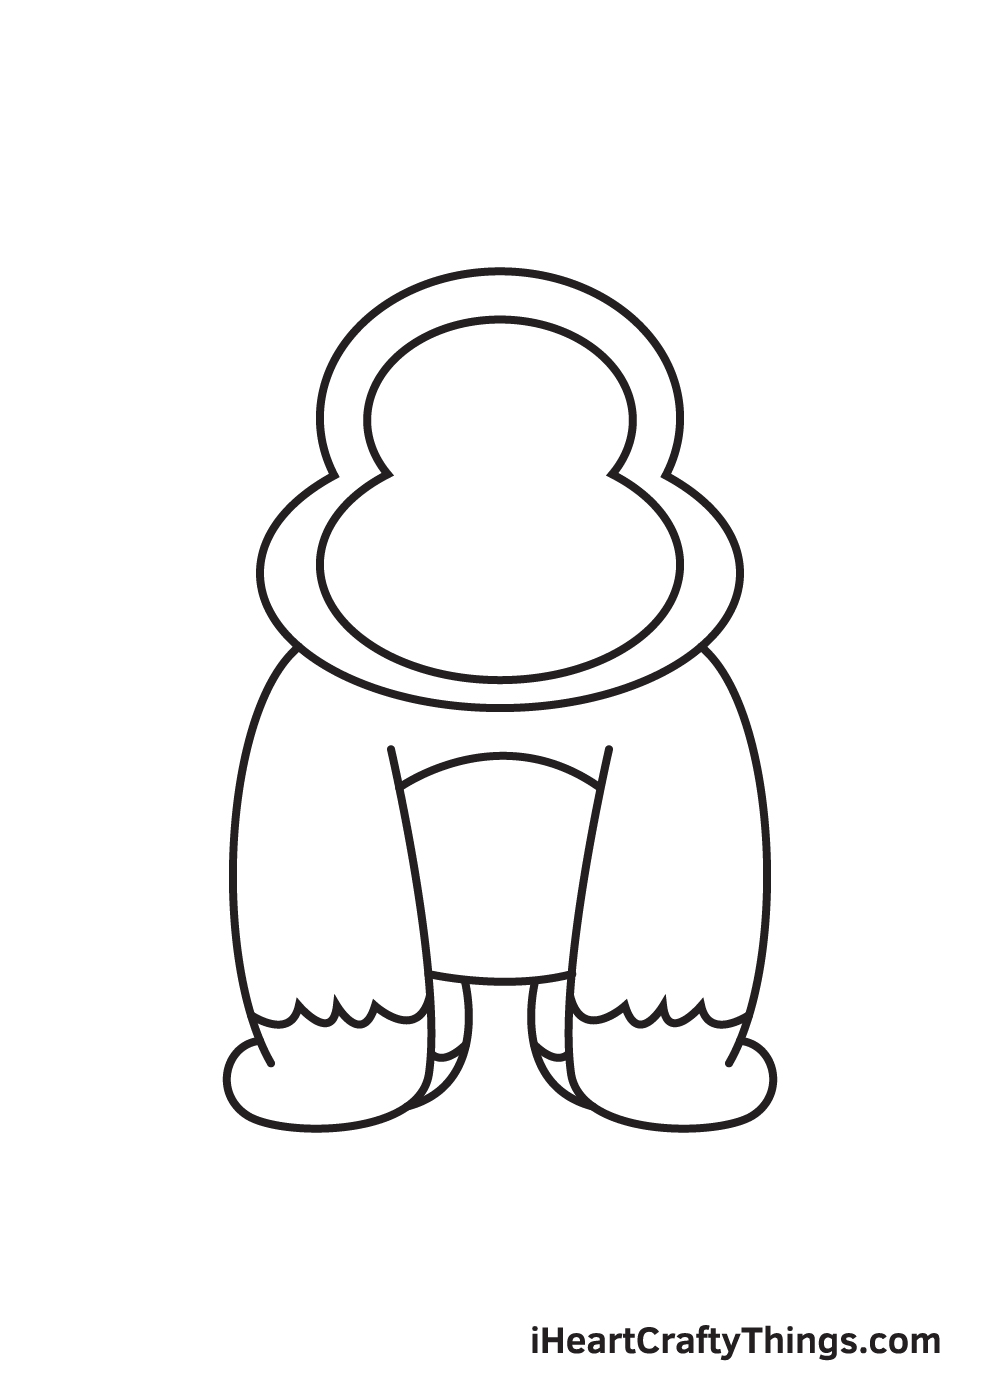
Once the upper body is complete, let’s move on to your gorilla’s lower body.
Draw a slightly downward curved horizontal line in between its arms to outline the chest. Then, draw another line below the one we drew just now to structure the belly of your gorilla.
Now, draw two curved vertical lines leaning towards the opposite directions to draw the visible portion of the gorilla’s legs.
Step 8 – Add a Pair of Ears on the Head of the Gorilla
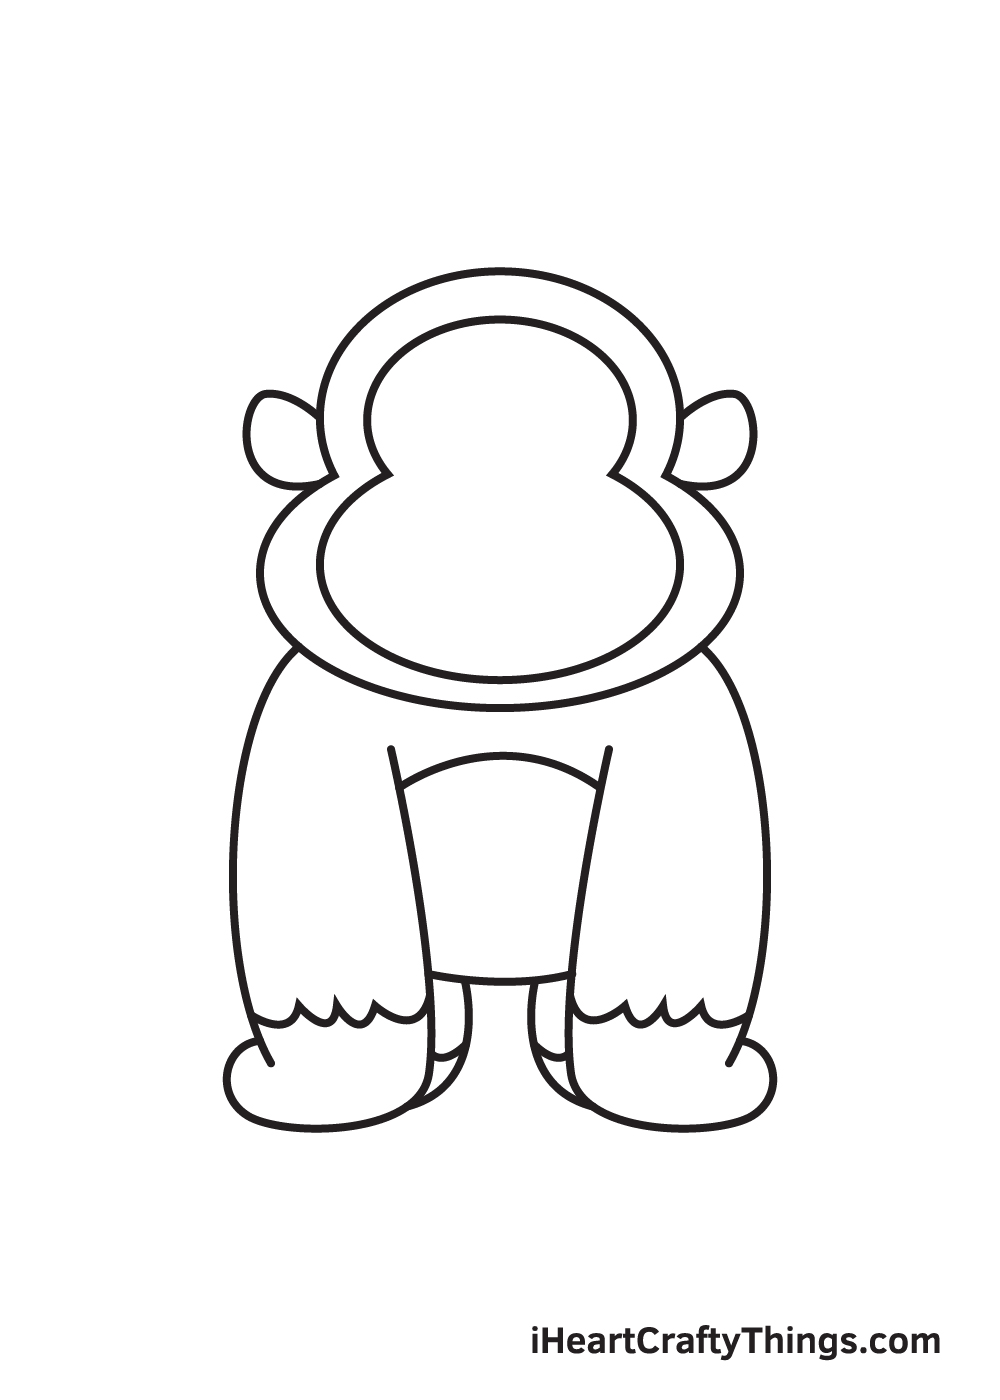
Draw a rounded shape on each side of the gorilla’s head to form its ears. The ears of the gorilla should be drawn right beside the concave on both sides of its head.
Step 9 – Draw the Facial Features to Finalize the Drawing
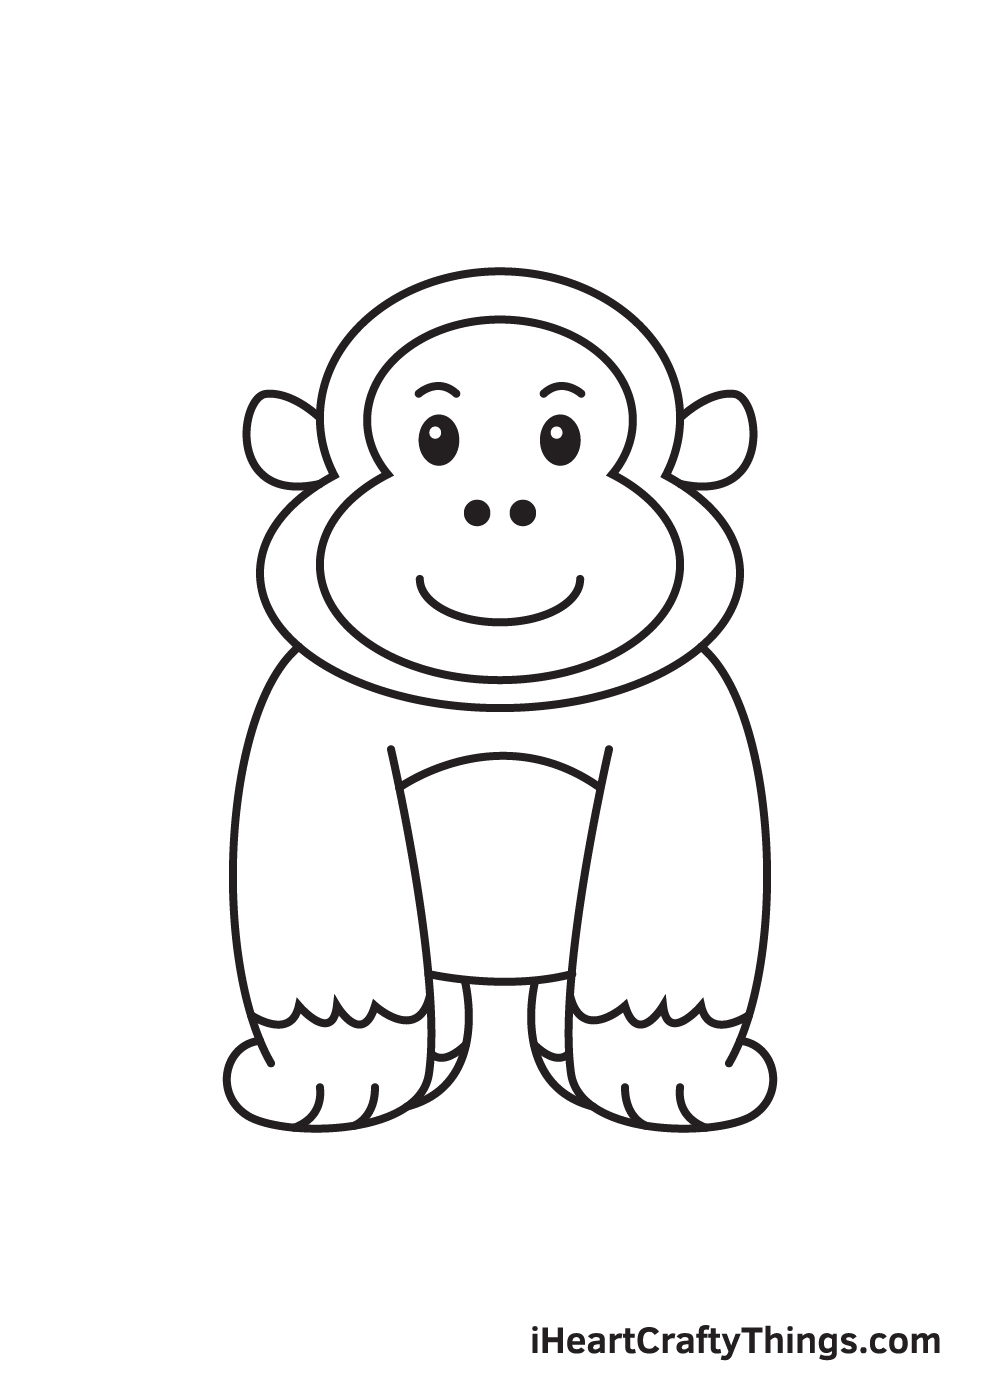
Make your gorilla look happy by drawing two oval shapes for the eyes with a curved line right above each eye to form the eyebrows.
Then, draw two small circles in the middle of the gorilla’s face to create the nose. Lastly, draw a long upward curved line to put a wide smile on the gorilla’s face.
And there you have it—an extremely happy and adorable gorilla!
As you can see, the gorilla drawing is finished at last. All it’s missing is a dash of colors to make the gorilla look vibrant and colorful!
Now that we have successfully drawn a gorilla, it’s finally time for the most exciting part, which is picking the colors and coloring your drawing!
This is the part where you can showcase your artistic skills and your ability to mix and match various colors.
Generally, gorillas have black skin and the color of their fur coat ranges from black and grey to red and brown.
You can opt to color your gorilla drawing in conformity with the standards or use a unique set of colors. Either way, we’re sure your drawing will turn out beautifully!
Have fun playing with colors and watch as the gorilla ultimately comes to life!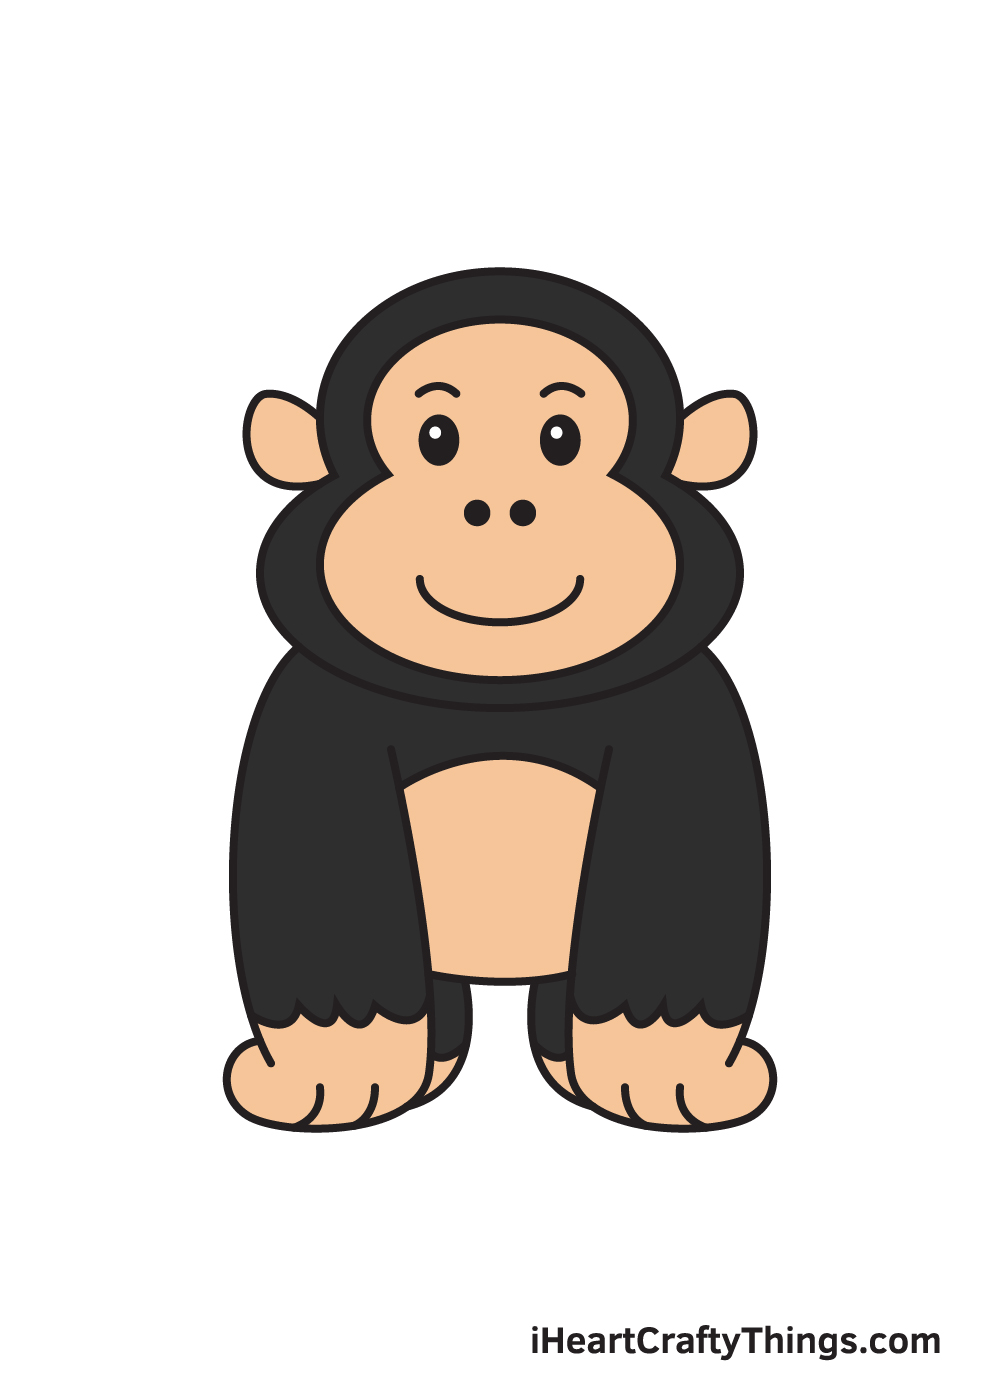
4 More Ways To Make Your Gorilla Drawing Unique
Have some wild drawing fun with these helpful tips for this gorilla drawing!
We love this easy to draw gorilla that we created, but you can also change the design if you would like. One way to do this is by making it look more realistic.
You can look up some pictures of real gorillas and then use these to change details such as its fur, arms and face.
By changing just a few of these details, you can create a drastically different look for this gorilla. You could also go for a different cartoon style as well!
Whether you change the design or leave it as is, you can improve this drawing of a gorilla by adding a background. Gorillas are often found in jungle settings, so that’s one you could create.
Alternatively, you could go for something a bit more whimsical and unusual. It’s all up to you, and we would be very interested to see what kinds of background settings you can come up with for this picture!
Gorillas are social creatures and always travel in groups. For that reason, we would recommend adding some more gorillas to the scene.
You can create these additional gorillas by following the steps in this guide and then changing a few details.
If you’re confident about drawing them, then you could have different gorillas doing unique things or in fun poses. If you created a background, then this tip would go especially well with one!
These animals have a fairly muted color scheme, and that’s what we recommended for this gorilla drawing. While that looks great, you can also get creative with it.
If you wanted to make a purple gorilla with yellow spots, no one can stop you! We would also recommend using some art mediums you’re less familiar with.
For example, if you don’t typically use paints then they could be fun to try out. Don’t be afraid of mixing mediums or even incorporating crafts into your drawing! What fun mediums do you think would enhance this drawing?
Your Gorila Drawing is Complete!
We hope you enjoy this step-by-step gorilla drawing tutorial. Now that you can draw a gorilla, you no longer need to visit your local zoo to see one. You can simply draw one and appreciate its majestic physical features up close and personal.
Remember, all of our drawing tutorials are 100% free for you to use as resources to help you learn how to draw different objects, animals, and even human characters!
Don’t forget to check our catalog regularly to enjoy newly uploaded drawing tutorials.
After you’ve finished drawing and coloring a gorilla, be proud of your masterpiece and show off your artwork! Take a photo of your drawing and share it on our Facebook page and on Pinterest.
Don’t be embarrassed, you’ve worked hard for it, so we’re sure it looks awesome!
We are excited to see your incredible gorilla drawing!