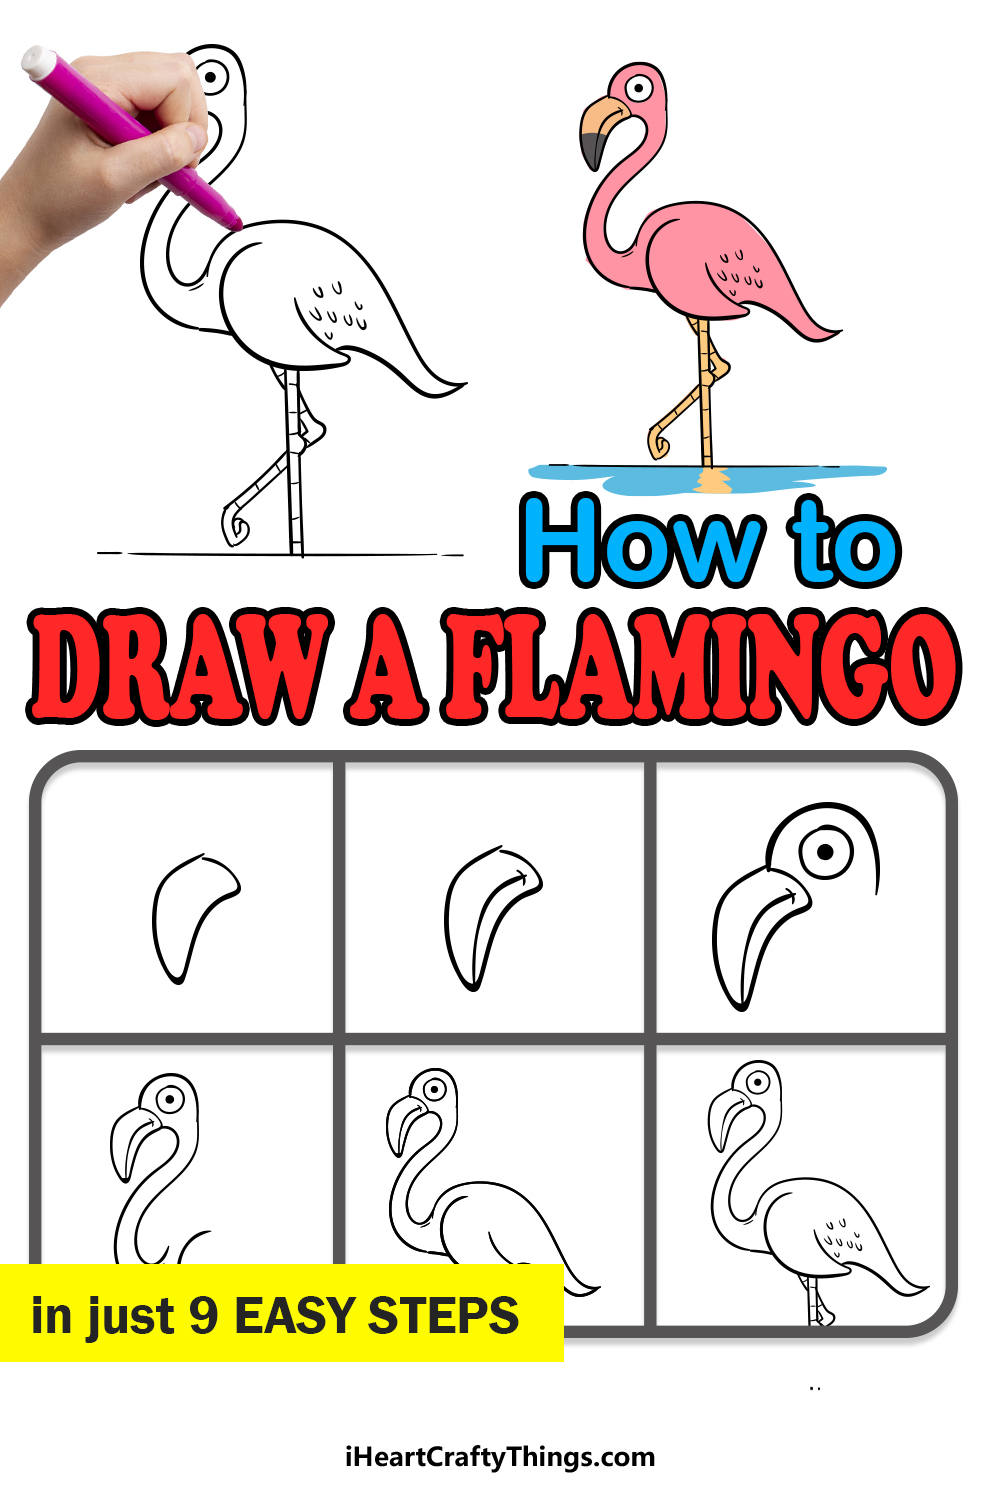
If you want to learn how to draw a flamingo, then you’ve found the right guide for you! You will be able to recreate this beautiful bird in just a few steps.
I think that flamingoes are some of the most beautiful birds on the planet. This is mostly due to their pretty pink coloring but it’s also thanks to their distinctive look.
This guide will help you to recreate a cartoon version of a flamingo that captures the character and look of the real thing. I will show you how to draw their distinctive bending necks, beaks and long legs.
Once you have finished the guide, you could add a background or make a whole flock of flamingoes! So let’s take on these steps together and see how to make your very own version of this design.
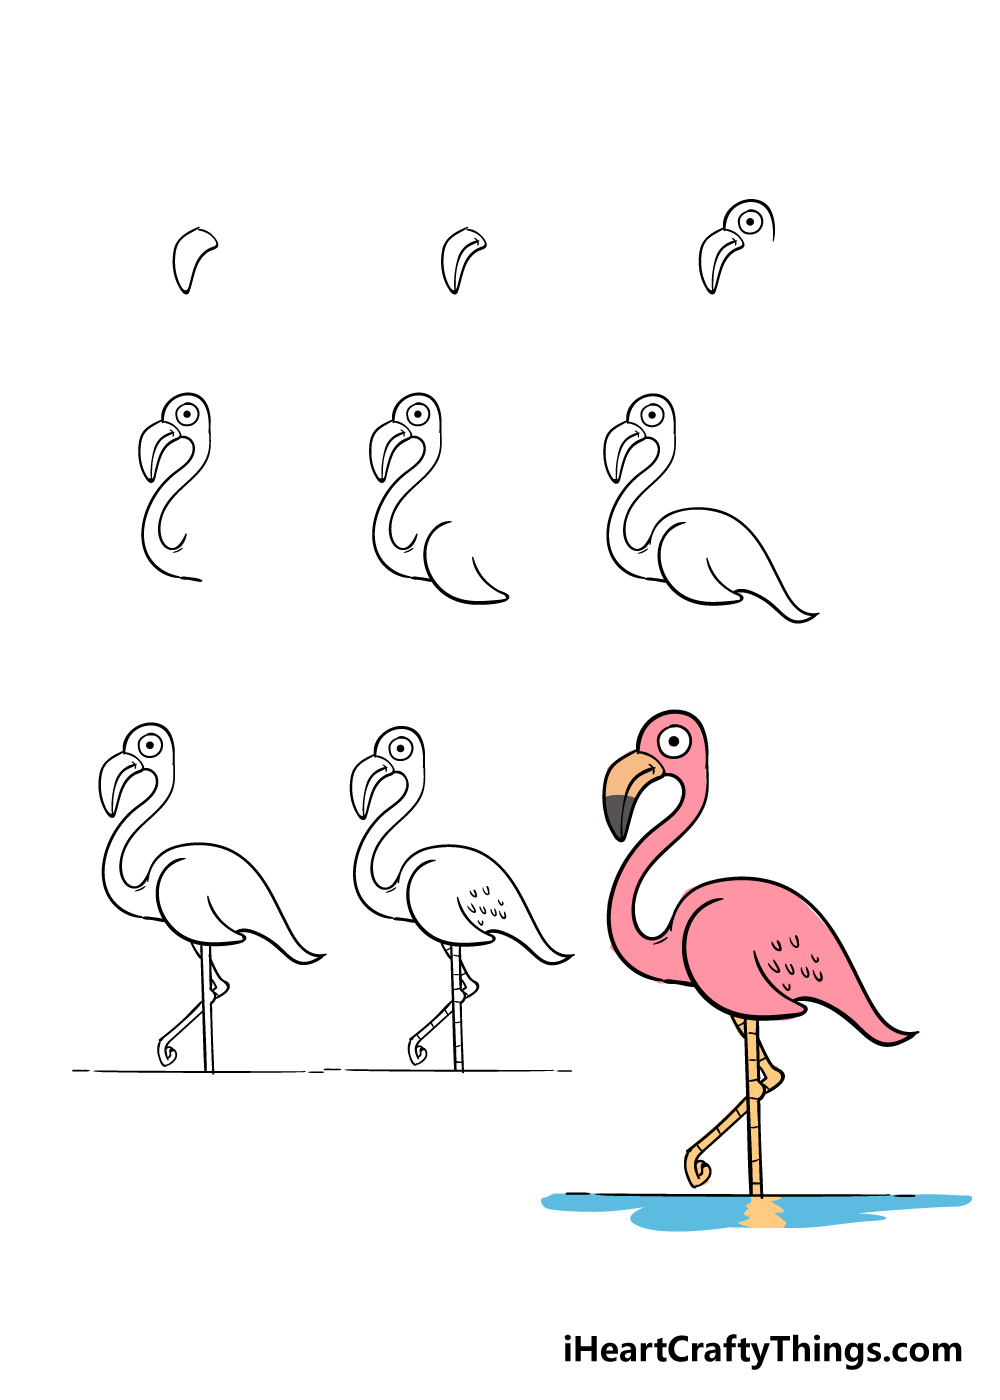
Watch And See How To Make A Flamingo Drawing
How to Draw A Flamingo – Let’s get Started!
Step 1

We will start with the beak in this first step of our guide on how to draw a flamingo. You can draw this by creating what looks a bit like a boomerang, except with a flat end on top.
Once you’ve drawn the beak to appear as it does in our reference picture, you’re ready to proceed!
Step 2 – Next, draw the opening of the beak

This second part of your flamingo drawing is a pretty simple step!
You’ll be drawing the mouth of the flamingo now, so to do this you can simply draw a curved line into the beak. It’s as simple as that!
Step 3 – Now, draw the head and eye

Using the beak that you’ve drawn, we will now add the head outline and an eye in this step of our guide in how to draw a flamingo.
For the head, you can simply draw a curved line coming up from the end of the beak. Then for the eye, it’s as easy as drawing a circle with a dot inside.
With that, you have a head for your flamingo drawing!
Step 4 – Draw the neck of your flamingo in this step

We mentioned earlier how a flamingo’s long neck is a distinctive feature for this beautiful bird, so we had better add one for your flamingo drawing!
With lines that start directly under the beak and down from the back of the head, simply draw two curved lines coming down from the head.
There will be a gap between the lines at the end, but we will be adding the body to that area in the following steps.
Step 5 – Let’s add the wings in this step
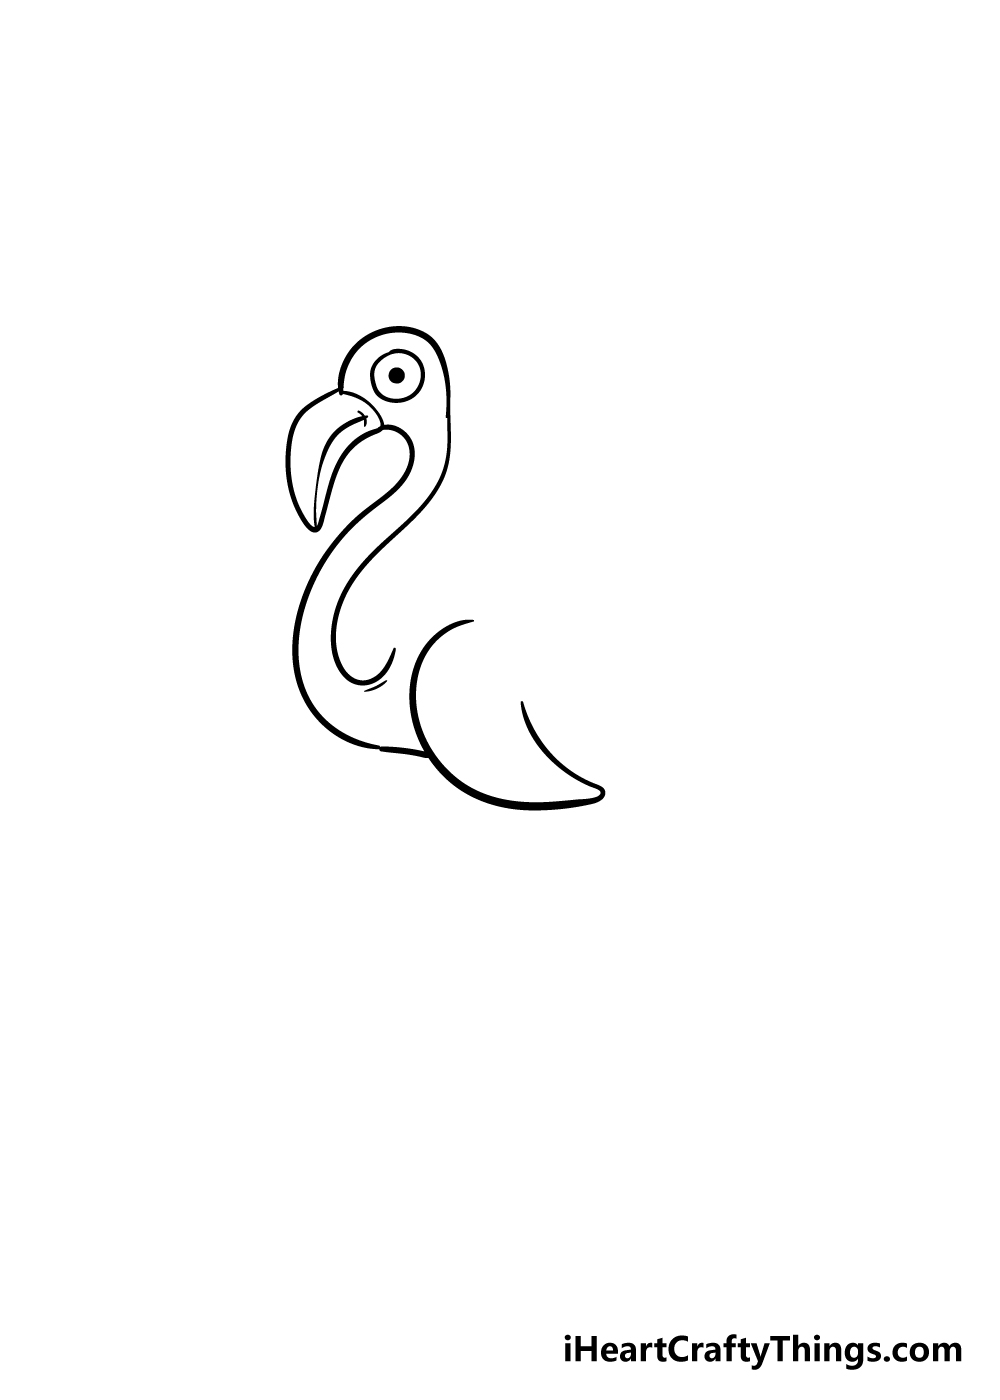
A bird needs wings to be a proper bird, so that’s why we’re drawing the wings in this fifth step of this guide on how to draw a flamingo.
The wing is made up of a simple, curved line like the one in our reference image. It will curve for longer at the front of the flamingo, and be much shorter at the back.
Step 6 – Next, draw the rest of the flamingo’s body
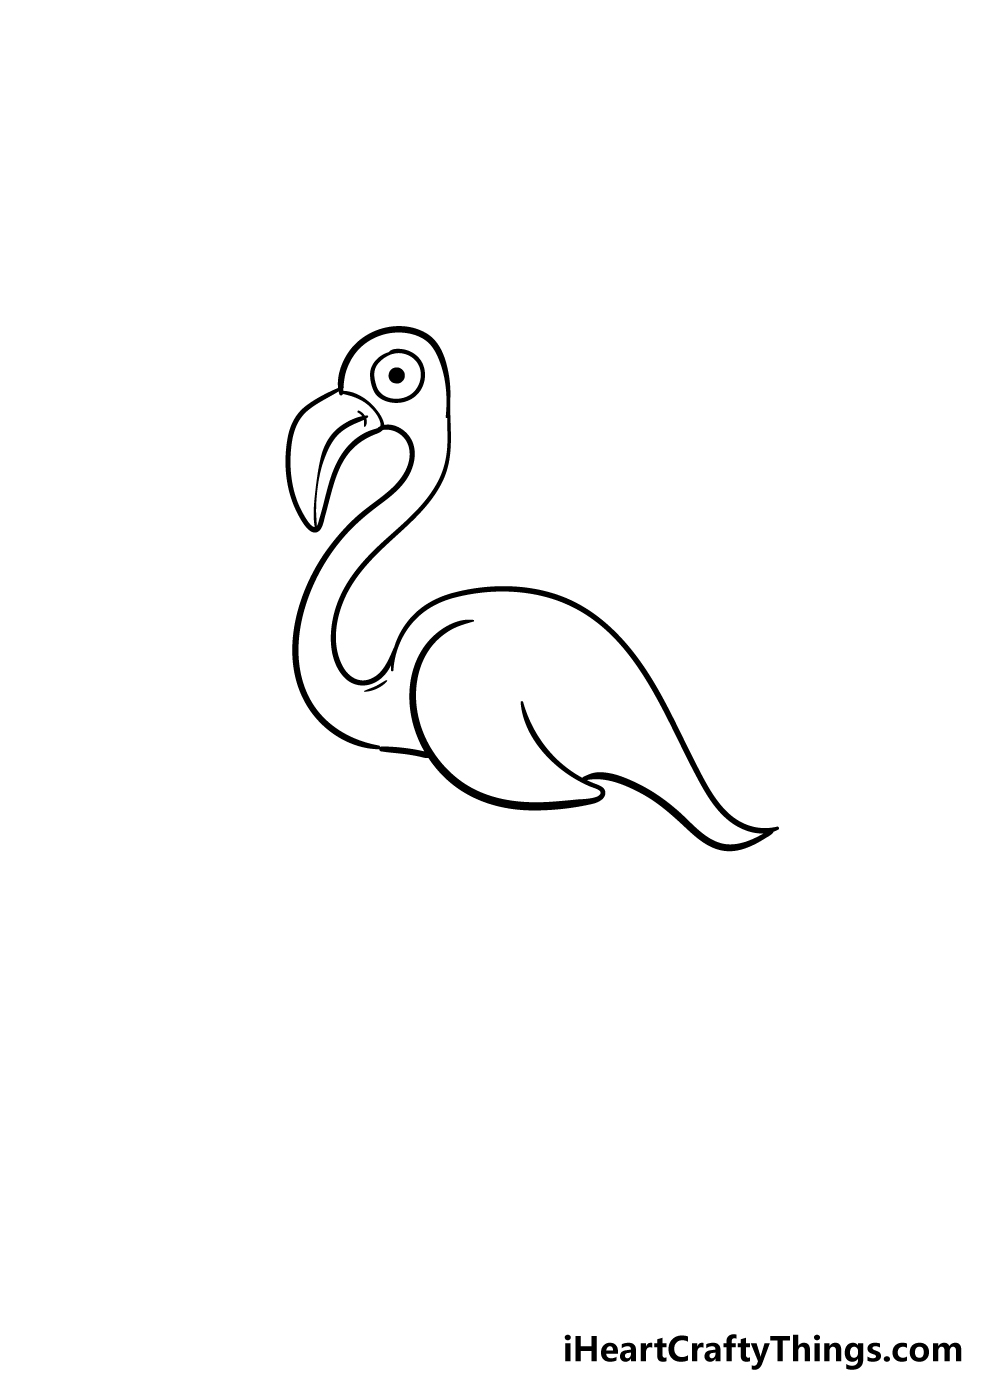
Before we move on to the iconic flamingo legs, we will draw the remainder of the body for your flamingo drawing.
This will curve up from the base of the neck, arching up and then heading down as it ends in a pointy tail. It will then arch up again and connect to the wing from the previous step.
Step 7 – Draw some lanky legs for the flamingo
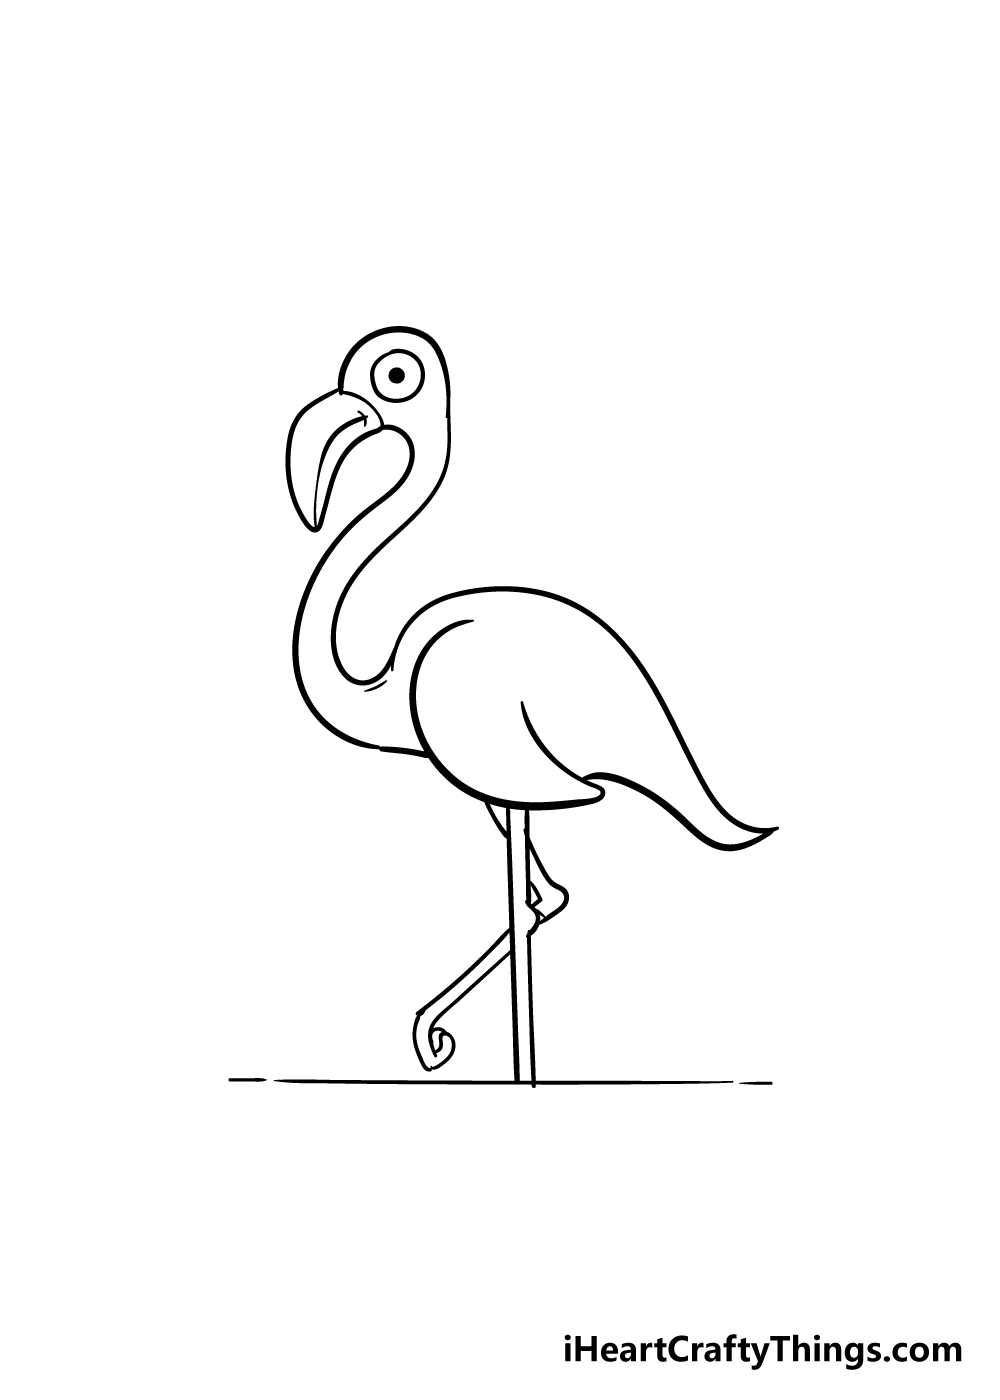
It’s finally time to add those distinctive flamingo legs in this part of our guide on how to draw a flamingo!
This flamingo will be striking the classic flamingo pose they’re often seen in. For the leg closest to us, the front line will go straight down.
The other side of the leg will too, but there will be a small lump near the middle for the knee.
The leg further away from us will be thin as well, however it will be bent at an angle so that that curled foot is slightly above the water.
Speaking of the water, you can draw that in with a straight line underneath the legs.
Step 8 – Next, draw in some feathers and final details

This eighth step of your flamingo drawing is all about adding some final details before moving on. First, you can draw lots of small, curved lines onto the body of the flamingo for some feathery detail.
Finally, add some straight lines all along the legs for some leathery leg detail.
Add Some More Fun Details Before You Color Your Flamingo Drawing
This drawing of a flamingo is looking great so far! The main thing it is missing now would be some colors, which we will be adding in the next step.
Before we take on that next step, we have a few more ideas for how you can take your drawing even further. One idea would be to draw some more flamingoes for this one to hang out with.
The best part of this idea is that you could simply follow through all of the steps of the guide and change a few details. This way, you could easily have a crowd of flamingoes without having to look up more references.
If you love other kinds of birds and are feeling adventurous, then you could also draw some other birds that could go with this flamingo. They could be birds you would find in the wild with flamingoes, or they could be any others you like.
Other animals that are not birds could also be used, and you could also add human characters if you wanted. Adding a background could be a beautiful way to finish off the drawing as well.
If you enjoyed this guide but want to add your own personality to it, changing the style of the drawing is a good way to do that. If you look up some photos of flamingoes, then they could be used to adapt this one to a more realistic style.
The more you add to this drawing, the more you will be able to color in details and add all of your favorite colors. Speaking of which, when you’re happy with how this flamingo drawing is looking then we can move on to the final step of this guide.
Step 9 – Now finish off your flamingo with color

You’ve reached the final step of this guide on how to draw a flamingo, and now it’s time for coloring fun!
Flamingos have a distinctive pink color scheme, and while there are lots of ways you could make that beautiful, you could also go for a more stylized approach by using your favorite colors.
Once you know which colors you would like to use, you could have some fun experimenting with different art mediums.
If you primarily use a certain art medium, why not give one that you’re not as familiar with a go?
There are options like watercolors and colored pencils for a more muted look, while you can get some bold color variations with acrylic paints and colored pens.
Whatever you pick will look great, so have fun experimenting!
3 More tips to make your flamingo drawing easy!
See how you can make this easy to draw flamingo even easier!
We tried to make the subject of this flamingo drawing somewhere between being cartoony but with some realistic proportions. This looks great for this artwork, but if you have a hard time with it then you may want to change the design.
The obvious change to make it easier would be by simplifying the design. If you love drawing cartoons, then making this flamingo even more cartoony would be the best way to go.
That being said, you may prefer drawing realistic pictures. If that’s the case, then maybe you would want to add more details to this one to make it look more like a real flamingo!
No matter how you may want to change this drawing of a flamingo, you would benefit by using real ones to help you. Looking at examples of the real thing would help a lot with portraying details and proportions.
You could use this technique no matter whether you decided to make the design more or less complicated! Most of us won’t have real flamingos around where we live, but there are other ways.
You could look up pictures of flamingos online to help you as you draw. If you want to go the extra mile, then maybe you could visit a zoo that has flamingos and take some pictures of your own!
Look closely at the details and proportions, and try to get pictures that match the pose of our example image.
We’re sure you’re eager to get out your favorite pens and draw, but it may be worth it to use a pencil first. That way, you can plan out your drawing of a flamingo before you commit the final touches.
You can map out basic shapes and proportions, and then add details with progressively darker pencil lines. Simply erase any errors or parts you don’t like, and then you will be ready to add some pen lines.
Before you know it, you will have an incredible flamingo!
Your Flamingo Drawing is Complete!
Hopefully this guide on how to draw a flamingo helped you along in your journey to learn how to draw this beautiful bird.
We created this guide to show you that drawing a flamingo can be easier than you thought when you know what to do!
Now that you can draw a flamingo, how will you personalize it with your own colors and details?
Some ways you could make this drawing your own would be to change up the position, add another flamingo friend for this one or draw a beautiful background!
You could also really bring it to life with some amazing colors, and we can’t wait to see what you do.
The drawing fun only continues from here, as we have plenty of amazing step-by-step drawing guides for you to enjoy on our website!
Be sure to check in often to catch the new guides that we upload frequently.
We would love to see your incredible flamingo drawing when it’s done, so please go ahead and share it on our Facebook and Pinterest pages for us to enjoy once it’s done!
Here Is A Flamingo Drawing To Inspire You!
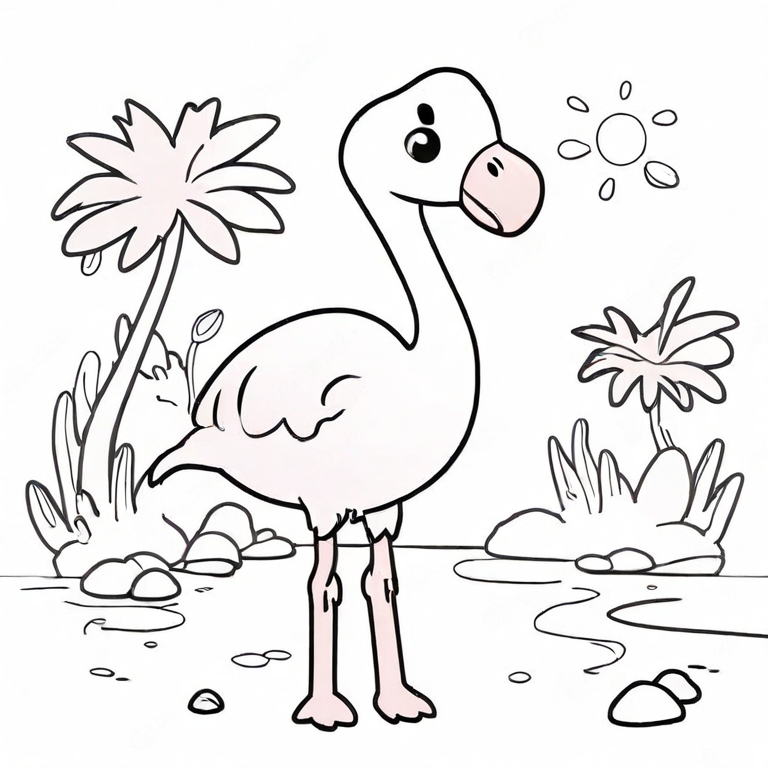
Flamingoes are some of the most beautiful and elegant birds on our planet, so if you want to draw one, then we are making it a bit easier for you with this flamingo drawing for kids.
This sketch was made by our artist Amanda to help you get the hang of this design. She kept it nice and simple so that you can focus on mastering the drawing and the form of the bird.
As a nice extra, she also included some background elements with some palm trees and flowers. These help to give the page a tropical feeling, and make it even more fun to look at.
You can add to these background elements or remove them if you want to keep the focus on the flamingo itself. It’s up to you, but hopefully this sketch will help you as you draw!
