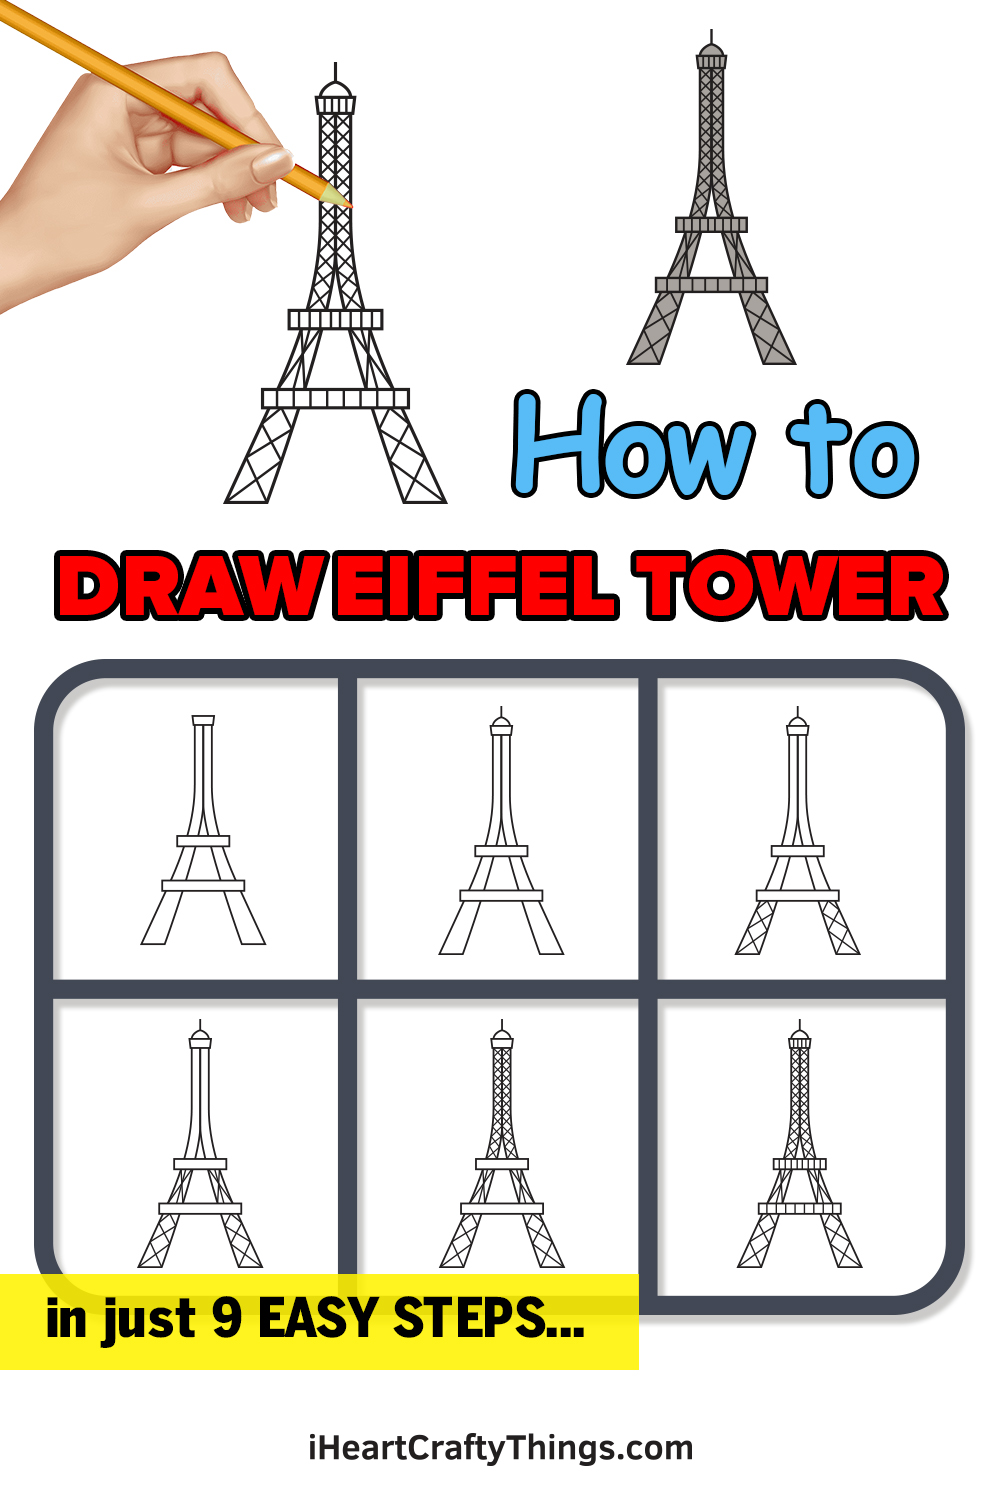
Say bonjour to this guide on how to draw the Eiffel Tower! You can replicate this iconic Parisian landmark in just a few steps.
France is famous for so many things: the delicious food, stunning architecture and lovely accent are all things one may think of when it’s mentioned.
However, I would bet that most people will immediately think of the Eiffel Tower. Built in 1887, this tower has come to represent France and seeing it in person is on the bucket list of many people.
Even if you can’t go to see it right away, then drawing it can be the next best thing. I want to show you how to do just that as we will draw a simple version of the tower together.
After that, you could even add more of the Paris skyline and other fun details.
Get ready to create art that is très beau!
Watch These Steps To Create Your Eiffel Tower Drawing
How to Draw an Eiffel Tower – Let’s get started!
Step 1
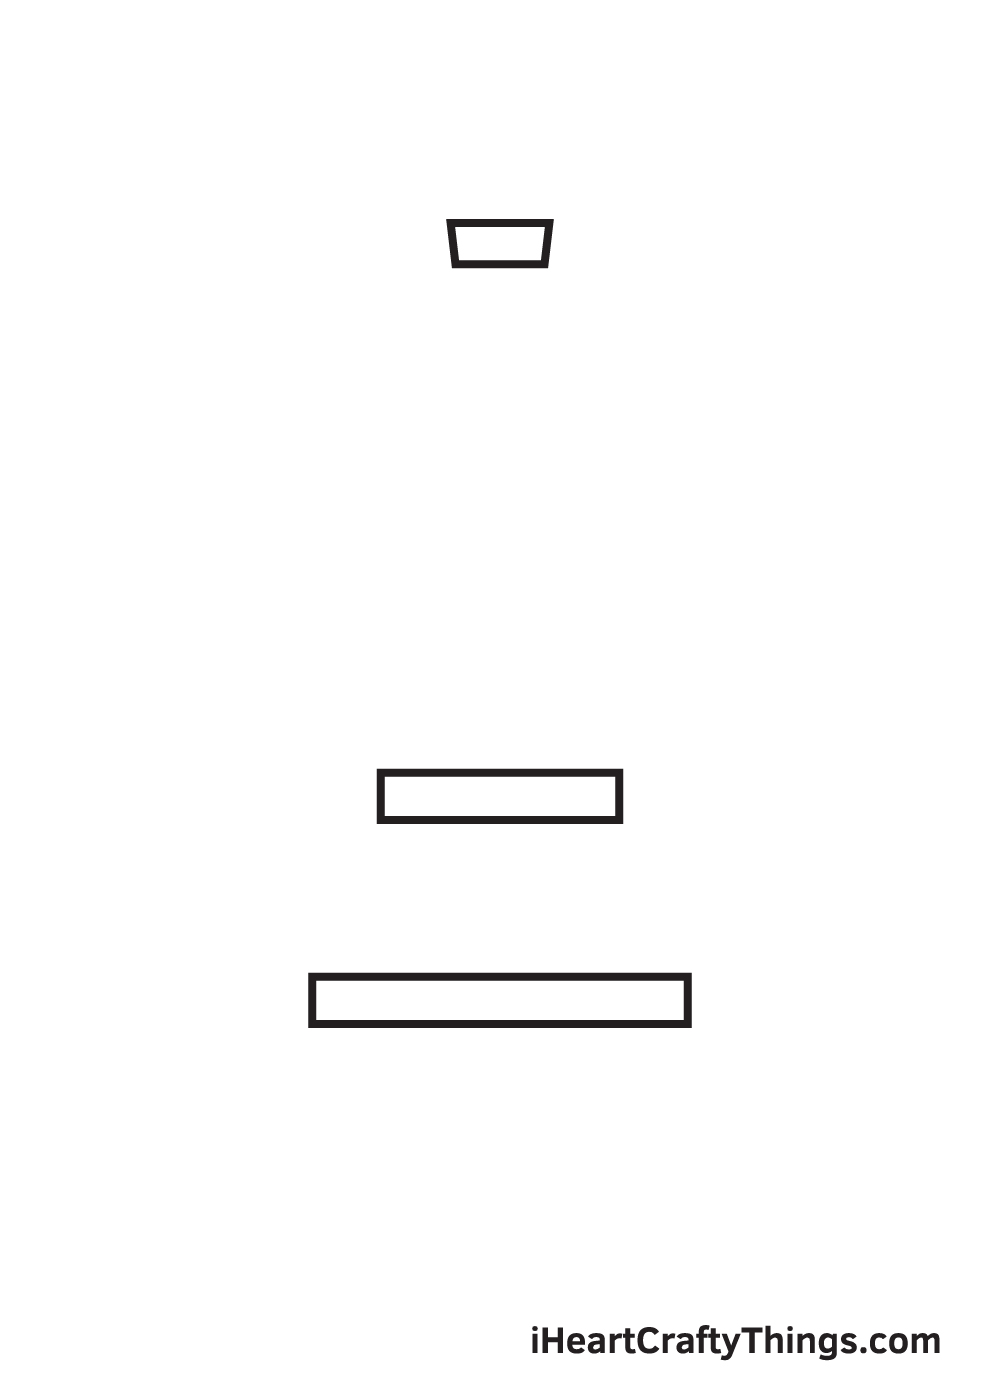
Starting on the middle of your paper, draw three narrow rectangular shapes in different sizes to outline the three platforms of the Eiffel Tower.
The rectangle at the top should be the smallest one while the one at the bottom should be the biggest.
Make sure that the Eiffel Tower will be drawn in the center by drawing an intersecting horizontal and vertical line across your paper to create reference lines.
The vertical line in the middle of your paper is where you should draw all three platforms.
Step 2 – Construct the First Level of the Tower
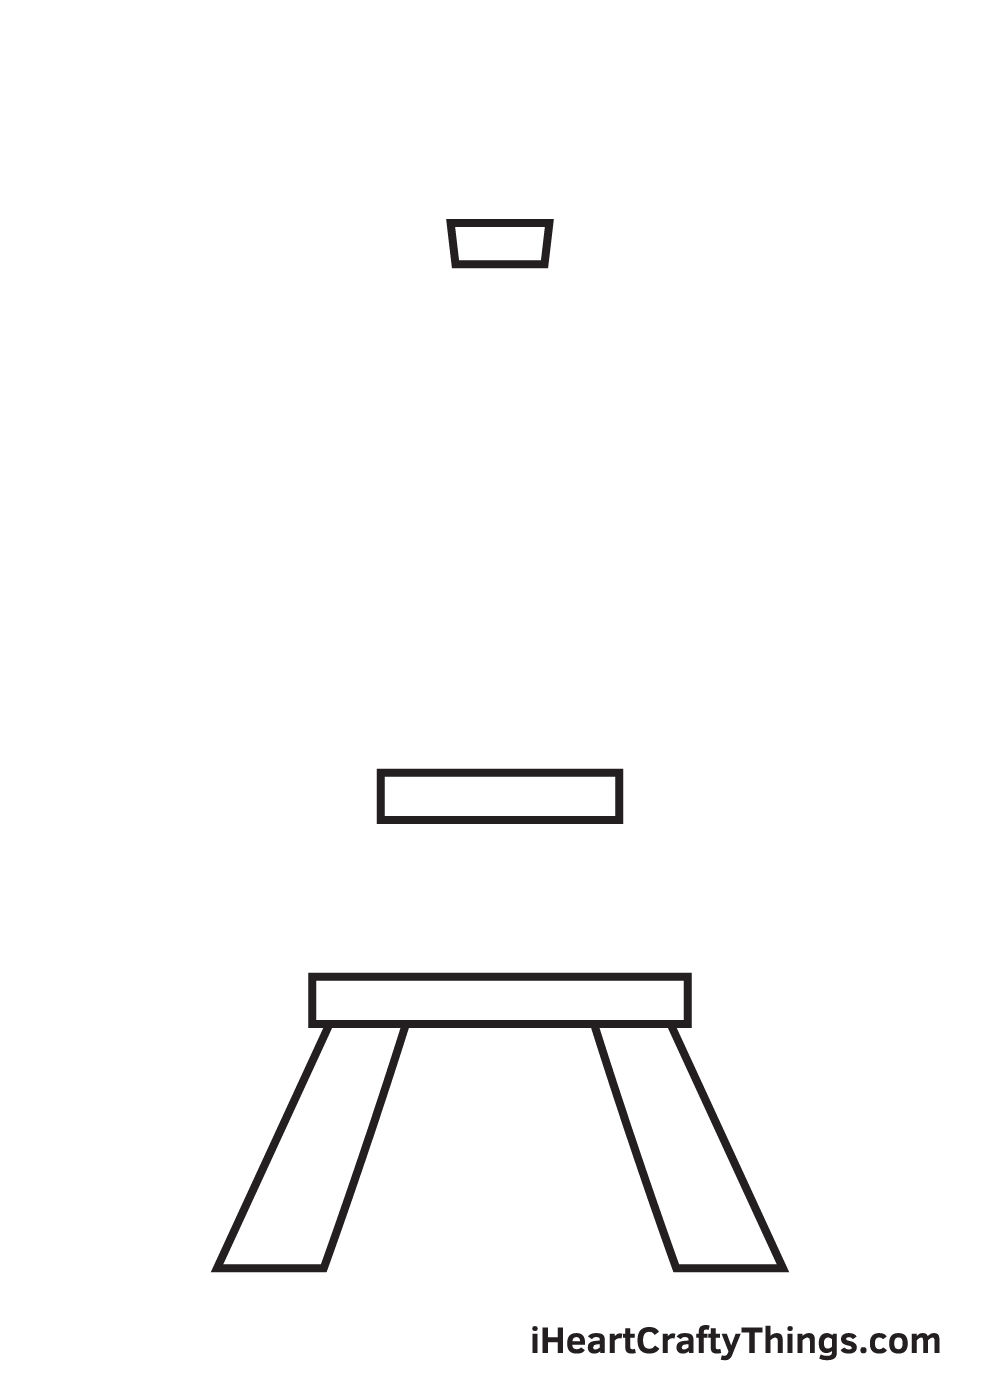
Create a diagonal leg on both sides underneath the first platform by drawing a pair of parallel diagonal lines with a horizontal line at the bottom.
This leg is the foundation that supports the entire weight of the Eiffel Tower.
Step 3 – Move On to the Tower’s Second Level
Draw two parallel diagonal lines on each side in between the first and the second platform to create the tower’s legs on the second level.
Step 4 – Complete the Structure of the Eiffel Tower
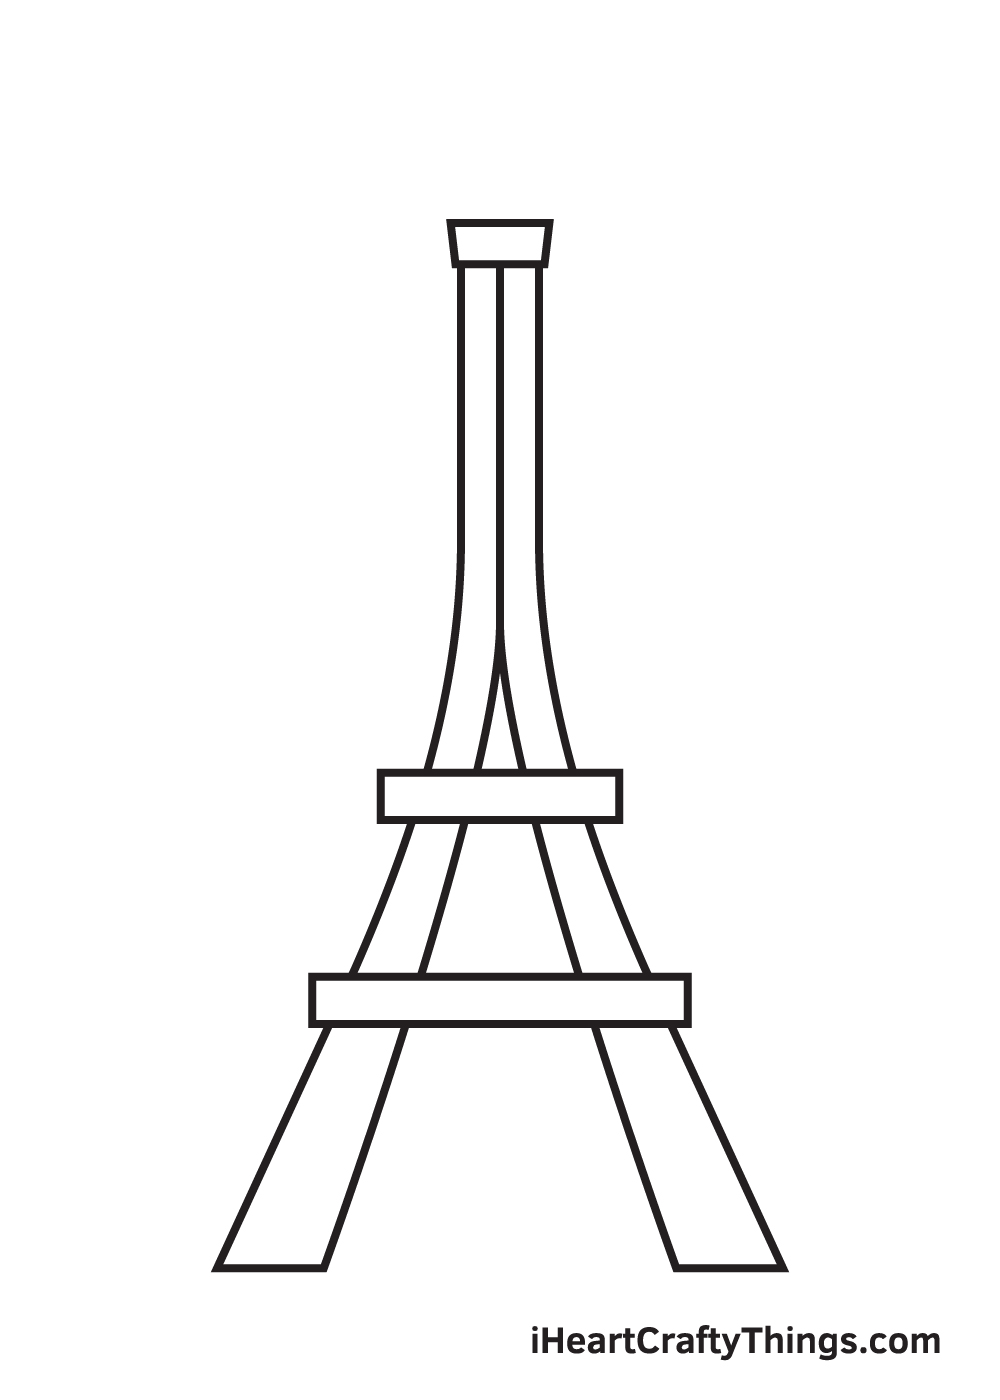
Finalize the form of the Eiffel Tower by drawing by structuring the topmost level of the Eiffel Tower. Simply draw parallel vertical lines that are slightly curved at the bottom.
Make sure that the leg in each level is perfectly aligned with each other to structure the Eiffel Tower proportionally. When drawn correctly, the legs should form a capital letter “A”, as shown in the illustration.
Step 5 – Draw the Pointed Figure at the Very Top
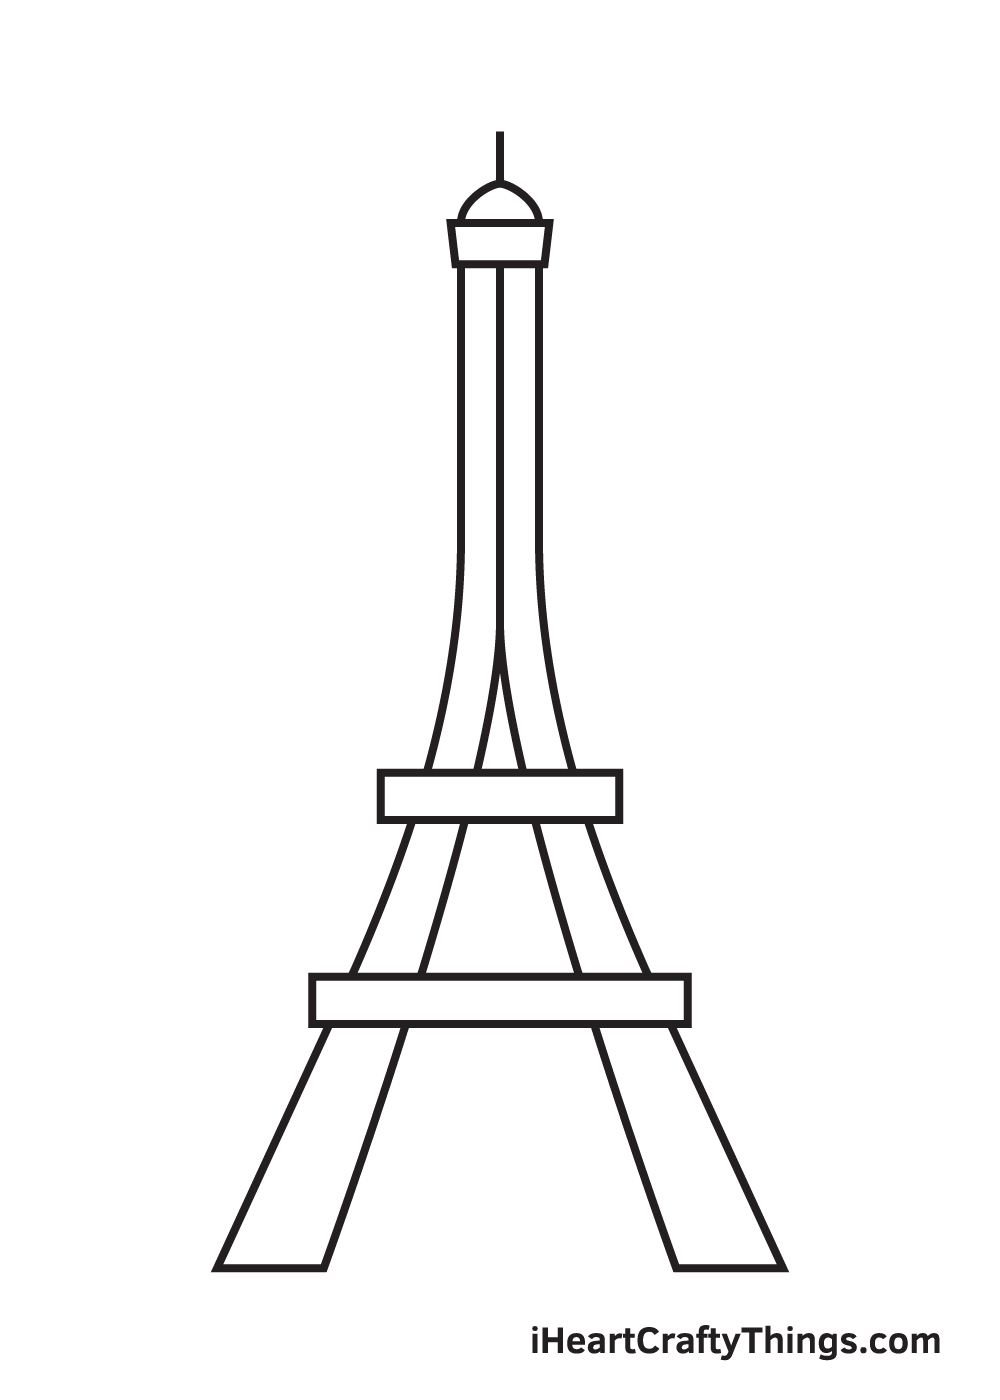
At the very top of the Eiffel Tower, draw a semicircle with a short vertical line above.
This creates the distinct figure situated at the topmost part of the Eiffel Tower.
Step 6 – Add the First Level’s Criss-Cross Iron Poles
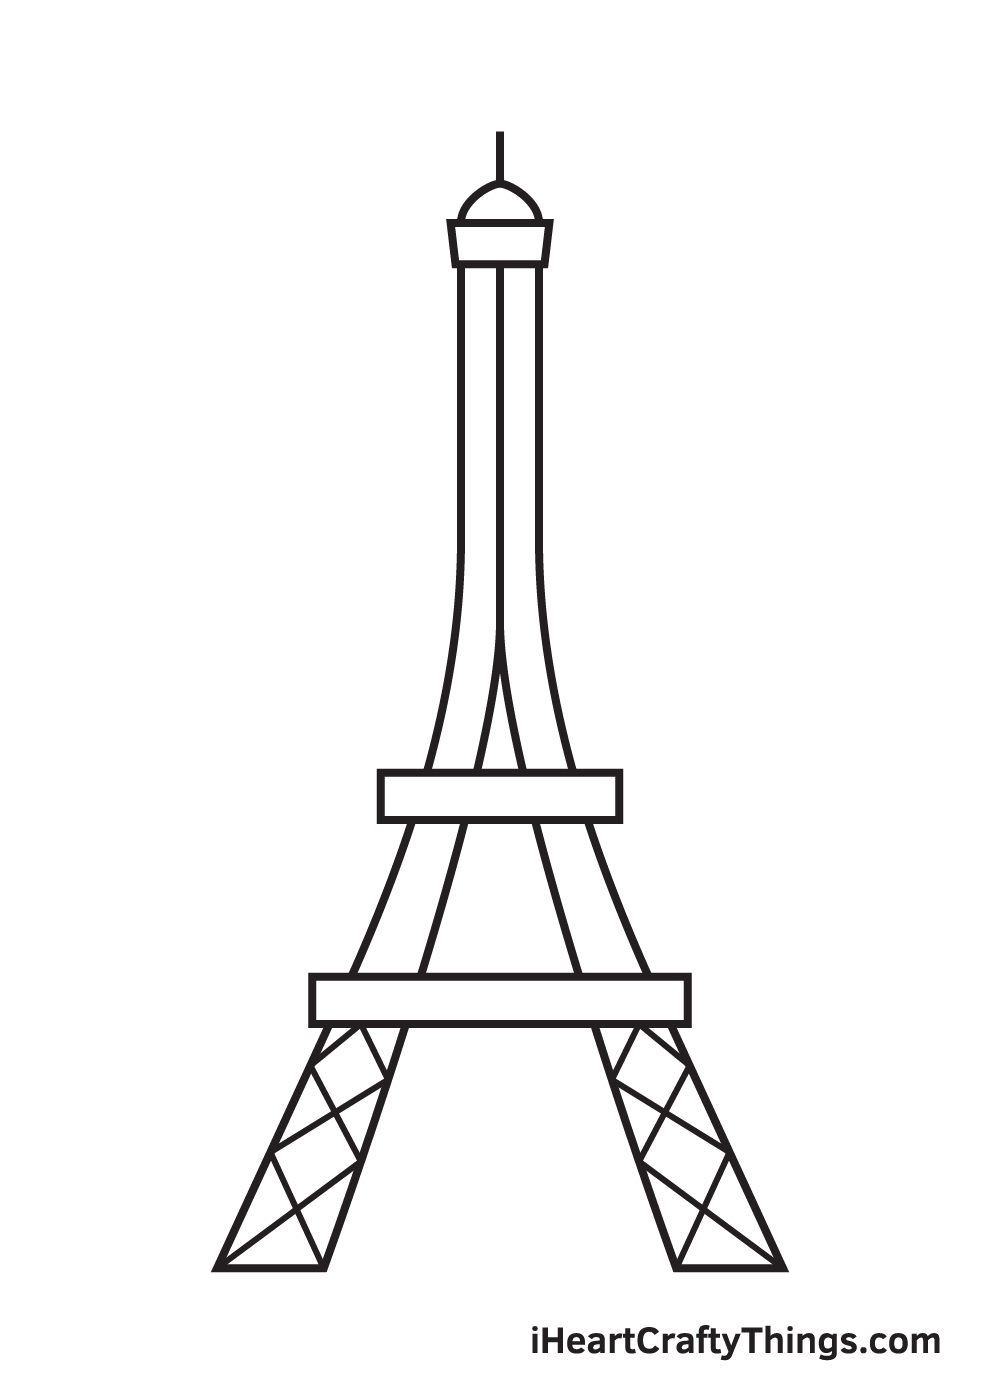
Add criss-cross patterns inside each bottom leg.
The criss-cross patterns can be created by simply drawing multiple intersecting diagonal lines.
Step 7 – Next, Add Details on the Second Level
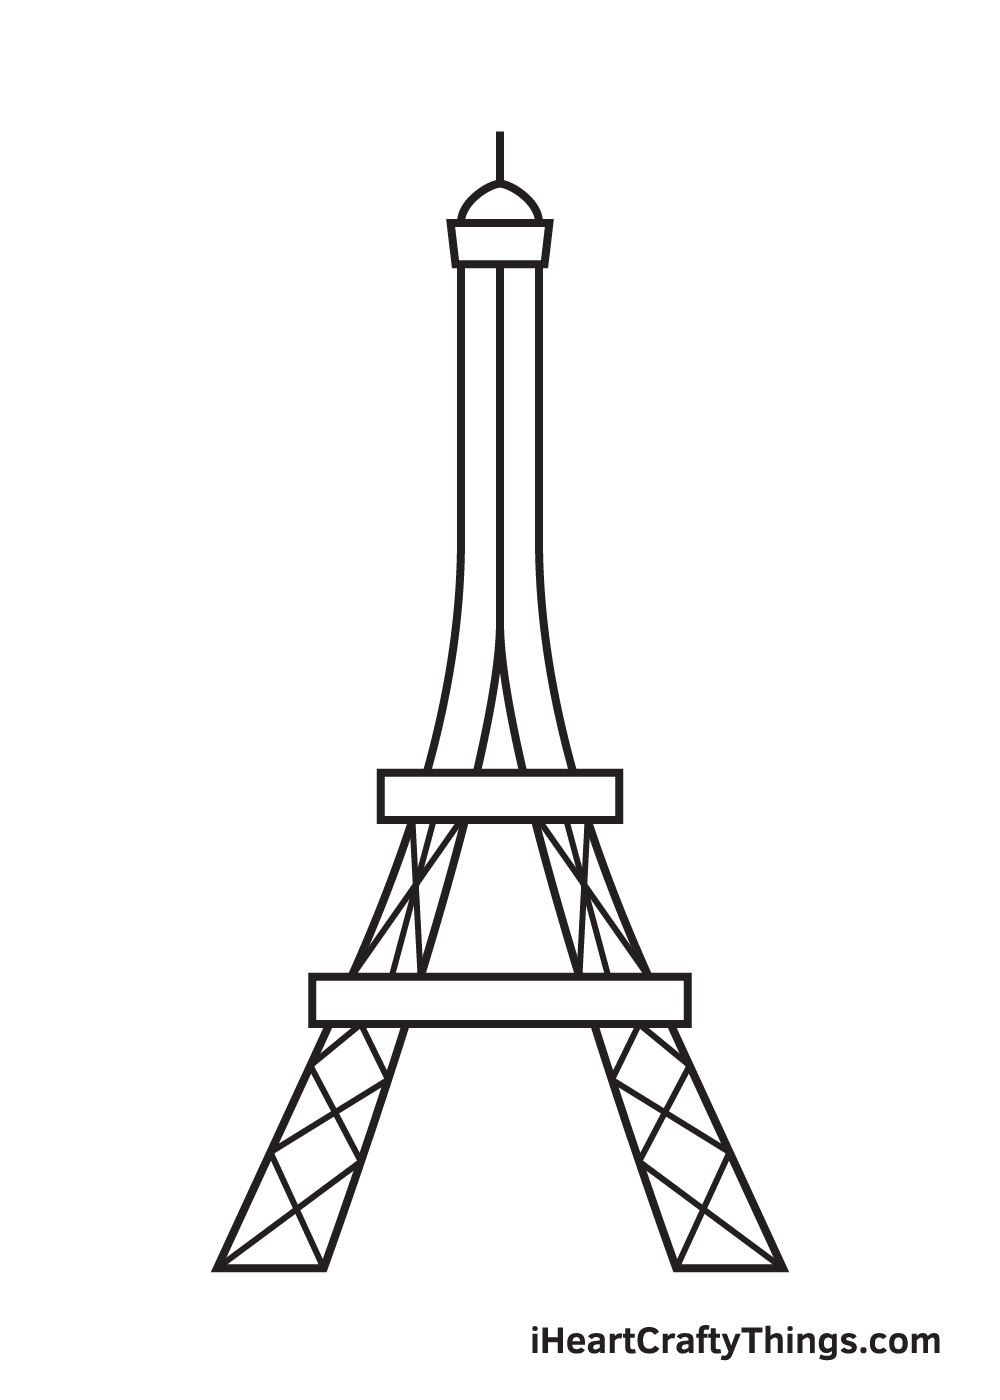
As you can see, the details on the second level are different from the details on the first level of the Eiffel Tower.
But no worries, creating this pattern is as easy as 1-2-3! It is simply a combination of a vertical line and intersecting diagonal lines.
Start by drawing a vertical line inside each leg in the second level. Afterwards, draw intersecting diagonal lines over the vertical line. And there you have it!
Step 8 – Now, Add Details on the Topmost Level
The details on the topmost level are identical to the ones at the bottom. Draw multiple intersecting diagonal lines forming a letter “X” down the length of each leg at the top.
After finishing this step, the details on the legs in all three levels of the Eiffel Tower should not be complete.
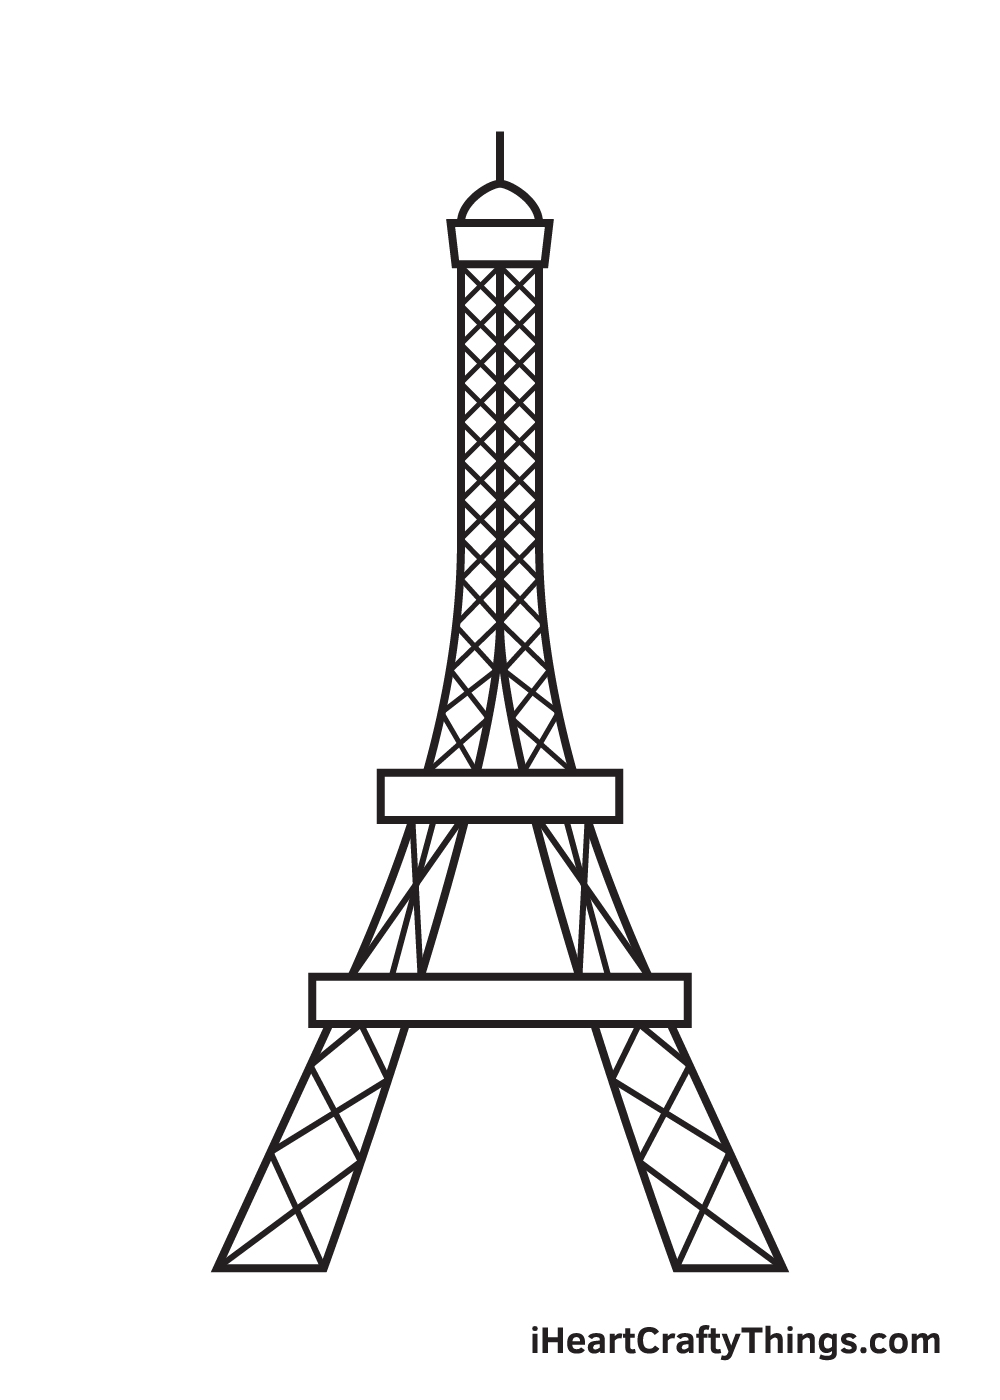
Step 9 – Afterwards, Add Details on the Platforms
Since we’ve already finished creating the patterns of the tower’s legs. In this step, we will now be working on the patterns on the horizontal platforms.
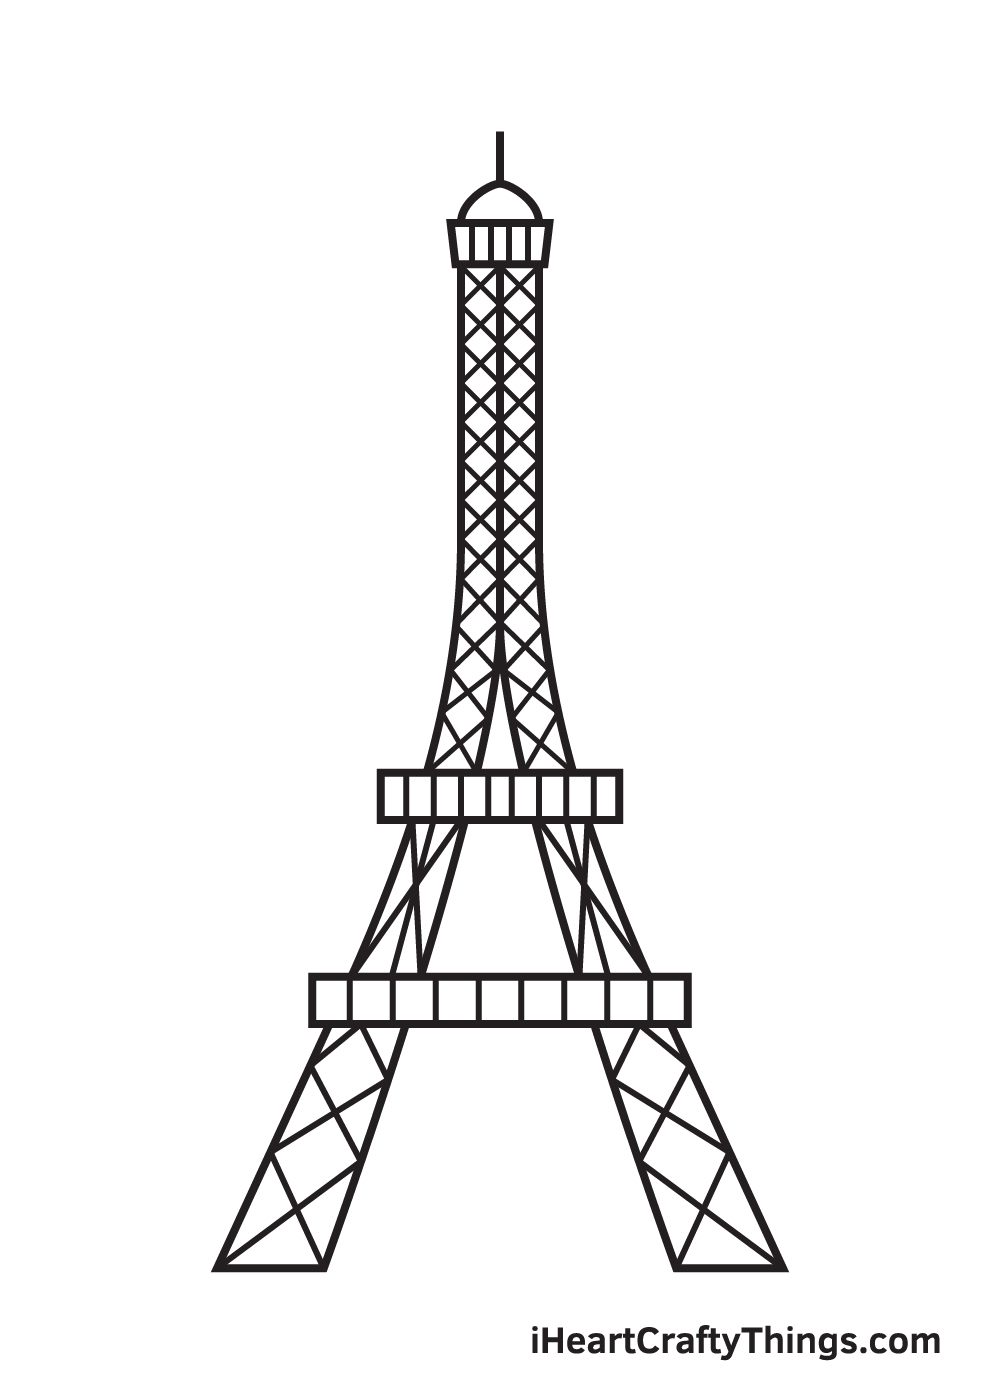
Draw multiple parallel vertical lines inside each of the platforms. Keep repeating this step until all three platforms have a similar pattern.
Now that we have successfully drawn a high-rise Eiffel Tower, it’s time for the most enjoyable part, which is picking the colors and coloring your drawing!
Since the Eiffel Tower is made of iron, its natural brown color has changed over the years. It started out as reddish-brown and later turned to yellow-brown.
You can opt to color the Eiffel Tower exactly as it is, or pick your own unique set of colors. We definitely recommend doing the latter to make the most out of your experience.
You can even use more than one color to make your version of the Eiffel Tower stand out!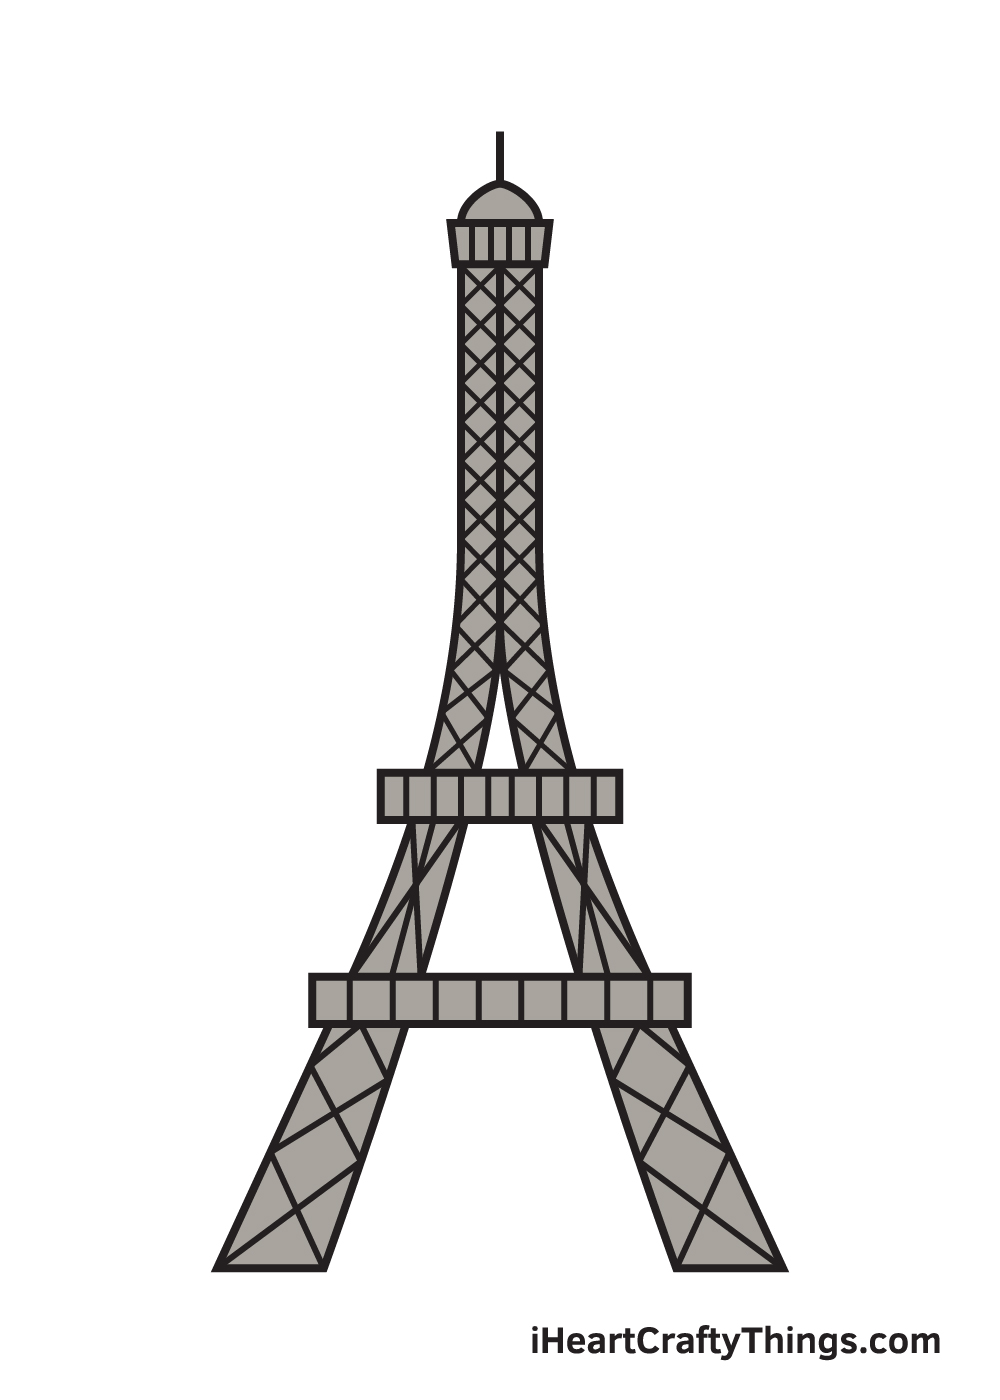
Bonus: Make Your Eiffel Tower Drawing More Realistic
This drawing of the Eiffel Tower that we just completed takes a stylized approach to this famous landmark. This looks great, but now that you have finished this drawing, you may want to try some different approaches.
One way that you could do this would be to make this drawing more realistic. However, this could be quite a challenge, so it’s something you would certainly want to prepare for.
Perhaps the best way to prepare for this would be to look at pictures of the real Eiffel Tower. This could include photos, diagrams and even other drawings.
The more pictures you can find, the better, as they will give you an idea of what the details and structure should look like. Then, when you have prepared, you can use your references and then apply them to the guide.
You’ll probably want to do a few pencil sketches before you begin, as this will help you to better grasp the finer details. When you have a better idea, you can begin the final drawing.
Using your tools, references and the images in this guide, carefully start drawing out the Eiffel Tower. You can do this in layers, using progressively darker pencils.
When you have a fairly detailed pencil sketch, that’s when you start adding your pen lines or your darkest pencil. If you’re going to all this trouble of making a more detailed representation, then you may as well add some of the surrounding area.
This would be a great way to really make this drawing look even more wonderful, as you would capture the whole landscape! No matter how you choose to finish this drawing, we can then move on to the colors in the final step.
4 More Ways To Make Your Eiffel Tower Drawing Unique
Finish off this depiction of this iconic building with tips for your Eiffel Tower sketch!
We kept the style and details of this Eiffel Tower drawing a bit simpler so that it would be easier to learn. Once you have the hang of this design, you may also want to make it more complex!
You could do this by using photos and drawings of the Eiffel Tower to help you as you add elements and details. This can take a bit more time, but it will be worth it once it is done!
On the other hand, you may want to take it in a different direction and rather make this drawing of the Eiffel Tower even more stylistic. This could be in the form of making the drawing a lot simpler in its design.
Or, you could make it look more stylish by having it twist over the side or curling up at the top. These are just a few of the ways you could take it in an even wackier direction!
How would you like to put a creative spin on the tower?
No matter what style you choose for your Eiffel Tower sketch, you could also make it look even better with some smaller details.
The Eiffel Tower is one of the most iconic landmarks in the world, and many people visit it each day.
You could draw some tiny people on and around the tower for a fun touch! It would be a subtle detail, but it would still look really great.
What other small details can you add?
Finally, you could finish off this wonderful Eiffel Tower drawing by filling in the rest of the background!
If you wanted to make it realistic, you could look up what the backdrop behind the Eiffel Tower looks like in real life.
You could also create your own interpretation of the background and fill it with whatever you like. For example, you could draw and color some fireworks exploding in the background!
Your Eiffel Tower Drawing is Complete!
There you have it—you have successfully drawn and colored a spectacular Eiffel Tower. We think your drawing would look amazing to be hung up on a wall once it is framed!
It will surely make an awesome decoration for your living room. What do you think? In which part of your house do you think this artwork would look best?
Remember, we are always updating our catalog of “How-to-Draw” series. Make sure you keep re-visiting our website to continuously enjoy all-new drawing tutorials.
All of our crafts, printable sheets, and guides are 100% free for you to use. You may also want to share this with your friends so you can all learn how to draw together. How fun is that?!
Don’t forget to take a picture of your artworks and show it off by sharing it on our Facebook page and on Pinterest.
Grab the opportunity to showcase your artistic skills and check out other people’s drawings too. Come on, don’t be shy!
You’ve worked so hard for it, so we’re sure it looks incredible. Share your artwork and let the world appreciate your talent.
We can’t wait to see your colorful Eiffel Tower drawing!
Here Is A Quick Drawing Of The Eiffel Tower To Inspire You!
Is there any structure more indicative of France than the Eiffel Tower? This iconic structure, located in Paris, is one that many people will think of when they think of France.
Thousands of people love to recreate this structure, and now you can create your own quick drawing of the Eiffel tower.
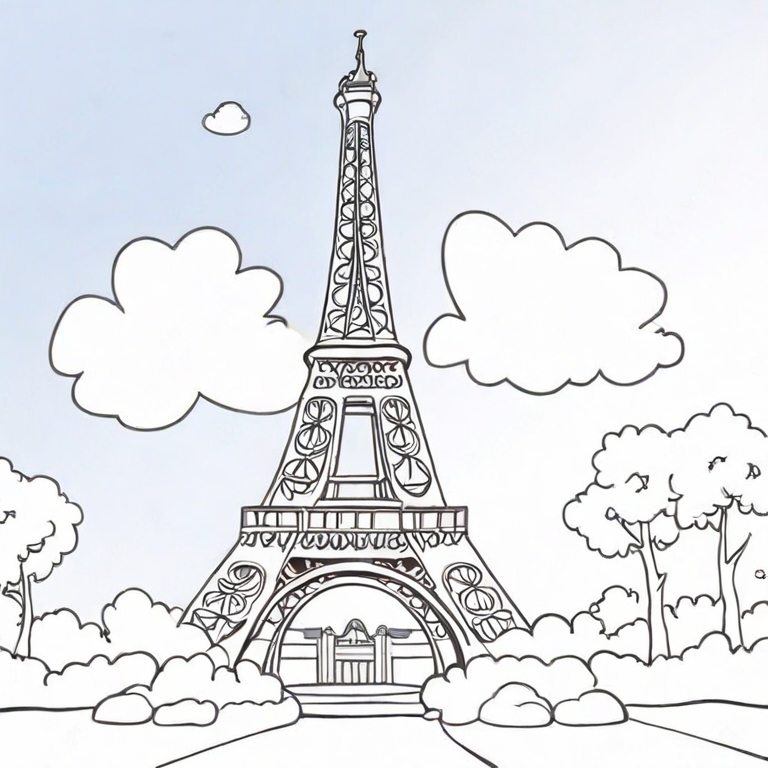
This example was drawn by our artist Amanda to show you how easy it can be.
On first glance, it immediately looks like the real tower. However, when you look closer, you will see that it is actually quite simple in detail.
This makes it easy to draw, and you can use Amanda’s design to capture the feeling of the tower. She also added some smaller background details, and you can add to these as you wish too.
This will be an amazing drawing when finished!