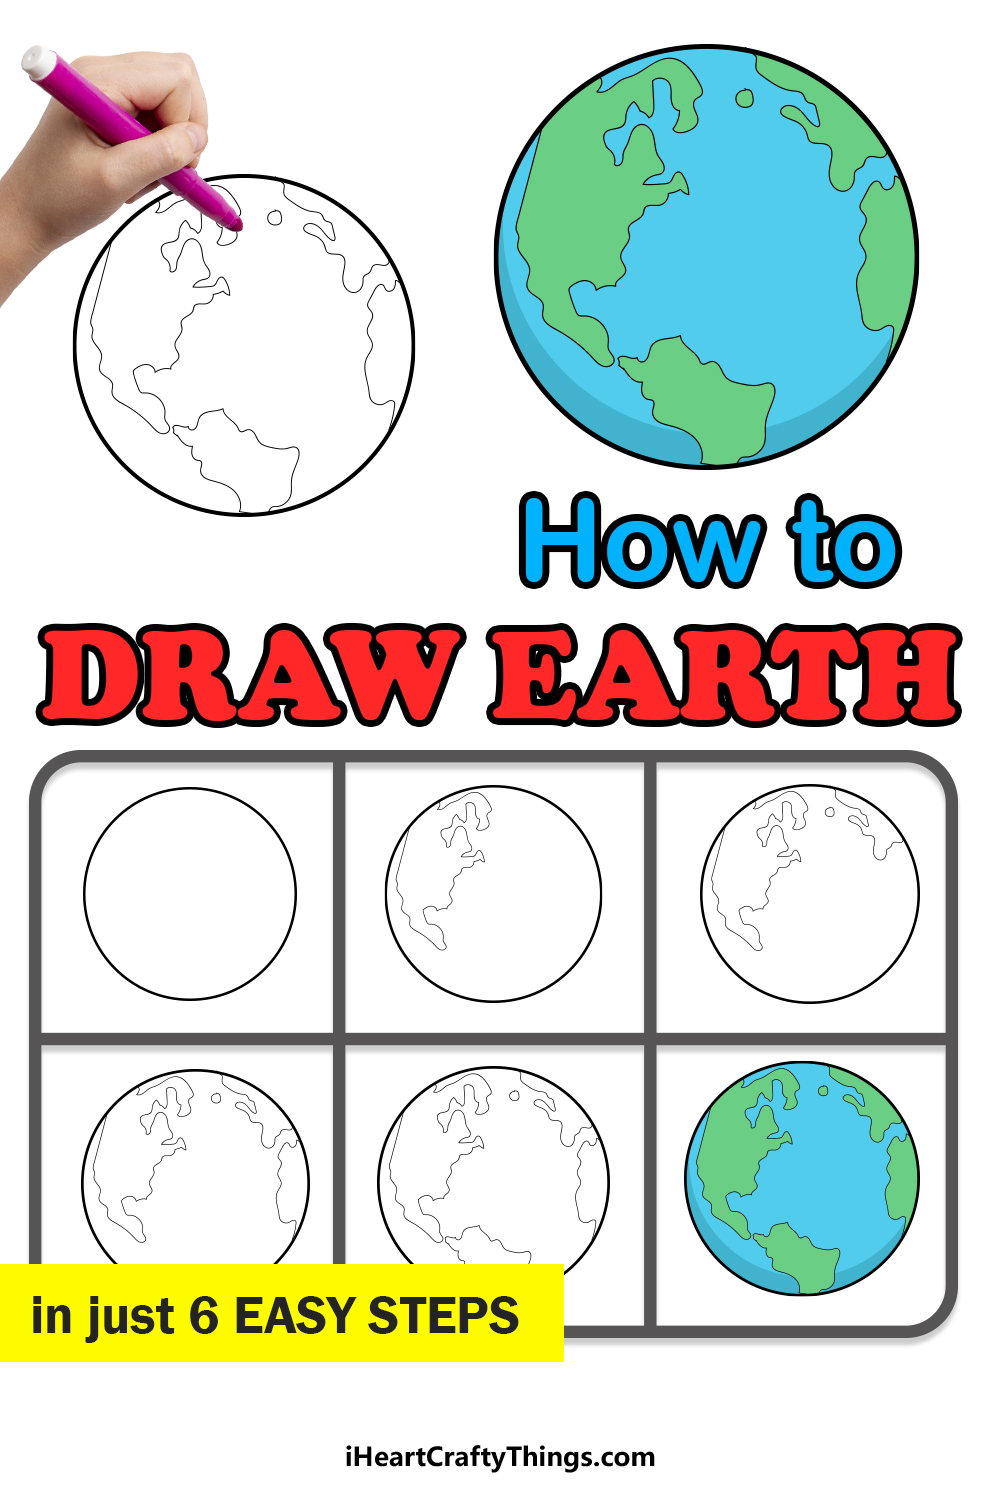
Find out how to draw the Earth by following this fun guide for kids! It’s really easy to recreate the planet that we call home when you know what to do.
Even though we walk on the Earth every day, not everyone knows exactly how to draw it. In fact, it can prove to be surprisingly challenging!
This guide is all about making it easier for you no matter what your skill level may be. I will show you some techniques and art tools for creating the shape of the Earth as well as how you can draw the continents.
If you would prefer to portray different continents instead, then you could customize the design once you have the hang of it. You could even draw some stars in space behind the Earth to really finish it off!
Let’s take off and discover how it’s done together.
Learn How To Create Your Earth Drawing By Watching This
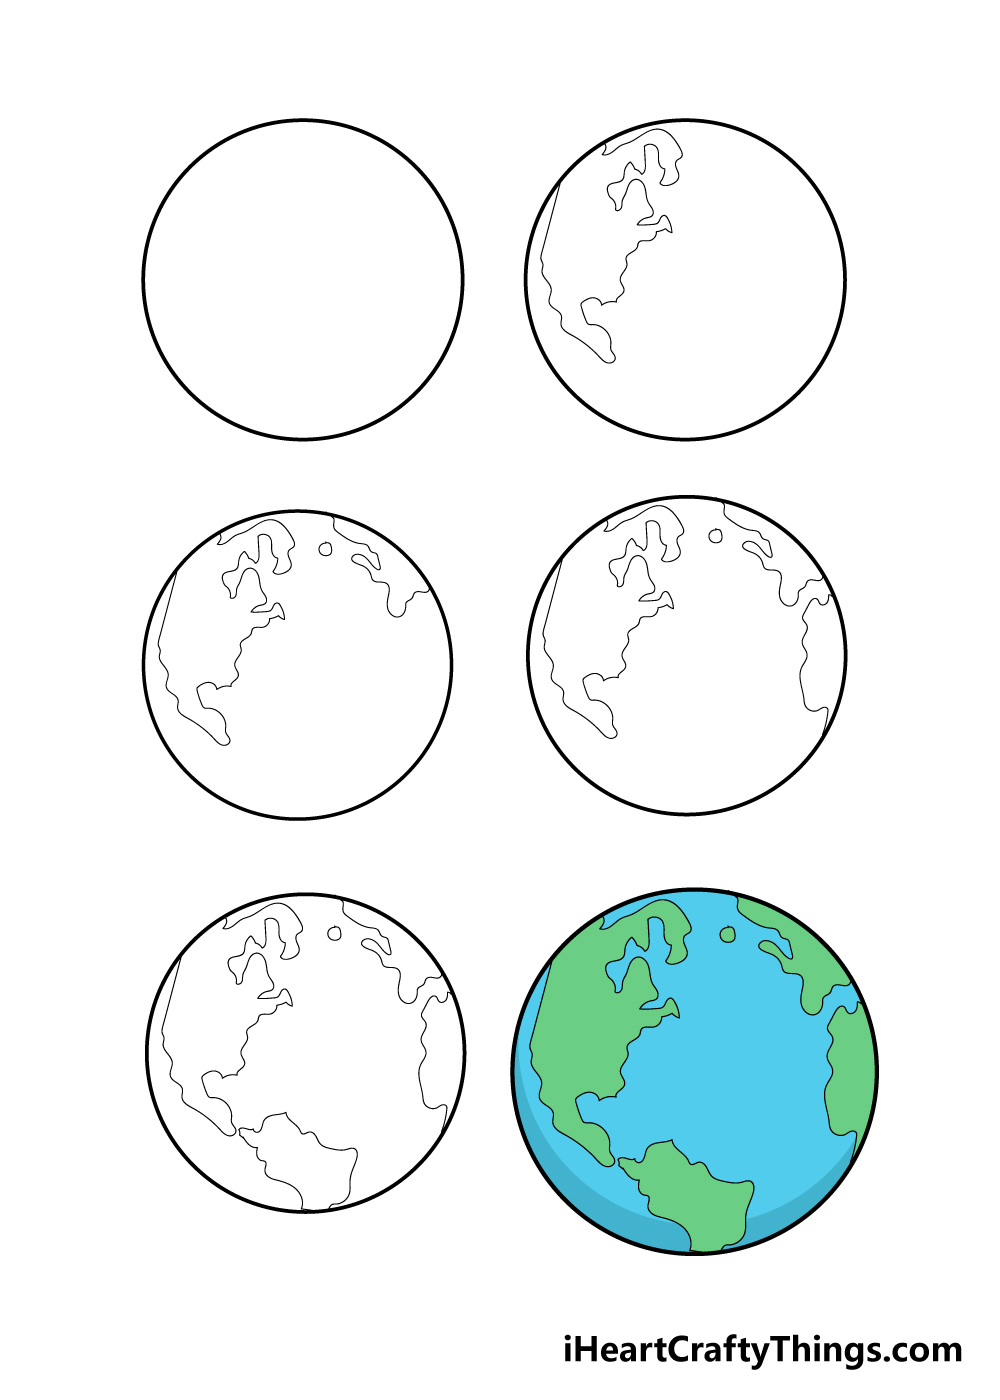
How to Draw The Earth – Let’s Get Started!
Step 1
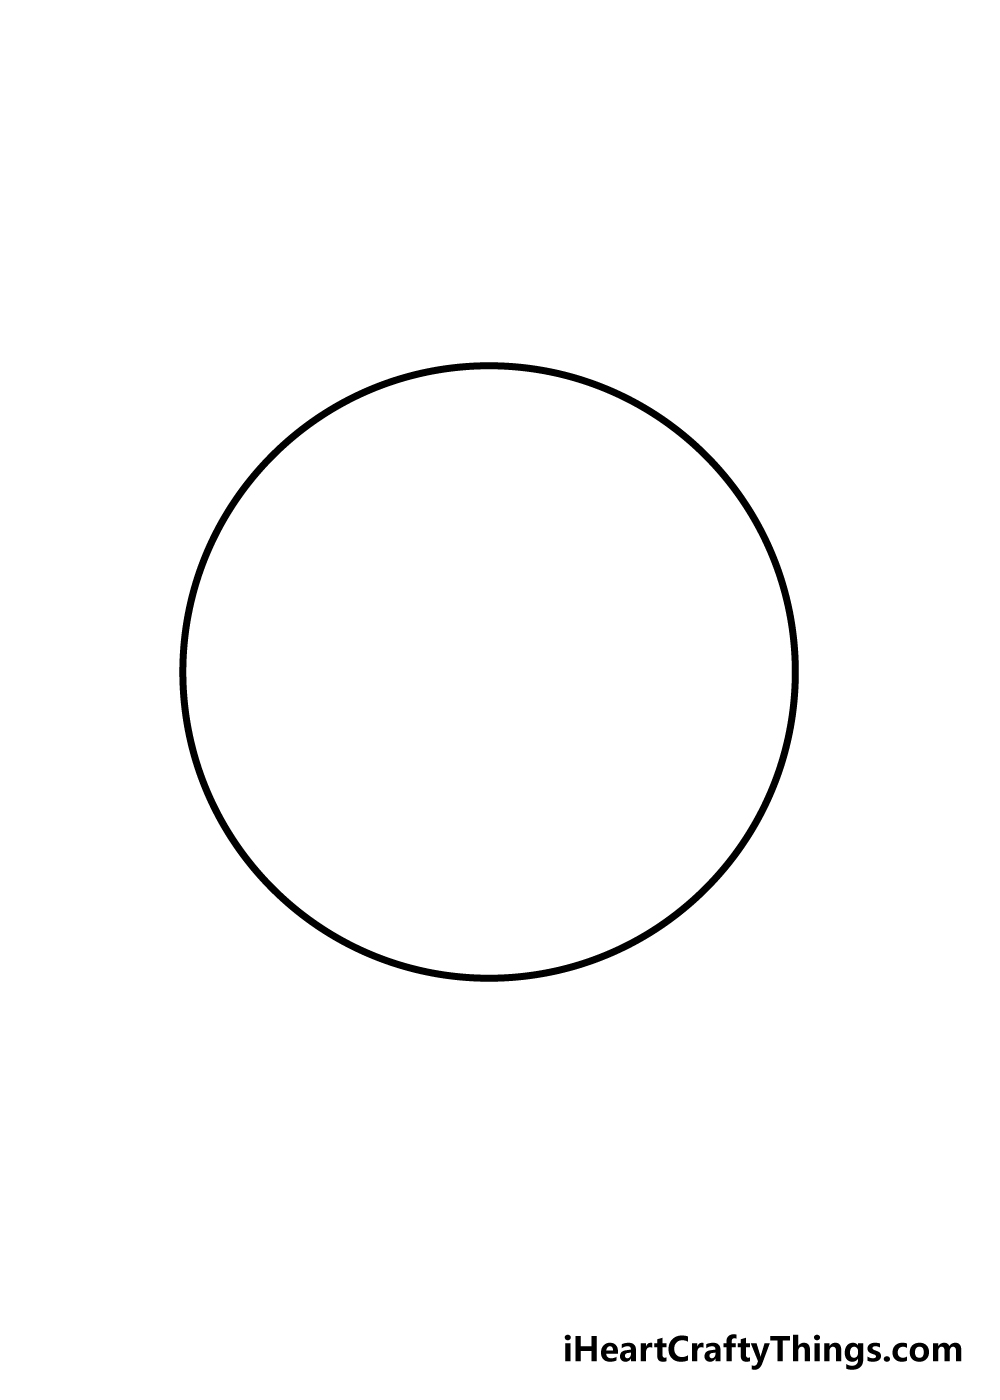
To kick off this guide on how to draw the Earth, we shall be starting with a circle for the outline of the Earth.
If you can get this outline as a perfect circle that would definitely be best! There are a few ways that you can draw a perfect circle, and the best way is to use something like a drawing compass.
This tool can be used with your pen or pencil to easily draw a perfect circle.
If you don’t have a drawing compass, then you can always use a flat, round object to trace around.
Once you have the outline drawn, you’re ready for step 2!
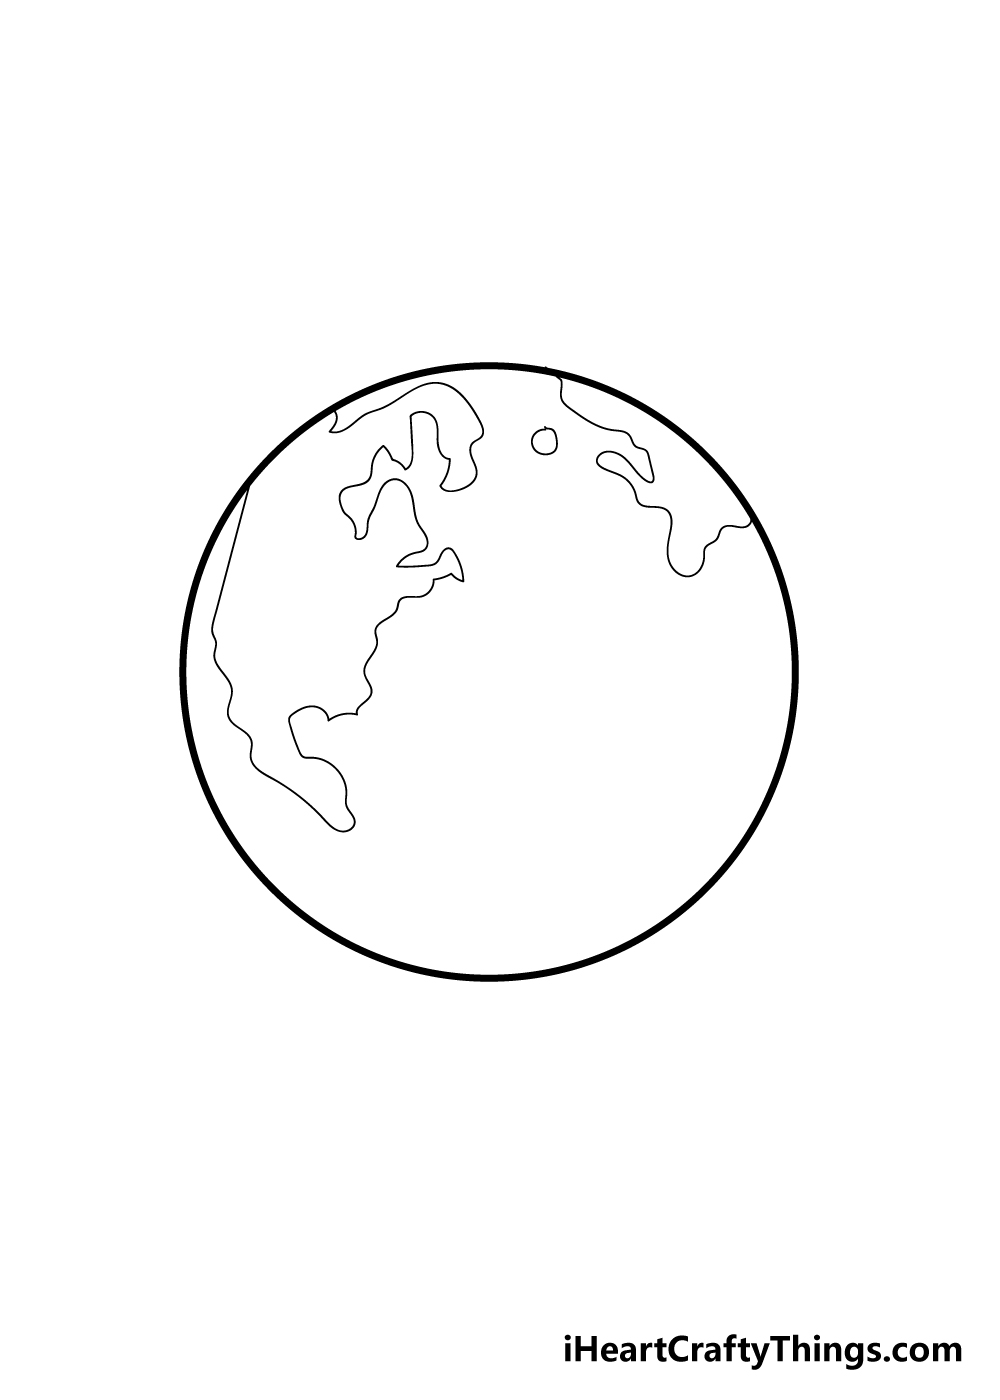
Step 2 – Draw the first continent of your Earth drawing
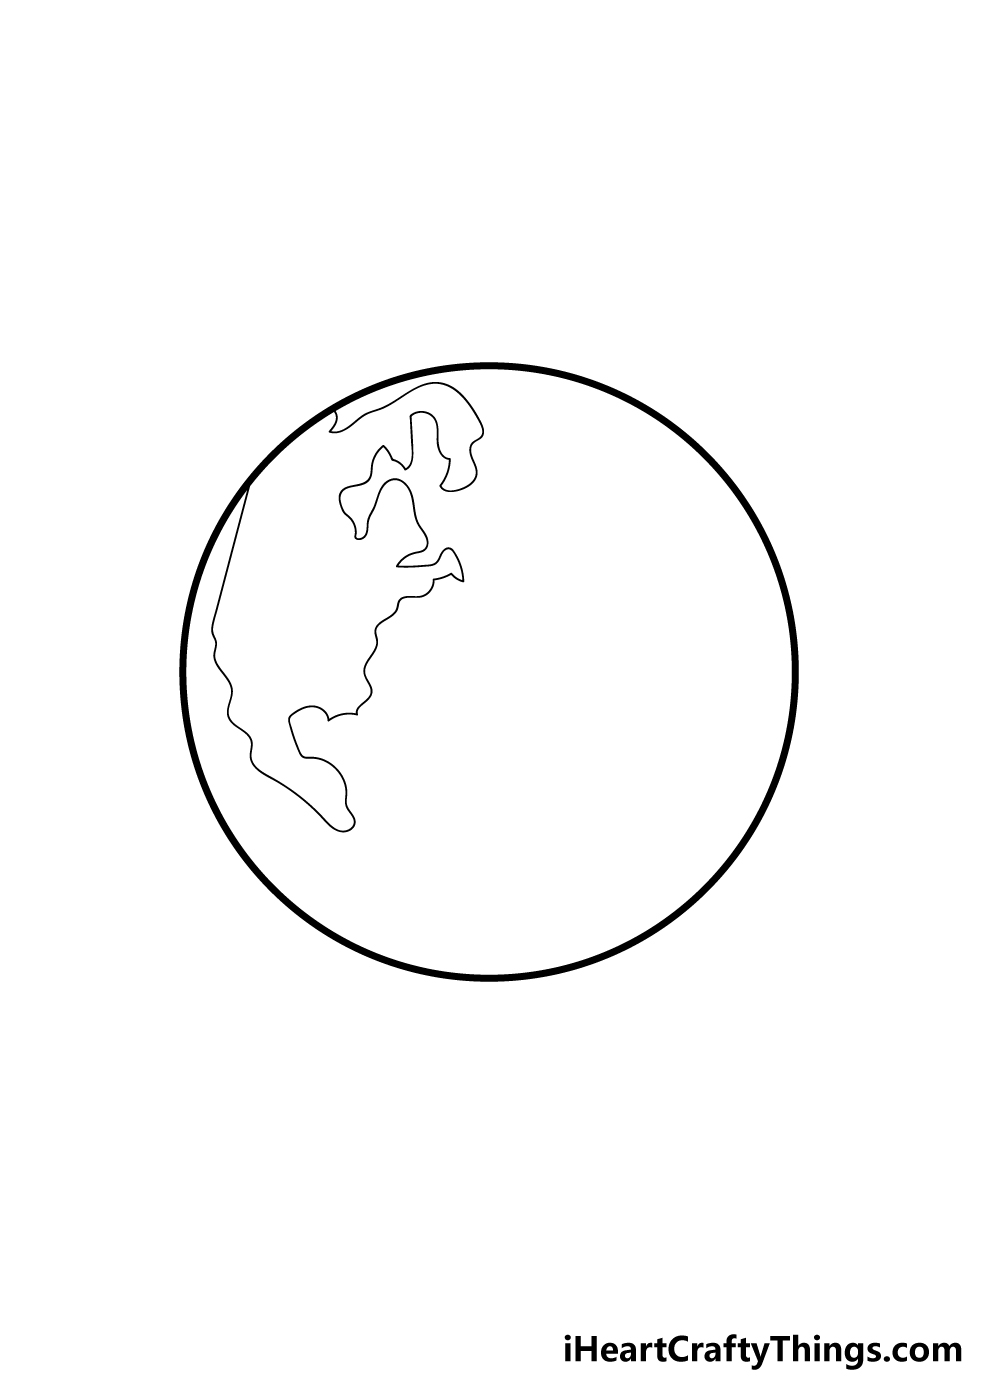
Now that you’ve got the outline of your Earth drawing, you can start to draw the continents. The first continent that we will start with will be North America on the left-hand side of the Earth.
For this step, my recommendation would be to use a pencil first and then go over it with your pen once you’re happy with it.
You should also follow the reference image closely in order to get the shape of the continent looking right.
Step 3 – Now, draw the next continent
We shall keep adding some more continents in the next few steps of this guide on how to draw the earth.
For this part we shall be drawing the leftmost side of England and Europe. Because of the angle that the Earth is at, we will only be able to see a tiny part of it.
As with the other parts of this guide, you could definitely try drawing with a pencil at first if this part proves challenging!
Step 4 – Next, draw Africa in this step
It’s time to travel to the shores of Africa for this step of your Earth drawing! Once again, due to the angle of the Earth in this drawing we will only be able to see a small portion of this continent.
That does at least make it a bit easier to draw it! Once you have the visible bit of Africa drawn, we’re ready for the final continent in the next step.
Step 5 – Now, you can add the final continent

This guide on how to draw the earth wouldn’t be complete without South America, so let’s add it right now!
This continent will go directly below North America from step 2, and they should be so close that it looks like they are almost touching.
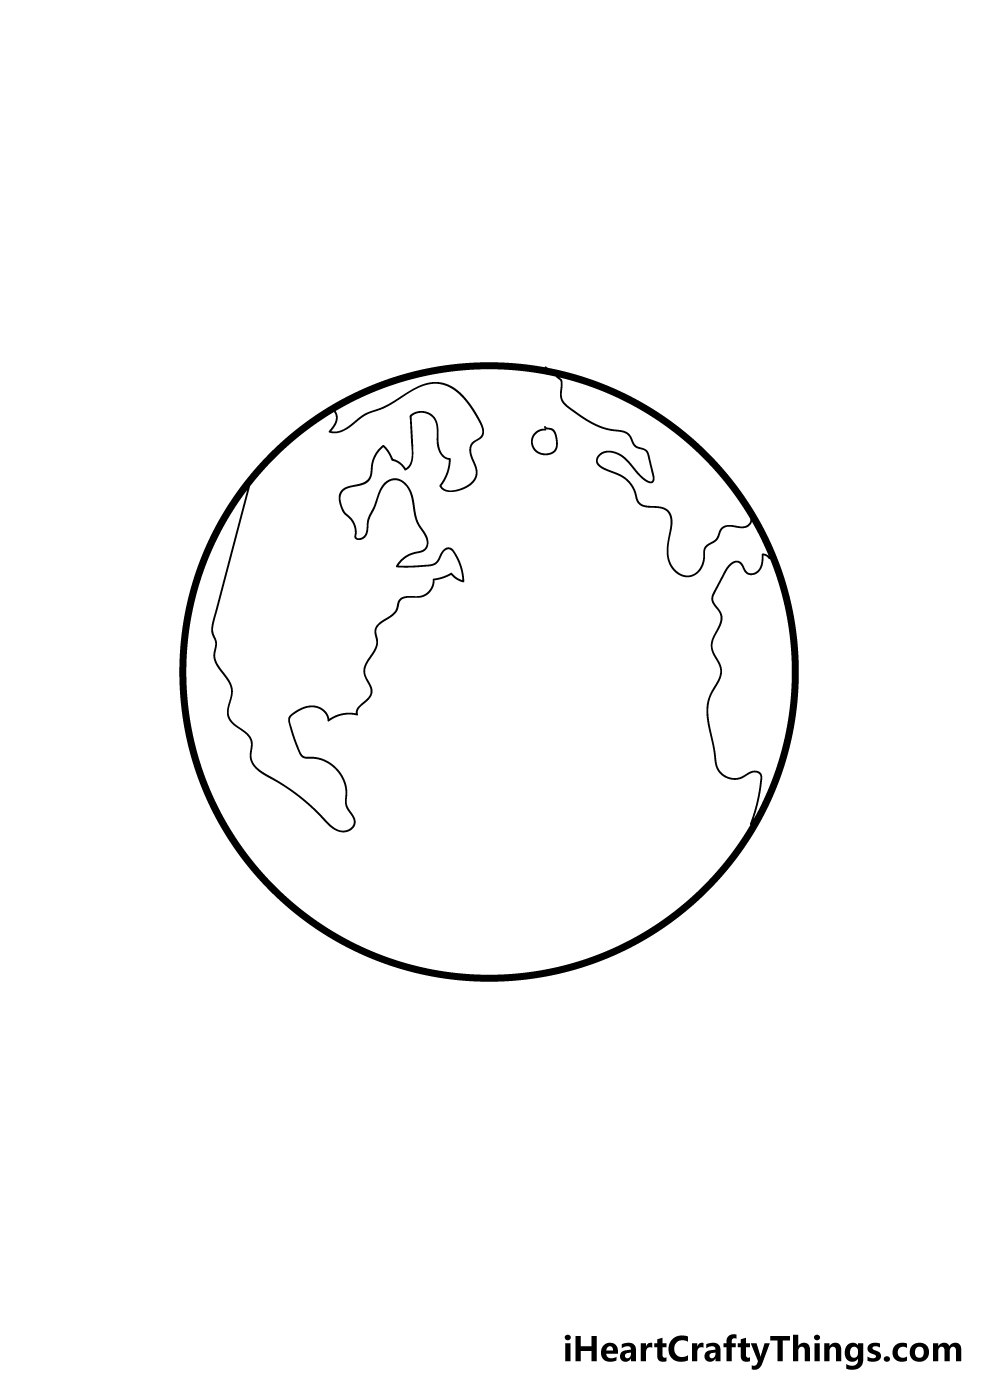
With that, all of the continents are drawn and you’re ready for the final step! Before you move on, you could also add some of your own details and change up the composition of the image to personalize it.
Some ideas that you could do would be to draw a space background behind the Earth. Maybe you could do that and also have an alien spaceship hovering over Earth!
Another idea would be to draw a map shape around the Earth to make it look like an old map.
What fun ideas can you think of to finish off your Earth drawing?
Bonus: Celebrate Our Planet With These Extra Ideas
The next and final step of this guide on how to draw the Earth will deal with coloring in your creation. We will also cover some more steps you can use to enhance your drawing after that.
Before we move to these steps, we have a few ideas for how you can turn this Eart drawing into the ultimate celebration of our planet! Each continent and country on the planet is known for certain things.
You could show your favorite places on the planet by showing some of these distinctive details. For example, let’s say you love Africa and would like to make it the main continent on this drawing.
You could draw some things like distinctive trees onto the page and add some distinctive African wildlife such as lions, leopards or elephants. It could even just be the animal’s heads if you wanted!
For another example, maybe you love Canada. If so, then drawing the distinctive maple leaf, a moose head or maybe a beaver would be a fun way to show off some of the things it’s known for.
If you wanted to take it even further, then you may want to separate the continents and countries into their different sections, which you could do by using a map or your own knowledge.
Adding these kinds of details would also give you way more details to color in when we get to the final step. It would also ensure that your Earth drawing will be completely unique and different from anyone else who takes on this guide!
We would love to see some of your ideas to make this drawing more unique and representative. Then, we will see you in the final step when you’re ready!
Step 6 – Finish off your Earth drawing with some color
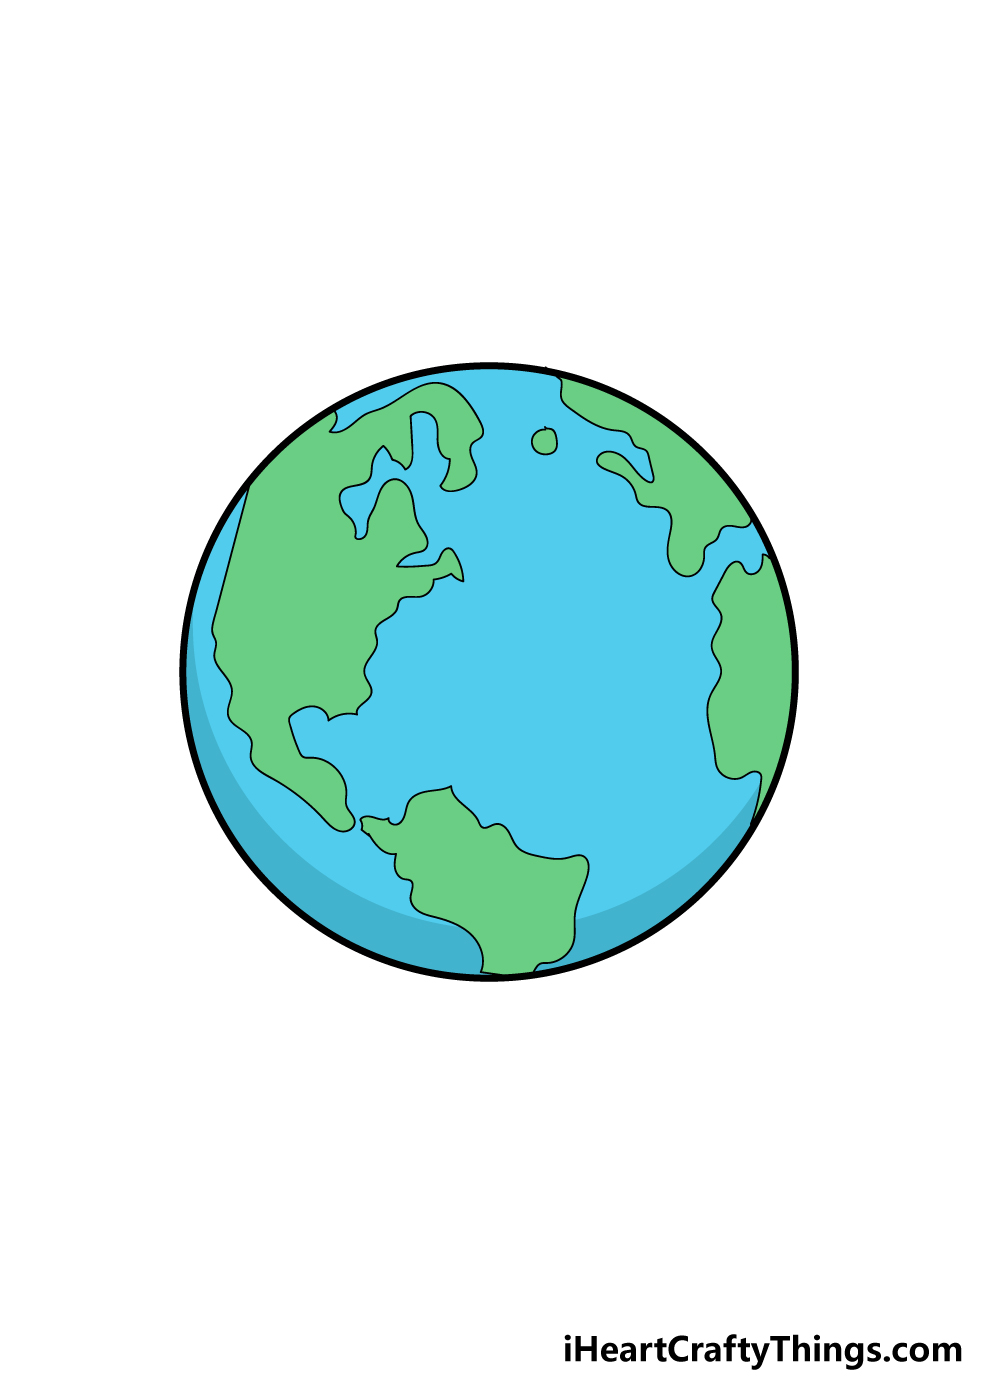
You have reached the final step of your Earth drawing, and now comes the fun part of finishing off your amazing drawing with some beautiful colors!
This is a step where you can really get creative with it as you choose which colors you would like.
We went with a pretty blue and green color scheme, but there are plenty of other options that you could go with as well!
One idea you could go with would be to give each continent its own color scheme. You could even keep the colors themed to each continent!
Another thing you could do would be to look at photos of each continent and then try to color them realistically depending on how they look in real life.
Once you know which colors you would like to use, you can also have fun using different art mediums! One fun idea would be to mix mediums while you color.
For example, you could use watercolors for the ocean areas while using colored pens for the continents. You could even use a thin layer of white watercolors over certain points to represent cloud cover.
How will you bring your Earth drawing to life with colors?
Here’s how you can make your earth drawing even better…
Represent the planet we call home as we show you how you can make this drawing even better
When creating this earth drawing, you can make it more realistic or more fun and wacky. We shall cover the first approach in this first tip.
You could do this by adding some more details to the space around the planet. These could include stars or maybe even more of the planets we find in our solar system.
Looking at diagrams of the solar system can help to make this much easier to do!
Another way to make this earth sketch more realistic would be to add some details to the planet itself. These could include some textures on the continents to make them look more dynamic.
Another idea would be to add some light cloud cover over the planet to obscure it slightly. These are just a few ideas, and this is another case where looking up photos of the earth could help to give you some inspiration.
Most of us have seen a globe before, and you could turn this drawing of the earth into one! If you have a globe in your house, then you could use it as a model as you draw a stand for the planet.
If you wanted to take it even further, you could draw the different countries of the earth onto the continents. This is another case where using some kind of reference would make it a lot easier to do.
If you don’t have a globe, you can easily find some pictures online.
This final tip will involve making this earth drawing a bit more fun and whimsical! You could do this by adding all sorts of fun and cartoony details.
For example, you could add some fun alien spaceships flying around the earth. You could also design some cool space rockets for another idea.
Or, you could even draw a big happy face onto the planet to turn it into a character. What other fun and creative ideas do you have?
Your Earth Drawing is Complete!
We really hope that you had an incredible, globetrotting time while completing this guide on how to draw the Earth!
It can be a bit tricky getting the appearance of the Earth looking right, so hopefully this guide was both helpful and fun for you to work with. You should definitely be very proud of your amazing drawing!
Now you get to take over and show us how you will make this Earth drawing your own. Will you use some of the ideas we mentioned earlier or use some of your own? You could also wow us with some incredible colors, so we can’t wait to see what you come up with!
We have many more awesome guides already on our website for you to enjoy! Our guides cover a wide range of different topics and subject matters, so there’s something for everyone!
We also upload more guides all the time, so try to check in every day to make sure you never miss out!
We would be very curious to see your finished earth drawings, as we know you will have done an incredibly creative job with it!
Once it’s done, please go ahead and share it on our Facebook and Pinterest pages for us to enjoy!