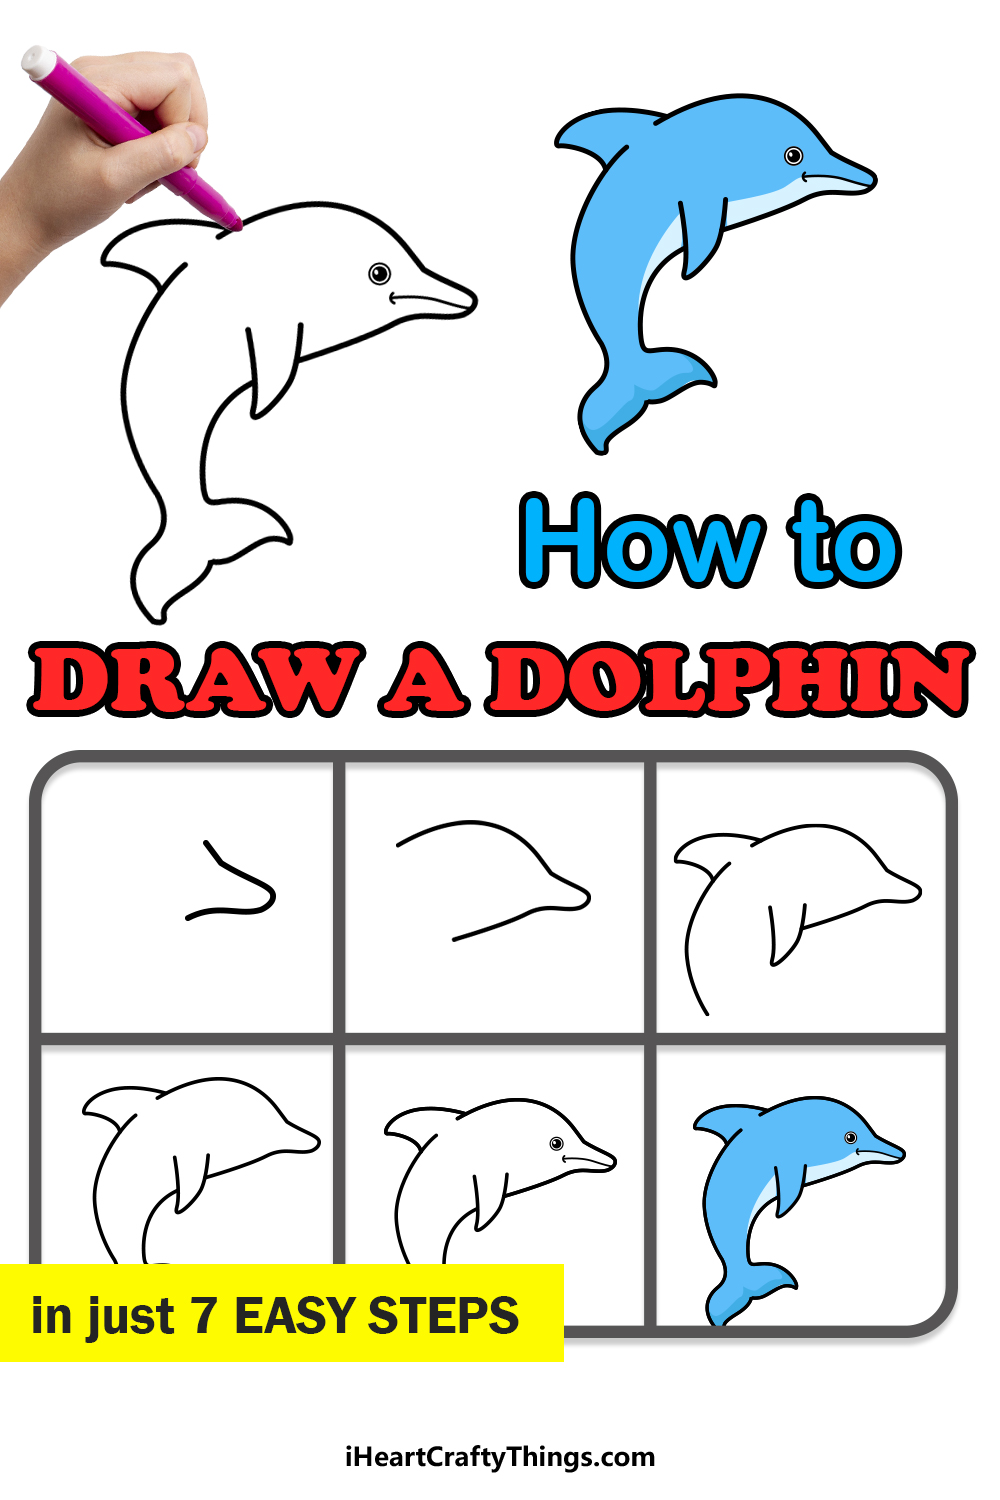
Learn how to draw a dolphin in a fun, easy way with this step-by-step guide. This tutorial is perfect for kids and beginners who want to create a simple, cartoon-style dolphin jumping out of the water. With just a few basic shapes and smooth lines, you’ll quickly capture the friendly and playful nature of this ocean creature.
Dolphin drawing doesn’t have to be complicated. In this guide, the process is broken down into manageable steps to make it easy to follow. You’ll be able to create a cute dolphin with a cheerful expression in no time. The video below will walk you through each part of the drawing, helping you achieve a smooth and realistic result while keeping it fun and simple.
Cartoon Dolphin Drawing: Easy Step-by-Step Video Tutorial
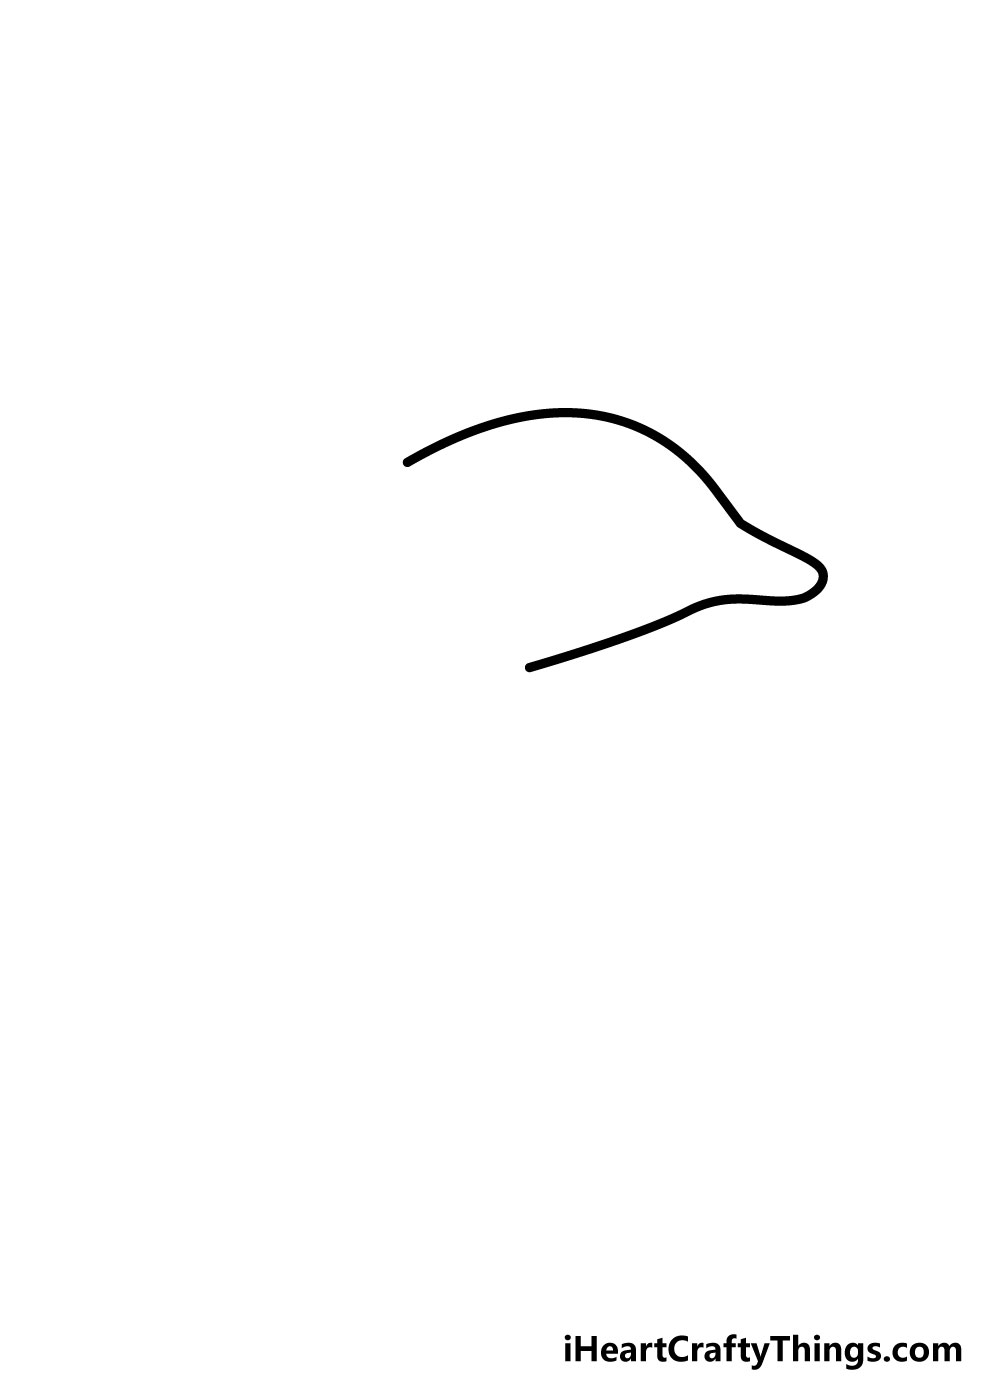
Step 1

For the first step of this guide on how to draw a dolphin, we will be starting small! To begin with, you can draw in the dolphin’s distinctive snout.
The snout will curve quite sharply before fanning out a bit to form the start of your dolphin’s face. You can use the reference picture as a guide on how this should look!
Step 2 – Next, draw in the beginning of the head
A dolphin has a thick, rounded head, and we will be drawing one in for your dolphin drawing in this second step of our guide on how to draw a dolphin.
To add in the head, carefully draw in a rounded line for the top of the head, and then a slightly less rounded one for the bottom.
I would recommend using a pencil to draw in each stage of the dolphin’s body, as getting the shape right can be a bit tricky at first!
Once you’re happy with how the dolphin looks, you can always go over the pencil in pen.
Step 3 – Next, draw in the fins and back
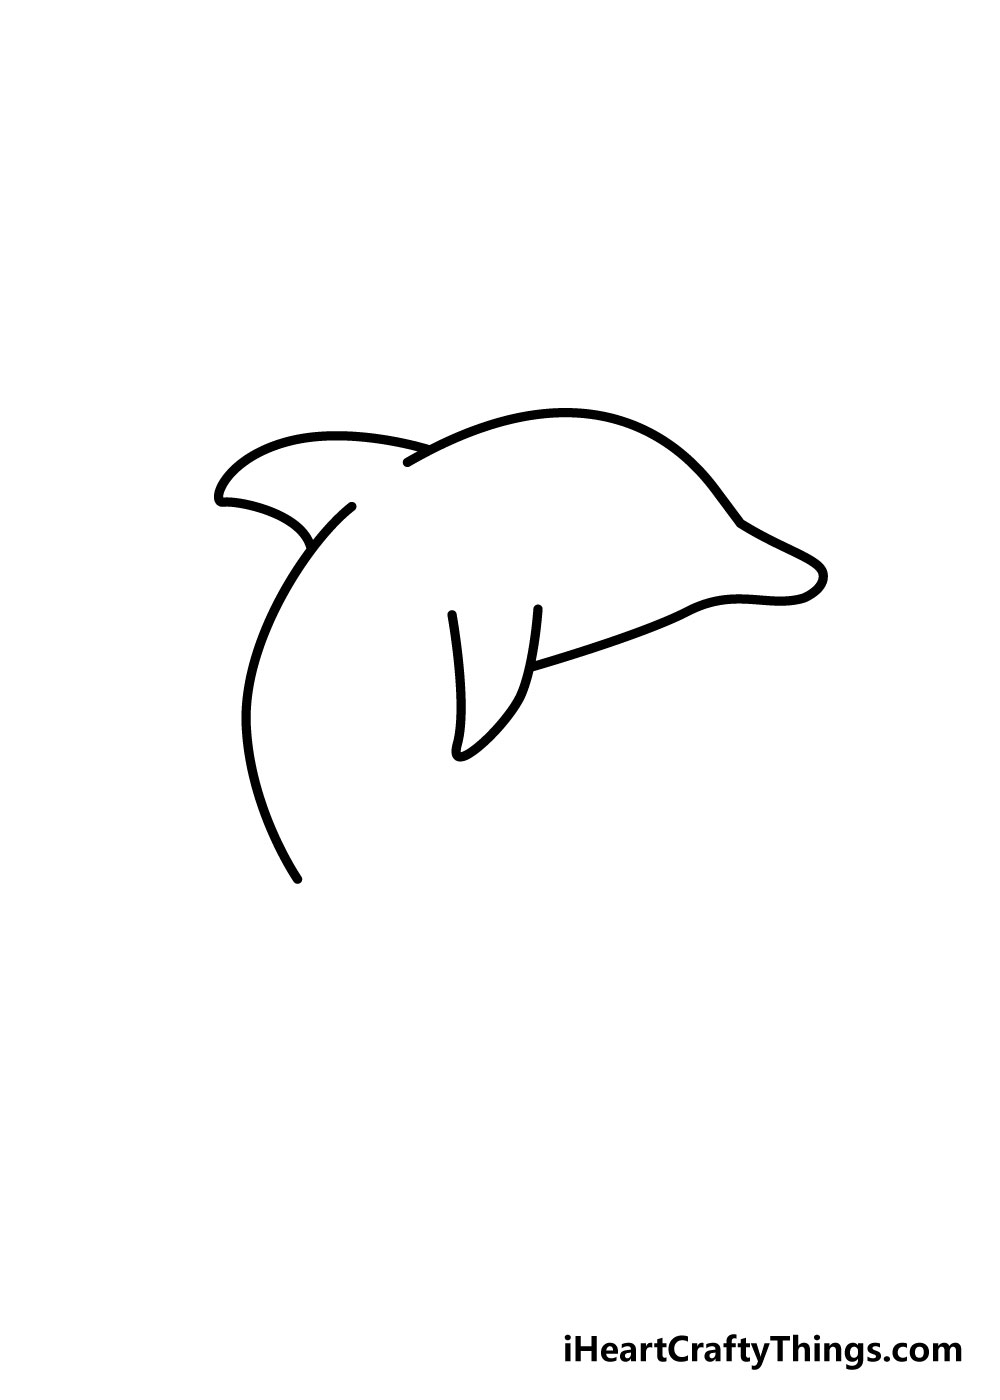
Now that the head of your dolphin drawing is complete, you can start to add in the body. First of all, you can use a curved line for the dorsal fin on the back of the dolphin.
Then, you can use a very curved line for the back of the dolphin.
At the point where the bottom of the head ends, simply use a curved line to create a flipper for your dolphin. It’s beginning to really look like a dolphin now!
Step 4 – Now, we add in the beginning of the tail and belly
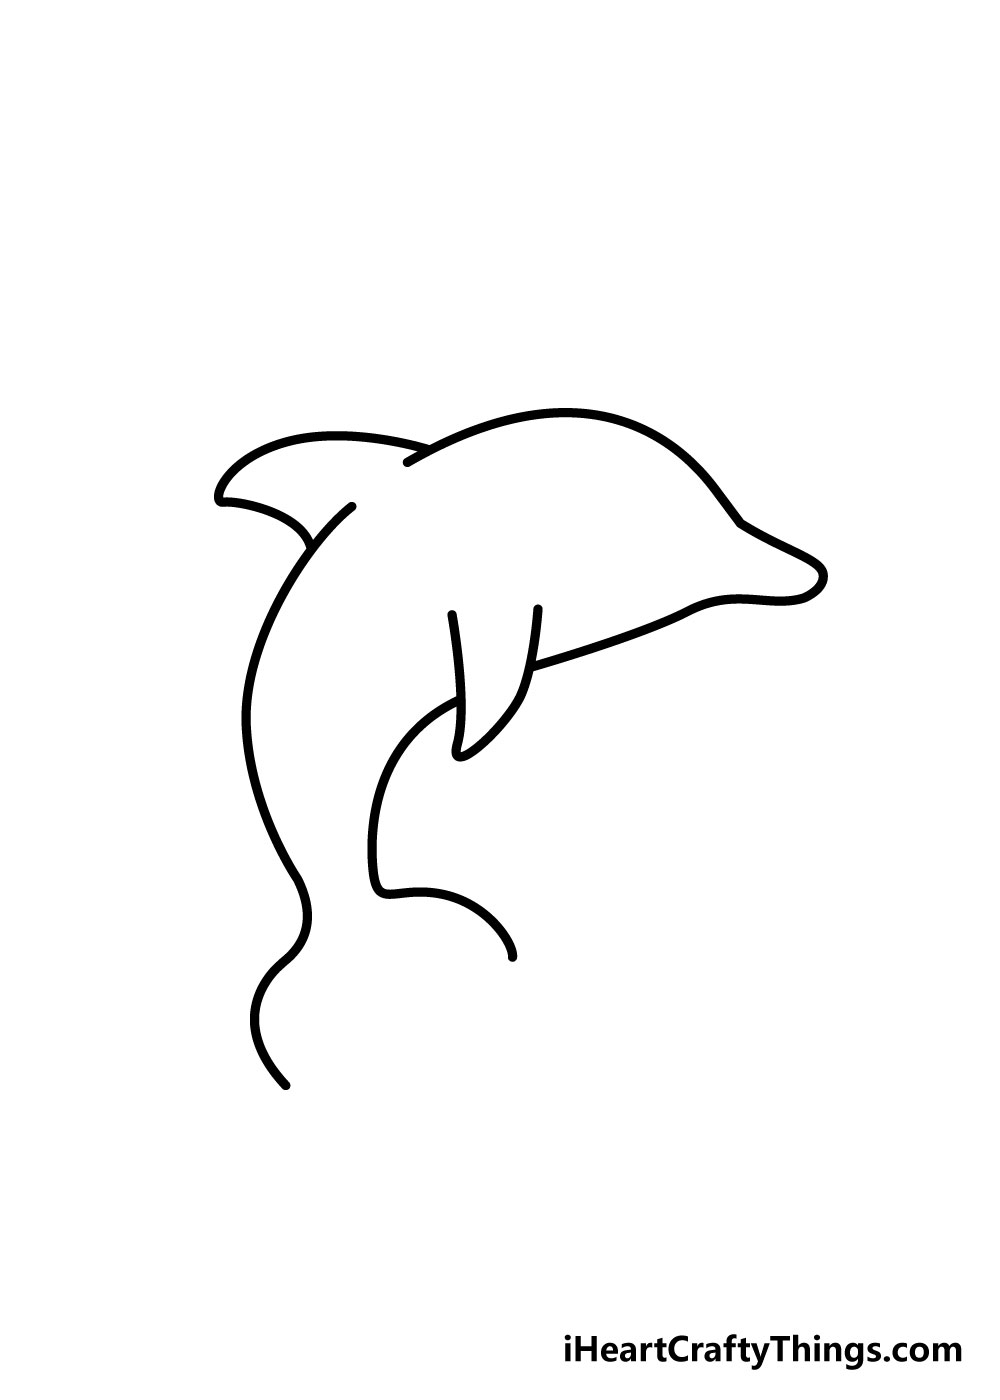
For the next step of this guide on how to draw a dolphin, we will be adding in some lines for some more of the body.
To begin with, draw in a slightly curved line extending from the flipper and towards the tail.
Then you can curve the line at the end and also at the end of the back line outwards to form the start of the tail.
Step 5 – Next, finish off the dolphin’s tail
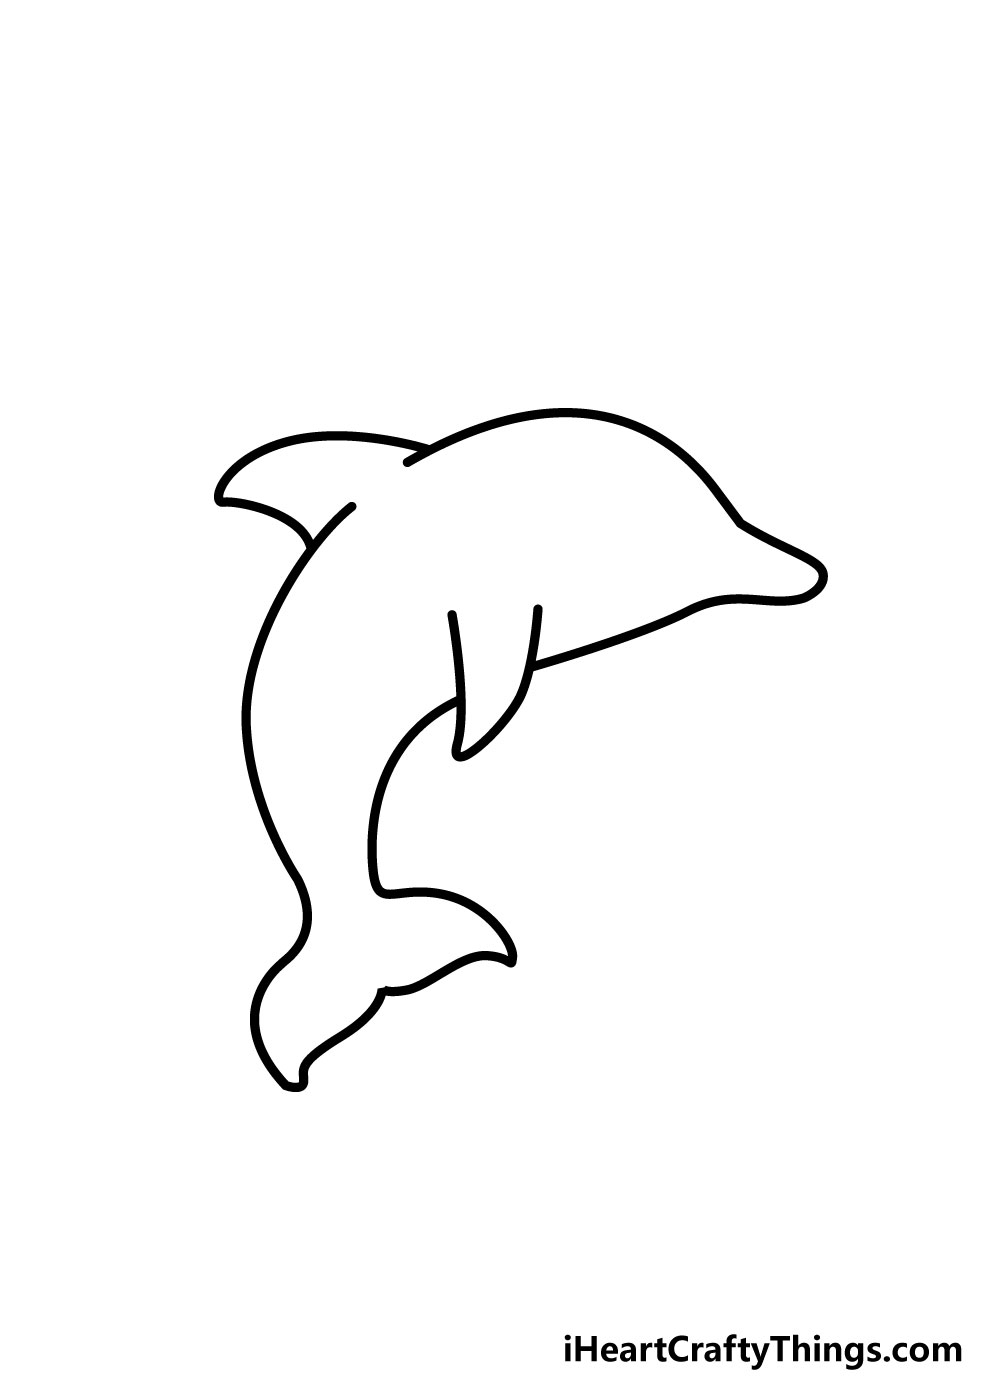
The outline of your dolphin drawing is almost complete, and just needs one more line to be complete.
You can use a curvy line to connect the two ends of the tail line to finish off the look of the tail and make it look like the reference picture.
If you have been using a pencil up until this point, you can go over it in pen now if you’re happy with the look of your dolphin’s body.
If you do this, be sure to let the pen ink dry before you erase the pencil beneath or the ink might get smudged!
Step 6 – Now, you can draw in the face
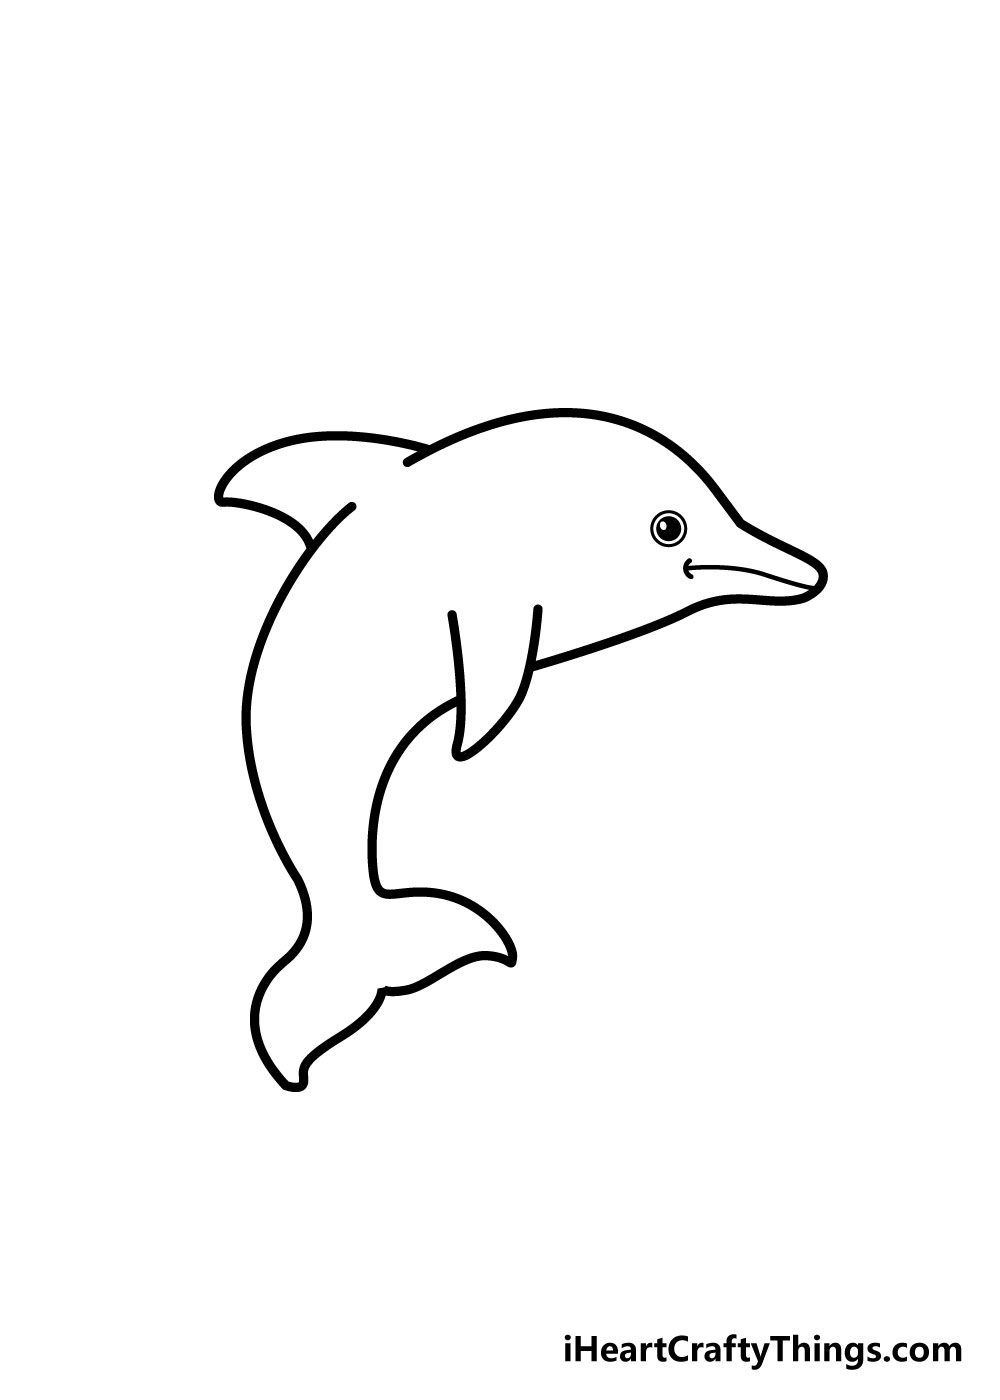
Your dolphin drawing is almost finished now, and you should be very proud of what you’ve accomplished so far! All your drawing needs now is a face, which we will add in for this part.
You could replicate the face that we used in the reference drawing, but don’t be afraid to change it up a bit if you’d like to!
You could change the lines of the mouth or the eyes if you’d like a new expression for your dolphin.
Once you’re finished drawing, if you’re feeling extra creative then you can draw in a nice background for your picture.
I would draw in a nice sunset background if I were drawing this, but what do you think you would go for?
Step 7 – Now finish it off with some color

With those final details complete, your dolphin drawing just needs one more step!
This one should be a lot of fun, as you’ll get to have some fun being creative and letting your imagination run wild as you color in your amazing dolphin drawing.
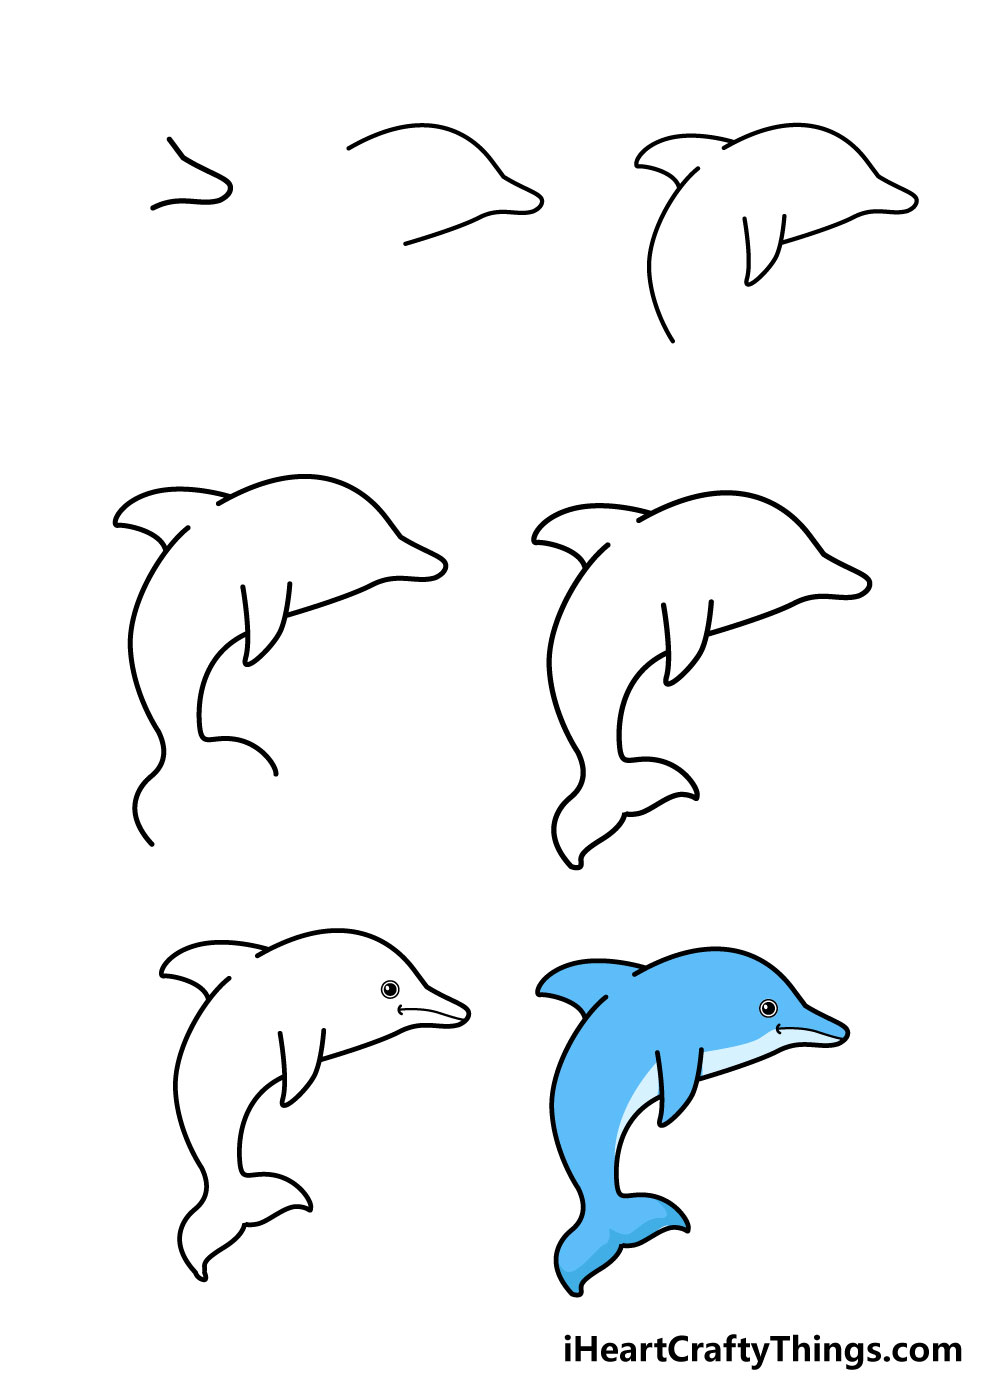
We’ve shown one way you could color it in for our reference image, so you could go with those colors or pick your own favorites to color it in!
Along with your color choices, you can also have a lot of fun trying out different art mediums for your coloring.
Some examples could be acrylic paints, watercolors, colored pens and pencils.
Different mediums can give vastly different looks to color and texture, so you can really experiment and see what looks great to you!
We can’t wait to see the creative ways you finish off your drawing.
3 More tips to make your dolphin drawing easy!
Recreate this incredible animal with ease with these helpful tips!
- Add Simple Background Elements. Sometimes, when it comes to making a drawing easier, adding things can actually make it easier than taking them away. To make this dolphin drawing easy, you may want to add some background elements.You might think this would make it more complex, but it gives your drawing context that makes it easier to visualize. This could be as simple as some wavy lines that the dolphin is emerging from. These simple background elements can also be used to hide parts you may be struggling to draw!
- Use Basic Shapes and Pencils. If you’re struggling even with our steps, try using a pencil and some basic shapes to make this easy-to-draw dolphin even easier! Find the lightest pencil you can and use it to draw some basic rounded shapes for the head and body. Then you can start adding finer, more defined details to build up your dolphin drawing. Using shapes like this helps control the size and proportion of the dolphin and its parts.This trick works for the body as a whole but also for smaller parts like the fins and flippers. Don’t forget to erase your pencil lines after you’ve drawn the final pen lines!
- Use Photos and Reference Materials. Lastly, we always recommend using photos and reference material when learning to draw something. For this dolphin sketch, looking up photos online is very easy and will help you capture the more subtle details.Elements like the fins, tail, snout, and body shape can be tricky to get accurate even with a guide. Using photos gives you a realistic reference point that will help with shape and proportion. Even if you want to create a cartoony version of a dolphin, you’ll find many pictures to use as inspiration!
Your Dolphin Drawing is Complete
Now that you’ve colored in your drawing, you have successfully learned how to draw a dolphin!
It may have seemed difficult when you set out to do it, but it doesn’t have to be hard if you break it down into manageable steps.
We created our guide to do just that, and we hope that it was fun and helpful for you to use.
We’re sure that if you follow this guide and try your best that you will be a pro at drawing dolphins in no time!
Once you’ve gotten the hang of it, don’t be afraid to change up some details or add in some cool backgrounds to personalize your drawing even more!
With all the variations, colors and mediums you can use, there is no limit to the creative ways you can finish off your dolphin drawings!
We will be uploading many more awesome step-by-step drawing guides like this one in the future, so be sure to check back on our site often to make sure you never miss out on the fun!
Once you’ve finished drawing and coloring your dolphin drawings, we hope that you will share them to our Facebook and Pinterest pages for us to enjoy!
We love to see your amazing art skills on display and we can’t wait to see your awesome dolphins!