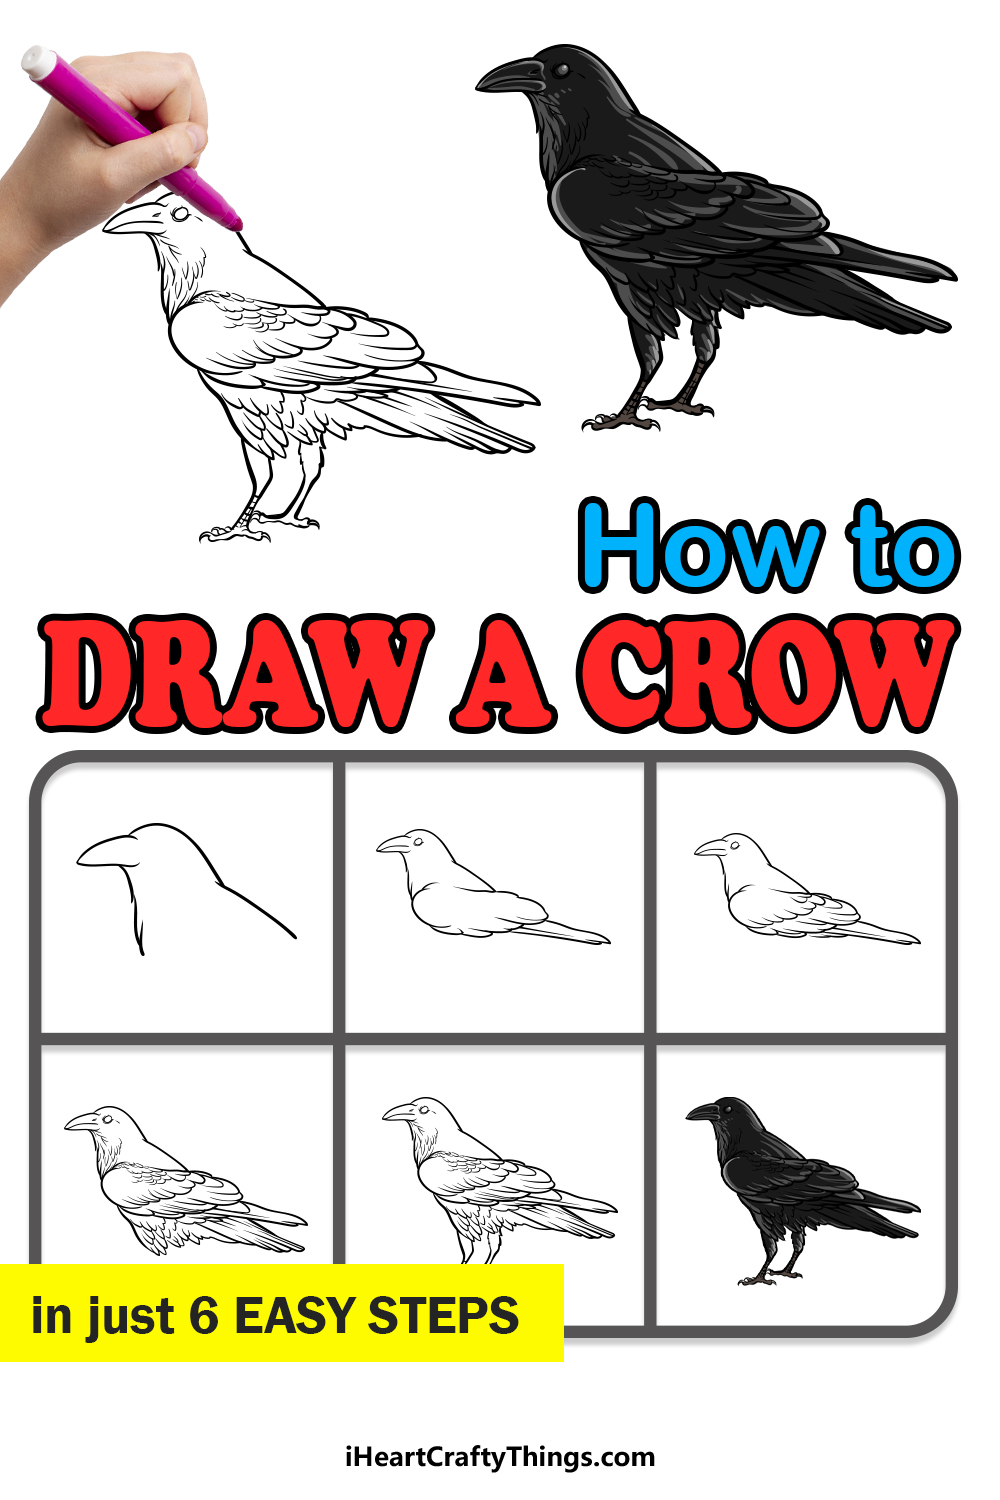
Anyone can learn how to draw a crow by following this fun guide for kids! You can make your very own crow friend just by following the steps I have for you.
Crows don’t always have the best reputation, as they are considered a bleak omen by some and a nuisance by farmers. Despite this, I have always liked them because of their beautiful black coloring.
There are many reasons why you may want to draw a crow. It could be for educational purposes or you may want to make a Halloween artwork featuring some sinister crows!
Whatever your reasons may be, this guide will help you to make it happen. I’ve broken it down into some simple steps, and they can be followed by anyone.
So let’s dive in and take this journey together!

Watch These Steps To Make Your Crow Drawing
How to Draw A Crow – Let’s Get Started!
Step 1
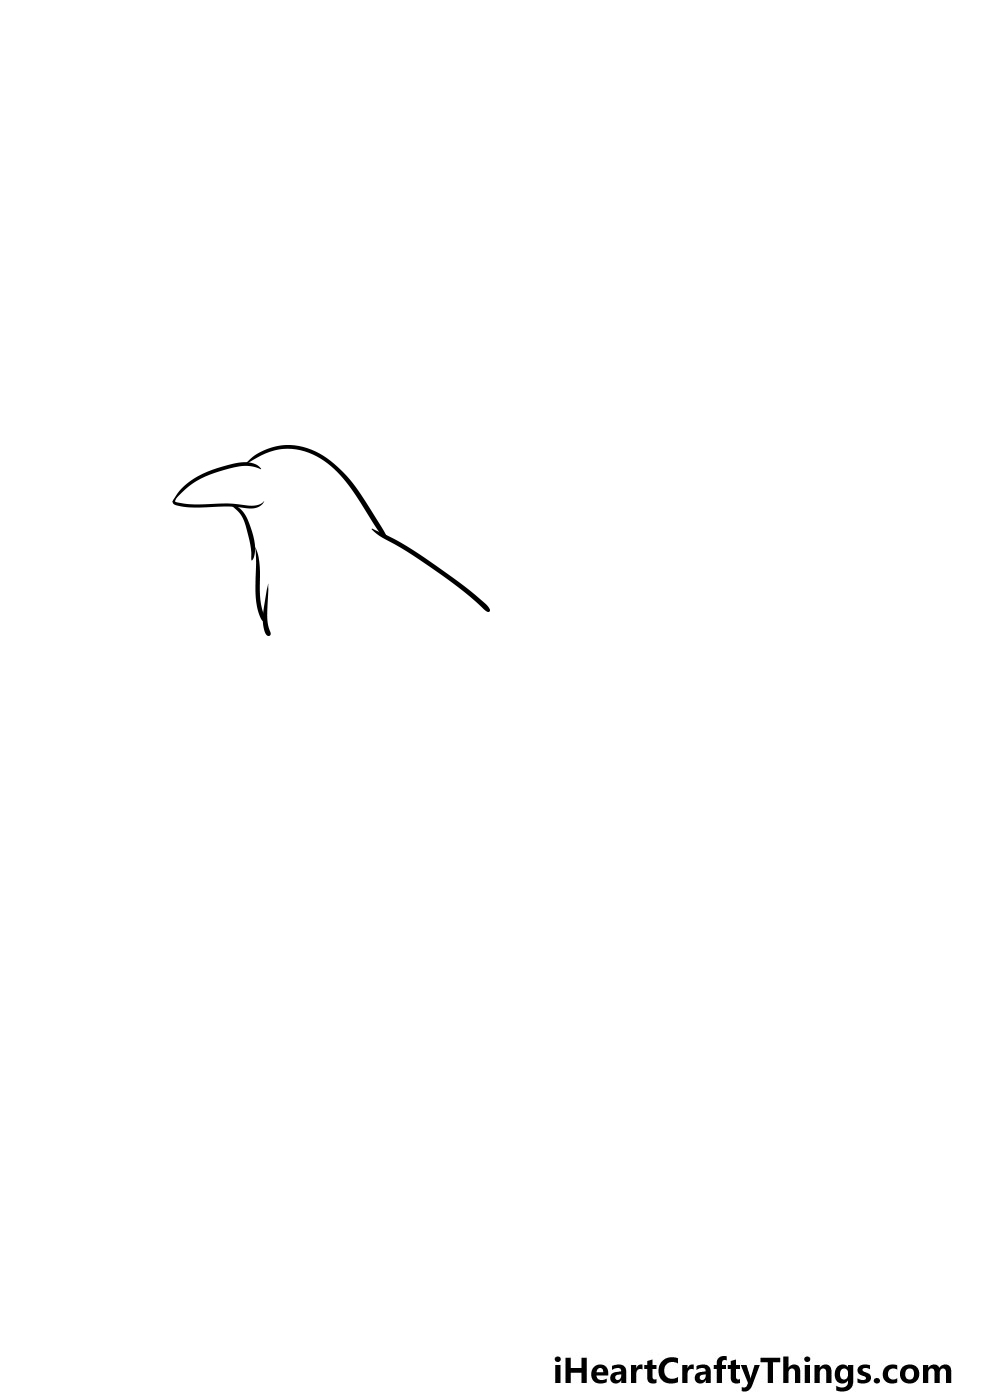
Doing a drawing with finer details can be challenging if you go in blind, but it can be made so much easier if you plan the drawing out beforehand.
For that reason, we will be doing some planning in this first step of our guide on how to draw a crow. To do this, you will be using a pencil to draw the rough outline of the crow that you will be drawing.
Using the reference picture as your guide, use your pencil to draw the outline that we’ve mapped out for you.
Then, once you’ve drawn the outline, you can start using your pen to go over the head and beak outline of your crow.
That’s all there is to it for this step, and you’re ready to move on!
Step 2 – Add some pen detail for the wings and body of the crow
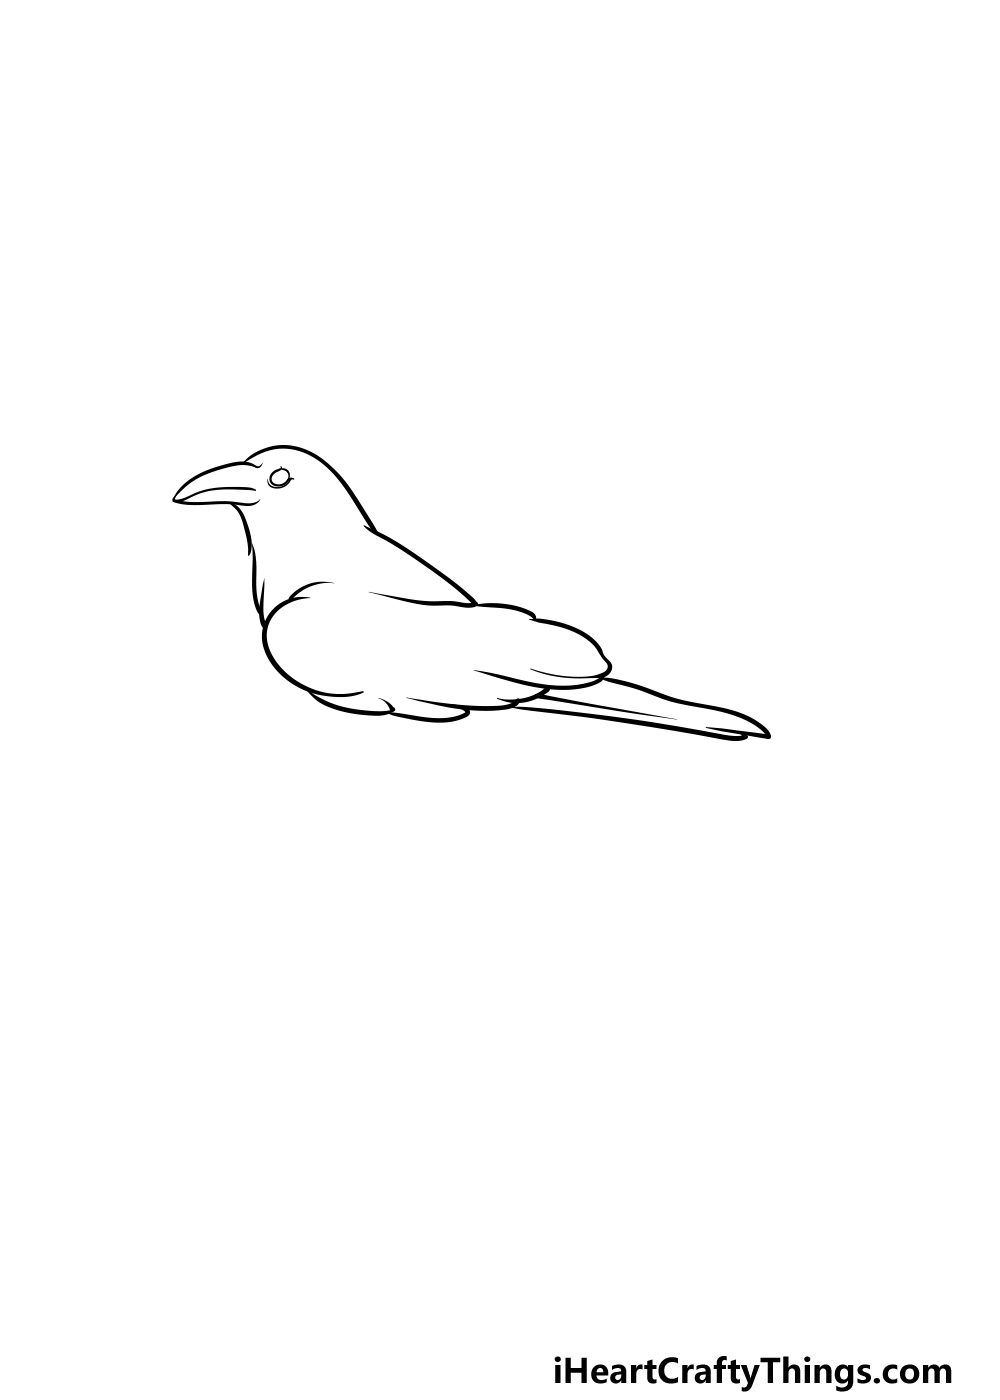
We will continue adding some pen line detail to your crow drawing in this next step. First, you can draw some details for the mouth within the beak and also use a small circle for the eye of the crow.
Then, once you have that drawn you can carefully go over the pencil lines for the wings that you drew in the first step.
As we mentioned earlier, you can also add some finer details as you draw these pen lines.
Step 3 – Now, draw some feather details on the wings
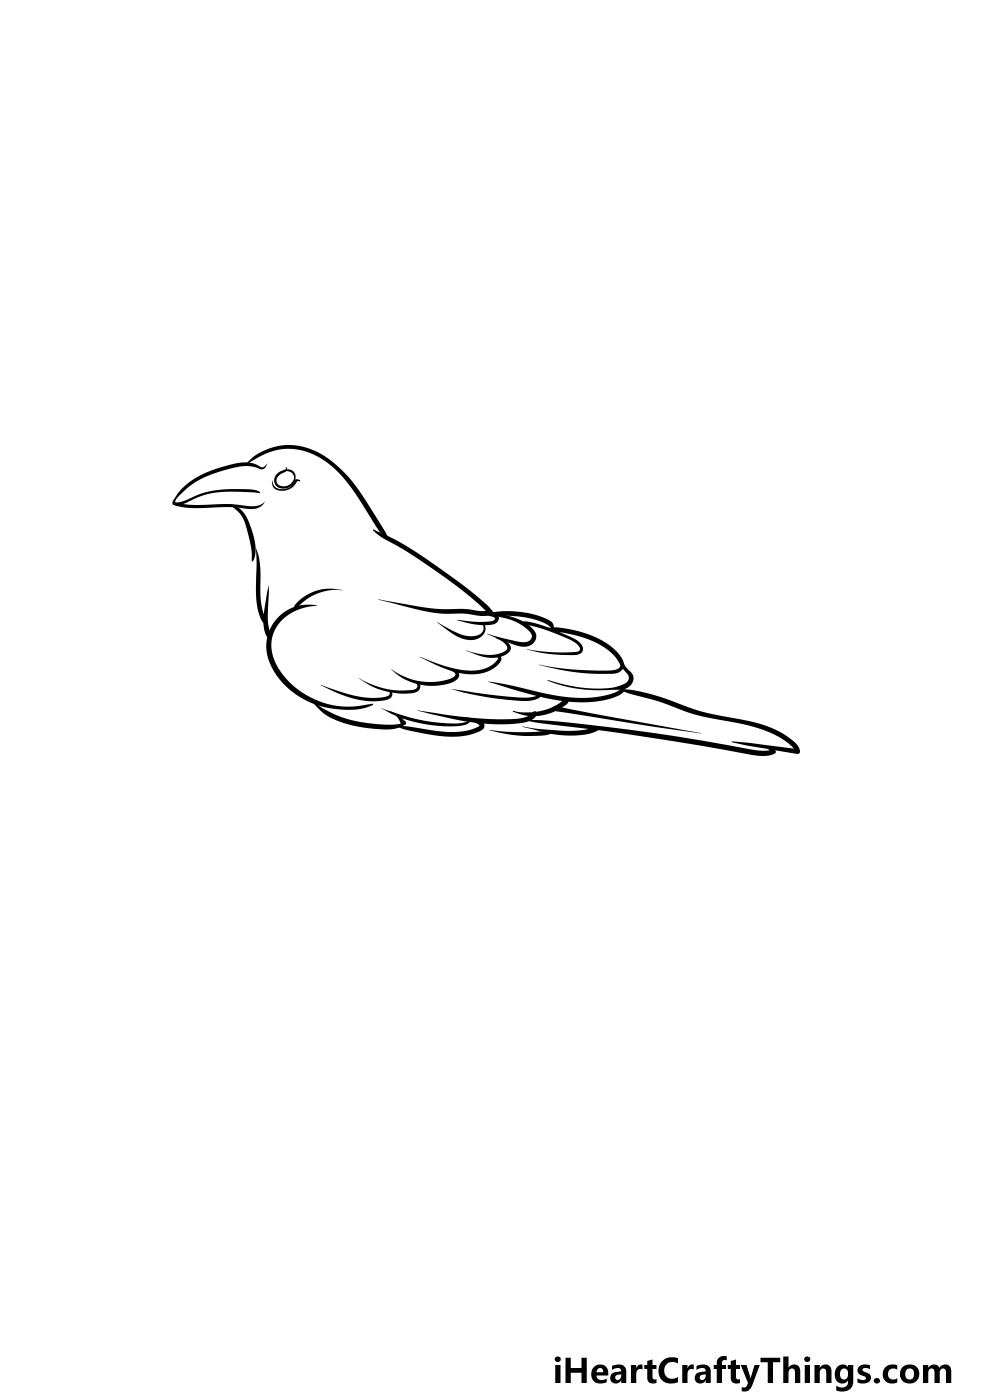
Before drawing more of the crow in the next few steps of our guide on how to draw a crow, you will be adding some feather detail to the wings in this third part.
To do this, simply draw some curved lines that connect with one another to form the feathery pattern that you see in the reference image.
This will really help to make your crow drawing look even more realistic.
Step 4 – Draw some more feather detail for your crow

We’re not quite done with the feathery details of your crow drawing! For this step, you can add some more small details to the chest, body and tail of the bird.
As you can see in the reference image, different parts of the crow will have different lines. The ones on the neck and legs will be smaller and curved, whereas the tail will have straighter lines.
These different line types are useful in adding some variation to the image.
Step 5 – Now, draw the legs of the crow
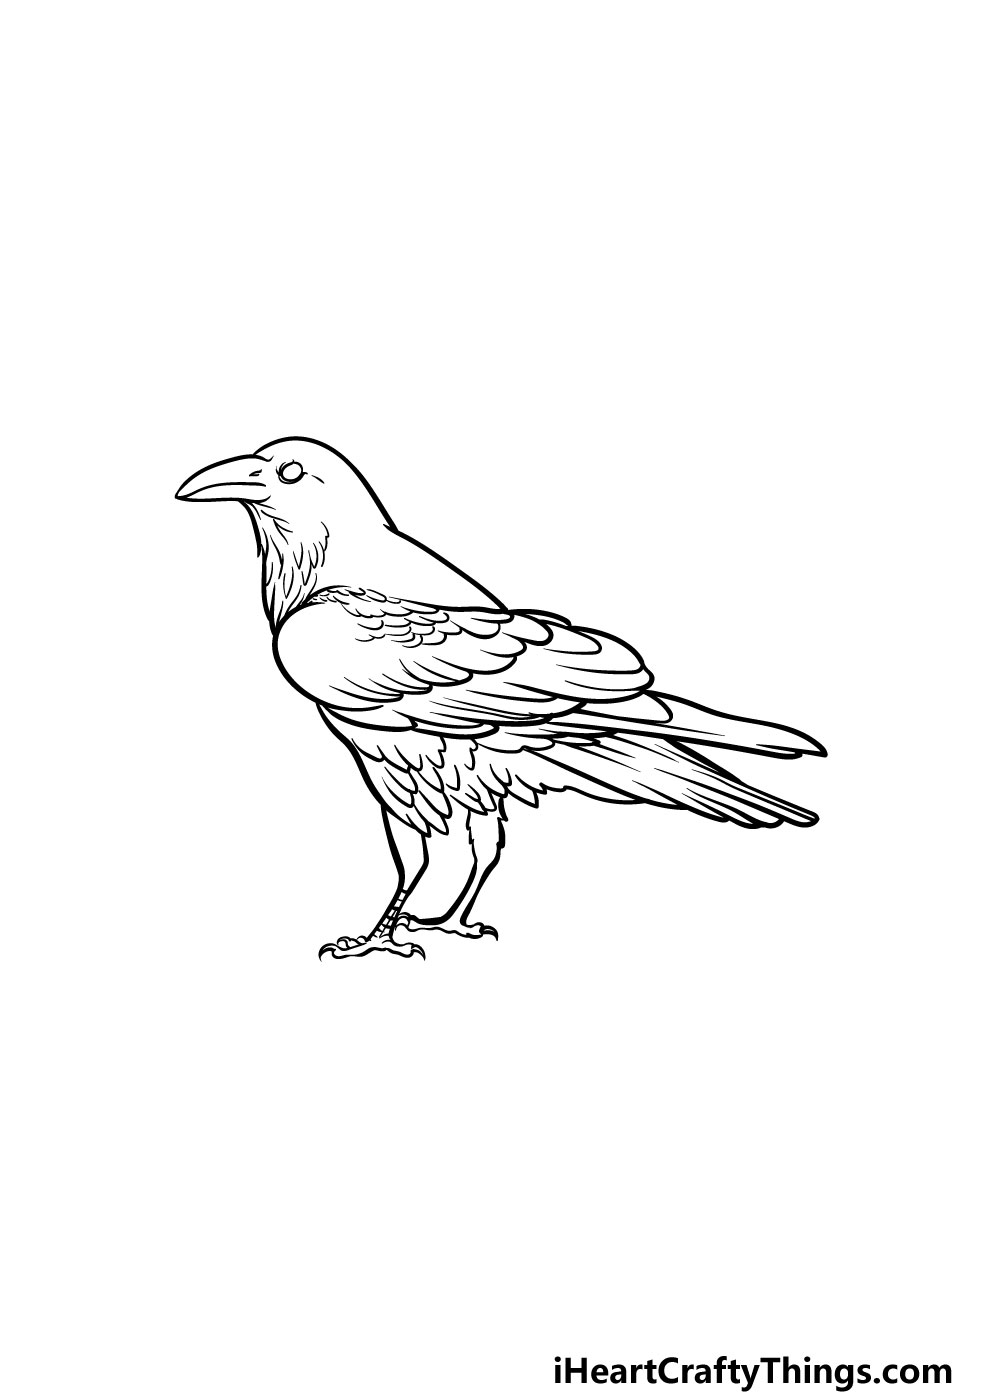
It’s time to focus on the legs and final details of the bird in this step of our guide on how to draw a crow. For the legs, you will be carrying on as you have for the other parts of the crow.
Use your pen to go over the lines and add the final details that we have shown in our reference image. You can also erase all of the pencil lines from the first step if you haven’t done so already!
Once the legs are drawn, that does it for all of the details in this guide! Before you move on, you can also add any additional details or elements that you would like for the drawing.
One of the best ways that you can personalize a drawing is by adding a beautiful background, as that can really help to create the mood of the image.
What kind of background can you think of for your crow drawing? Maybe you could draw a spooky house in the background or maybe a field of corn. Be sure to let your creativity flow as you finish off this image!
Step 6 – Finish off your crow drawing with some color
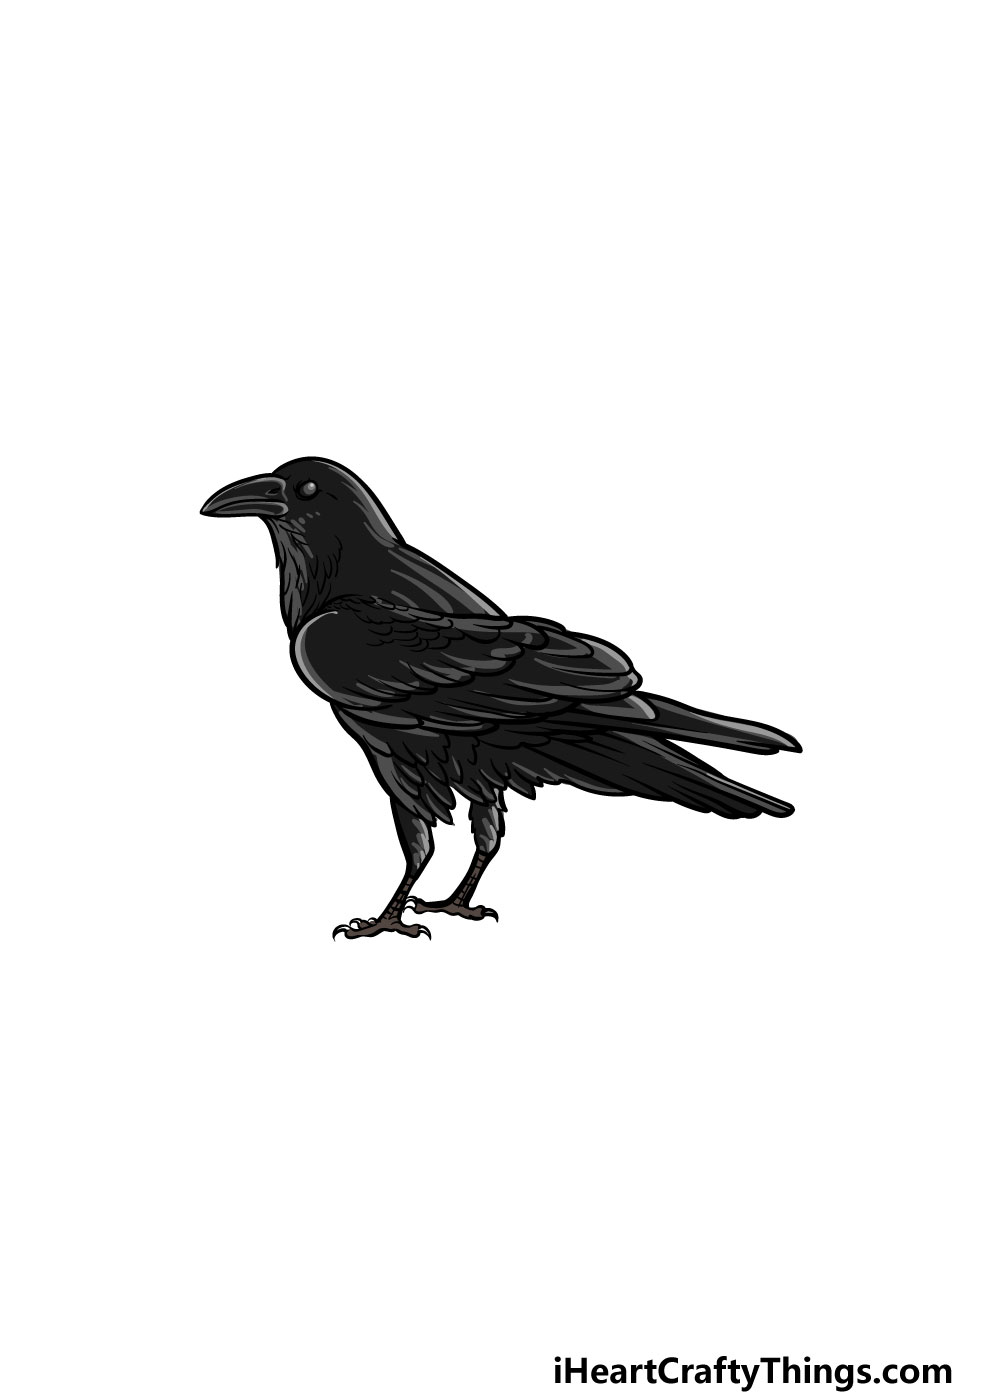
You’ve worked hard on finishing up the final details of your crow drawing, and now you get to relax with some coloring in!
Crows are known for their jet black coloring, and that’s what we went with in our reference image. This kind of color scheme may seem limiting, but you can still get creative with it!
Even if you keep the typical black color scheme intact there are ways that you can switch it up.
These could include using different shades of black and grey for the crow to give it some variation or by going stylistic with it and using some bright and vibrant colors!
If you drew any extra details or a background then you can use these to inject some brighter colors into the picture that will contrast against the crow.
You can also get some color variation just from the art mediums that you use to color in.
Mixing more vibrant mediums like paints and colored pens with more muted ones like watercolors or colored pencils can help to create an interesting picture.
4 More Ways To Make Your Crow Drawing Unique
Now, we will show you how to put your own spin on this wonderful crow!
Crows can be found in many different environments and locations, and these give you plenty of options for different backgrounds that you could draw.
This crow sketch could feature this bird sitting in a forest, high up on a mountain for just a few ideas.
If you want some more inspiration, you could look up different environments that crows might live in and then use some photos to help you with the background details.
What are some more environments you could use for this drawing?
Earlier in this guide, we mentioned that crows can often have morbid and sinister associations. If you like that kind of look, you could create a dark setting for this crow sketch.
For some examples, it could be sitting on a gravestone or with a skull for a few ideas. Going for this kind of setting can make a picture like this perfect for a Halloween celebration if it is that time of the year! Will you create a spooky setting for this crow?
We created quite a realistic depiction of this bird for this drawing of a crow, but if you prefer to create a more stylistic version, you could do that as well!
By removing some finer details such as the feather textures, you can make this a simpler picture.
It can be great to have a more detailed image, but sometimes it’s also good to keep things simpler! It’s up to you to decide on what kind of look you want for your crow.
In the guide, we spoke about how crows have a characteristic black coloring. We covered some ways that you could achieve this coloring while still keeping to the black tones, but you can also change up the colors in any way you wish.
When creating a drawing, you can either make it realistic or go for something more stylish. Either looks good in its own way, and it all depends on what you prefer for this picture!
Your Crow Drawing is Complete!
We hope that this guide on how to draw a crow was helpful for you to use!
When drawing something with a lot of detail it can be a challenging endeavor, however when you break it down into smaller steps it can be not only easier but more fun as well!
Our goal with this guide was to show you how easy and fun it can be to do a drawing like this, so hopefully we succeeded in this goal!
Now you can keep adding your own creativity to this image by adding elements, drawing extra objects or by creating a cool background. Have fun with it and see what happens!
When you want to learn how to draw something new, we have many more guides like this one on our website, so we hope to see you there!
Once your crow drawing is complete, we would love to see it! You can show us by sharing your artwork on our Facebook and Pinterest pages.