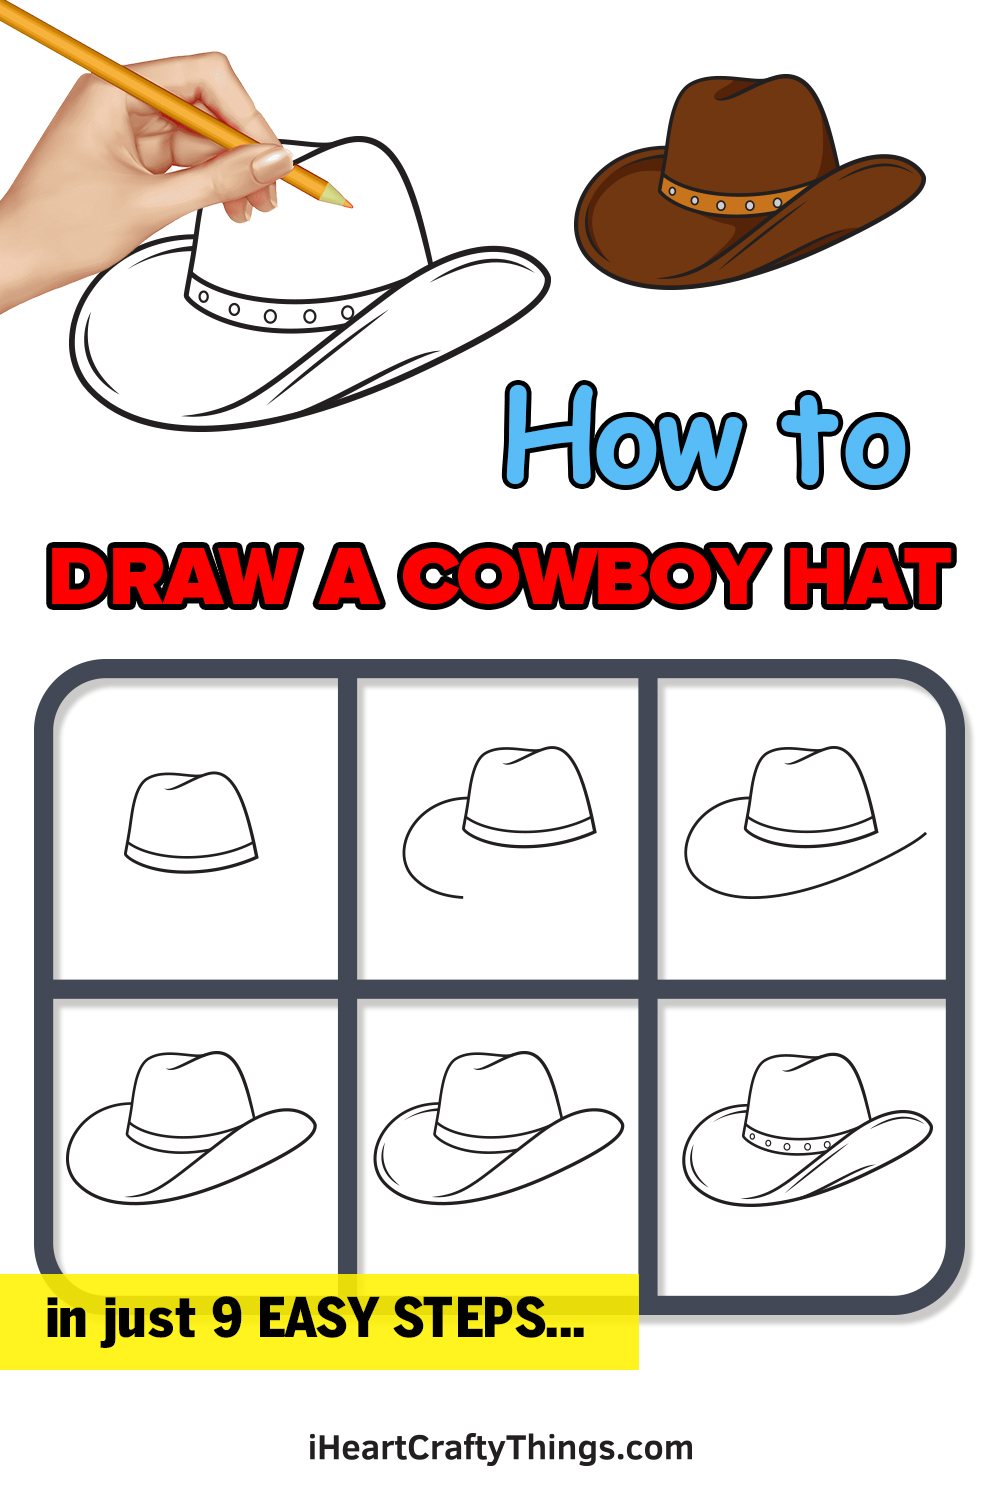
Let’s find out how to draw a cowboy hat together! Anyone can create this drawing by following along with this easy guide for kids.
Cowboy hats are still popular today but are most associated with classic cowboys. These cowboys were prevalent in the era of the Wild West and were immortalized in Western films thanks to legends like Clint Eastwood and John Wayne.
If there is one thing I have learned from watching countless Westerns it’s that every cowboy worth his spurs needs a great hat! You may want to design your own cowboy hat so you can imagine traversing the open range, but it’s actually not so easy to do.
Well, saddle up partner, as I’m about to show you how it’s done! Together, we will be creating this classic cowboy hat design. Once you have the hang of it, you can adapt it to different styles and maybe even draw a cool cowboy to wear it.
Let’s begin and see how it’s done!
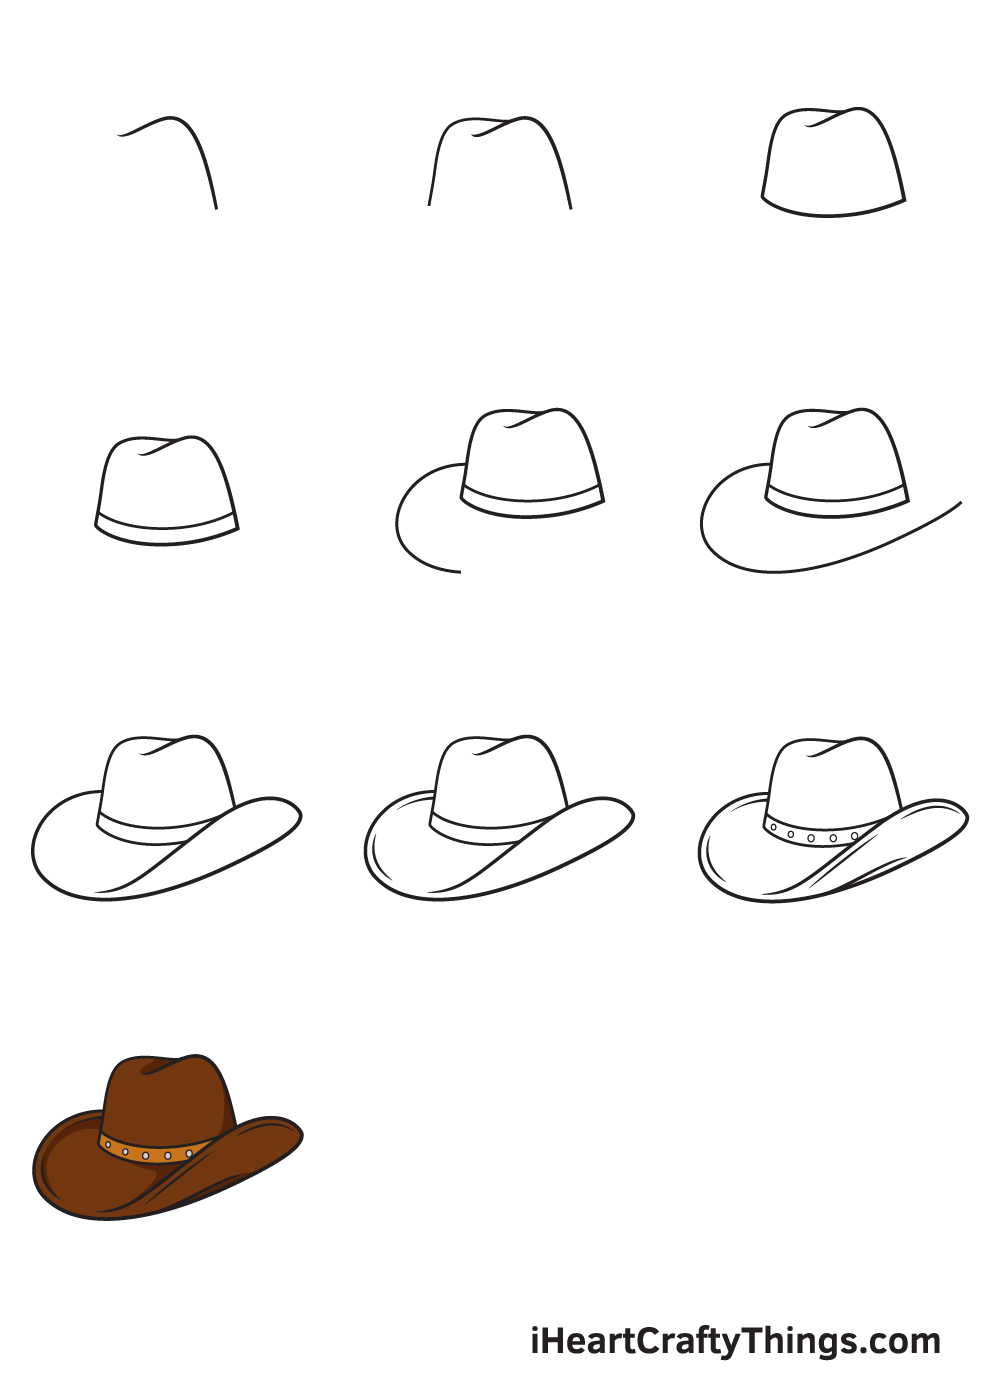
Watch How Easy It Is To Make A Cowboy Hat Drawing
How to Draw a Cowboy Hat – Let’s get started!
Step 1
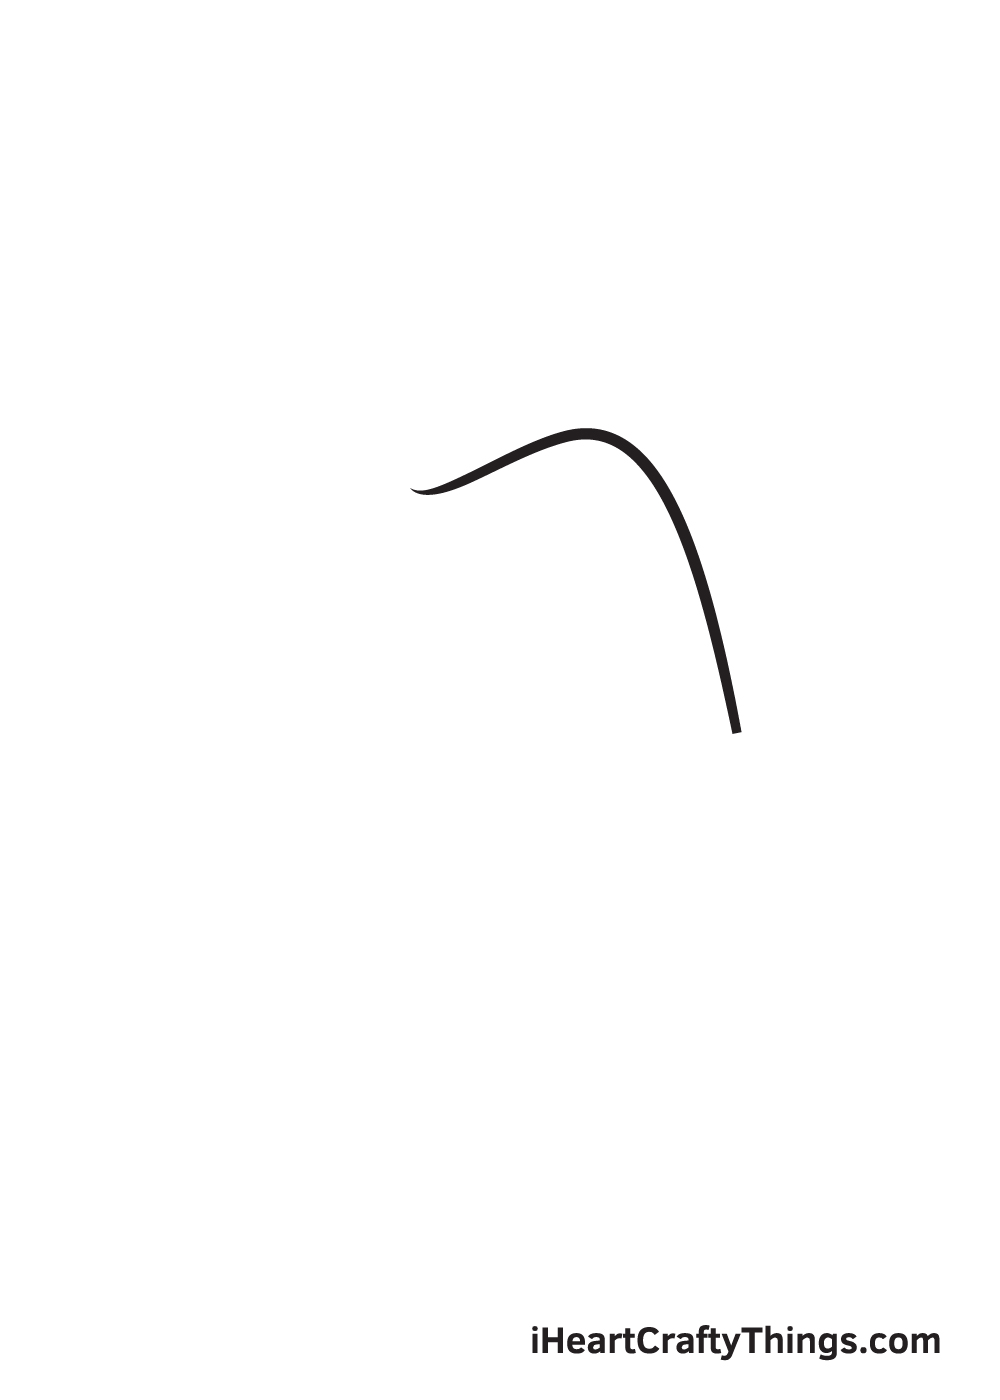
To draw a stylish cowboy hat, we’ll be starting at the top and working our way down to the bottom. The topmost part of a cowboy hat is called the crown, and that is exactly what we’ll be drawing first.
Draw a line forming the right edge of the crown. The structure of the outline should look like a downward slope, as shown in the illustration.
Step 2 – Create an Rough Sketch of the Crown
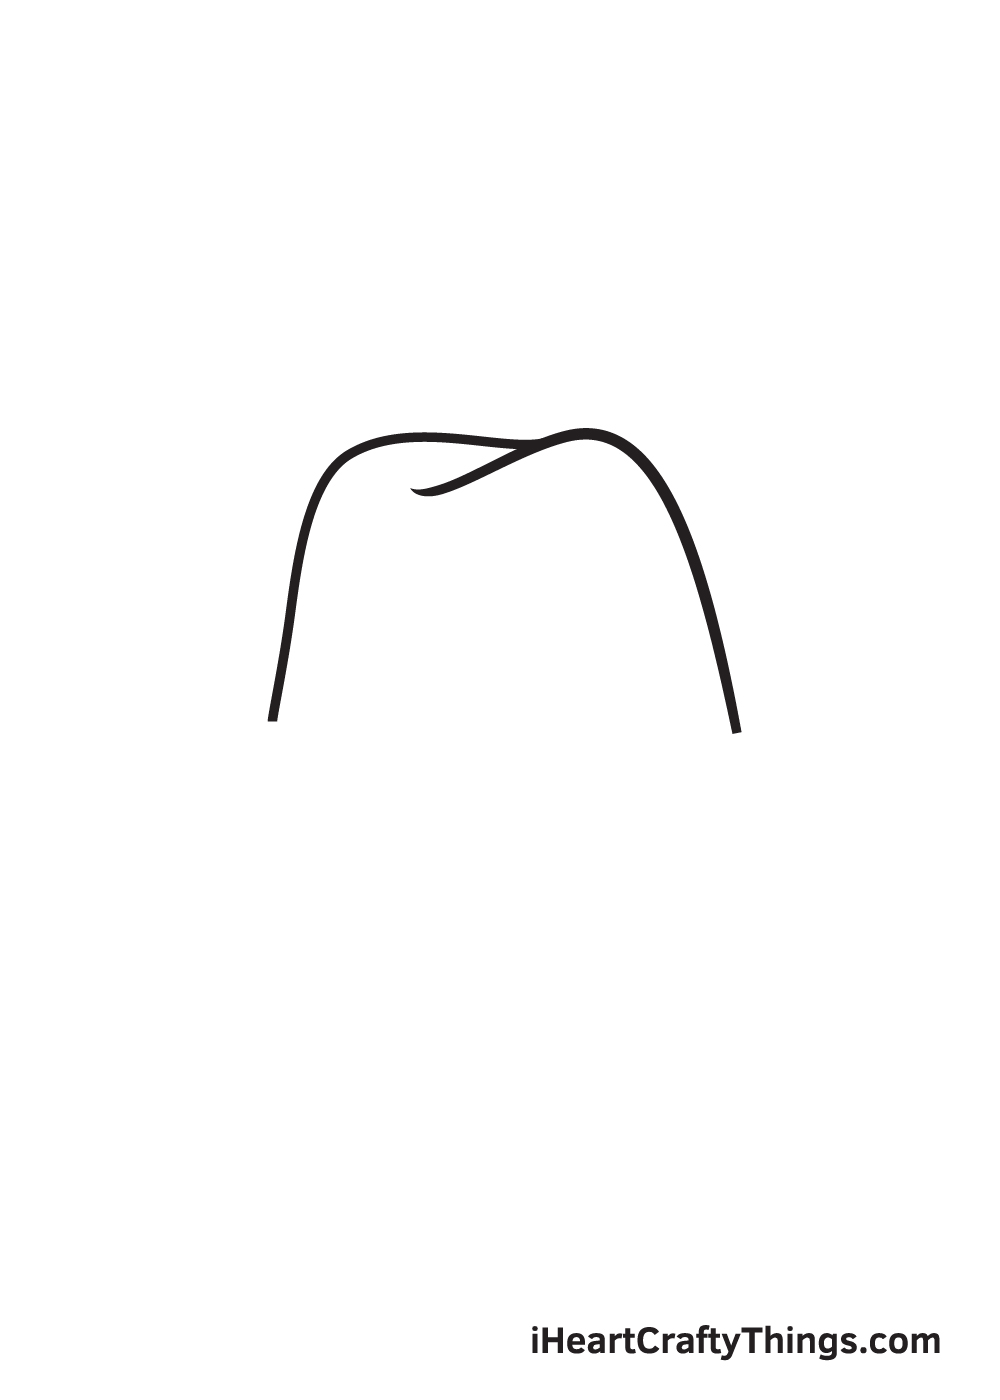
Draw another downward slope line right beside the one we previously drew. Make sure that the lines at the top of the crown overlaps, creating a crease.
This helps make your cowboy hat appear more realistic.
Step 3 – Next, Refine the Outline of the Crown
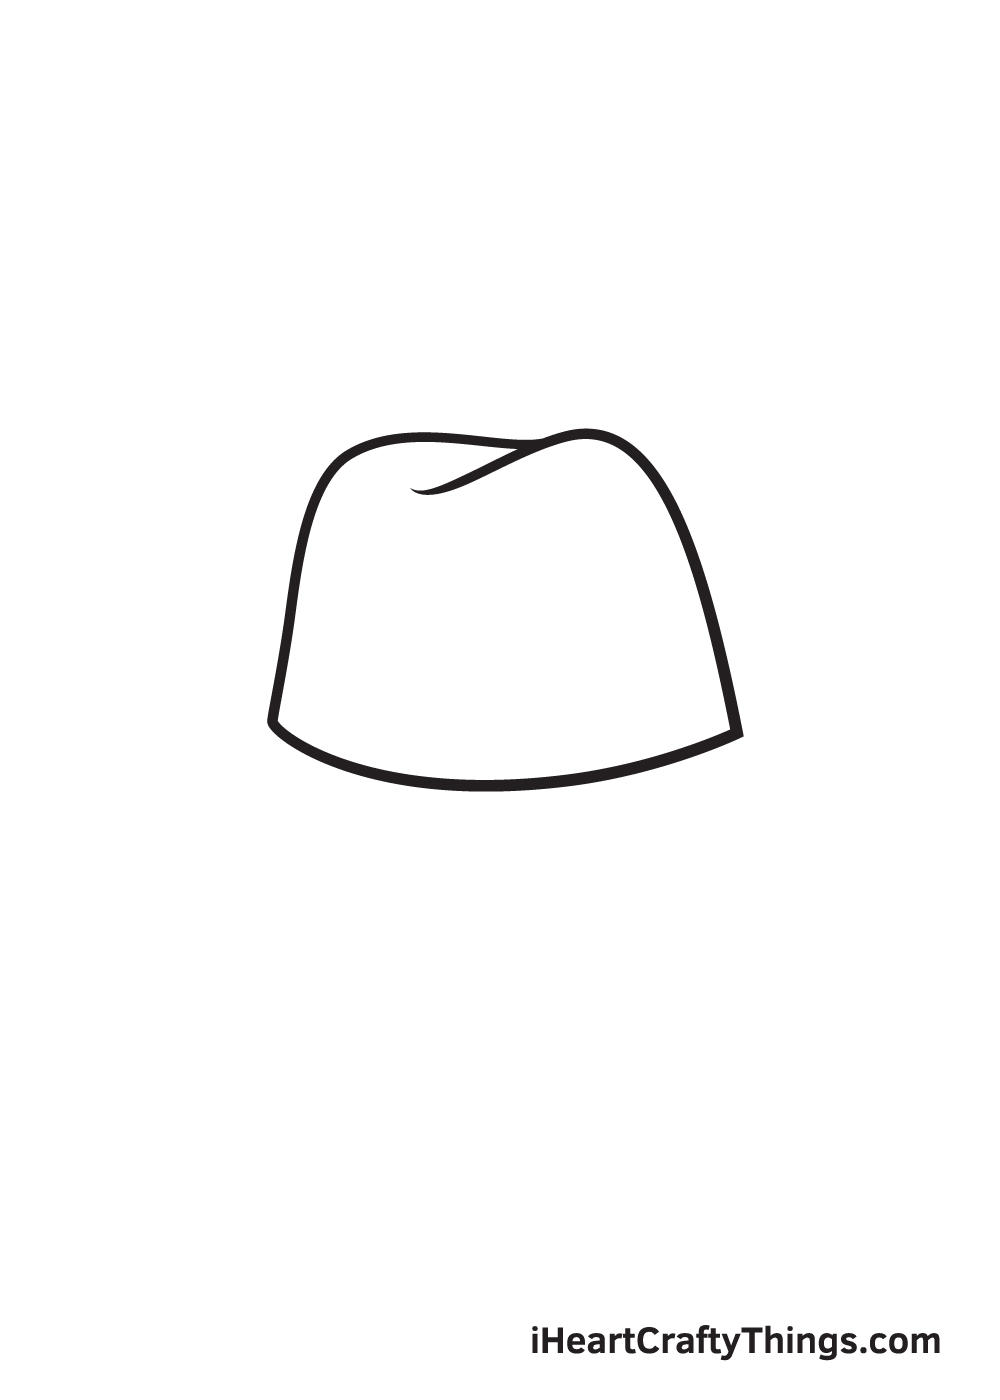
Draw a curved horizontal line at the bottom, connecting both end-points of the lines we drew in the previous steps. This closes off the figure of the crown and finalizes the outline.
After finishing this step, the crown of your cowboy hat should now be complete.
Step 4 – Then, Add a Hatband for Decoration
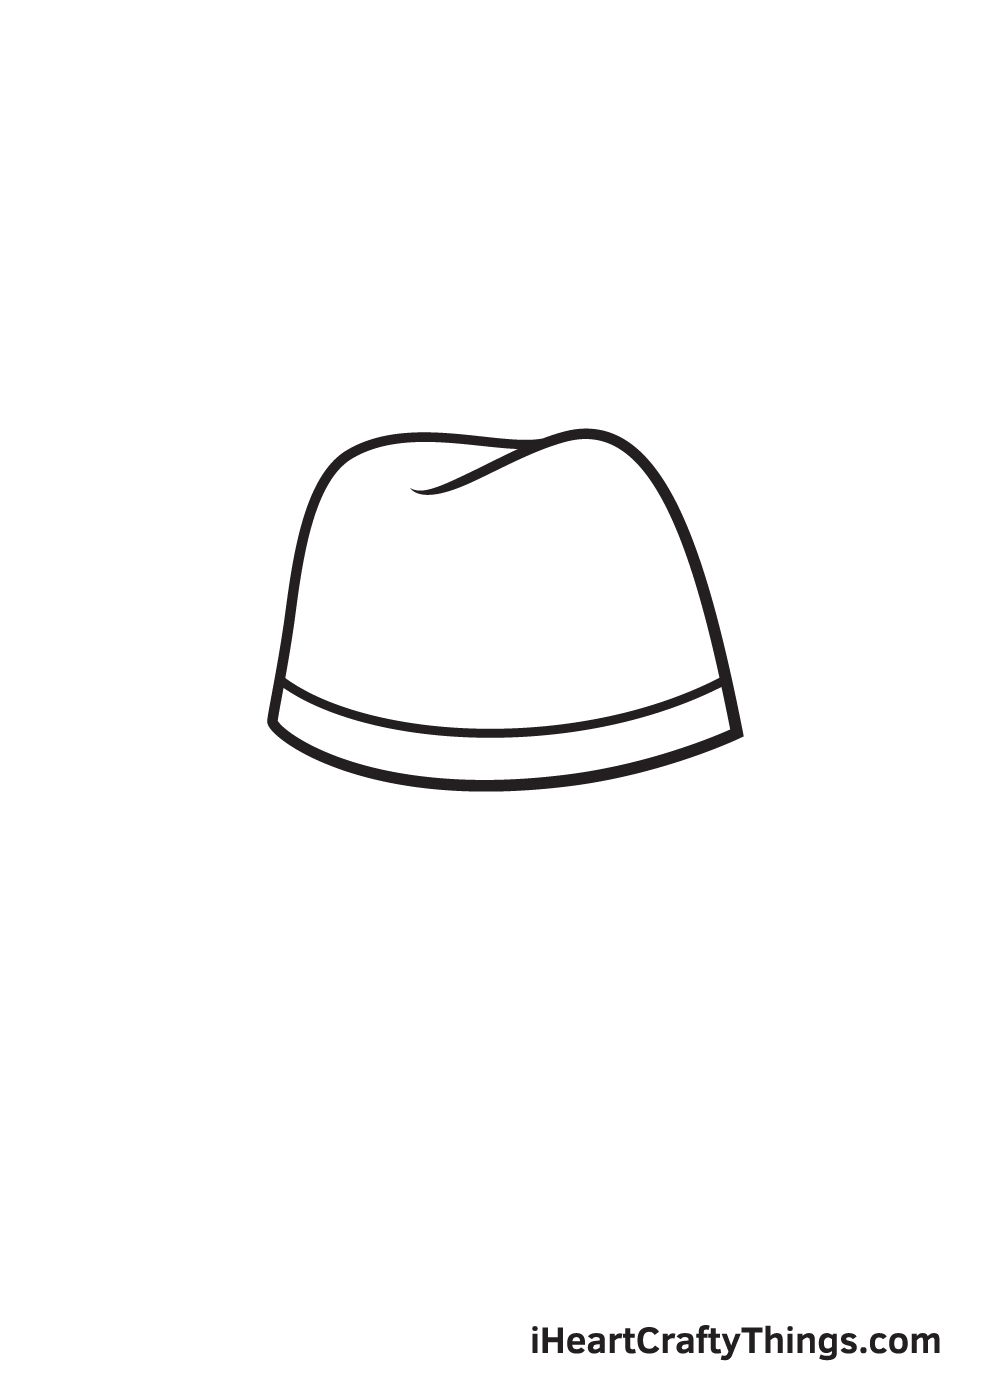
Draw a slightly curved horizontal line at the bottom of the crown, following the natural shape of the outline.
This will be the band or the piece of fabric surrounding the entire crown.
Step 5 – Afterwards, Draw the Half of the Brim
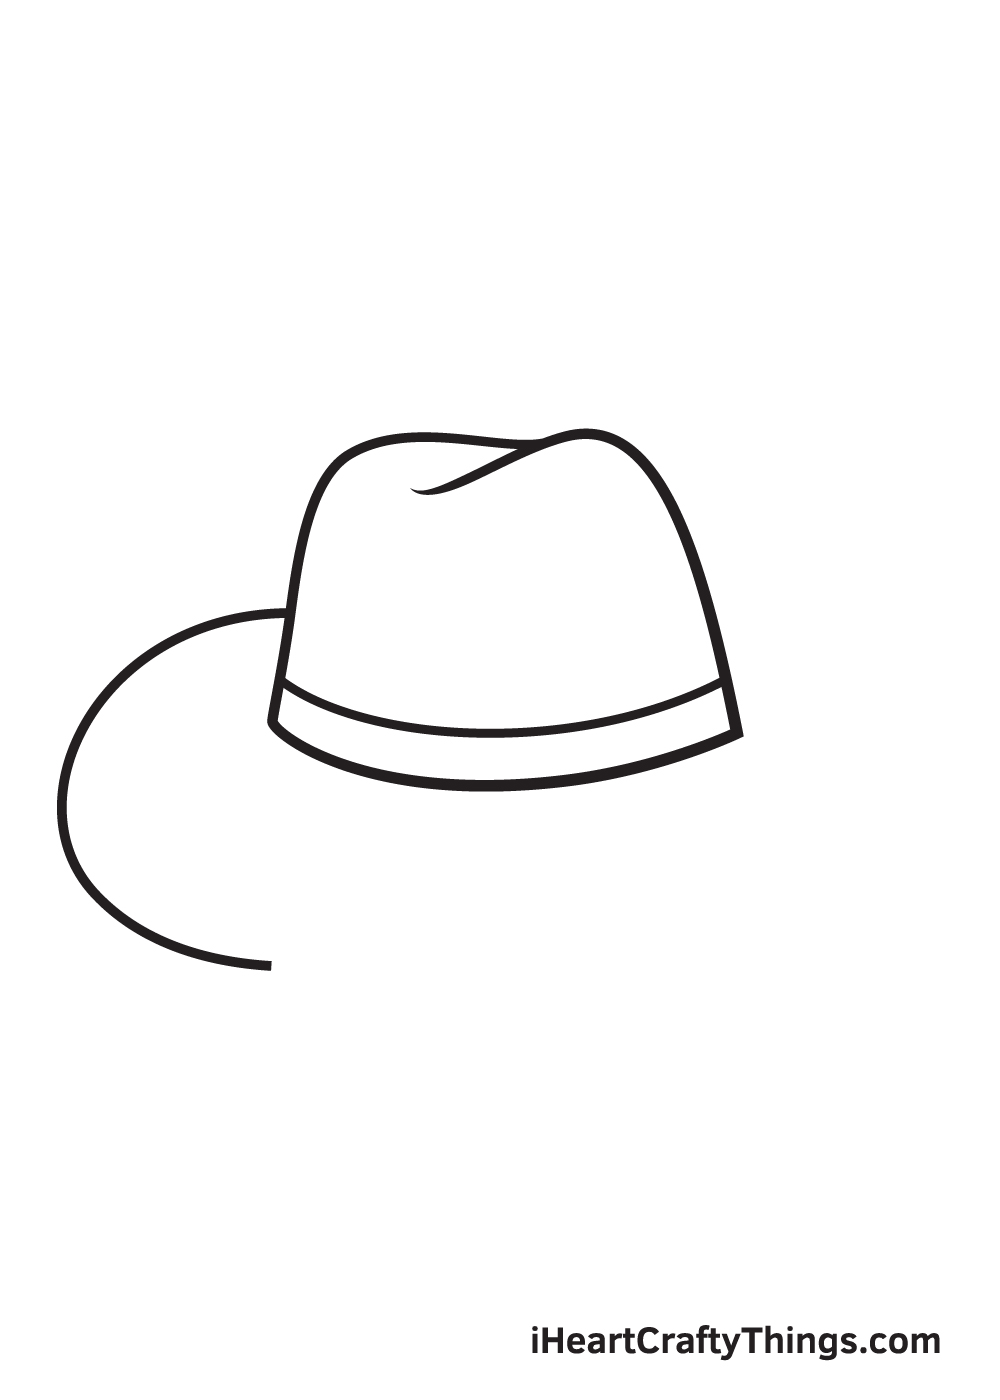
In this step, we will now be working on the brim, which is the part of the cowboy hat that shades the eye. Cowboy hats typically have wide brims, so keep that in mind when drawing the brim.
Starting from the left side of the crown, draw a curved line going right. When drawn correctly, the line should form a semi-circle shape, as shown in the illustration.
Step 6 – Now, Extend the Outline of the Brim
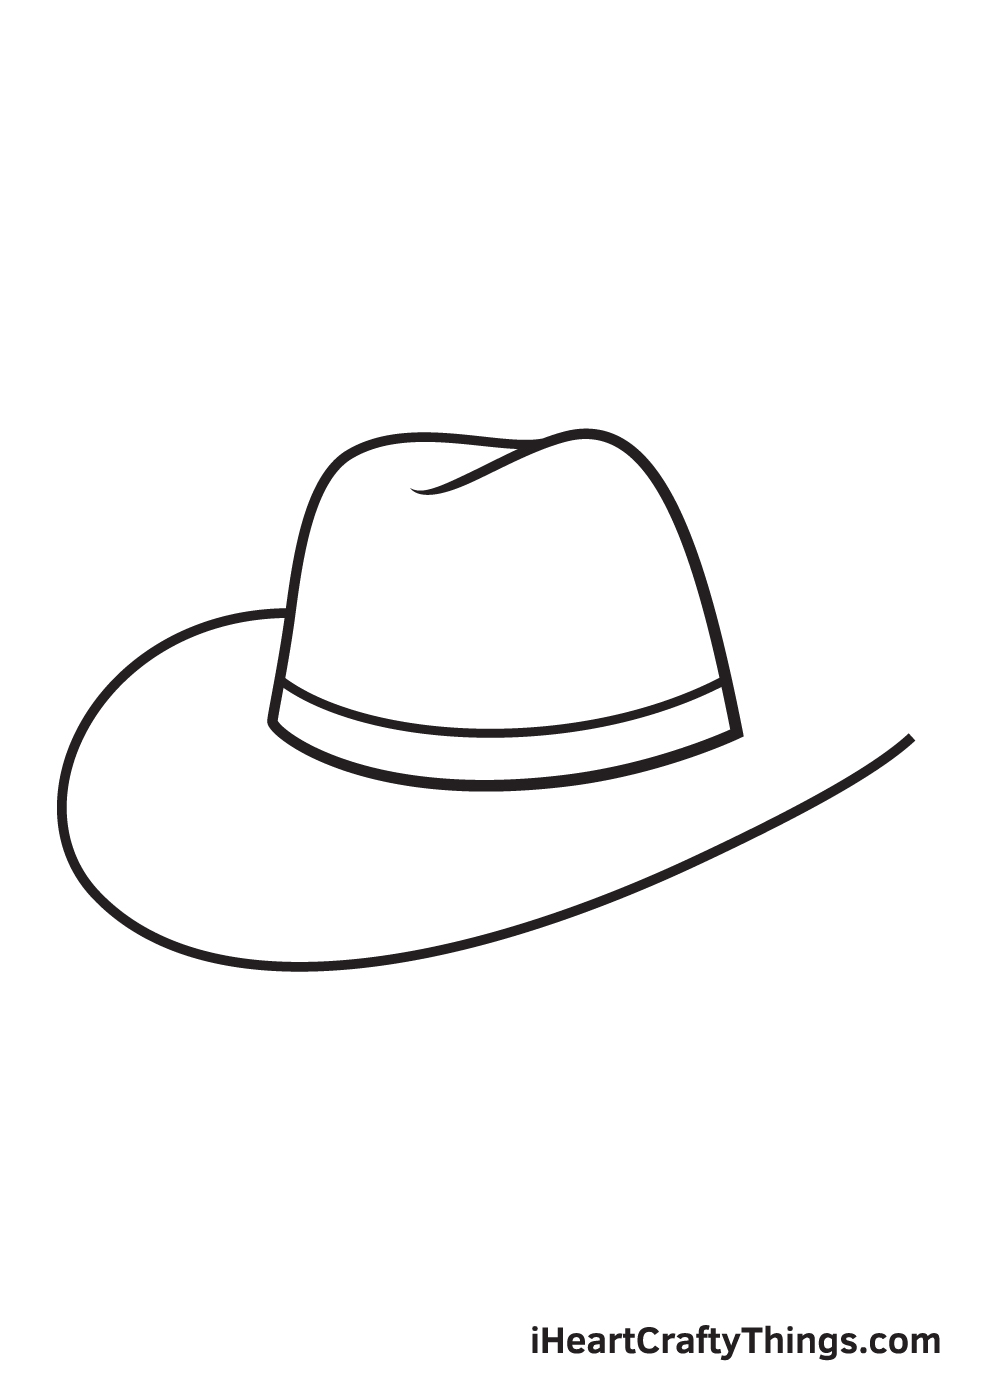
Beginning from the end point of the curved line we drew in the previous step, extend the line by drawing an upward diagonal line until it reaches the opposite side of the crown.
Step 7 – Add a Roll on the Surface of the Brim
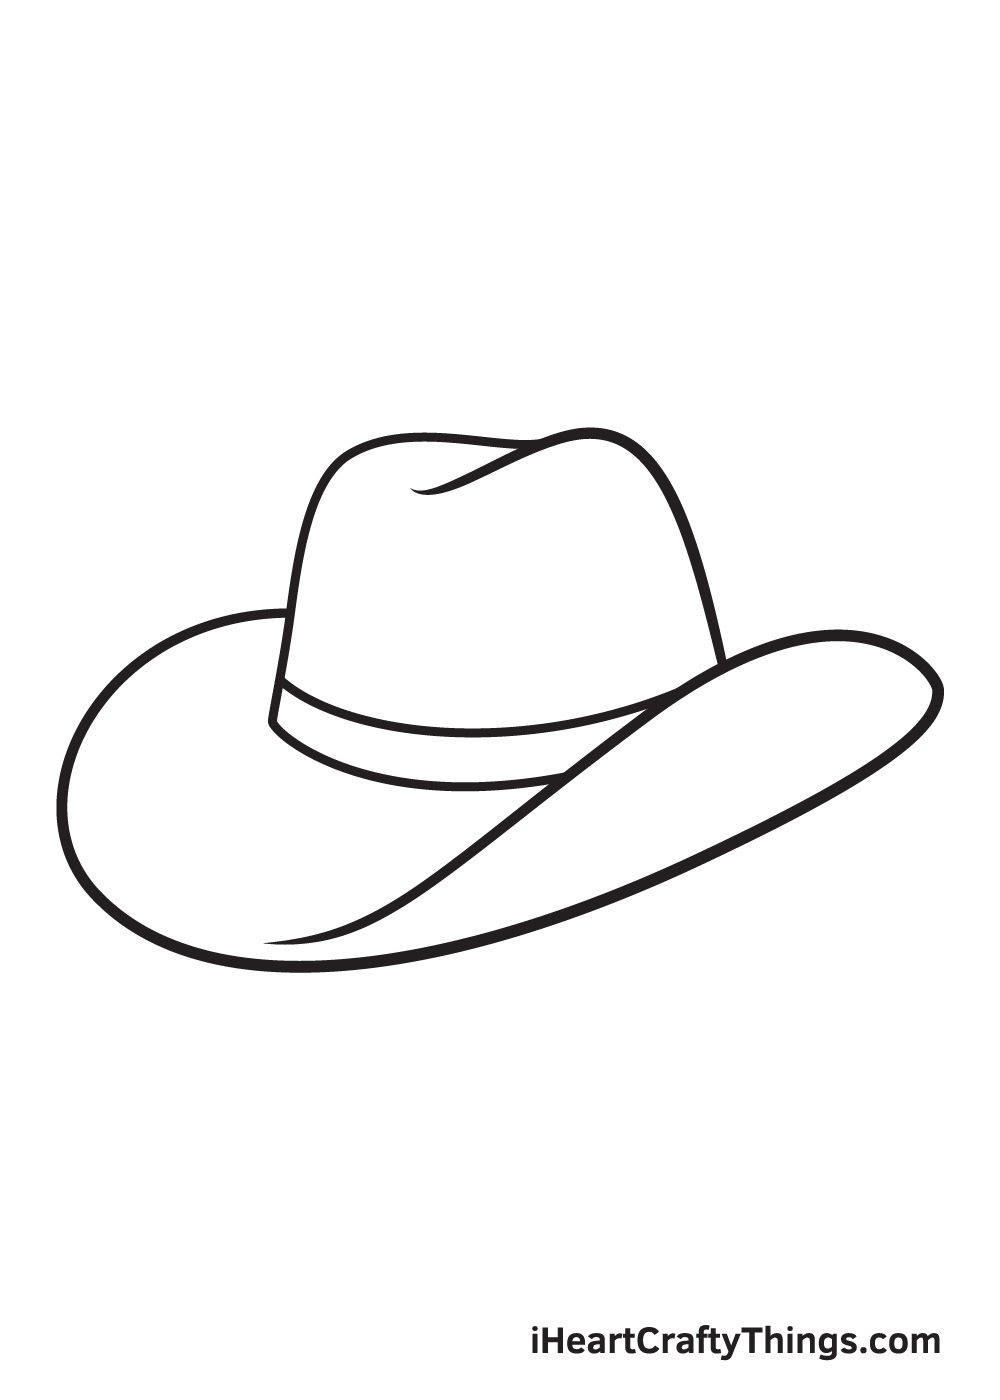
Finalize the brim of your cowboy hat by closing off the outline with a downward curve going back to the left side.
The end point of this line should overlap within the brim, creating a realistic-looking fold.
Step 8 – Add Details and Textures on the Hat
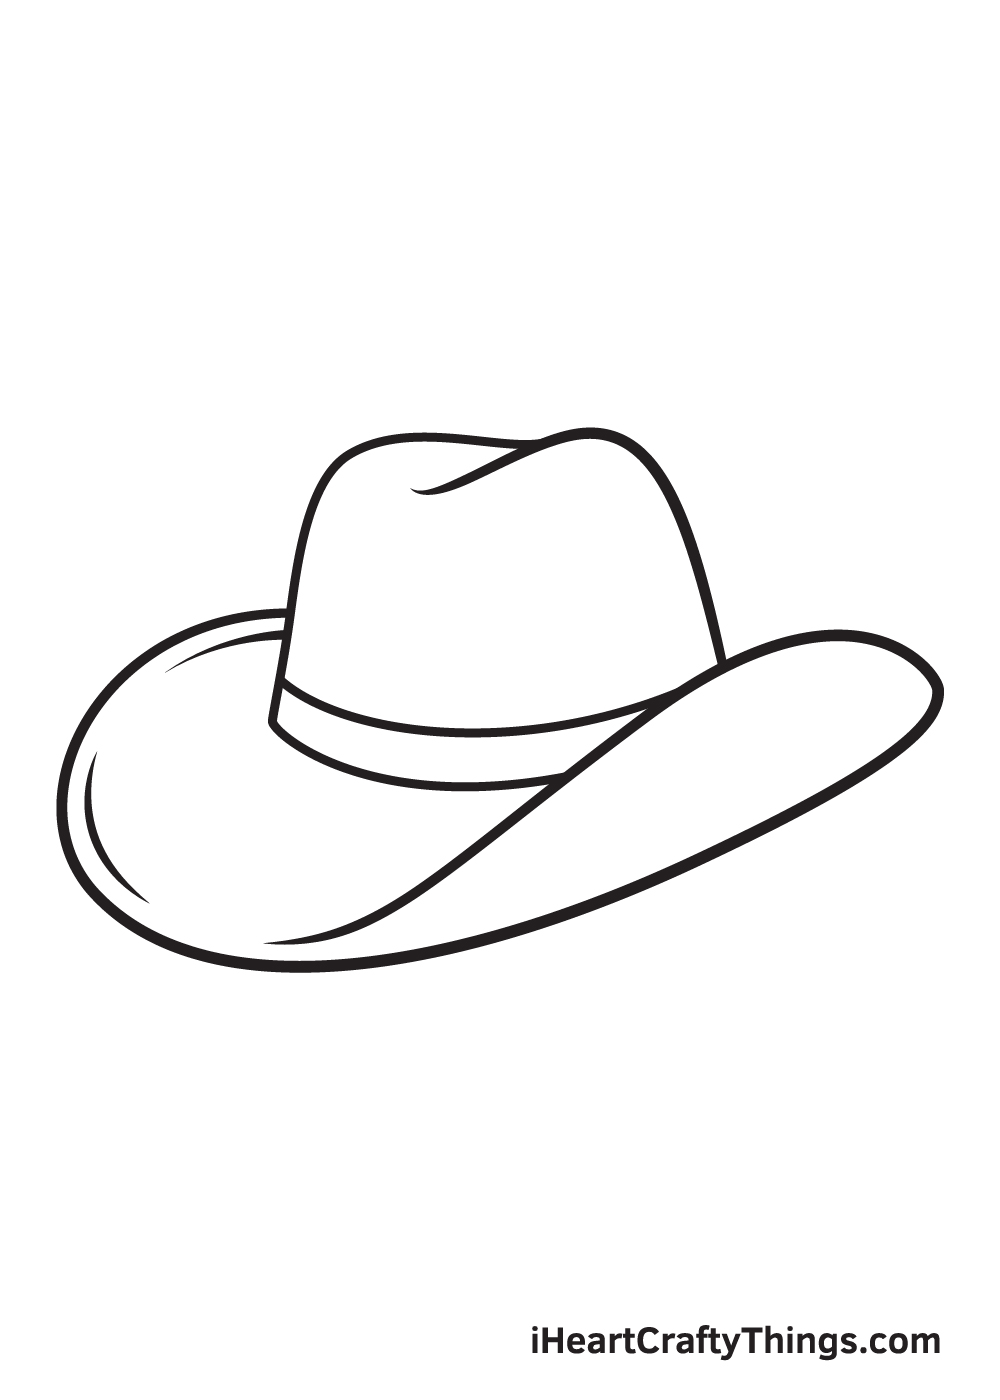
Draw a few curved lines near the edge of the brim, following its outline. These lines add texture on the material of the cowboy hat.
Avoid pressing down too hard with your pencil when drawing the textures. Keep in mind that the lighter and the thinner the stroke, the more realistic it will look!
Step 9 – Add Decorative Patterns on the Hat
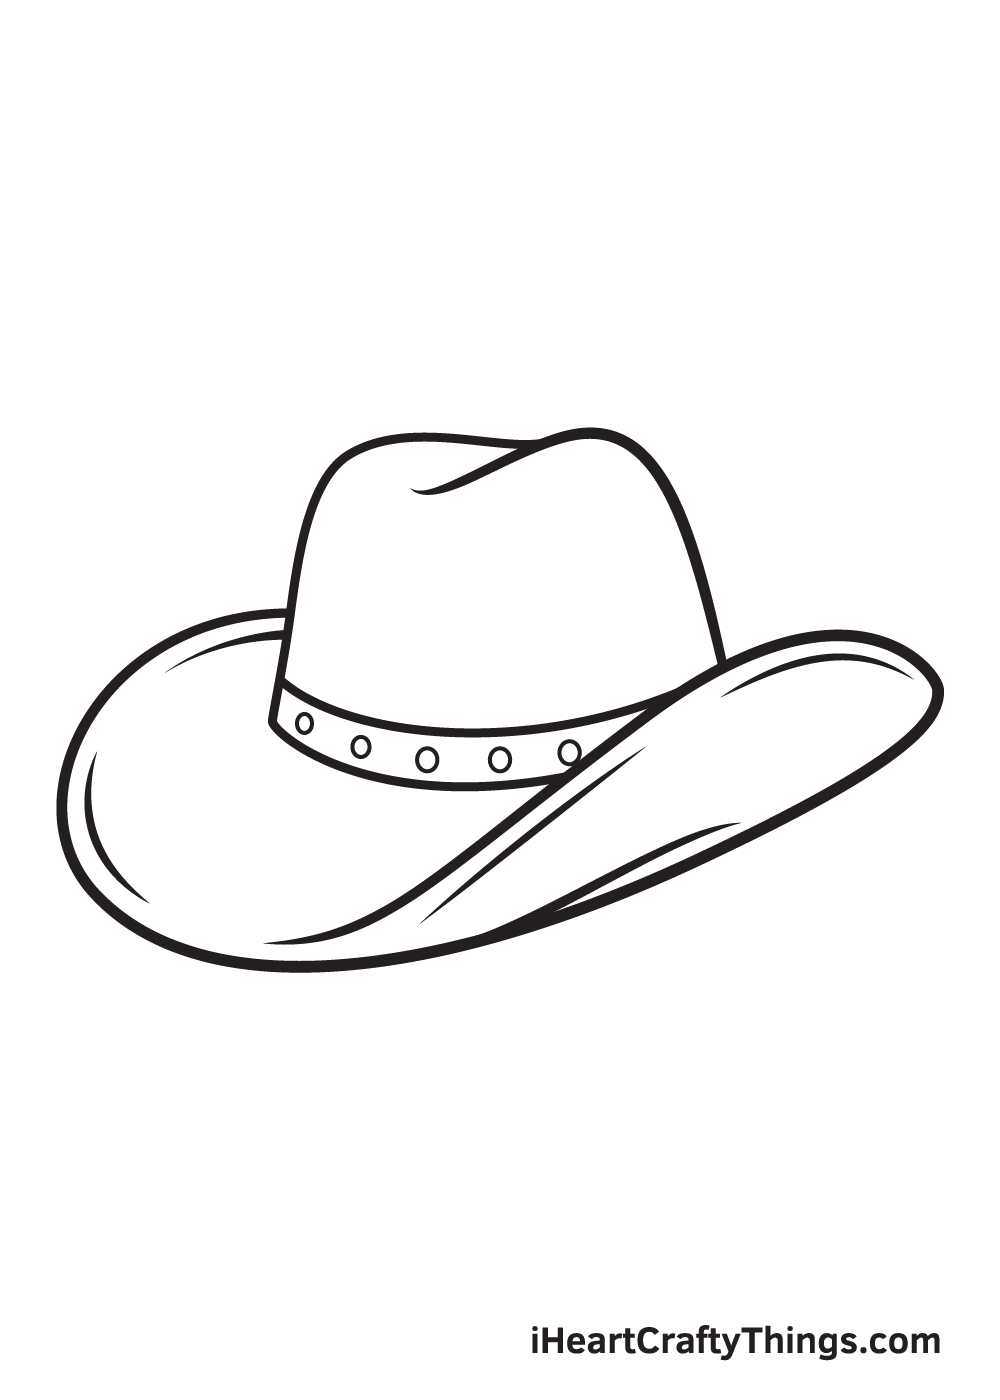
Draw multiple circle shapes on the hatband to decorate the cowboy hat.
As you can see in the illustration, we kept the surface of the cowboy hat plain and simple. However, don’t hesitate to style the cowboy hat as much as you like! You can even draw various designs imprinted on the material or add jewels attached on it.
Imagine that you are designing your very own unique cowboy hat. Remember, the sky’s the limit to your imagination and creativity!
Now that we have successfully drawn a cowboy hat, it’s time for the most exciting part, which is choosing the colors and coloring your drawing!
Cowboy hats exist in every color. That means, you can freely pick the colors and create a unique set of colors. You can even color the cowboy hat using your favorite colors if you like! And while you’re at it, why not try experimenting with various coloring materials as well?
Have fun playing with colors and watch as the cowboy hat ultimately comes to life!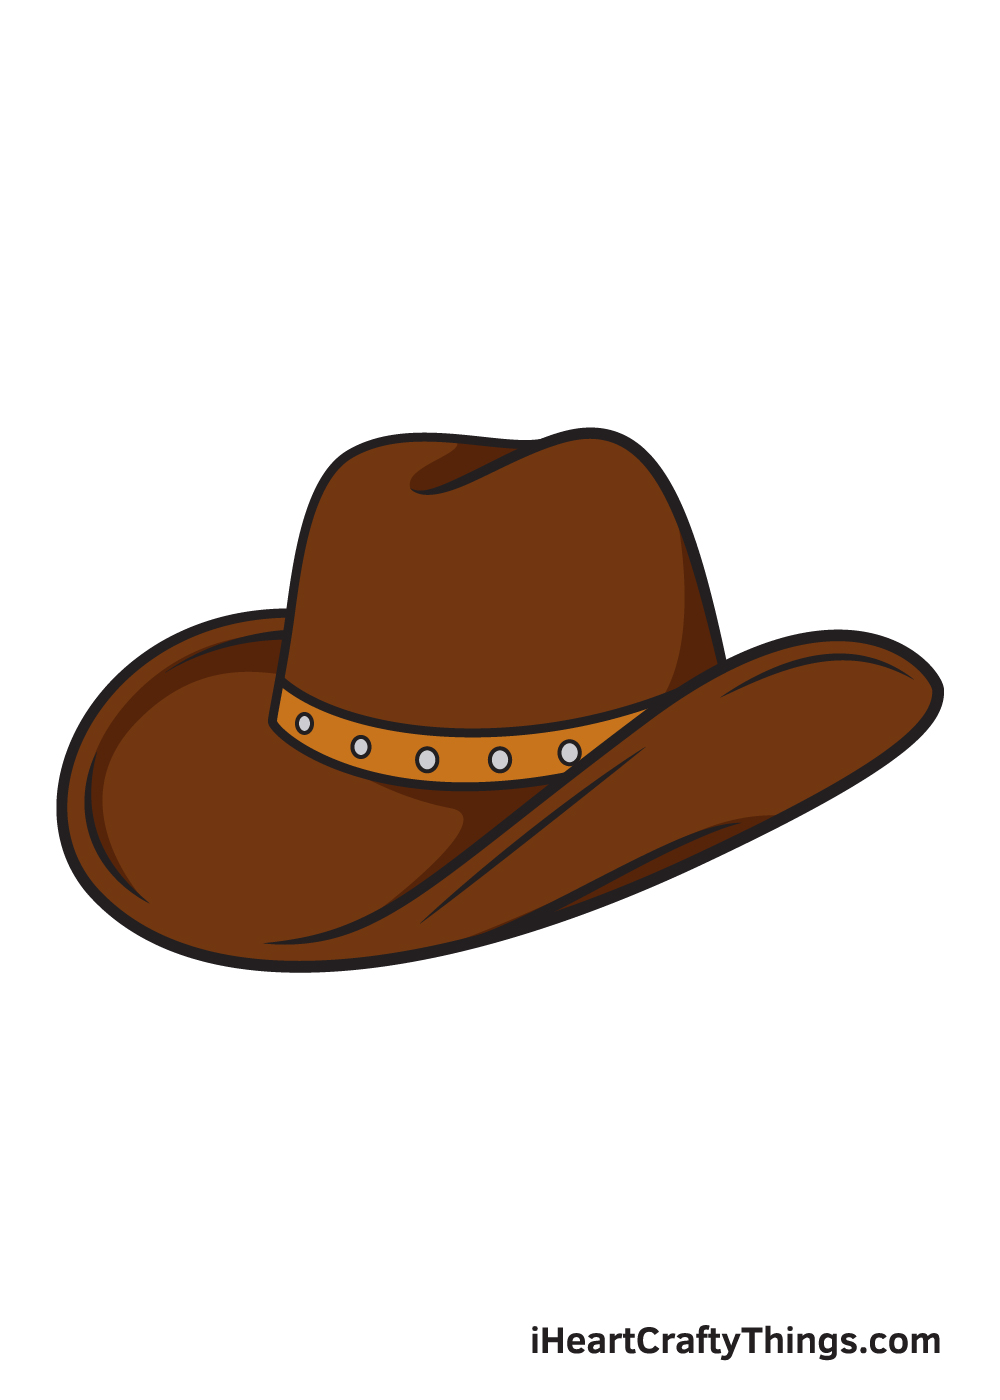
Here’s how you can make your cartoon hat drawing even better…
Travel back to the Wild West with these tips for your cartoon cowboy hat sketch!
Cowboy hats would often be customized with little additions and small items to personalize them a bit. You could do the same for your drawing of a cartoon cowboy hat!
There are lots of small details you could add. For example, maybe a feather or a porcupine quill could be tucked into the hat band. What are some other small items that could be added to the cartoon cowboy hat?
A hat is one of the many pieces of equipment any self respecting cowboy needs. You could add some of the other items to this drawing to make it more complete!
There are quite a few things you could add. Adding a cowboy gun in a holster would be one idea you could go for.
Or, you could add a pair of cowboy boots with stirrups attached to them. These are a few pieces of cowboy gear, but what else do you think could be in this cowboy arsenal?
Next, you could design a character to be in this cartoon cowboy hat drawing. You would have a few options for this character, and one would be to base it on yourself or someone you know.
Or, you could use a character from a classic cowboy movie. Maybe you could make a character based on a classic Clint Eastwood or John Wayne character and have them wearing this hat.
Who would you base this character on to wear this hat?
Finally, whether you used any of the previous suggestions or not, we would highly recommend adding a background to your cartoon cowboy hat sketch.
Not only can this be a lot of fun, but it would also finish off this drawing wonderfully. There are so many locations that would work perfectly for this drawing.
It could be set in a dusty Western town or maybe a saloon full of cowboys and bandits. Where are some other classic cowboy locations this drawing could be set?
Your Cowboy Hat Drawing is Complete!
Hopefully, you have learned how to draw a cowboy hat with this step-by-step tutorial. Don’t worry if the cowboy hat isn’t how you imagined it would be.
Don’t be afraid to start over and just keep doing it until you are satisfied with the results. Remember, practice makes perfect!
Don’t forget to keep checking back on our website to enjoy newly uploaded drawing tutorials.
If you want to learn how to draw something we haven’t covered yet, feel free to connect with us and let us know about it. We will do our best to deliver your requests.
Once you have successfully drawn and colored a cowboy hat, we’re sure you must be feeling very proud of yourself—as you should be!
Make sure to show off your work of art and share it on all of our social media platforms. Don’t be shy, we’re certain it looks incredible!
We can’t wait to see your fashionable cowboy hat drawing!
Here Is A Sketch Of A Cowboy Hat To Inspire You!
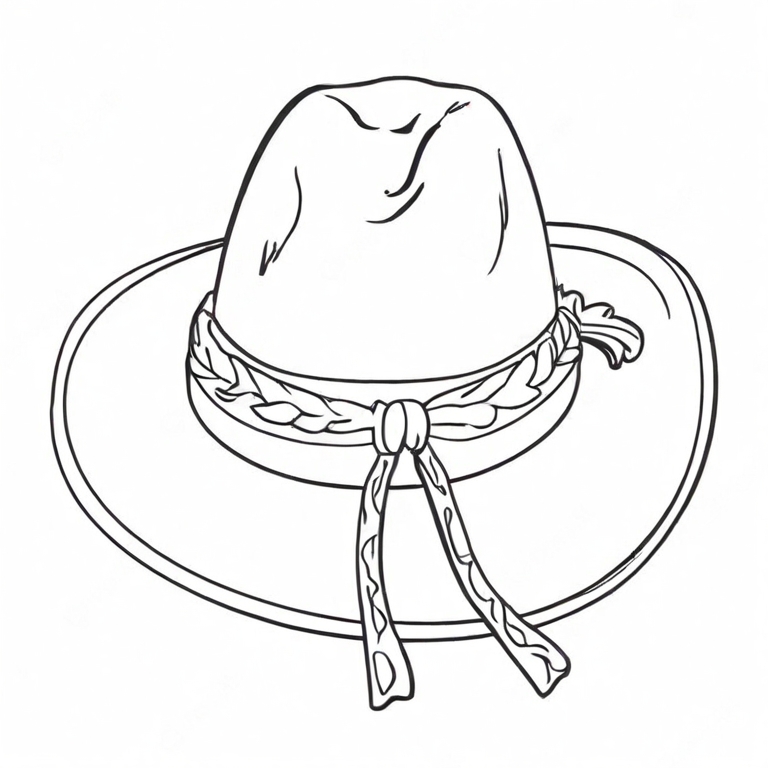
Cowboy hats always look so cool and stylish, and this drawing by our artist Freddy really helps to give you some inspiration to make your own one.
This sketch of a cowboy hat for kids really shows off all of the details and elements you would want to include with your own version. You can adhere to the shape and form of the hat for your own one.
He also added the detail of a small rope around the hat for an extra detail. When you work on your own sketch of a cowboy hat, you can also customize it and change it in any ways you wish.
Cowboy hats come in many different styles and fashions, so you would have a lot of freedom with how you design it. What choices will you make for this hat?
