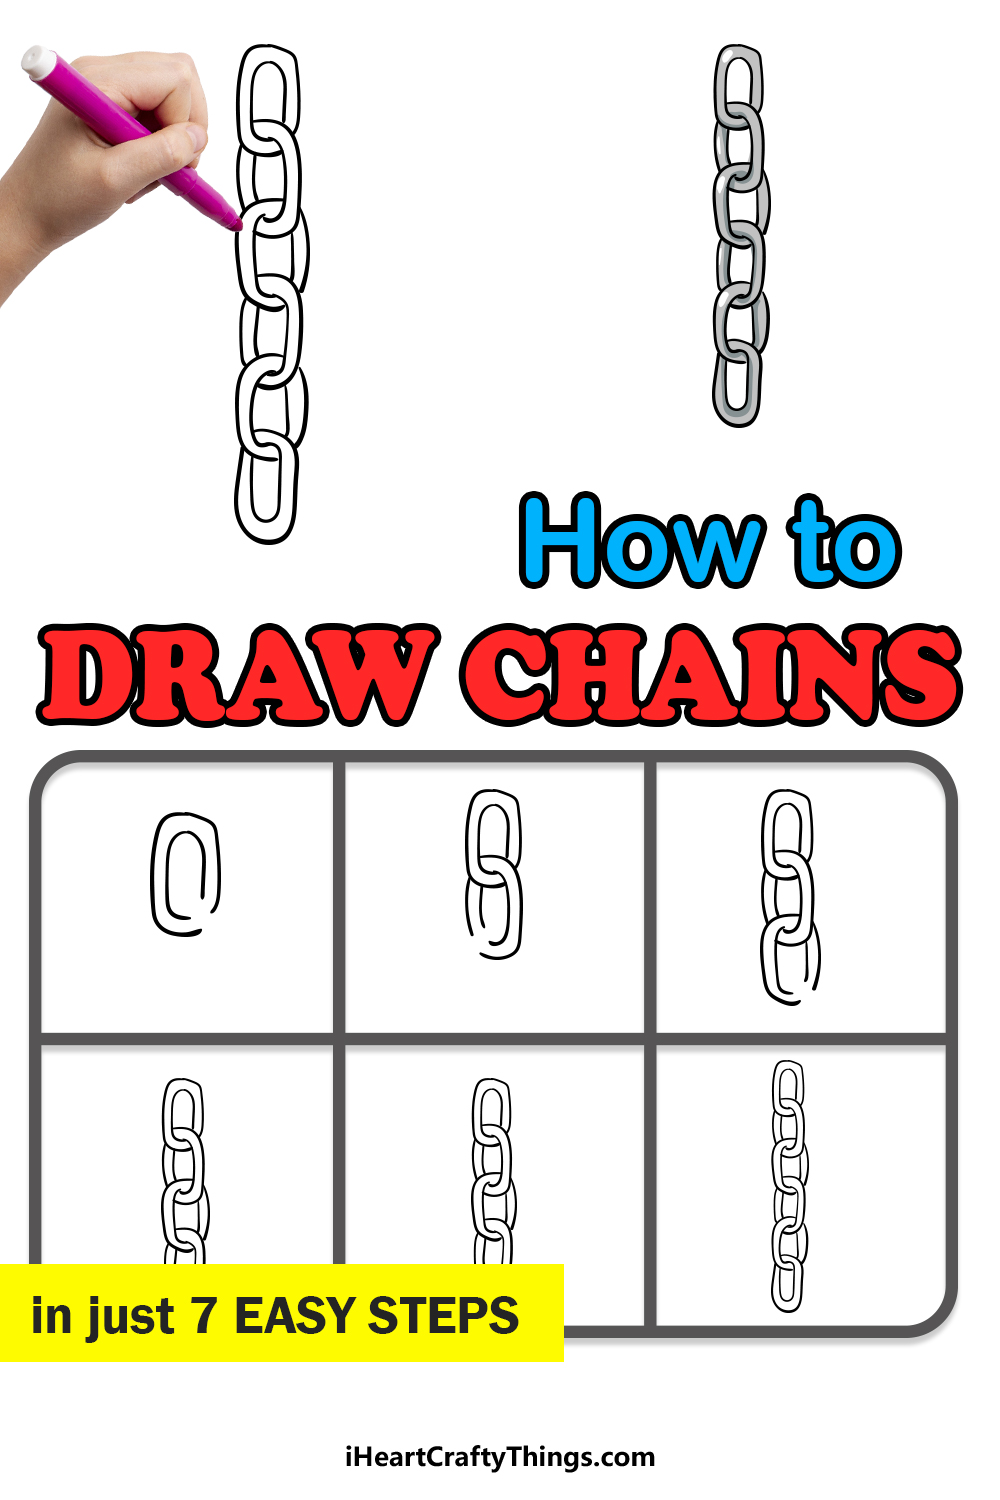
Follow this guide for kids in order to learn how to draw chains! You can make all sorts of art once you have mastered the simple steps of the tutorial.
Chains may be simple, but they are incredibly useful for many different purposes. From securing things to decorating spooky haunted houses, they can be very useful.
There are many reasons why you may want to learn how to draw them, and once you have the hang of it you can make some incredible designs.
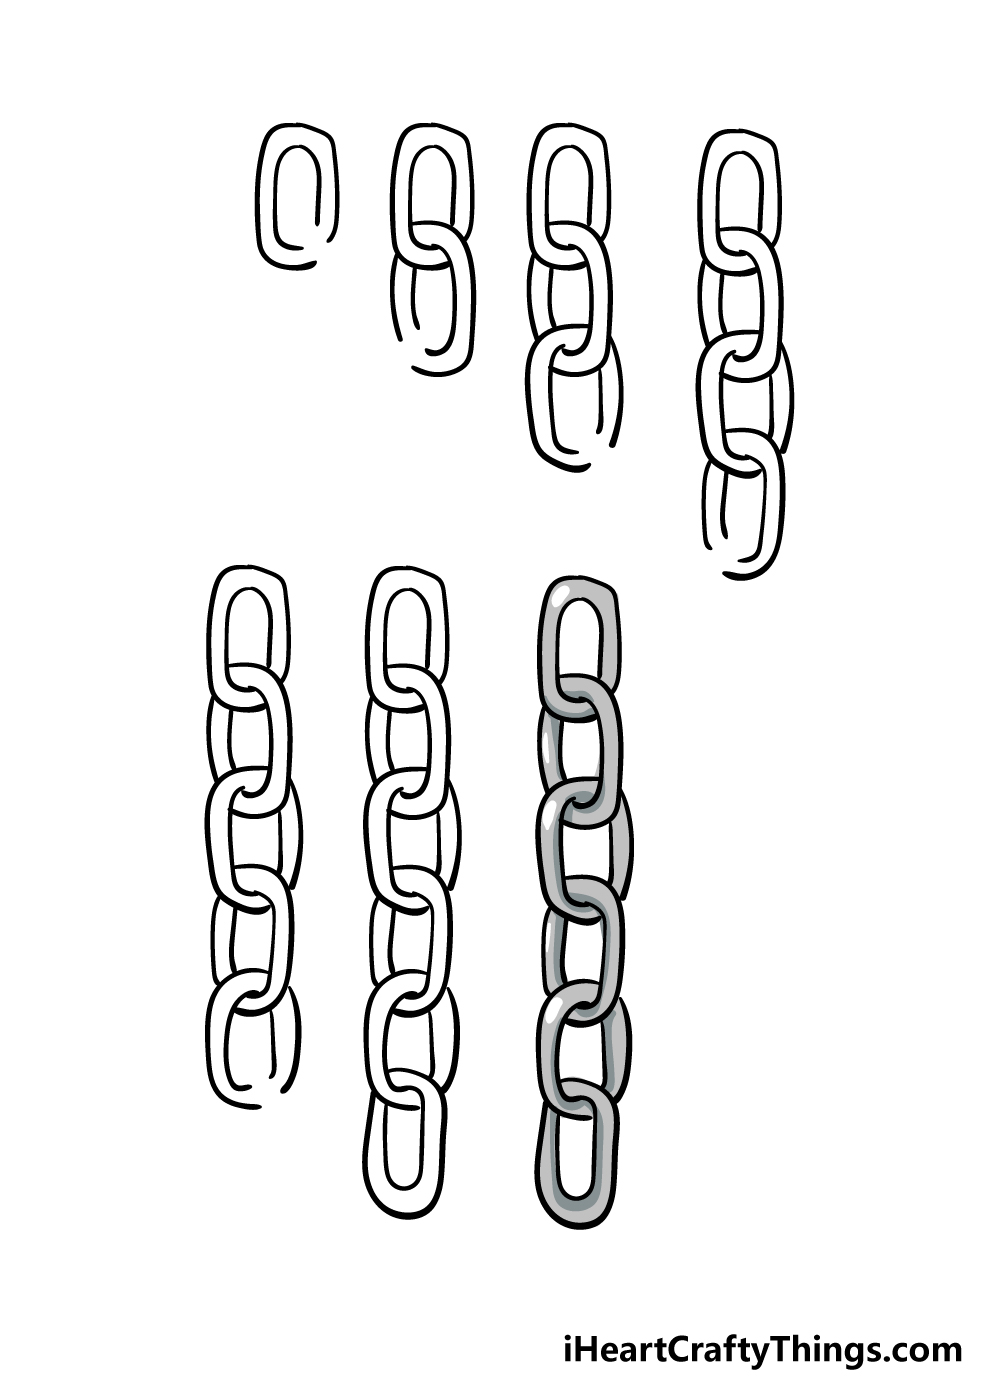
I will guide you through the steps one link at a time until you see how it’s done. Once you have made it through, you can take what you learn and make any kinds of chain designs you can think of.
It’s easier than you think, so let’s discover how it’s done together!
Watch And See How To Draw Chains!
How to Draw Chains – Let’s get Started!
Step 1
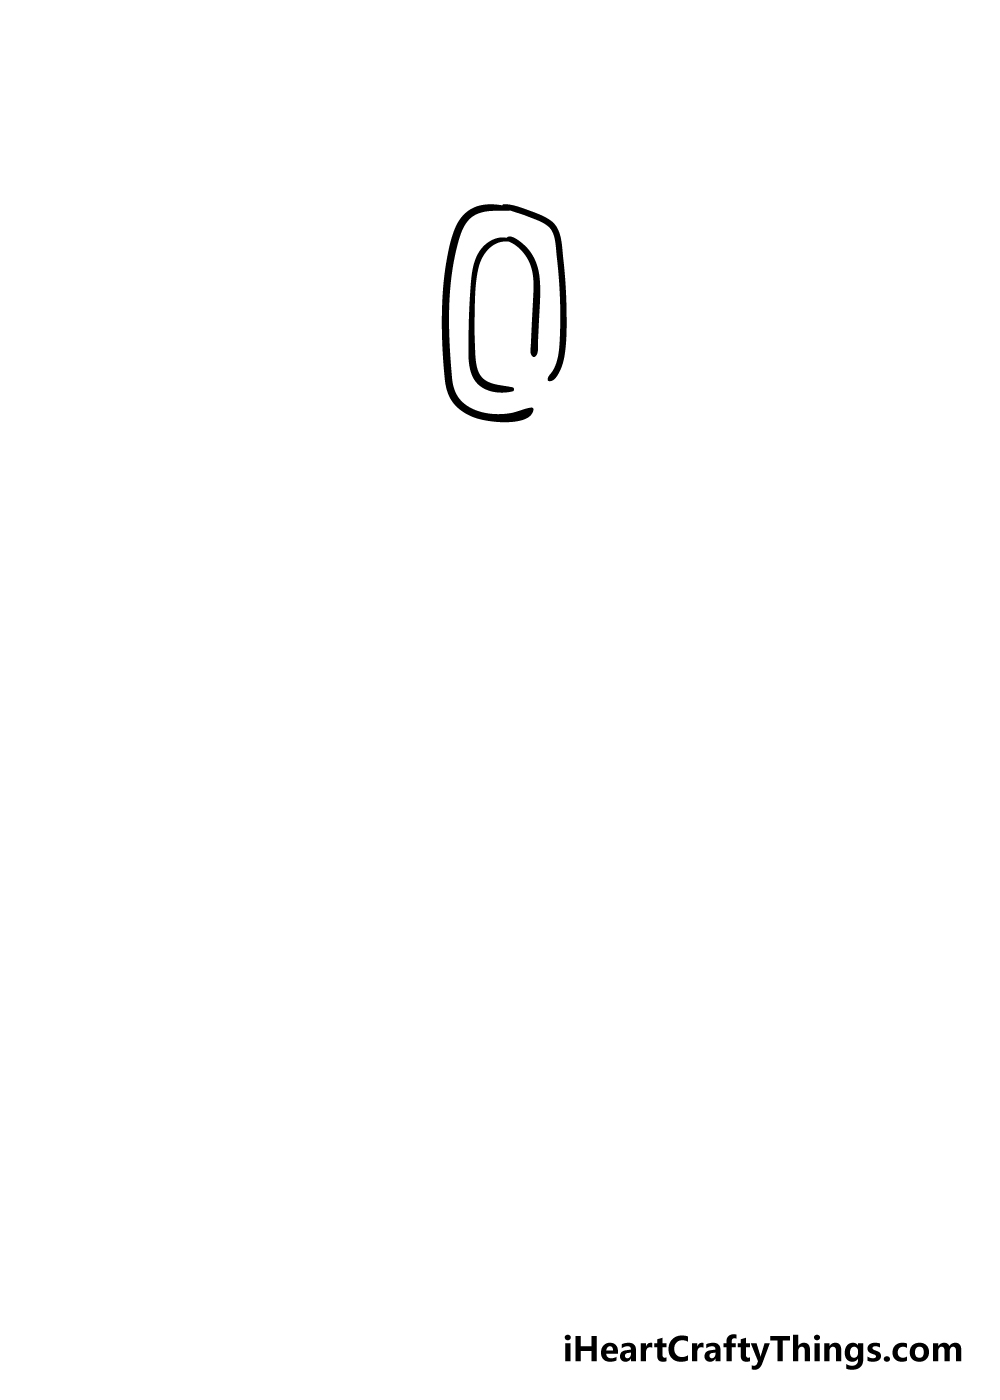
Chains are made up of several connecting links, so we will be focusing on each link as we go along in this guide on how to draw chains.
A chain picture may look deceptively simple, yet it can be trickier than you think when it comes to connecting them.
To draw this first link, you can draw an oval shape, and then draw another one inside of it. Then, just make sure there is a gap at the lower right corner.
To make it easier on yourself, you could draw the basic oval shapes with a light pencil and then go over it with your pen or darker pencil. Once you have that link, then you’re ready for the next step.
Step 2 – Draw the second link of the chain
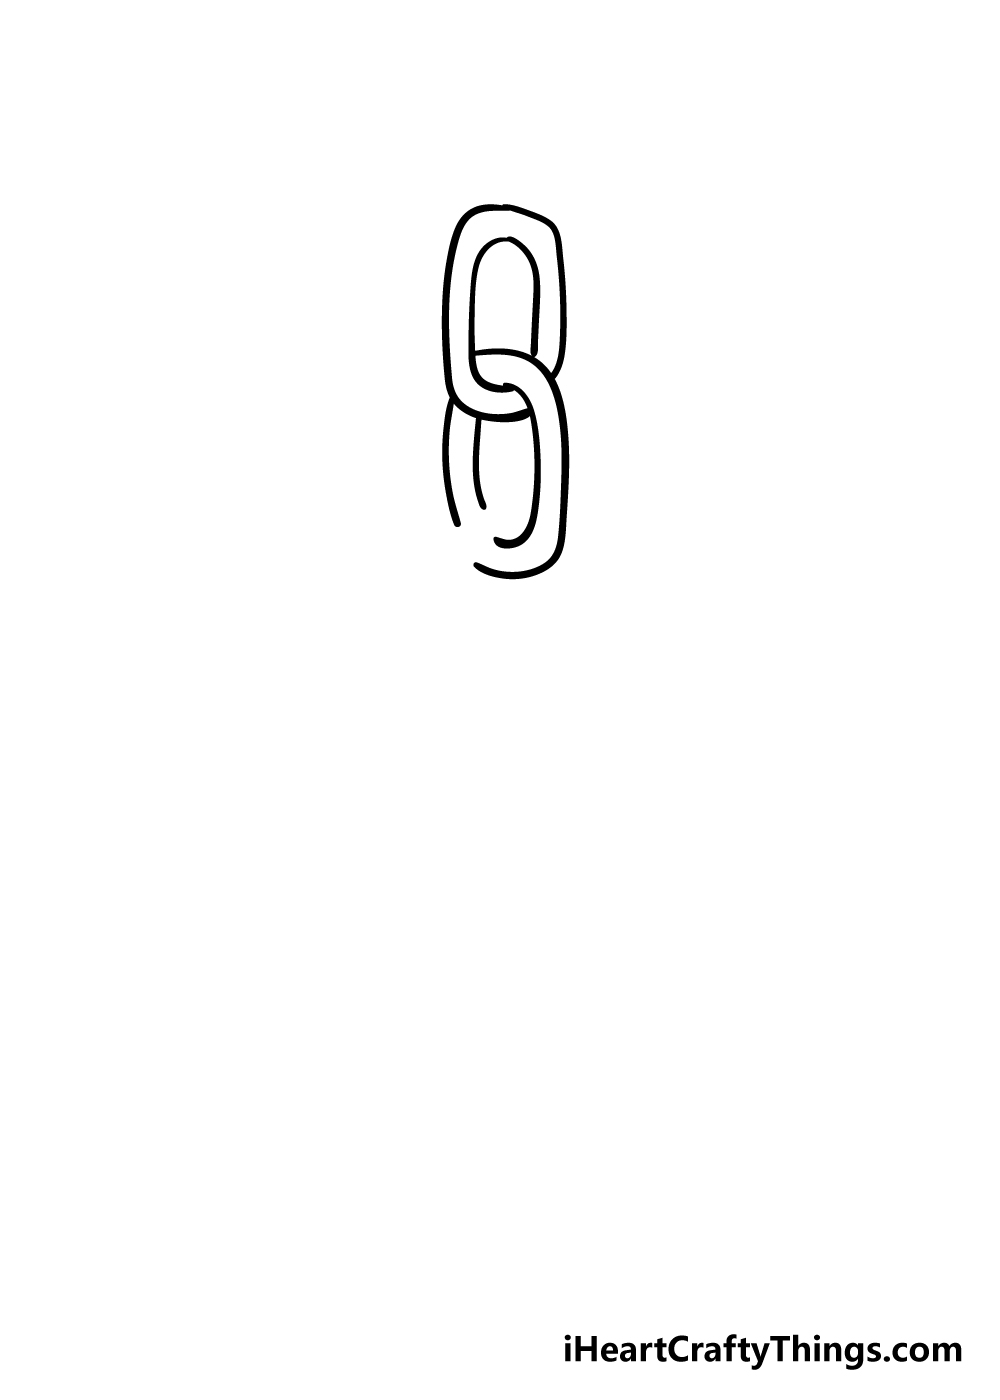
From this step onwards, your chains drawing will start to get a little tricky, but don’t worry because we’ll take it slowly!
Once again, you may want to use a pencil for the planning first and then go over it with your pen once it looks good to you.
The next link will loop up from the inner center of the first link and over to the right. Then it will loop upwards again it will go up towards the left-hand side of the first link.
It may sound complicated, but looking at the reference image will help a lot. This time, the gap that you leave will be on the lower left-hand side, and that’s where you will be drawing the next link.
Step 3 – Add the third link

You’re starting to get into a rhythm of drawing the links now, so we shall continue in this third step of our guide on how to draw chains.
You can add the third link in a similar way to how you added the second one for this step. As you may imagine, you will be leaving a gap on the right-hand side this time, as each time it will alternate.
Step 4 – Now you can draw the fourth link
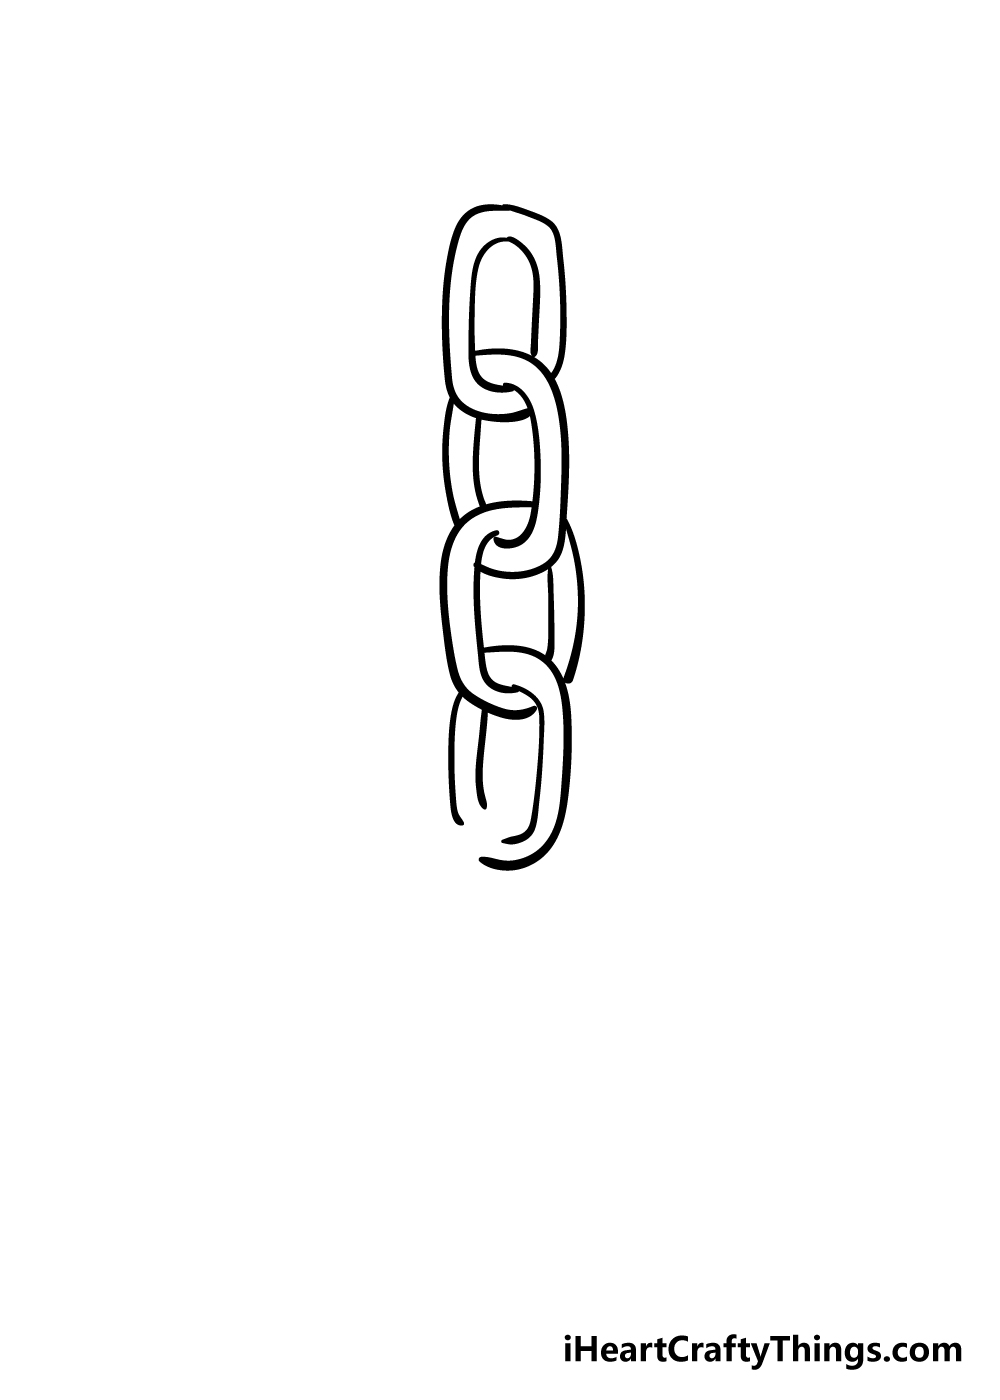
You know the drill now! You can add the next link to your chains drawing in this next step. This link will be following the formula you’ve started in this guide.
As we mentioned in the previous step, the gap will again alternate and be on the left-hand side for this particular link.
Step 5 – Now, add the fifth link of your chains drawing
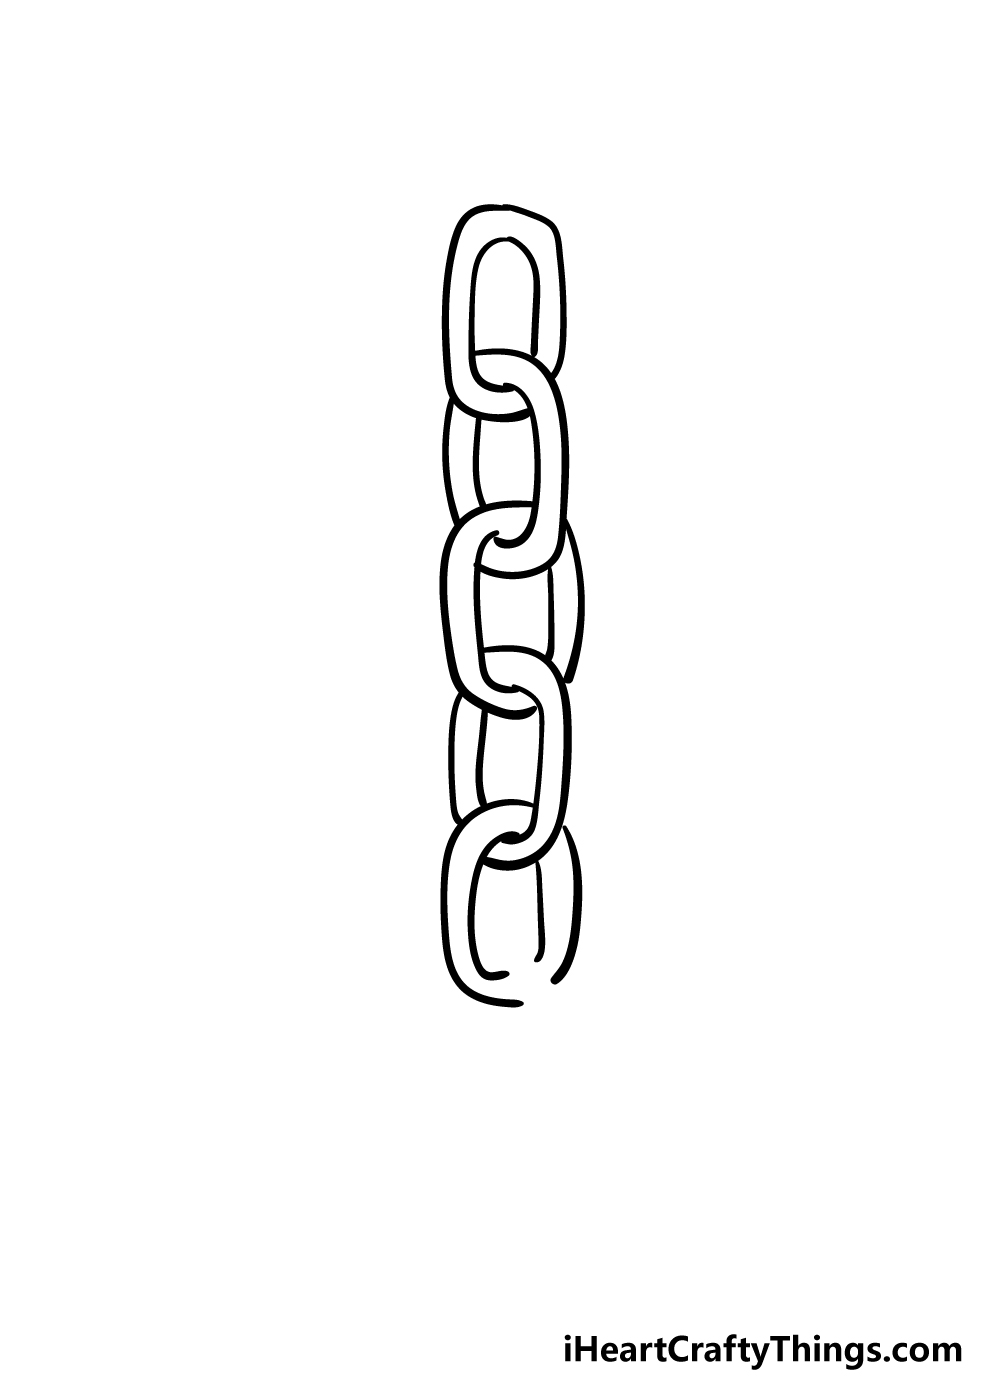
Your chain is really starting to take shape now, and your hard work will be paying off soon! In this fifth step, you won’t be surprised to learn that we will be adding another link to the chain.
I’m sure I don’t need to tell you how to do this, as you’re a pro at it by this point! Simply draw the fifth link and then leave a gap on the right-hand side for this second to last link.
Step 6 – Add the final link of your chains drawing
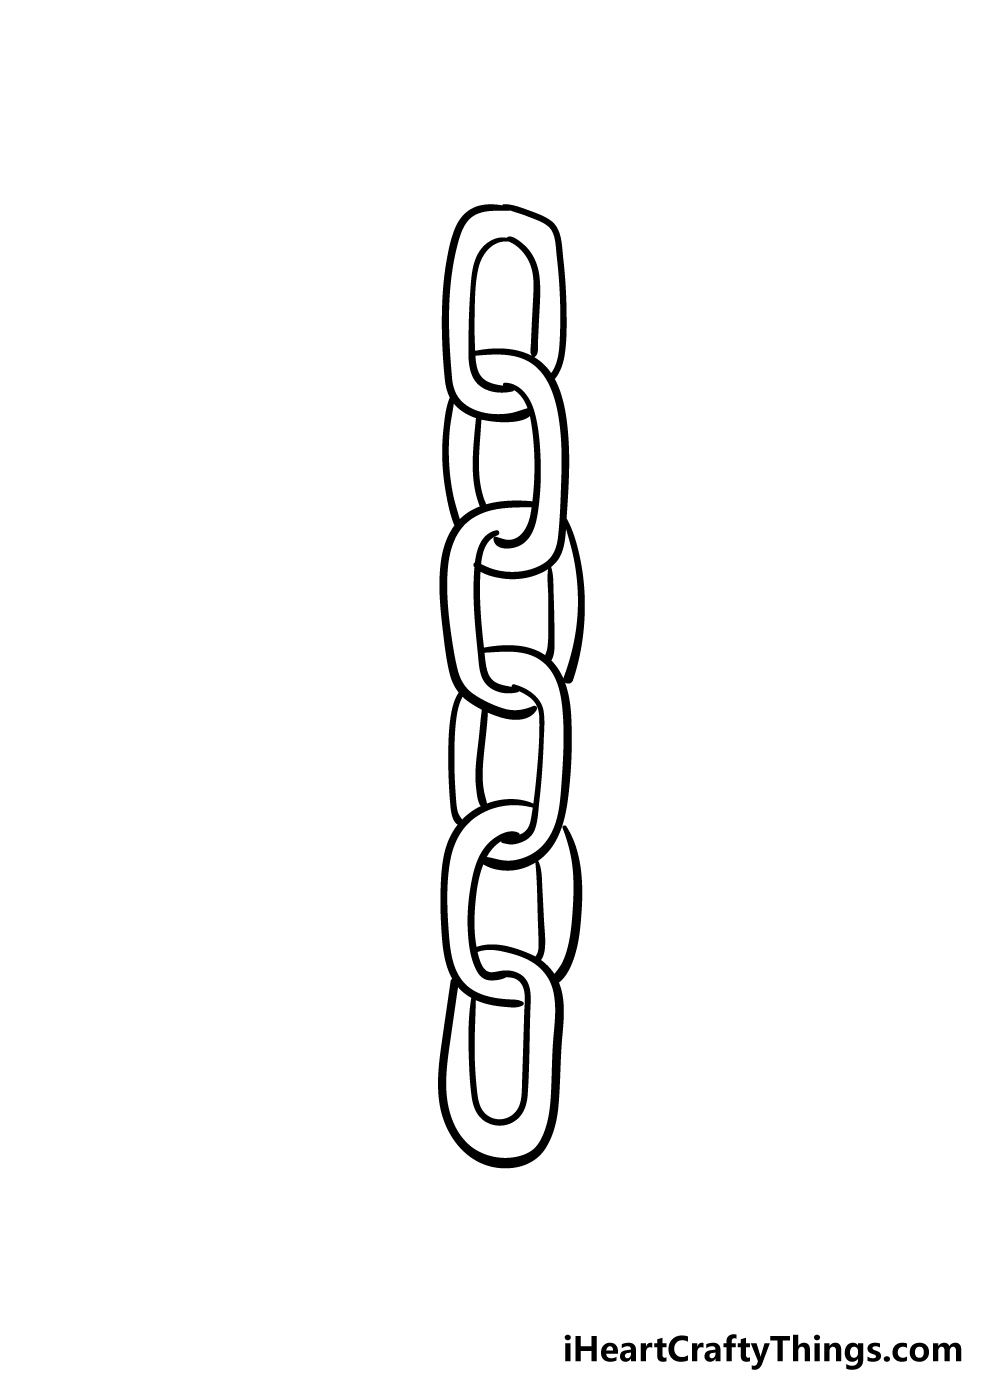
You’ve been drawing lots of links in your chain drawing, and now it’s time to draw the final one! As it is the last link in the chain, the only difference for this one is that there won’t be a gap at the bottom of this one.
Once you’ve drawn the final link of the chain, you’re all done with the drawing part of this picture!
Before you move on to the final step, however, be sure to add any extra elements that you would like for your image!
Perhaps you could show what is at the end of the chain, or even draw a spooky ghost that is holding it! There are many possibilities you could go for, so be sure to let your creativity run wild!
Step 7 – Finish off your chains drawing with some color
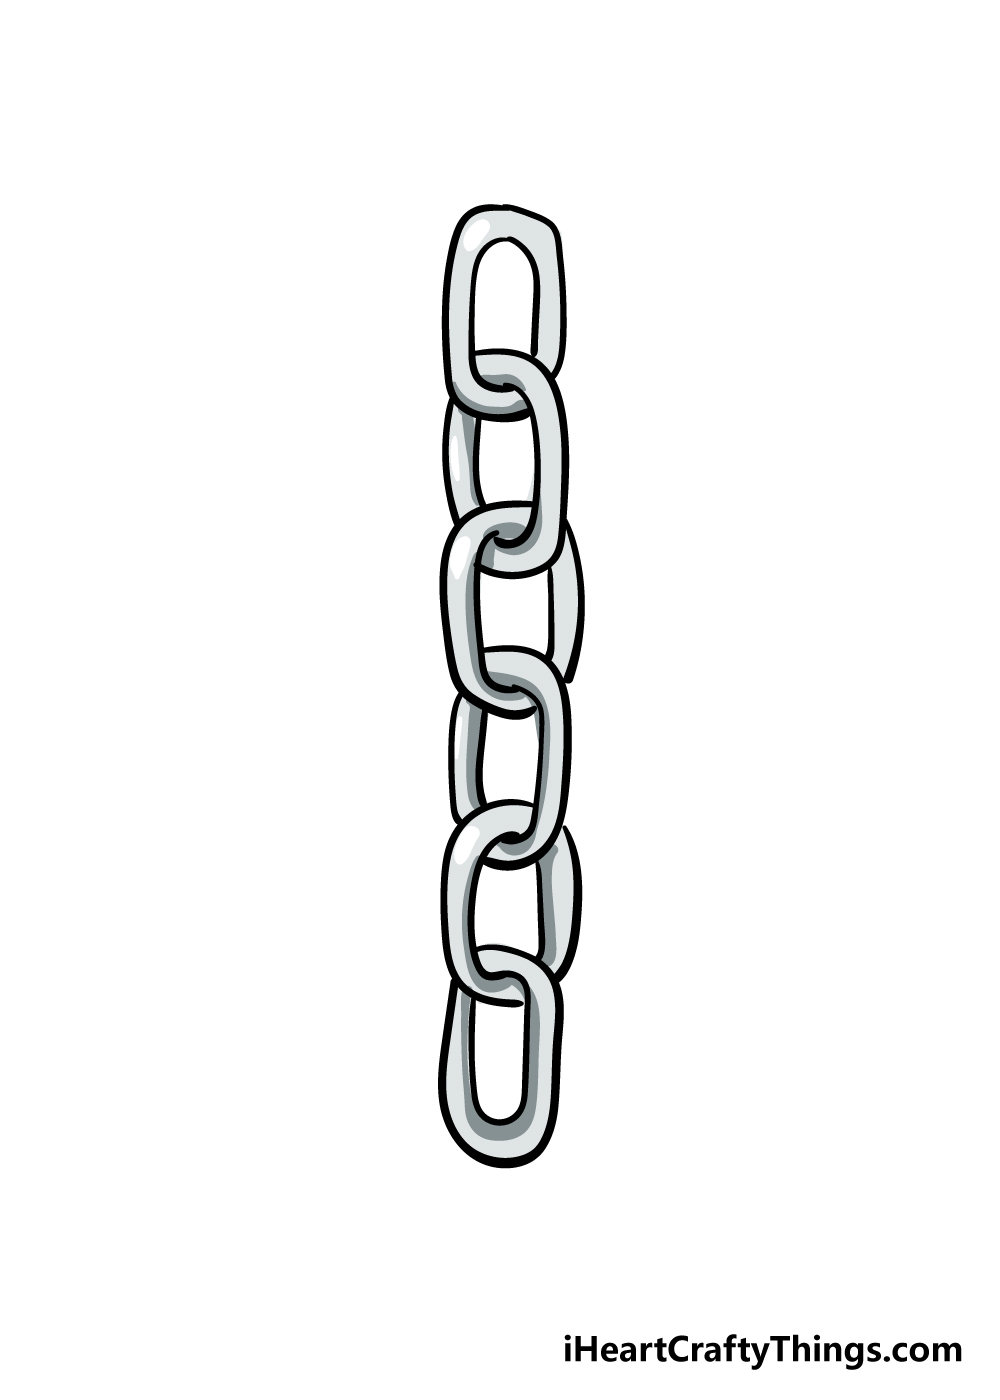
In this final step of this guide on how to draw chains, you can relax with some coloring fun as you bring your drawing to life.
We used a metallic grey color scheme for our example image, and while that is one approach you could take, you should feel free to get creative and use any colors that you enjoy!
Even if you do keep the chain in metallic greys, you could add some wonderfully vibrant colors to the mix by coloring in the background and extra details nice and brightly.
We can’t wait to see how you bring this image to life using your colors!
Do this to take your chains drawing to the next level
Let’s keep adding to this chains drawing as we show you some fun tips to try!
Once you have mastered drawing the links of this chain, you can see how easy it is when you know what to do!
For that reason, if you wanted to add more links to your chains sketch you will have everything you need to do it with ease.
You could make this chain as long as you like, provided you don’t run out of paper to draw on! This could make the chain look even more impressive than it already does.
Another way to take this image to the next level is by adding things to the various links of the chain. There are so many different things you could do if you wanted to try this!
One example would be to draw some padlocks hooked onto the links, or you could show what the chain is being used to secure.
What are some other ideas you have for some additions to this chain?
Drawing a background is a great way to show off your creativity for any drawing, and that’s certainly true for this drawing of chains as well!
We mentioned how chains will often be used as decorations for spooky Halloween settings, but you could also try out lots of different backgrounds, maybe these could be hanging in a dark dungeon or on a pirate ship!
What other backgrounds can you think of for these chains? Lastly, you could use some interesting art tools and mediums to really bring this drawing to life.
Chains are made of metallic substances, so you could use something like a metallic marker to give the illusion that it is made out of metal.
You could also use some acrylic paints or even some light glitter to achieve similar effects.
These are a few ideas you could use for this chains drawing, but there are so many others you could try out! What art tools and mediums can you think of for this awesome picture?
Your Chains Drawing is Complete!
You’ve followed all of the links of this guide to reach the end and learn how to draw chains!
A drawing like this can take a bit of practice to get right, so you should be proud of mastering this drawing!
Now that you can draw a chain, it’s up to you to show us how creative you can be with it! You could change the positioning of the chain a bit or show us what it is being used for as some ideas.
Then you can use your favorite colors and art mediums to really finish bringing it to life!
If you had a great time with this step-by-step guide, then you’ll be happy to know that we have plenty more for you to enjoy on our website!
We also have lots more that we will be uploading constantly, so be sure to check in frequently to make sure you never miss out.
Once you have finished your awesome chains drawing, please do share it on our Facebook and Pinterest pages for us to enjoy!
We look forward to seeing the fun and creative ways that you have finished your drawing!