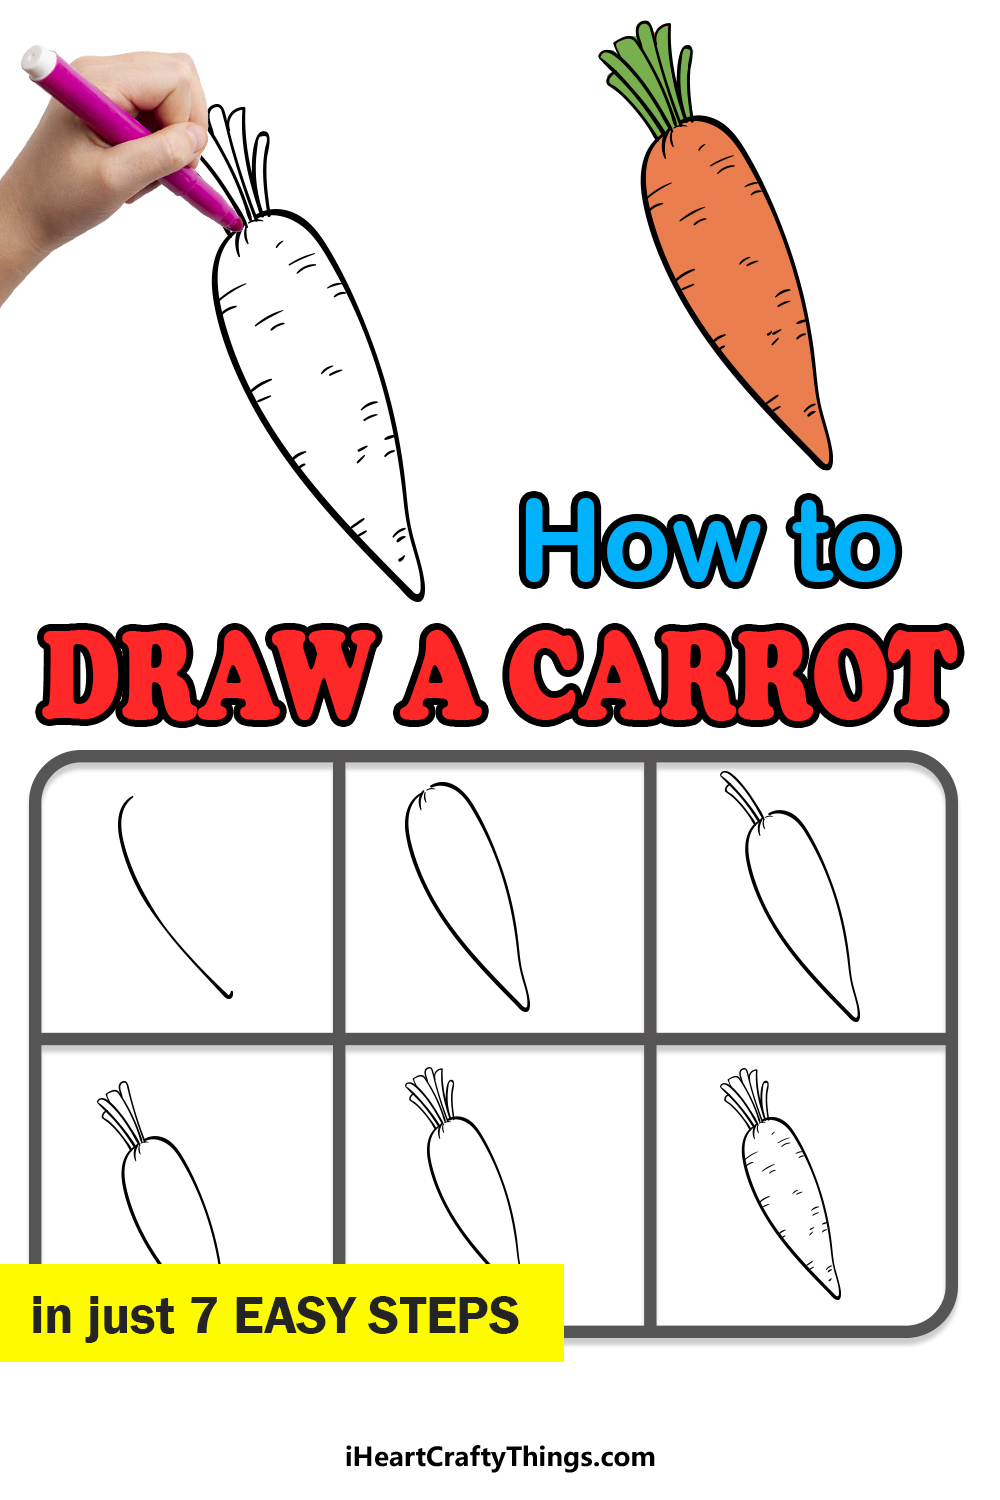
It’s time to learn how to draw a carrot by following this easy guide for kids! You won’t believe how simple it is to draw this iconic vegetable when you know the steps.
Carrots are incredibly tasty and can be used in many different dishes. From stews to carrot cake and everything in between, there is pretty much nothing this vegetable can’t do!
They also look very distinctive with their thin shape, orange color and green stems. Many folks would like to be able to draw them, but it’s not so easy to get them looking realistic.
At least, it wasn’t that easy until now! With this guide, you will soon discover the best way to make your carrot drawing. Once you have the hang of it, you could even add some fun details such as a rabbit about to eat it!
Watch These Steps To Make Your Carrot Drawing Easier
How to Draw A Carrot – Let’s get Started!
Step 1

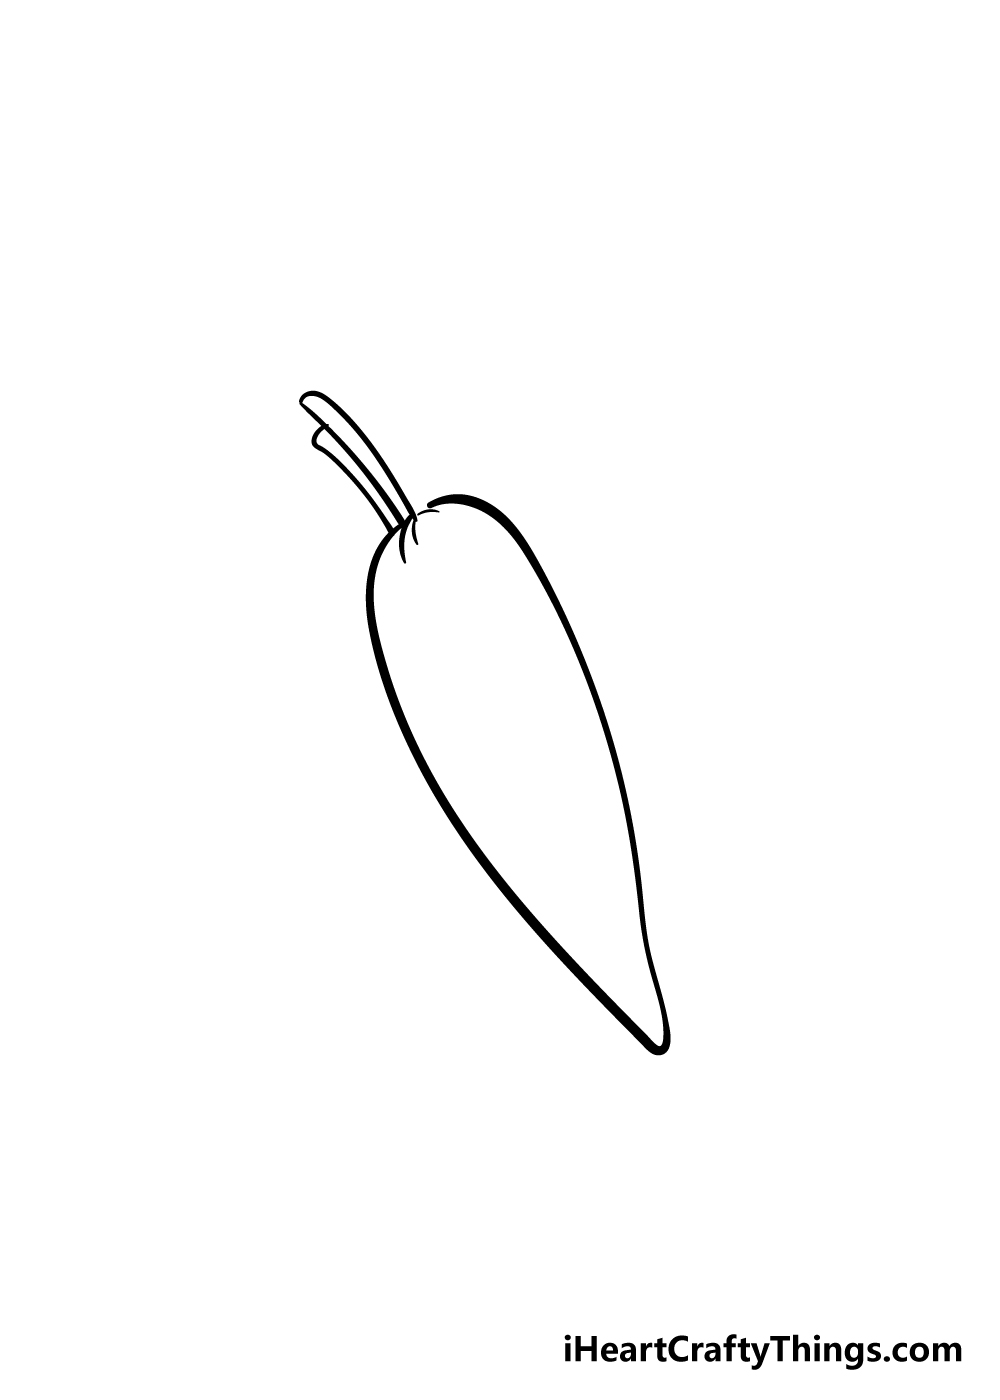
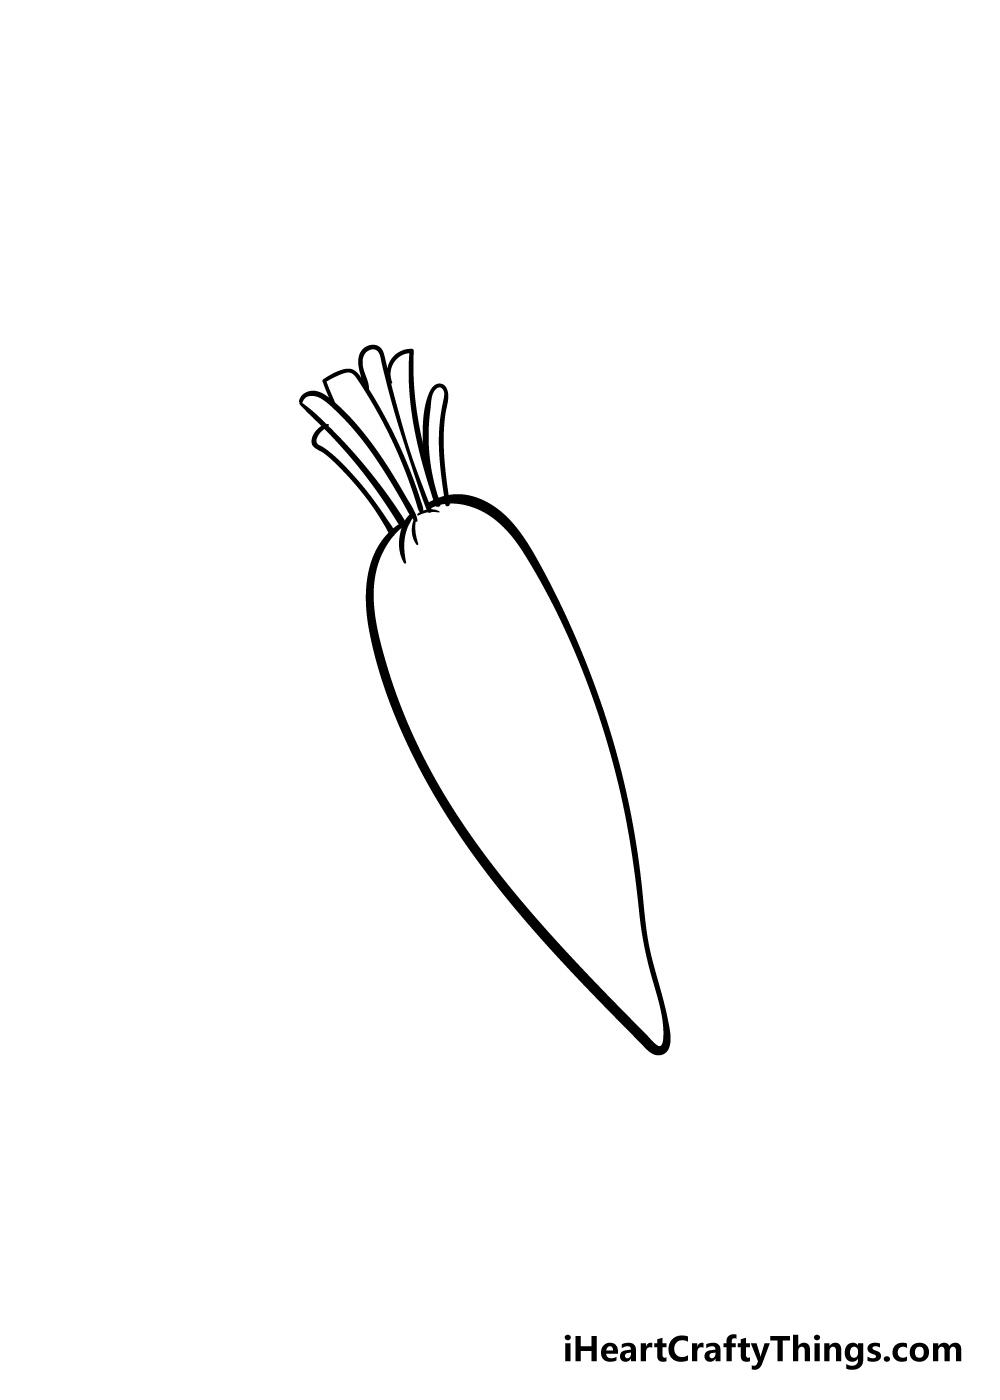
We shall start simply with this guide on how to draw a carrot! To begin, all you have to do is draw a curved line like the one that appears in our reference image.
There will also be a small curve at the bottom of the line that will form the tip of the carrot. Once you have that line drawn, we can move on to the next step!
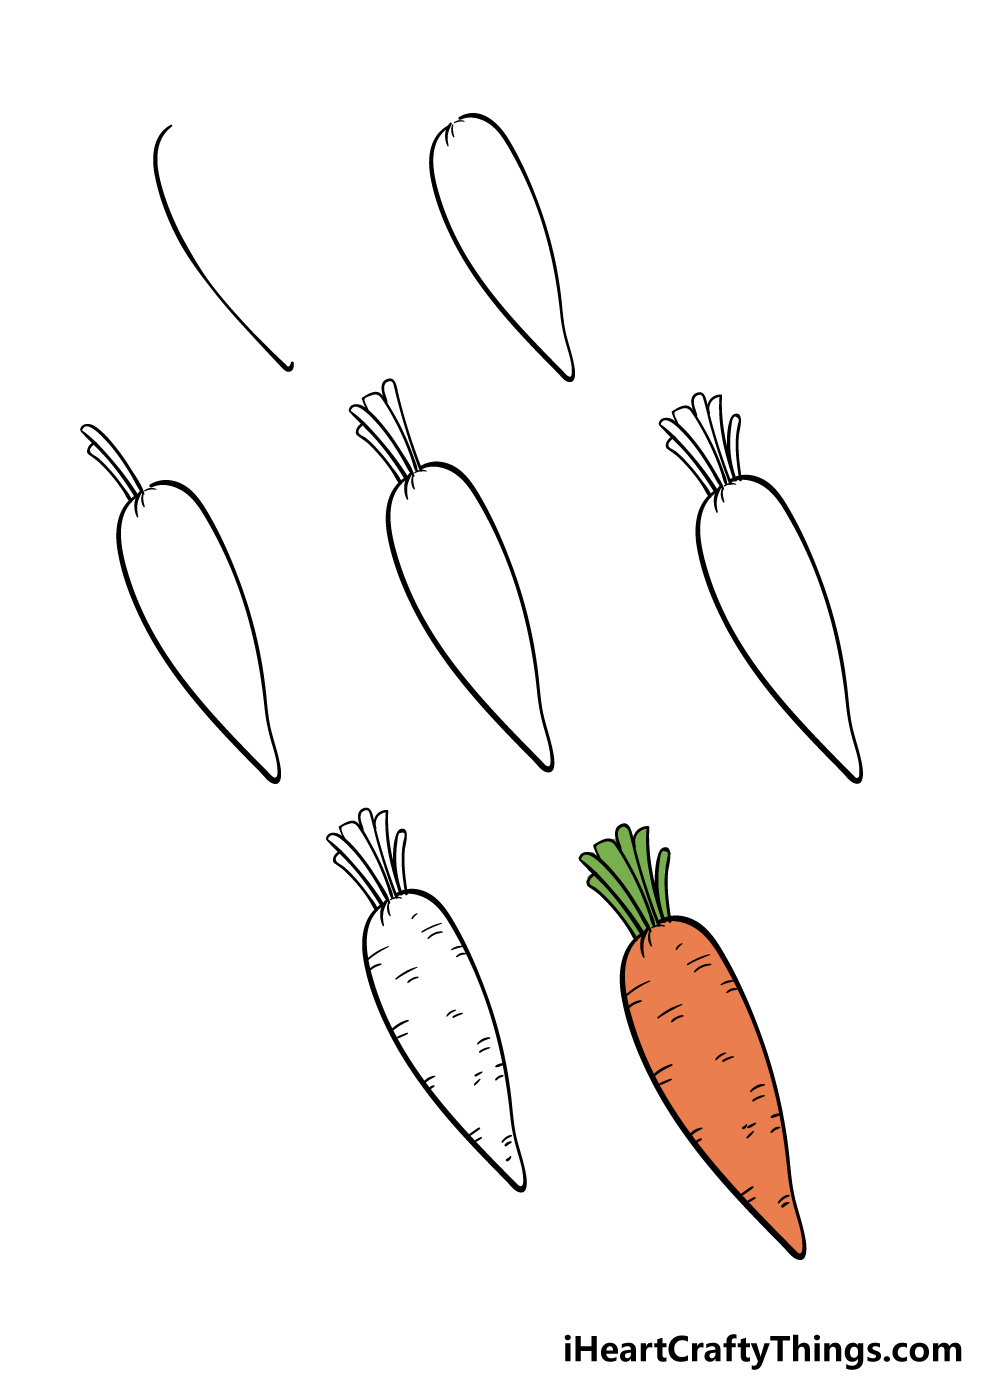
Step 2 – Draw the other side of the carrot

You have one side of your carrot drawing complete, so now we shall draw the other side in this next step.
To do this, simply draw another curved line next to the one from the previous step.
When positioning it, the shape should be thin at the bottom, getting wider as it gets higher and then be rounded at the top.
You can also add some small, curved lines to the center of the top of the carrot where the leaves of the carrot will connect.
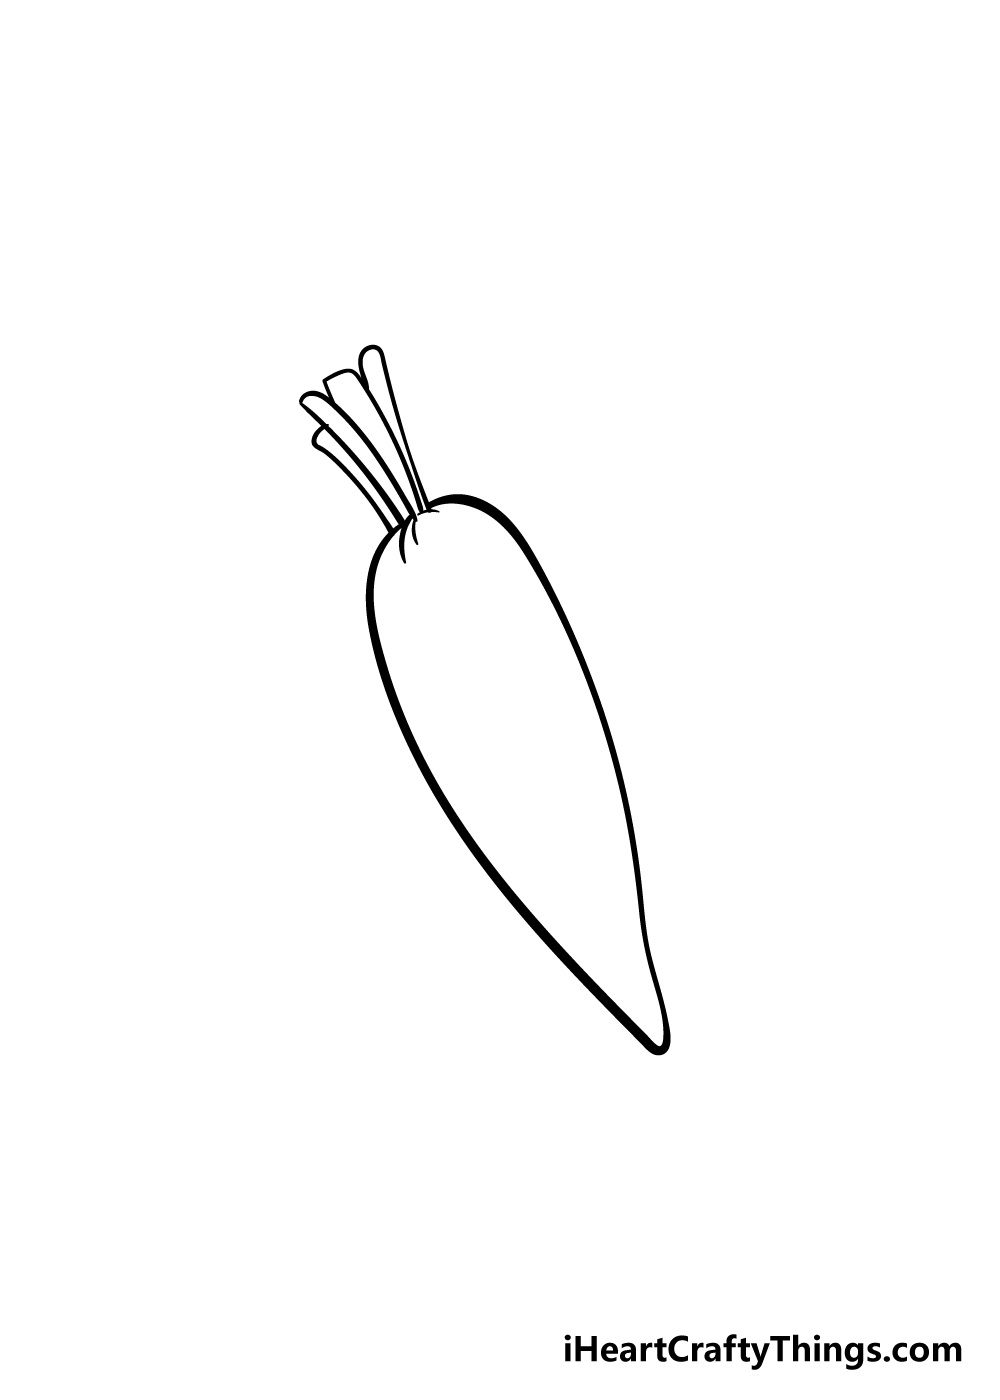
Step 3 – Start drawing the leaves of the carrot in this step
We have the outline of the carrot drawn, so now we will focus on the leaves for now. To get this part of the carrot started, you can simply draw two thin shapes on the top left-hand side of the carrot.
The shape on the right will be a bit taller than the one on the left. These shapes will be flat on top for one and a bit more rounded for the other.
We shall continue adding more of the leaves in the next few steps.
Step 4 – Keep adding leaves to your carrot
In this fourth part of your carrot drawing, we shall add some more of the leaves. You can draw these in next to the ones from the previous step.
They can be more or less the same length, but you can make them a bit thinner or thicker depending on your preference.
They will also alternate between having flat tops and more rounded ones like the previous leaves did!
Step 5 – Finish off the last few leaves
You’re almost finished with the leaves for your carrot, so we shall add the final ones in this step of our guide on how to draw a carrot.
There are two more leaves to add in this step, and the first one will be as tall as the ones next to it.
Then, the final leaf will be slightly smaller than the other ones, have a rounded top and also have a slight gap between it and the other one.
Once you have it looking like the example in our reference image you’re ready for the next step!
Step 6 – Now, draw the final details of the carrot
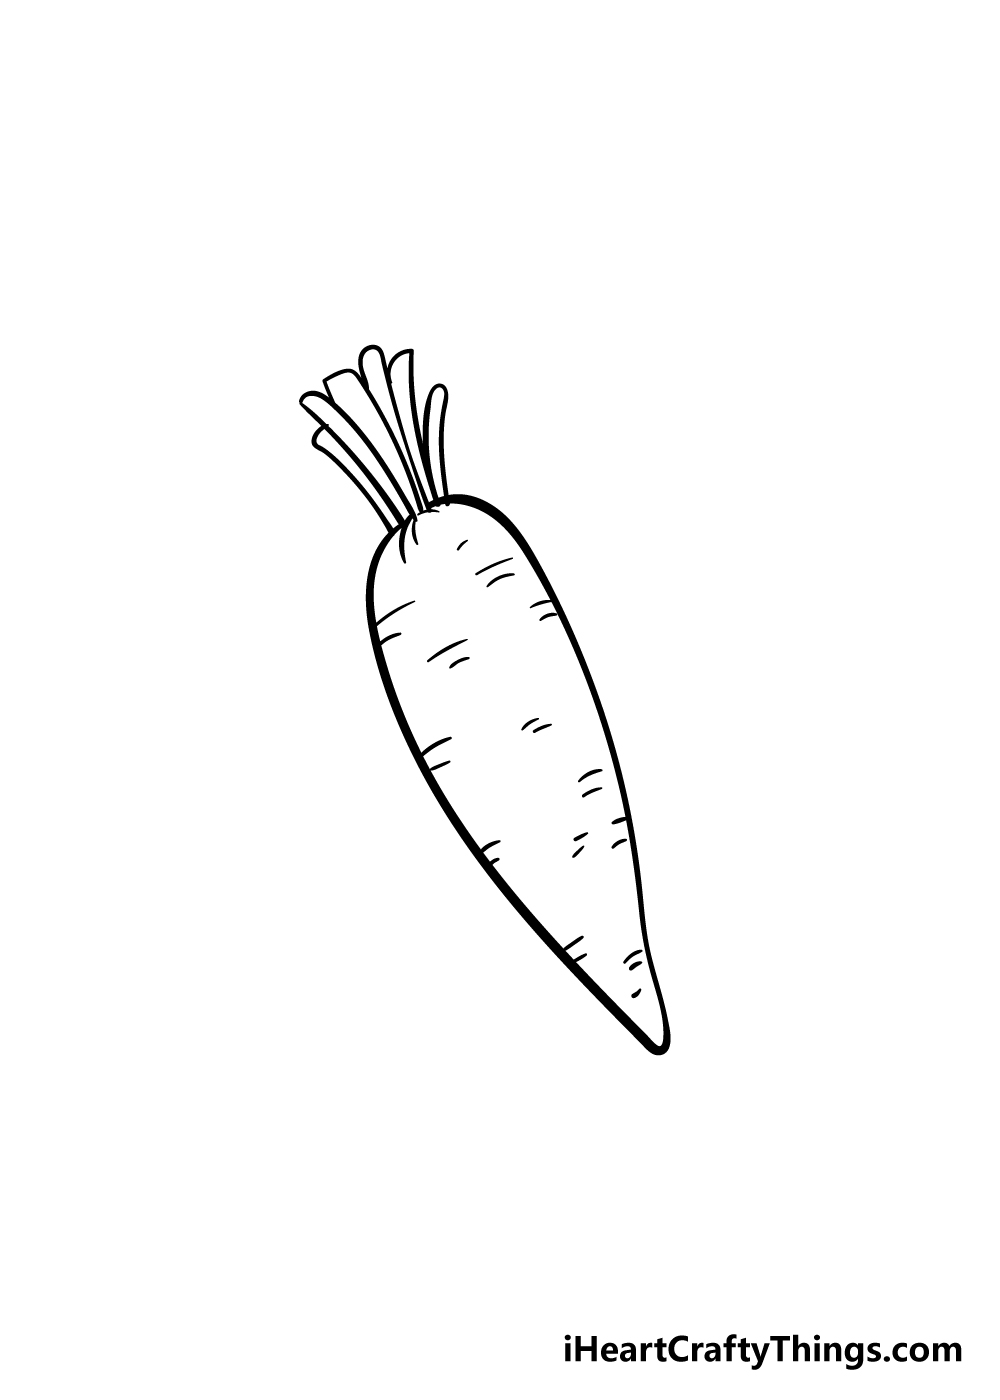
Before you move on to the final step of your carrot drawing there are only a few more final details to add!
To add some texture to the carrot, we will be using some small, straight lines going horizontally along the carrot as you can see in our reference picture.
Once you’ve added those, your carrot is pretty much done!
Before you move on to the final step, this would be a great opportunity to add any extra details that you would like.
You could also create a beautiful background for the image! Some examples you could do would be to draw a background that makes it look like the orange part of the carrot is underground with the leaves poking above.
You could also draw something like a cute bunny or some other vegetables sitting near it!
What fun details will you add to your carrot drawing to really bring it together?
Step 7 – Finish off your carrot drawing with some color
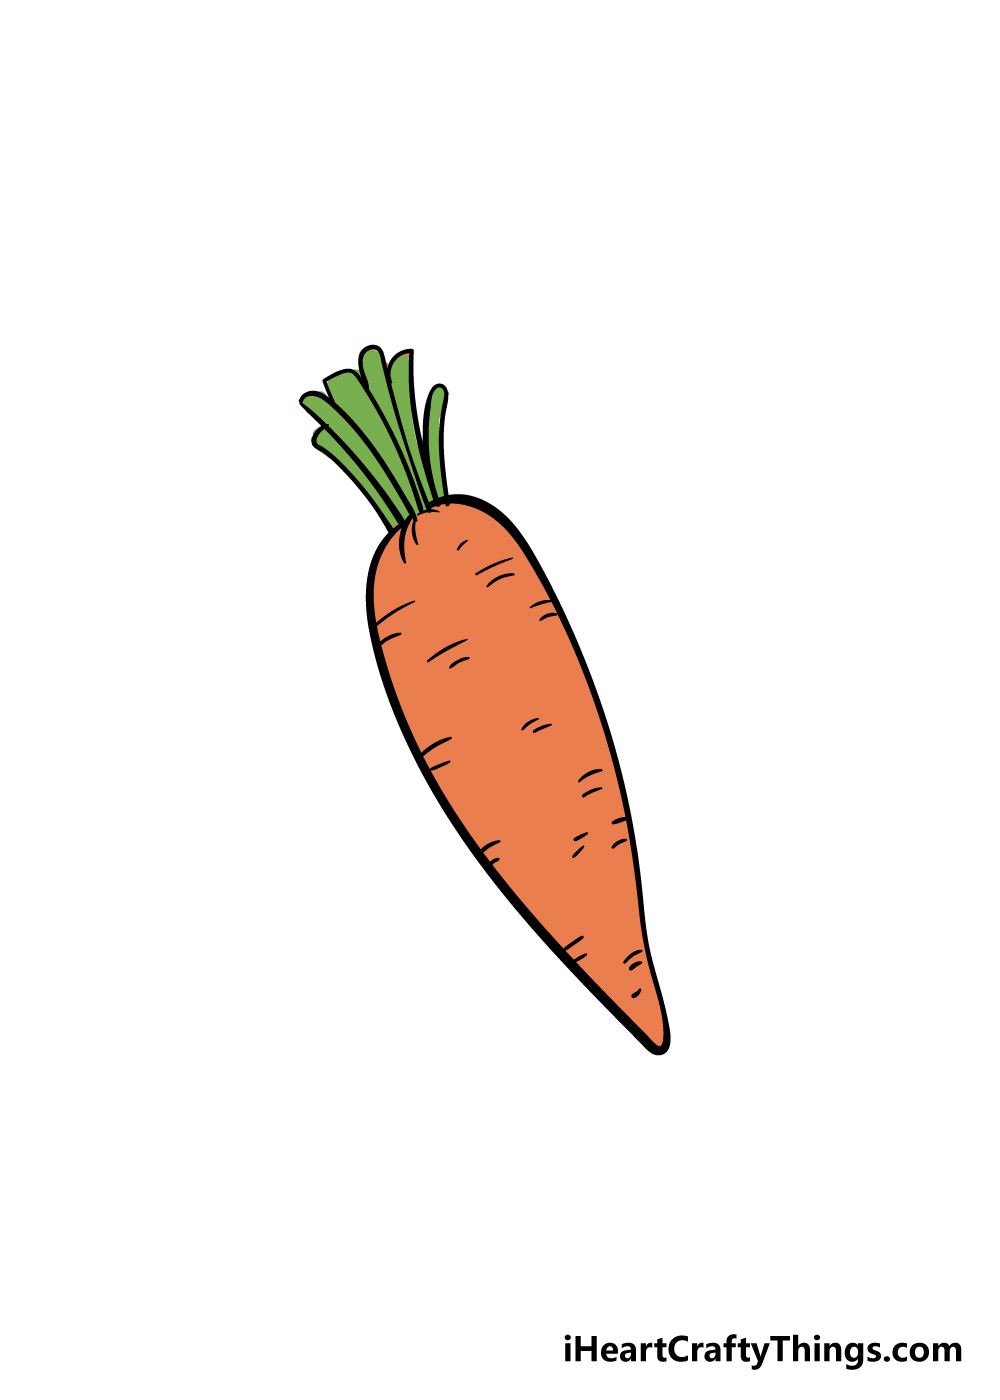
You’ve completed the drawing stages of this guide on how to draw a carrot, so now you can have some fun coloring in your picture!
This is a step where you’re in charge and can use any colors that you love.
Carrots primarily have an orange and green color scheme, and even if you stick to these realistic colors there are plenty of ways that you can bring some beautiful colors into the mix.
Some examples of this would be to bring in some more colors for any of the extra elements you may have added, and you could also create a beautiful, colorful background.
Once you know the colors you want for your carrot drawing, which fun art mediums will you use to bring these colors to life?
You have many options at your disposal and we can’t wait to see what you choose!
Do this to take your carrot drawing to the next level
Take a bite out of these great tips we have for your carrot sketch!
This drawing of a carrot that we created shows a whole carrot. This is one way to present it, but you could also show it in some other forms.
For example, you could remove half of it and have it cut into slices. You could also add a grater to the image and show the carrot cut into shreds.
These are just two of the alternate ways that you could present this nutritious carrot. How else could you potentially present this carrot to make it more unique?
The carrot is one of many vegetables we eat to keep us healthy. You could add some more of your favorite vegetables beside this carrot for a more colorful and varied display!
For some examples, you could draw some lettuce, broccoli or maybe some bright yellow and red peppers. These are examples of vegetables that would increase the color variety of the picture.
What other vegetables could you include to make this picture even more interesting to behold?
Adding other types of food is just one way to make your carrot drawing more dynamic. You could also add some living characters to the picture for a more delightful scene!
For example, everyone knows that rabbits are obsessed with carrots! You could add a cute bunny to the picture and show it about to eat the carrot.
Can you think of any other animals that you could add to the picture?
Finally, we think it would be great to create a background for your carrot sketch to make a whole scene. This is something you could do whether you went with any of our other ideas or not.
For example, if you decided to add other vegetables, then the background could be a kitchen setting where meal preparation is taking place. If you went with the bunny idea, then maybe it could be a garden setting.
This is of course entirely up to you, so what background setting do you think would work best?
Your Carrot Drawing is Complete!
We hope that you had a really fun time working through this step-by-step guide on how to draw a carrot!
When learning to draw something new, it always helps to have a guide and simple steps to follow, so we hope that this tutorial made it fun and easy for you!
Now it’s up to you to put your own spin on the drawing using your amazing colors, art mediums and extra details. We’ll be looking forward to seeing what you come up with!
When you’re ready for more drawing fun, be sure to check out our website as we have tons of awesome drawing guides for you to enjoy!
We upload new guides constantly so be sure to visit us often to never miss out!
Once your carrot drawing is complete, we would love it if you would share it on our Facebook and Pinterest pages for us to enjoy! We can’t wait to see how you finished off your wonderful image!