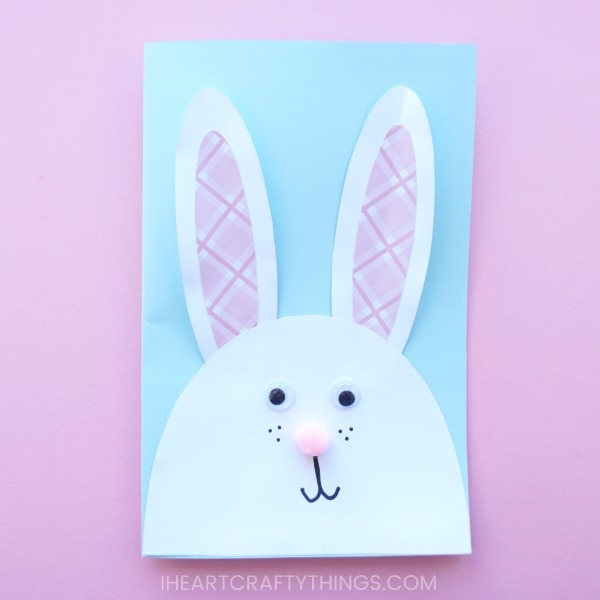
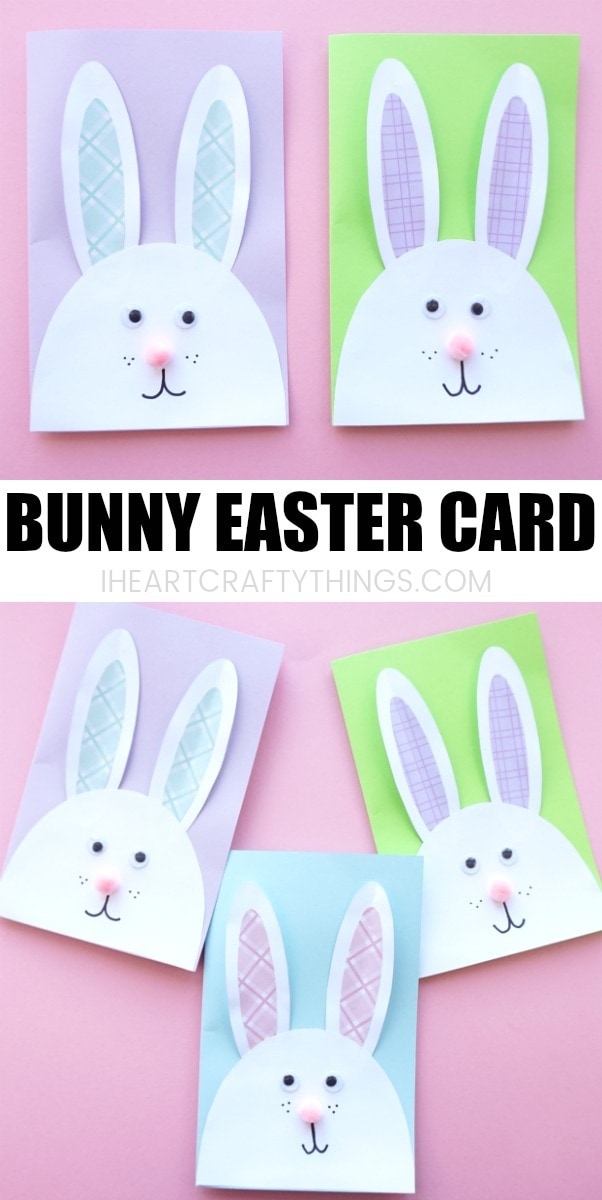
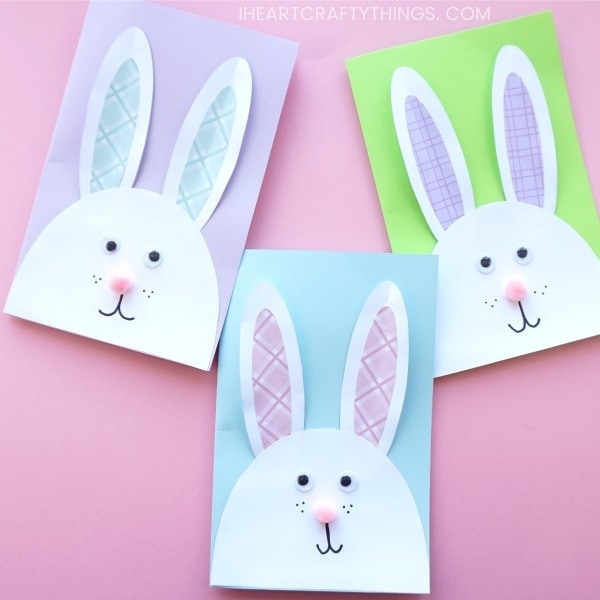
We have the most adorable DIY Easter Card to share with you today. This cute bunny card is especially easy to make with the help of our downloadable template. It makes a great afternoon Easter craft and is sure to delight anyone who receives it as a cute DIY Easter Card.
How to Make a DIY Easter Card
This post contains affiliate links to the products mentioned. I Heart Crafty Things is a participant in the Amazon Services LLC Associates Program, an affiliate advertising program designed to provide a means for sites to earn advertising fees by advertising and linking to amazon.com.
Supplies you will need:
- DIY Easter Card template <—-Download at the bottom of this post.
- pastel color paper
- white cardstock
- patterned pastel color paper
- pink pom pom
- googly eyes
- black marker
- scissors
- glue stick
Instructions:
1. Print and cut out template
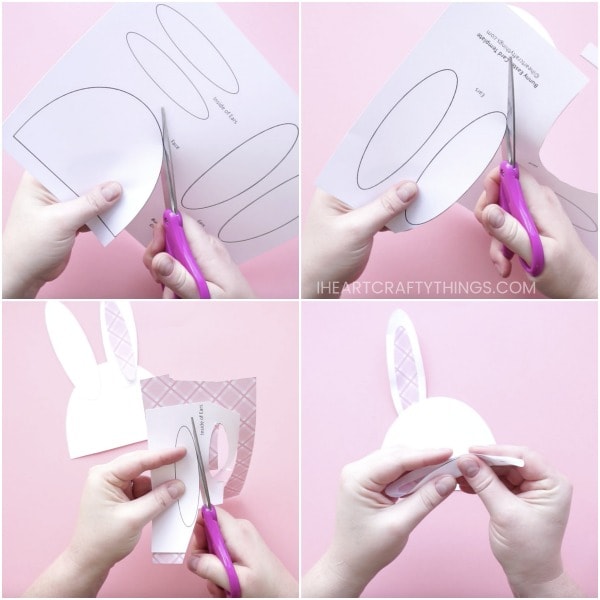
Download the bunny card template on white cardstock. Cut out the bunny face and ears.
2. Make ears
Use the bunny template to cut out the inside of ears sections from patterned pastel colored paper. Then glue the inside ears onto the white ears.
3. Glue ears to the face
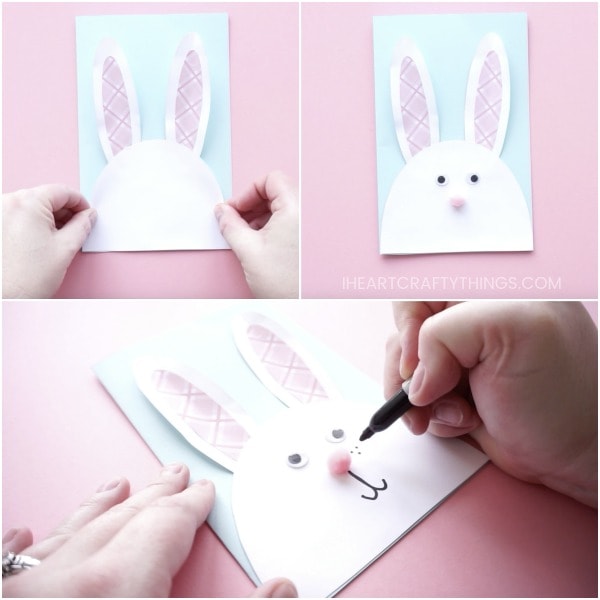
Bend the top half of the bunny ears in half to give them some extra texture and dimension and glue them onto the back of the bunny face.
4. Glue bunny face to a card
Fold the light blue cardstock in half to create your Easter card. Glue the bunny face and ears onto the front of the DIY Easter Card.
5. Finish with adding nose, eyes and drawing face
Glue a small pink pom pom in the center of the bunny face and two googly eyes. Then use a black marker to draw a mouth and whiskers onto the bunny.
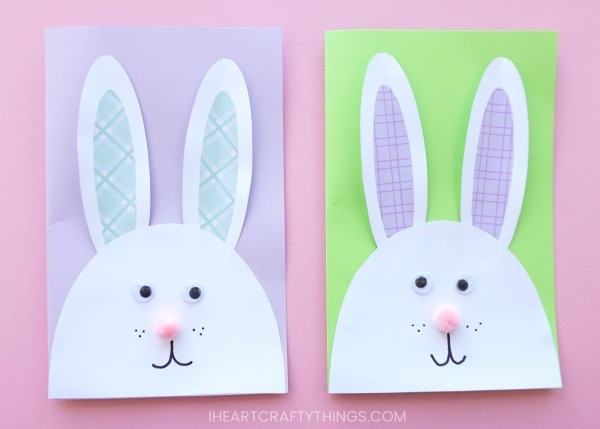
Your DIY Easter Card is complete!
Open it up and add a special Easter message on the inside for a friend or family member. You could also make this as a stand alone craft and connect several together to make a cute Easter banner.
