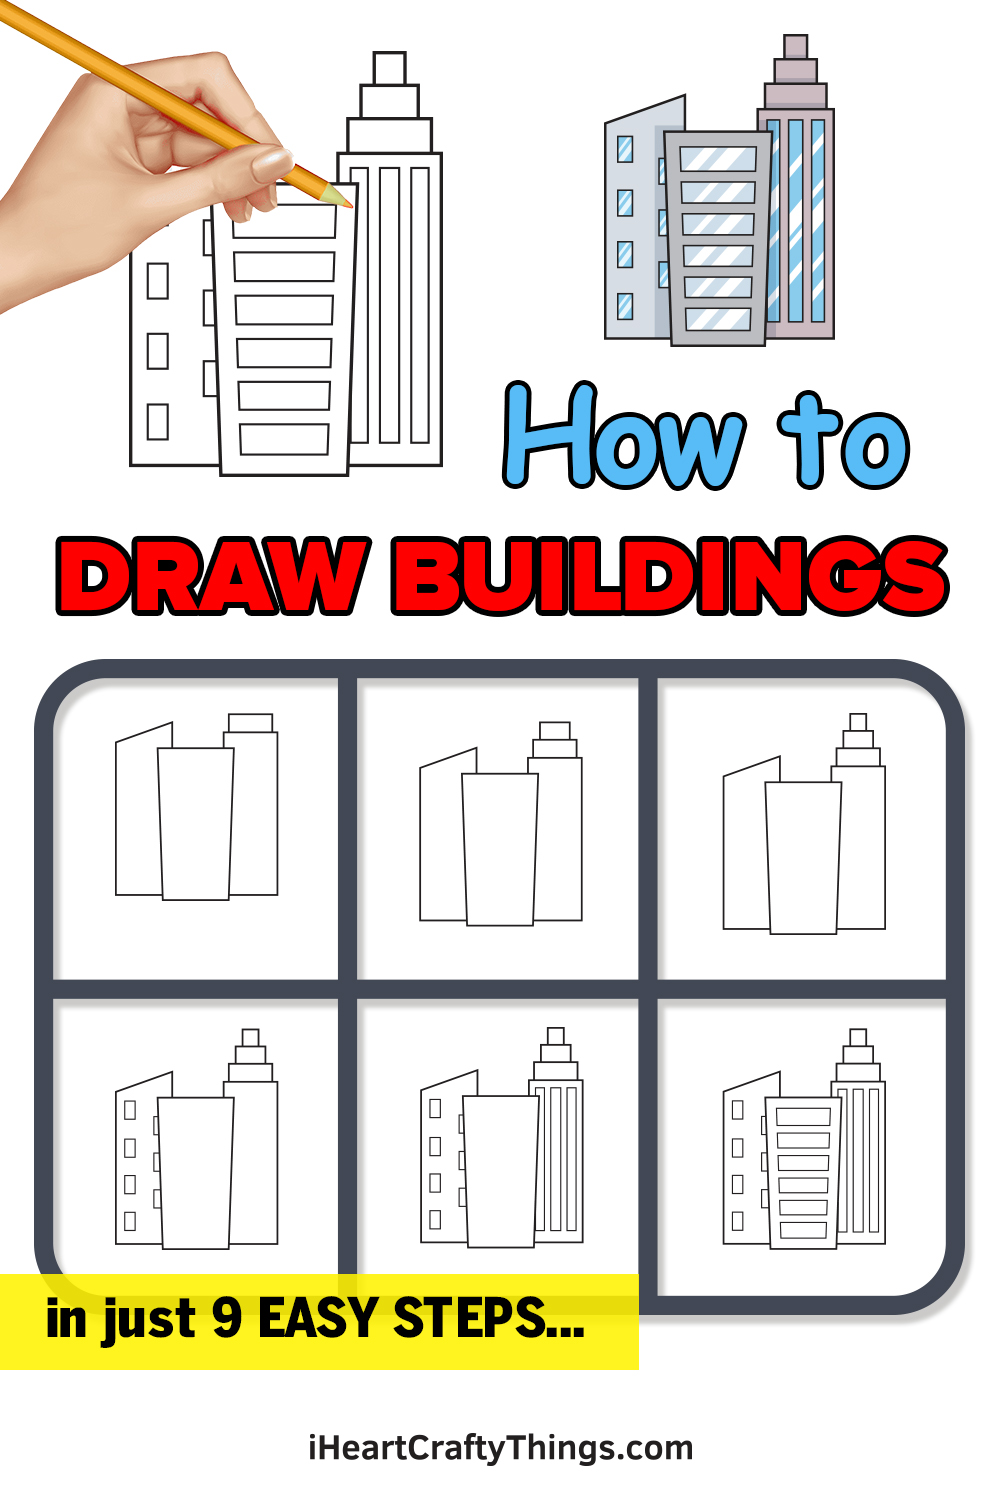
Discover how to draw buildings by joining me on this guide for kids! You can create your very own city by following the steps of this tutorial.
Buildings can resemble pretty much anything you can imagine. Many of them come in the traditional skyscraper forms that we see in most cities, but some of them can come in some pretty wild styles.
This guide will show you how to make a selection of these buildings, and they’re yours to customize as you please. These designs are daily basic, but you can add a lot of your own ideas, details and additions.
You could build a whole cityscape from this design, and the only limit is your imagination! So join me for this architectural journey as I begin to show you just how fun and easy it can be.
See How To Make Your Buildings Drawing By Watching This
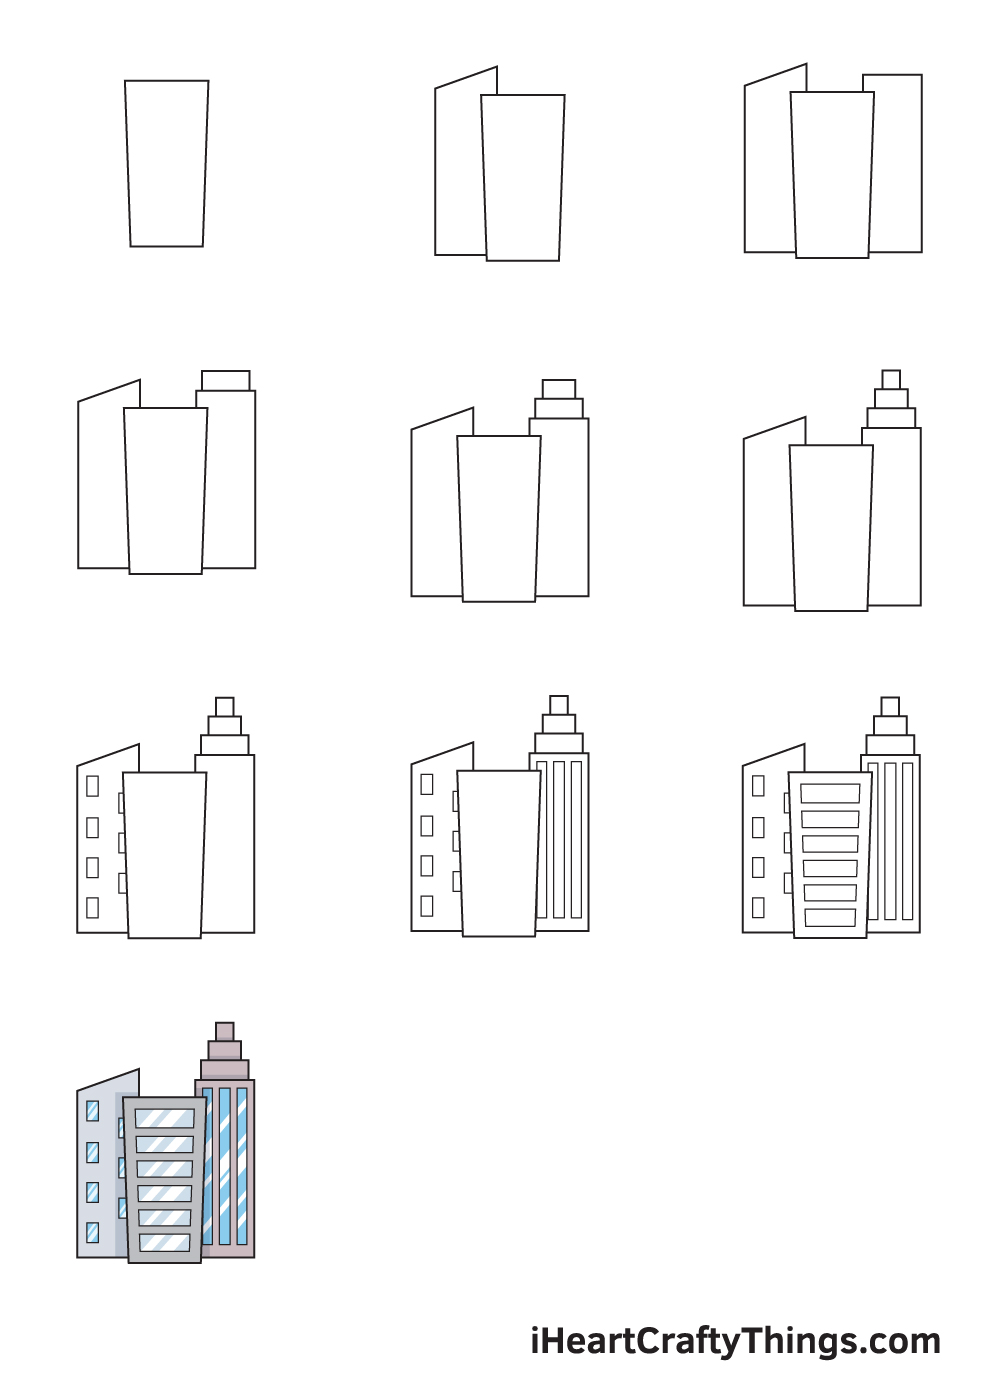
How to Draw Buildings – Let’s get started!
Step 1
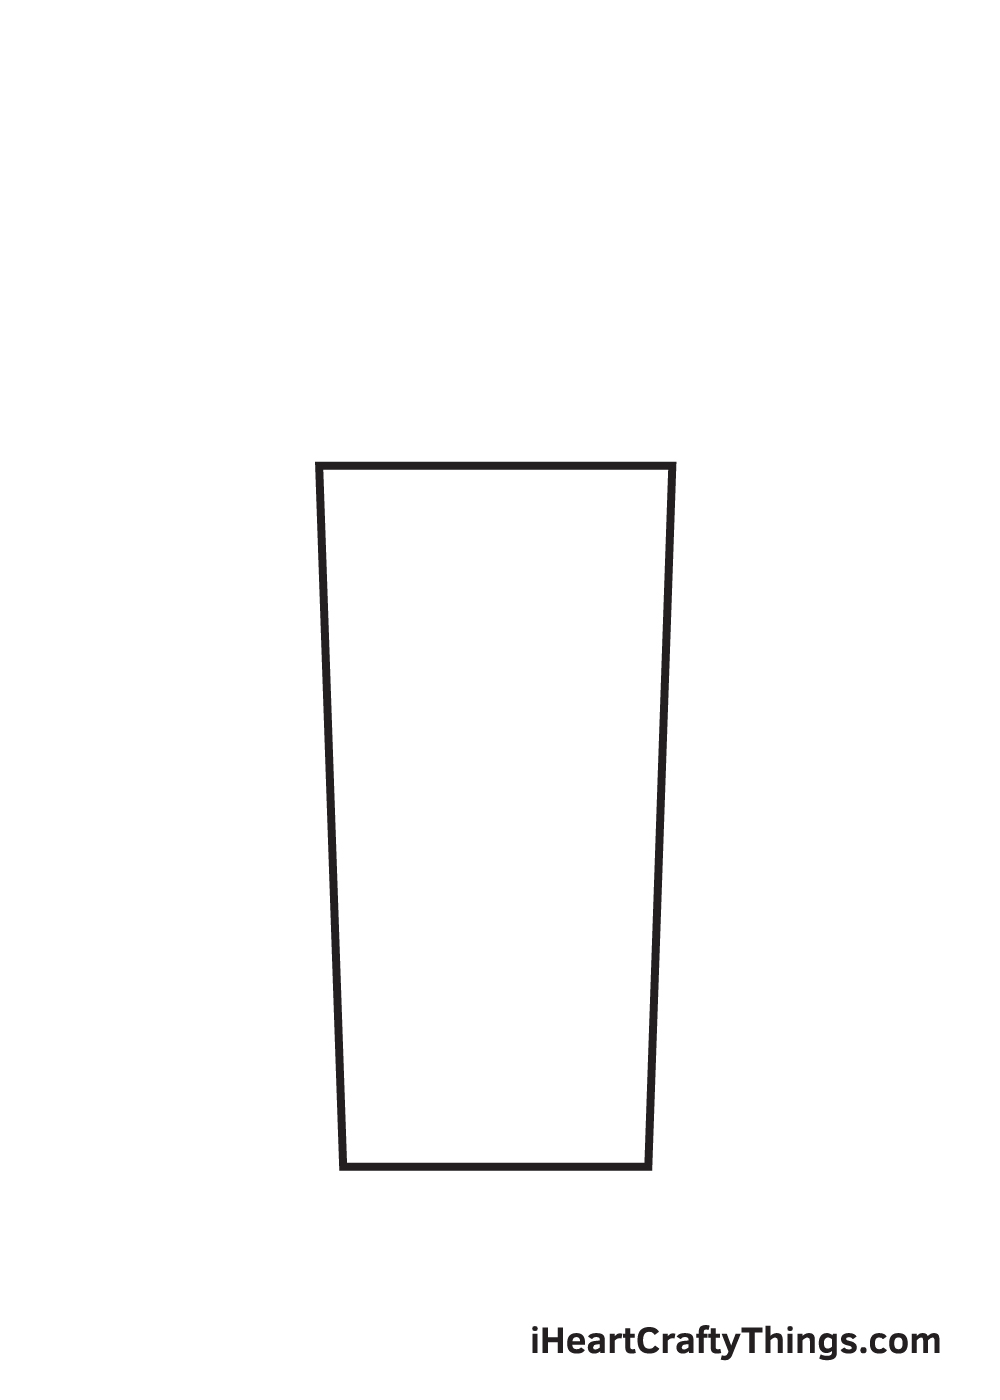
Draw an upright rectangular shape in the middle of your paper. Make sure that the top part of the building is relatively bigger than its bottom part. This outlines the building in the center.
Since the shapes of the buildings primarily consist of straight lines, so feel free to use a ruler to help you draw straight lines quickly and easily.
In order to make sure that the building will be drawn in the center, you can create reference lines by drawing an intersecting horizontal and vertical line across your paper.
The point where the two lines meet serves as your guideline on where to draw the outline of the first building in the middle.
Step 2 – Outline the Building on the Left Side
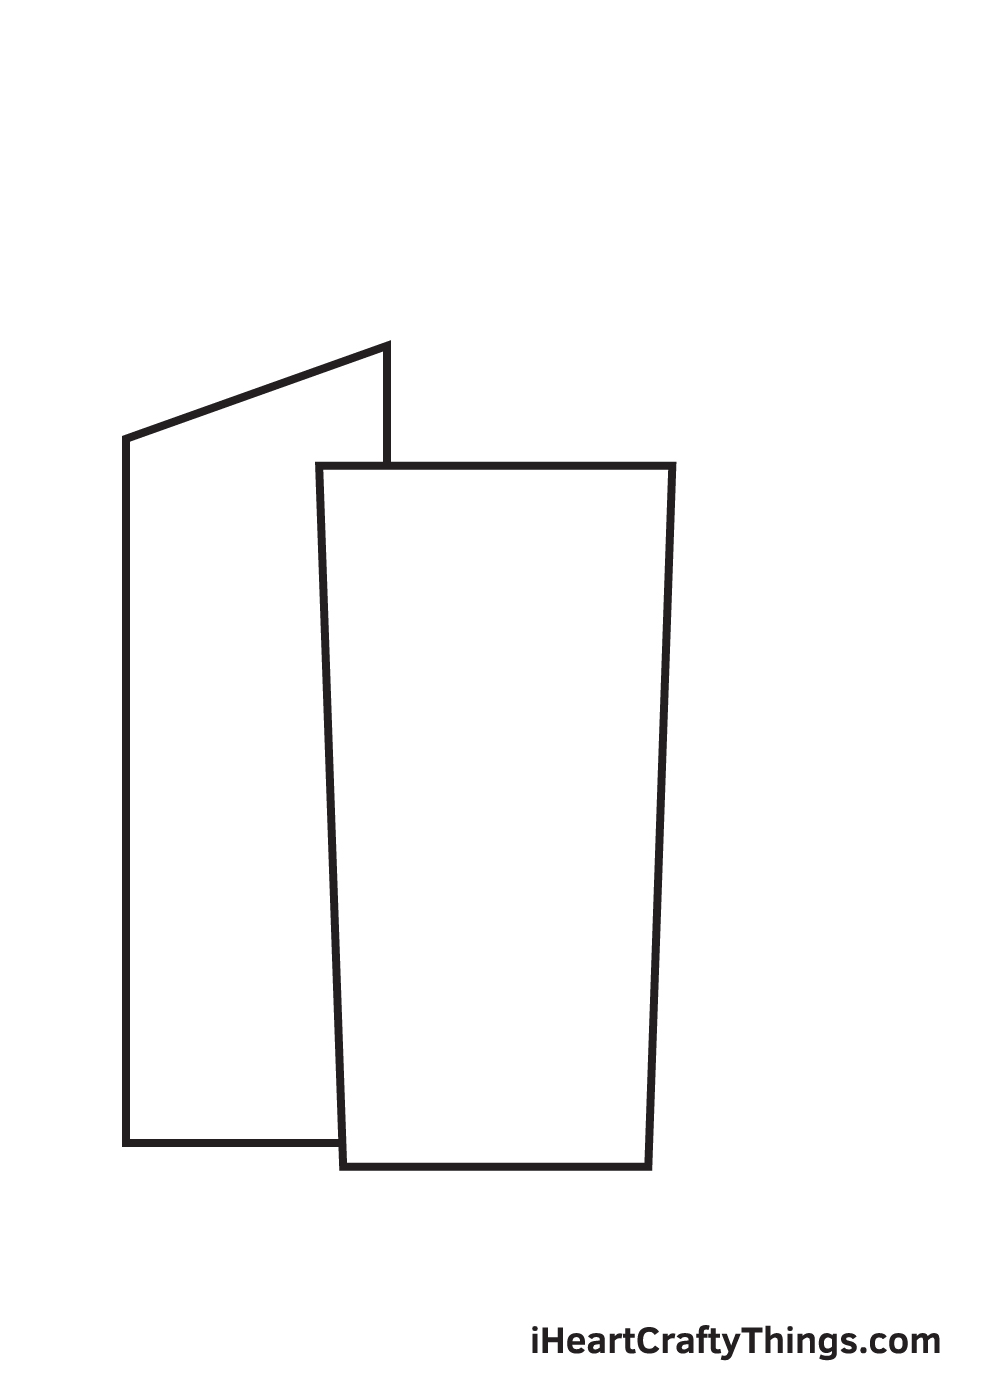
Draw another standing rectangle on the left portion of your paper, right beside the first building we drew in the previous step. This creates an outline for the second building.
Make sure that the top of this building should be an upward diagonal line going to the right instead of a straight horizontal line.
This building should also be taller than the previous building we drew that is located in the middle.
Step 3 – Outline the Building on the Right Side
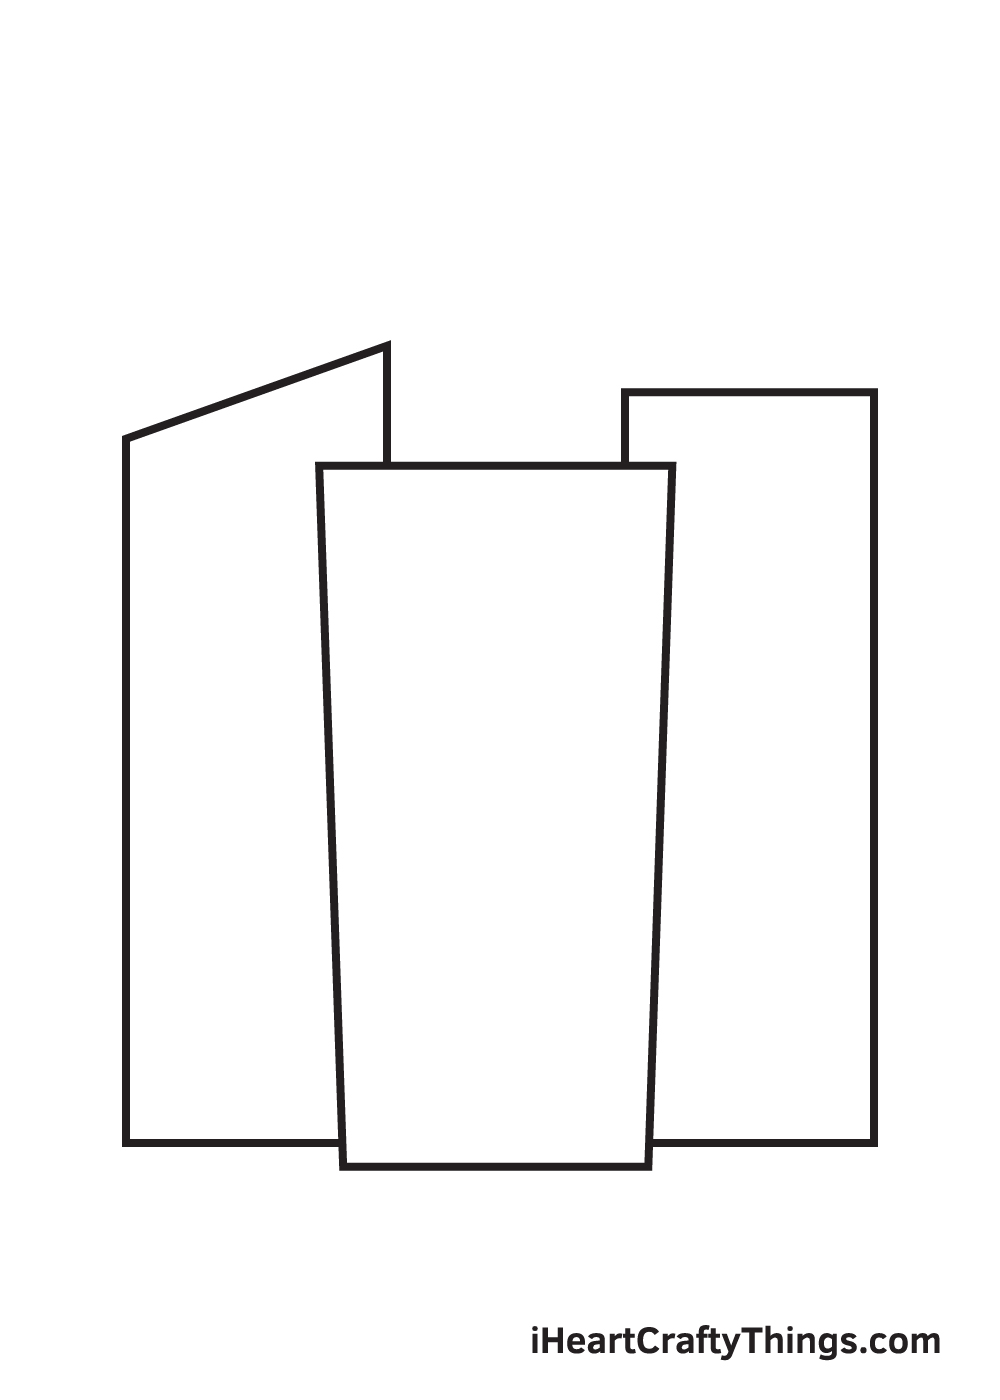
Structure the third building on the right side of your paper by drawing another standing rectangular shape.
Make sure that this building is taller than the one in the middle but not as tall as the one on the left side.
After completing this step, you should now have completed drawing three tall buildings, as shown in the illustration.
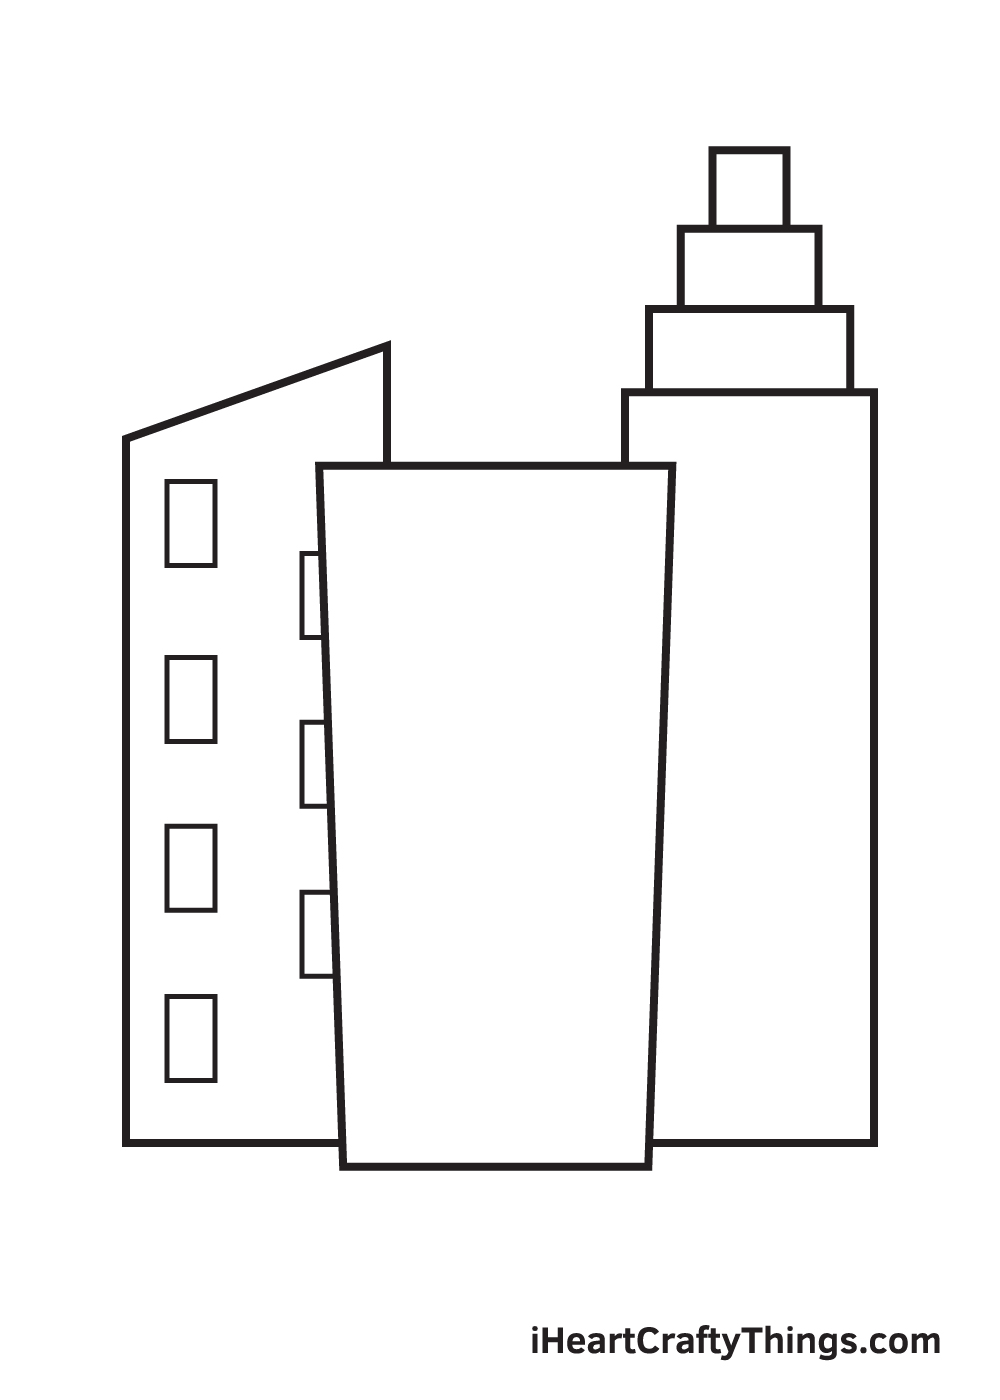
Step 4 – Draw a Platform Above the Right-Hand Building
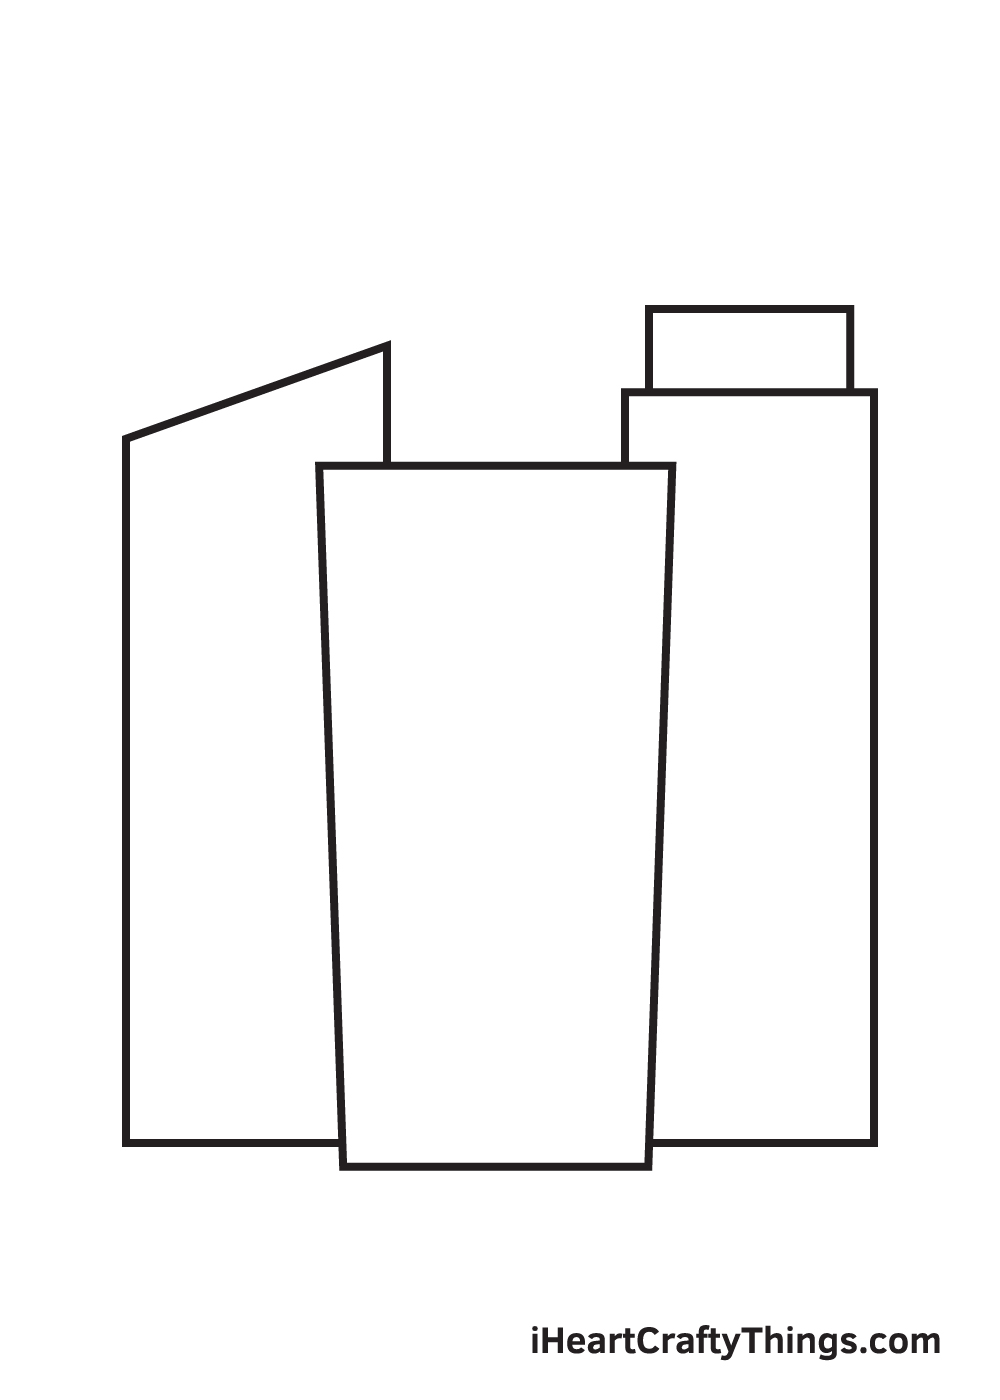
Make the building on the right side look like a tower by adding a platform right above it to increase its height.
Simply draw a rectangle shape at the top of the building to create a platform. The width of the platform should be no greater than the width of the building it’s sitting atop of.
Step 5 – Next, Add Another Level of Platform
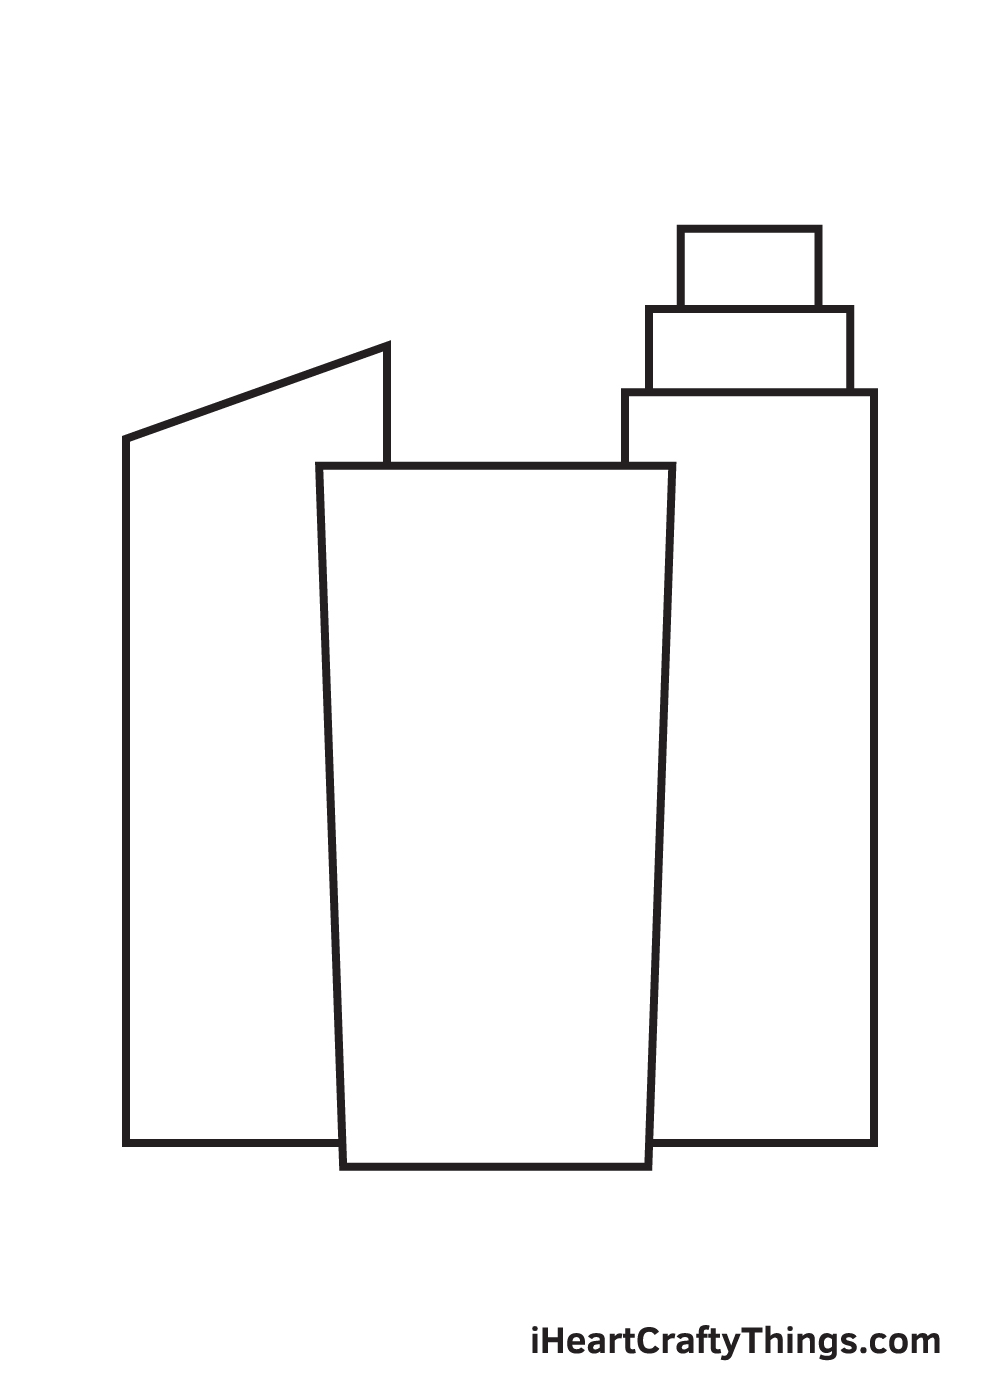
Repeat the previous step and draw another rectangular shape above the one we drew in the previous step.
Take note that this platform should be relatively smaller than the one underneath.
Step 6 – Afterwards, Draw the Topmost Platform
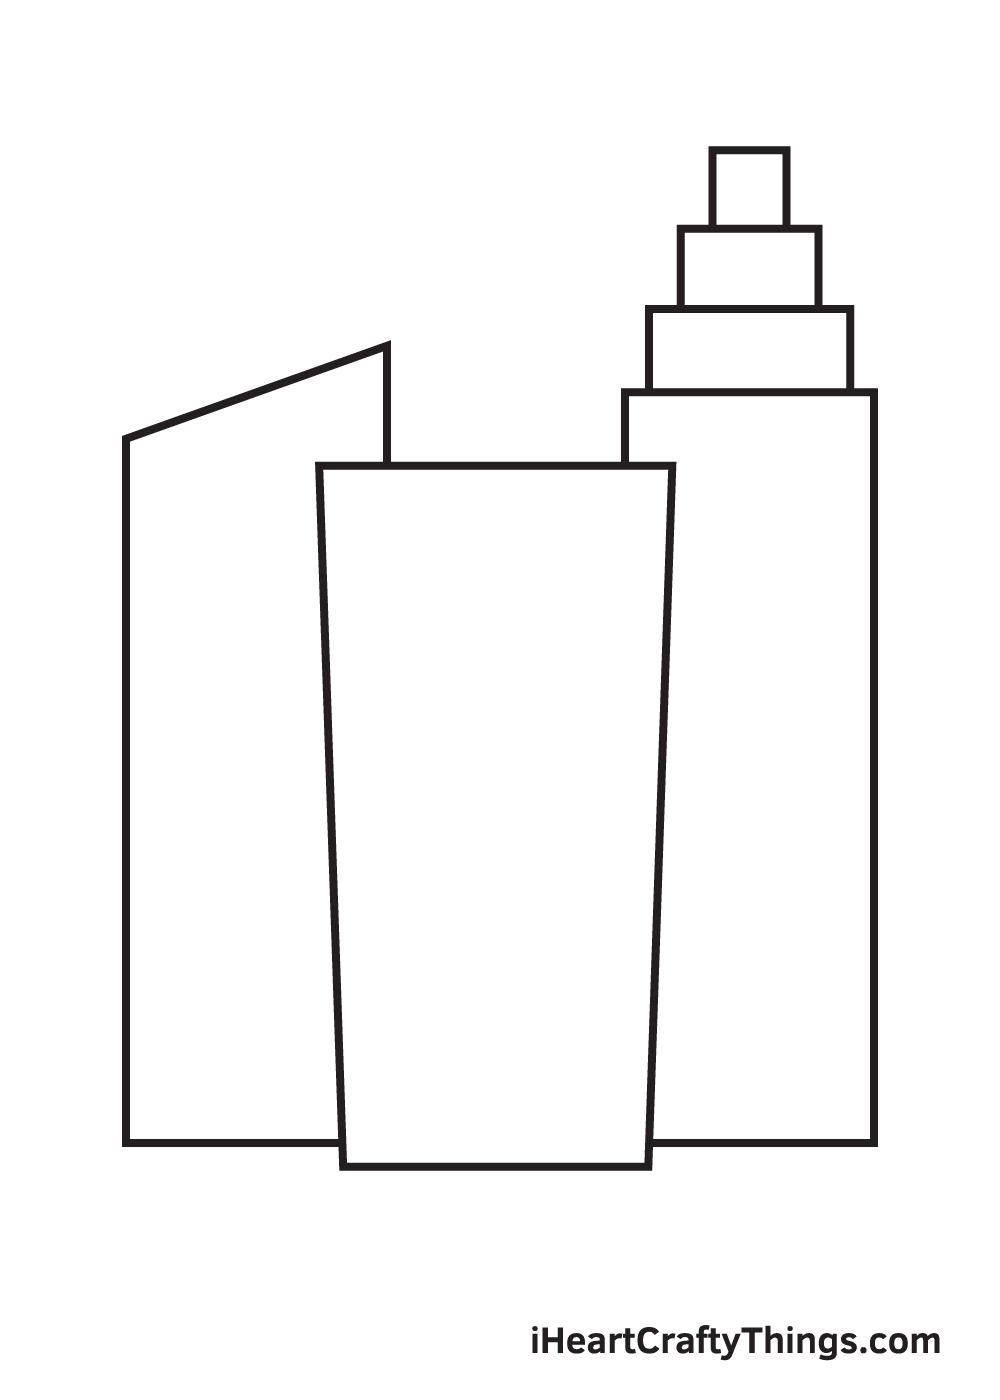
Now, draw a square shape at the top of the two stacked rectangular shapes above the building on the right side.
This is the third and the last platform of the tower.
When drawn correctly, the three platforms at the top of the building should go from
Step 7 – Then, Add Windows on the Left-Hand Building
Now that we have completed drawing all three buildings, we will now be working on its details and patterns to make them look realistic.
Starting on the building on the left side, draw multiple standing rectangular shapes within the building to create the appearance of the windows.
Step 8 – Next, Add Windows on the Right-Hand Building
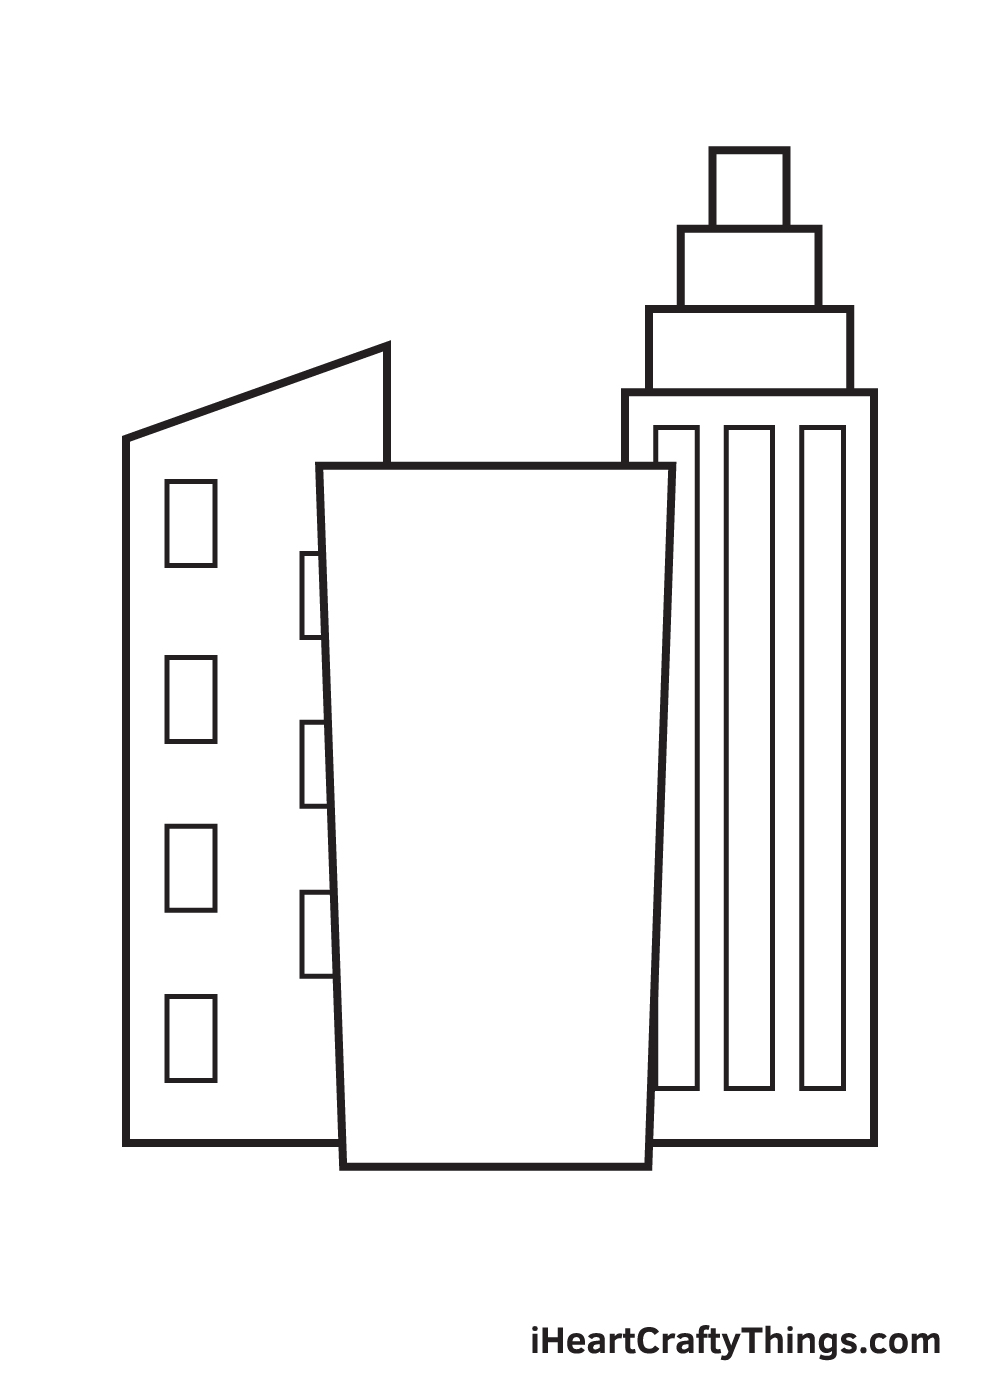
Moving on the building on the right side, draw elongated shapes down the length of the building, creating three parallel tall windows.
Step 9 – Now, Add Windows on the Middle Building
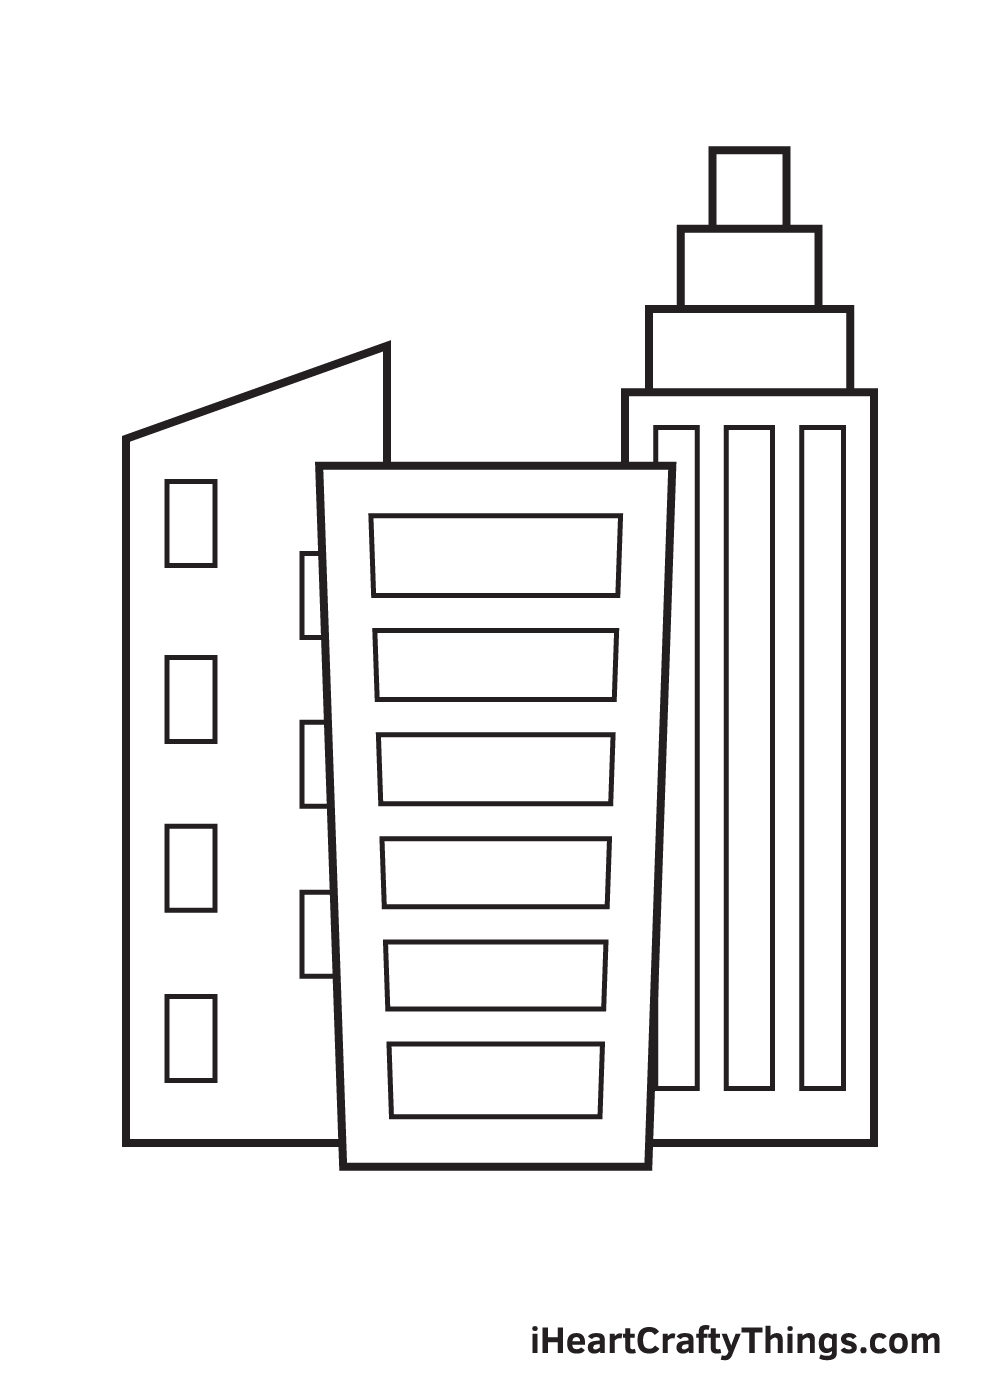
Lastly, draw multiple rectangle shapes on the remaining building that has no windows yet. This forms the windows on the building standing in the middle, finally completing your drawing.
As you can see in the illustration, all three buildings have unique windows and none of them are the same. This makes the artwork look creative and aesthetically pleasing.
You can opt to draw the windows similar to our illustration or design your own windows. Either way, we’re sure your drawing will turn out beautifully!
Now that we have successfully drawn three high-rise buildings, it’s time for the most enjoyable part—choosing the colors and coloring the buildings.
Depending on the material used to build as well as the color of its paint, buildings come in a wide range of colors.
The most common colors of a building are black, white, and grey, but don’t hesitate to use more vibrant colors! You can even use your favorite colors if you like.
Enjoy playing with colors and watch as the building ultimately becomes colorful. We’re excited to see which colors you will choose!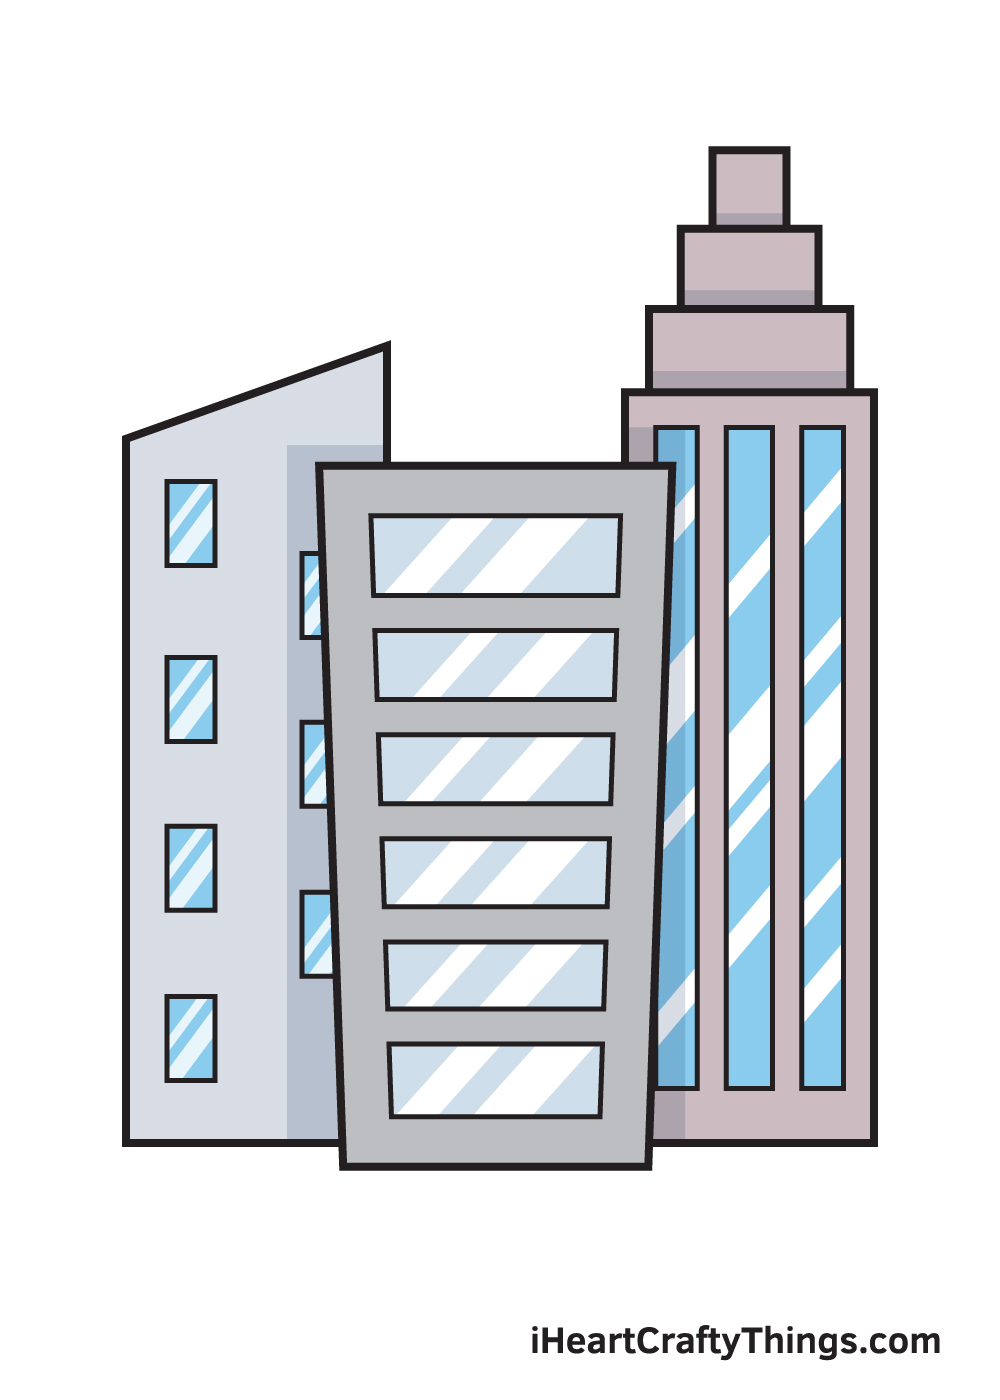
3 More tips to make your buildings drawing easy!
Build up your drawing as we show you how to make these easy to draw buildings even easier!
We went for a really stylized look for this buildings drawing, but this can make them a bit more difficult to draw. You could make them even easier to draw in a number of ways.
One way would be to simplify them even further to make them even more stylized. This would probably be the easiest way to do it, but you could also make them more realistic.
A more realistic style would be harder for some people but easier for others, so it depends on your preference. Either way, don’t be afraid of changing the design to make it easier!
One of the best ways to make this buildings drawing easy would be by referring to pictures of real buildings. You could look at any of the most famous modern cities in the world and then use some of the buildings to help you.
Some examples of cities you could look up would be New York City, Chicago or maybe Dubai. These are just a few, but you will find many pictures of cities and buildings online.
Then, you can use aspects of these images to help you out as you add details to the designs of these buildings. Do you have a favorite city or building that you could use as a model?
Finally, you can also add some more elements to make the focus be a bit less on the buildings. You could do this by adding some more buildings or maybe add some clouds, roads and vehicles.
It might be assumed that adding elements would make it harder, but you can add any elements that you find easy to draw. These will take the focus away from parts you may have struggled with on the buildings themselves.
That will also help to add more to look at which will make your drawing of buildings even more interesting to look at! What are some elements you would like to add?
Your Buildings Drawing is Complete!
Did you have fun learning how to draw a building with this step-by-step tutorial? We sure hope you did! It almost feels like we’re in the middle of the city, isn’t it?
We think this artwork would look great to be hung up on a wall once it is colored and framed. It must be awesome seeing picturesque city views right at the comfort of your home!
As soon as you finish drawing and coloring the buildings, go ahead and share your artwork on our Facebook page and on Pinterest.
And while you’re at it, don’t forget to like our Facebook page too! All of our drawing tutorials are free for you to use as resources to practice drawing with. Make sure to come back so you can enjoy newly uploaded drawing tutorials regularly!
We can’t wait to see your fascinating buildings drawing!