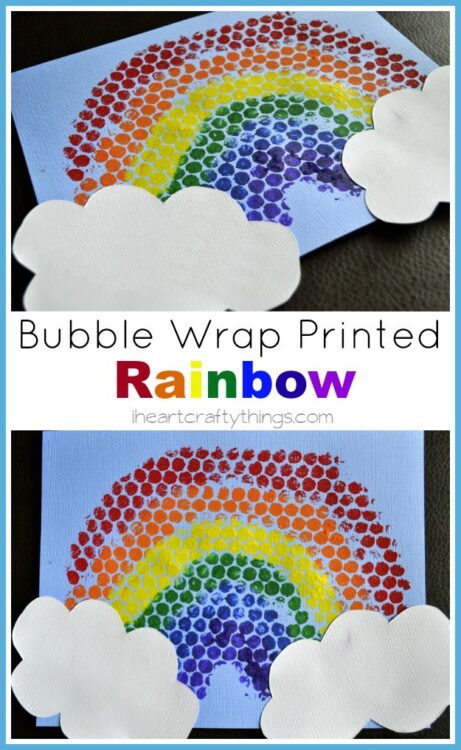
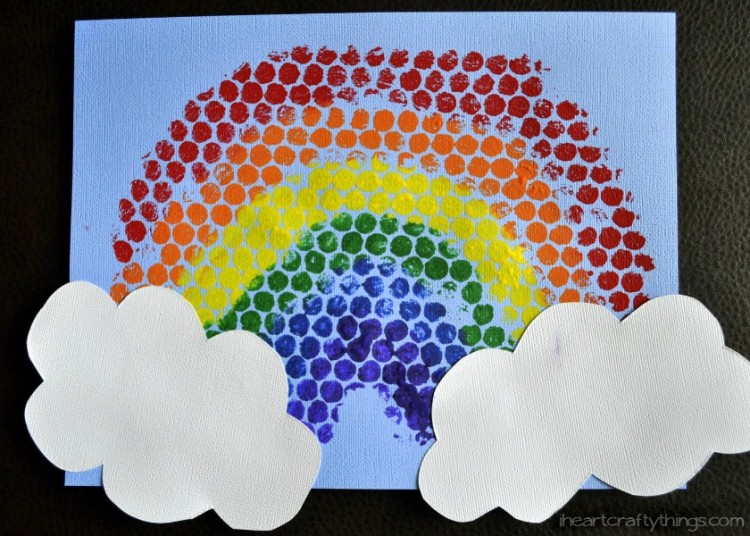
Spring is on the horizon in our part of the World. We’ve had lots of rain the last couple weeks and it has made me ever so excited for the new season to come. With the excitement for Spring, we made some bubble wrap printed rainbows this week. They are so easy to make.

This post contains affiliate links for your convenience. Read our Disclosure Policy for more information.
Supplies you will need:
- bubble wrap
- light blue and white cardstock paper
- red, orange, yellow, green, blue and purple paint
- paint brush
- scissors
- glue stick
Directions:
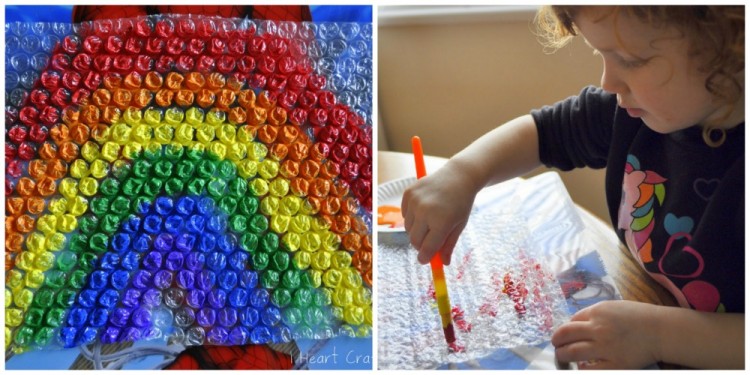
1. Cut out a sheet of bubble wrap and paint a rainbow on it
Cut out a sheet of bubble wrap. Paint a rainbow onto the bubble wrap with your paint.

2. Stamp rainbow onto paper
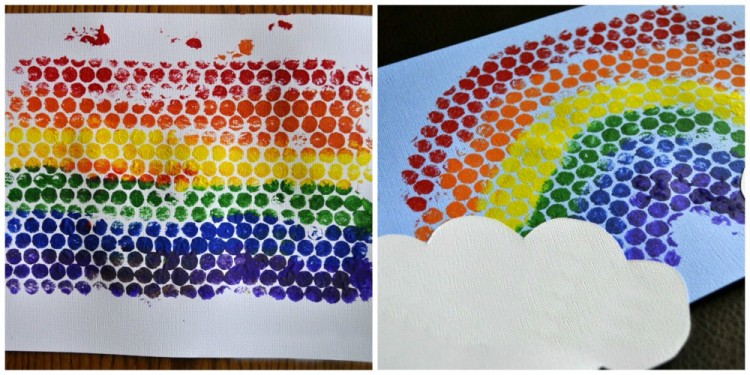
Carefully lay a sheet of blue cardstock paper on top of your bubble wrap and rub around the entire paper firmly so the paint adheres. Peel the bubble wrap off the paper carefully so as to not smear the colors.

For my toddler we painted rainbow stripes instead of the traditional rainbow shape so it would be easier for her to paint.
3. Cut out clouds and glue them to the bottom of rainbow
Cut out white clouds and glue them to the bottom of the rainbow.

It was so much fun letting my toddler just experiment with all the different colors on the bubble wrap. We ended up with lots of colorful prints. This craft also went along great with a book we picked up at the library this week for St. Patrick’s Day.


