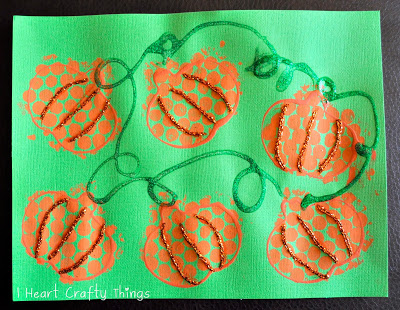
Supplies needed:
- green cardstock paper
- orange acrylic paint
- bubble wrap
- pumpkin cookie cutter
- black marker
- scissors
- school glue
- orange glitter
- green glitter glue
Tutorial:
1. Trace cookie cutter in bubble wrap
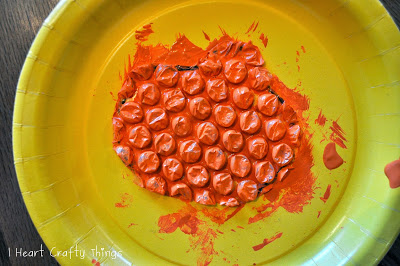
2. Paint the bubble wrap and press on paper
Paint the bottom of the bubble wrap (the bubble side) with orange paint and press the shape onto your green cardstock paper. Repeat as many times as you want to fill the paper.
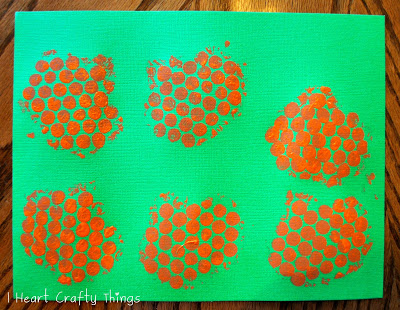
3. Dip cookie cutter in paint and press again
Grab your pumpkin-shaped cookie cutter again, press it into orange paint and press it onto each bubble wrap pumpkin shape. It gives your pumpkins more definition. This is awesome hand-to-eye coordination practice for a toddler and preschooler as well. I was pleasantly surprised with how well my daughter matched up the cookie cutter shape to the bubble wrap pumpkins.
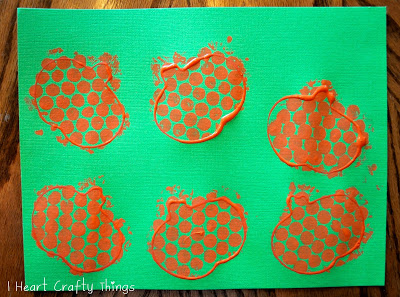
4. Sprinkle glitter on painting
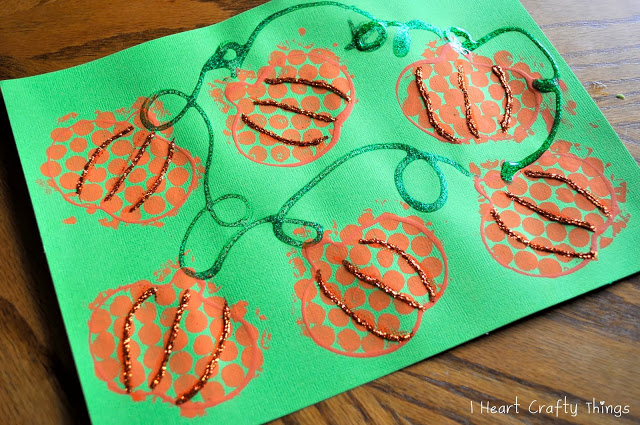
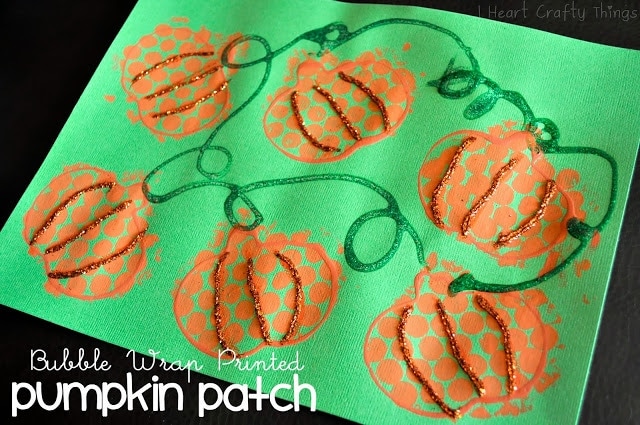
Once completely dry, add lines in your pumpkins with school glue, sprinkle them with orange glitter and dump off the excess glitter.
5. Draw green vines
To finish off our pumpkin patch, use green glitter glue to draw vines around our pumpkins.
