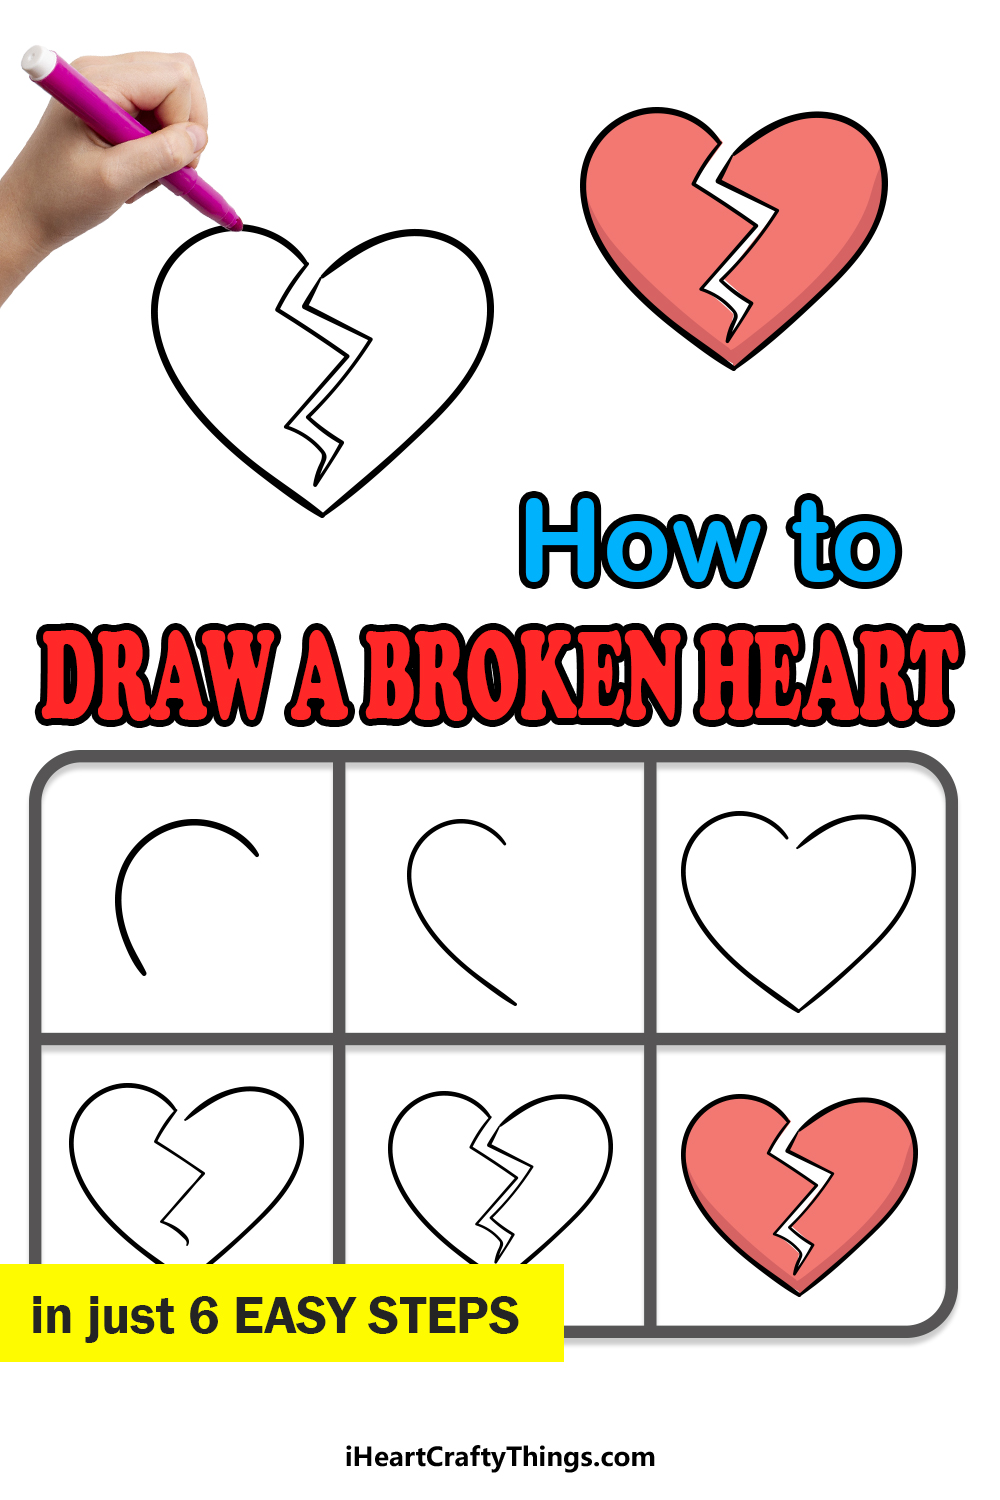
If you want to know how to draw a broken heart, then this guide won’t leave you broken hearted! Follow along to see how to draw this sad yet effective symbol.
Unfortunately, love sometimes doesn’t always work out. For one reason or another, a relationship may fail and you’re left with a broken heart.
That can be represented with the symbol that we see in this guide. Whether you’re embarking on this guide because of a broken heart or you just want to try an iconic design, I have you covered.
I will take you through the process and show you how each step is done. You won’t believe how simple it is, and you can even adapt the drawing with your own details and additions as well.
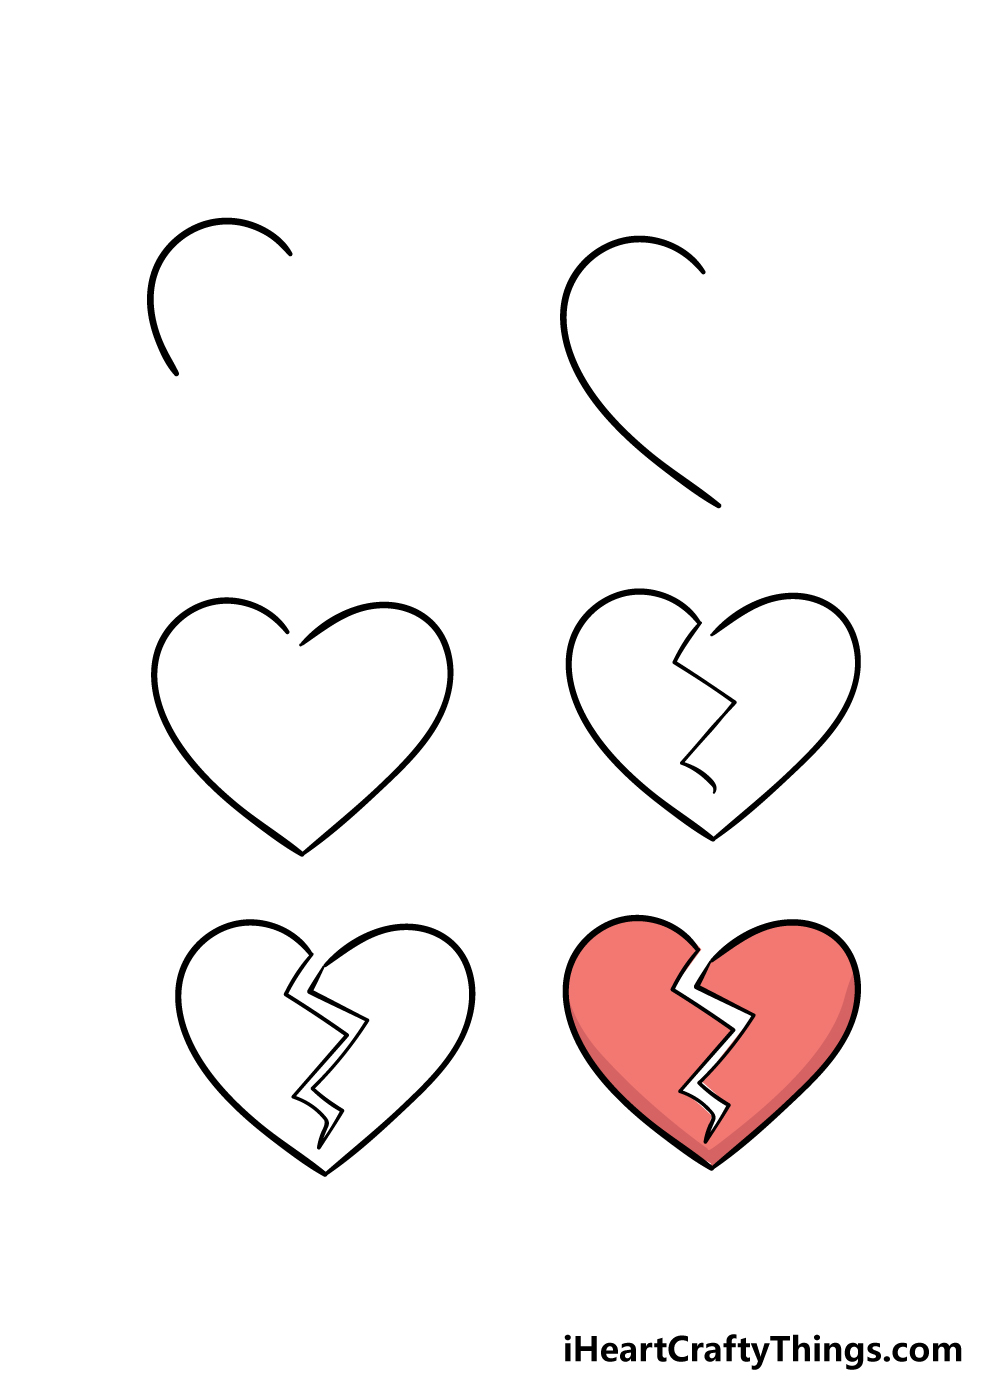
Watch And Learn How To Make Your Broken Heart Drawing
How to Draw A Broken Heart – Let’s Get Started!
Step 1
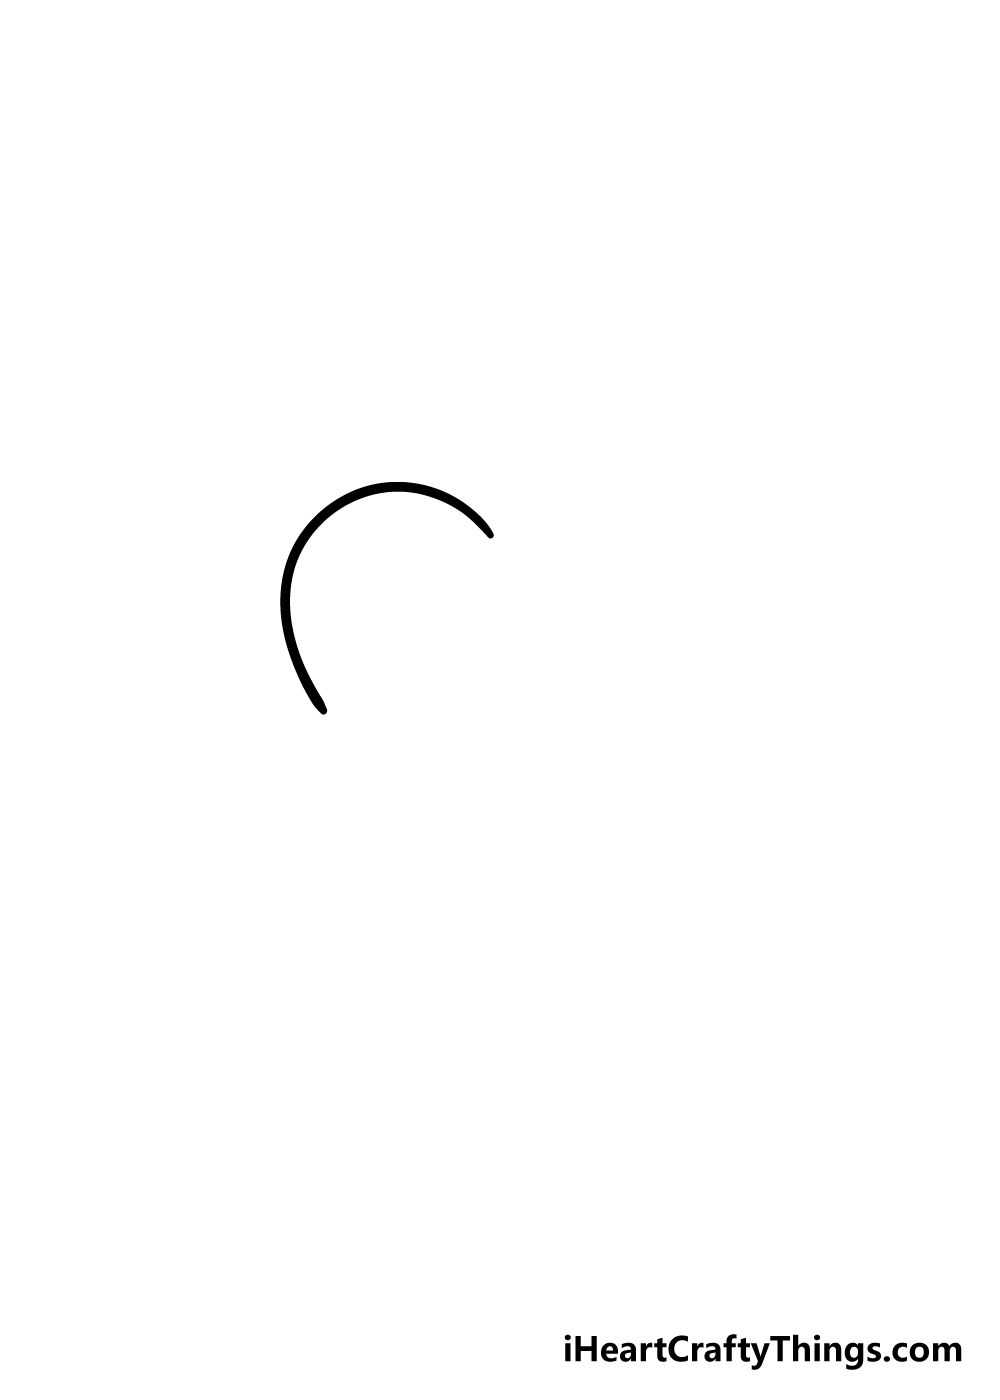
For this guide on how to draw a broken heart, we shall be drawing both sides of the heart while having it connected at the bottom of the heart.
For this first step, we shall be starting simply by drawing a curved line that will form the top left-hand side of the broken heart.
Once you have that curved line looking like it does in the reference picture, you’re ready for the next step.
Step 2 – Draw some more of the side of the heart
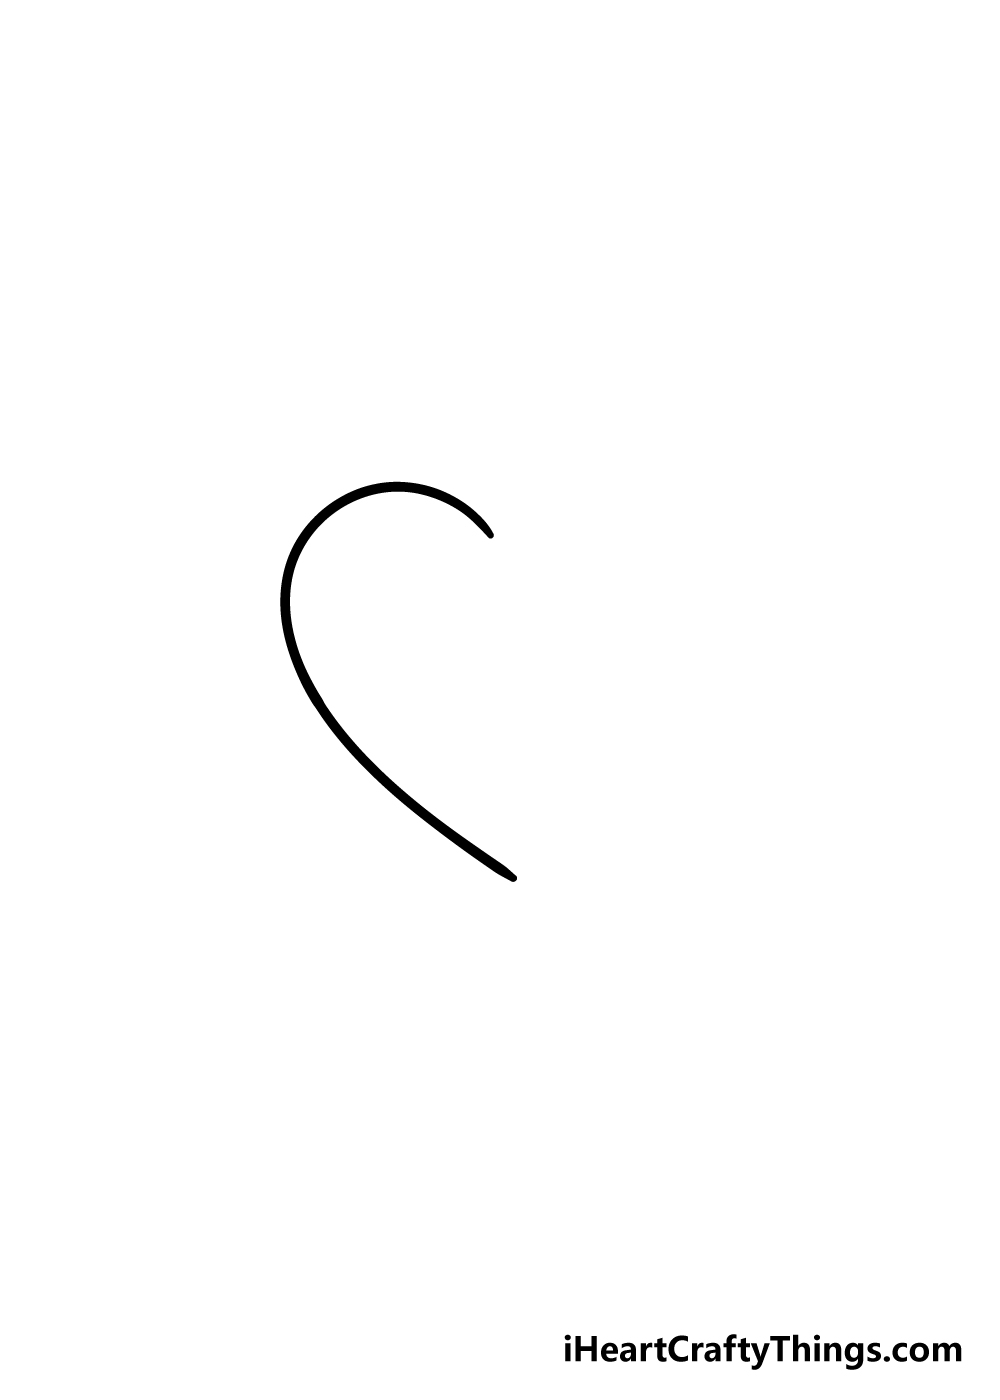
We shall continue drawing the left-hand side of the heart for this part of your broken heart drawing.
Using the curved line from the previous step, carefully keep extending that line downward at an angle. For this part, you should be drawing it as if you would be drawing a full, unbroken heart.
Step 3 – Next, draw the right-hand side of the heart
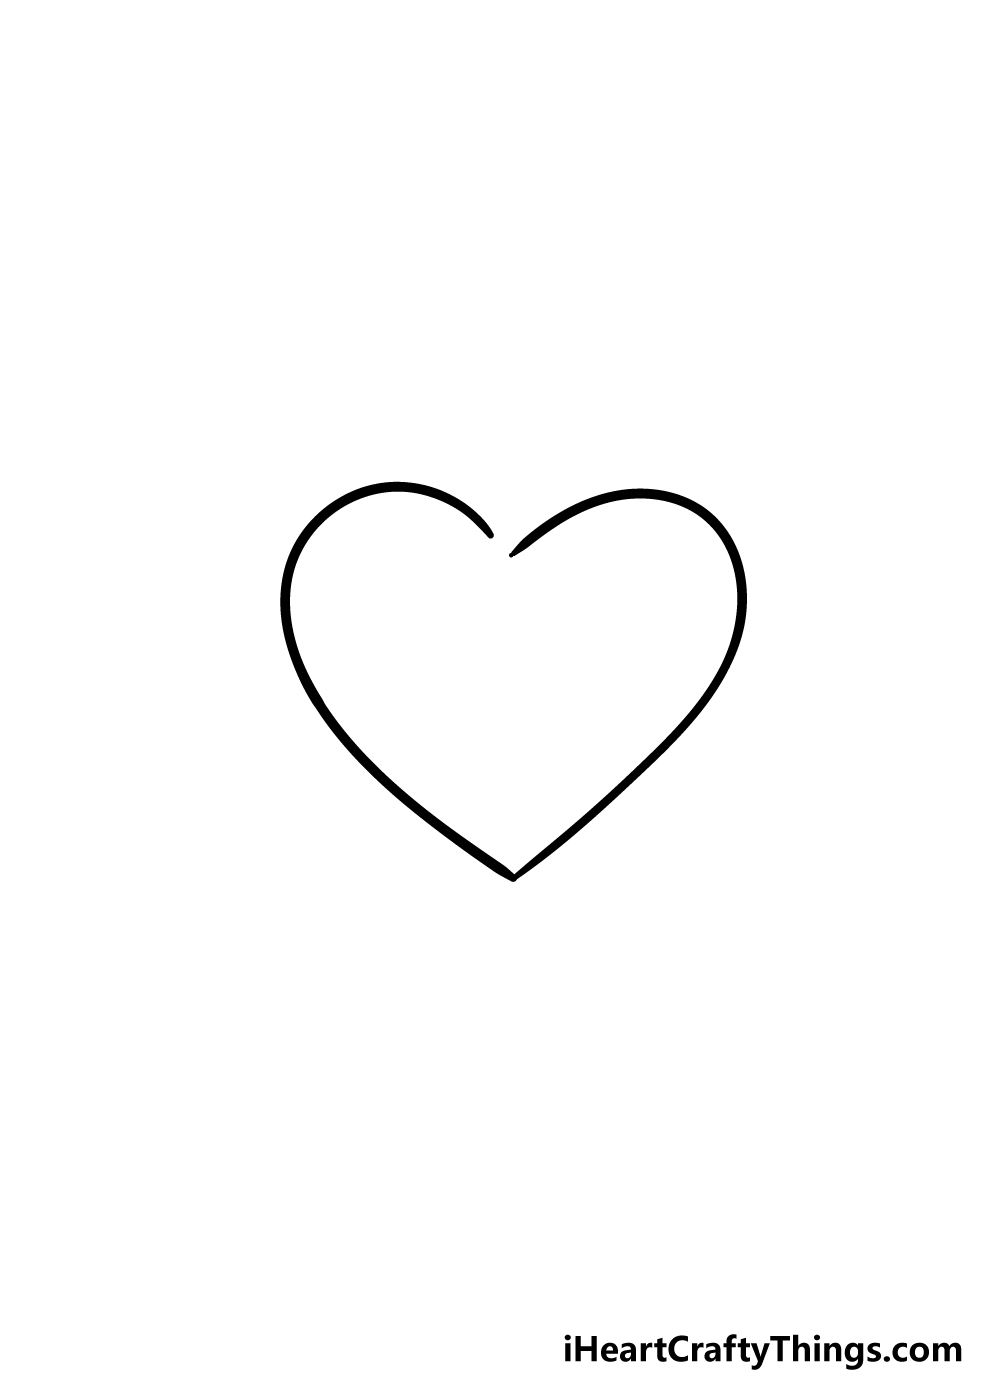
Now that you have drawn one half of the broken heart drawing, you can repeat everything you did in the previous two steps.
The right-hand half of the heart will look almost identical to the left-hand side, however the top will extend slightly below the left-hand side.
If you have it looking like the reference picture, then there should be a small gap between the ends of the lines.
We shall be using this gap to form the hole in the two pieces of the heart in the next few steps.
Step 4 – Now, draw the broken edges of the heart
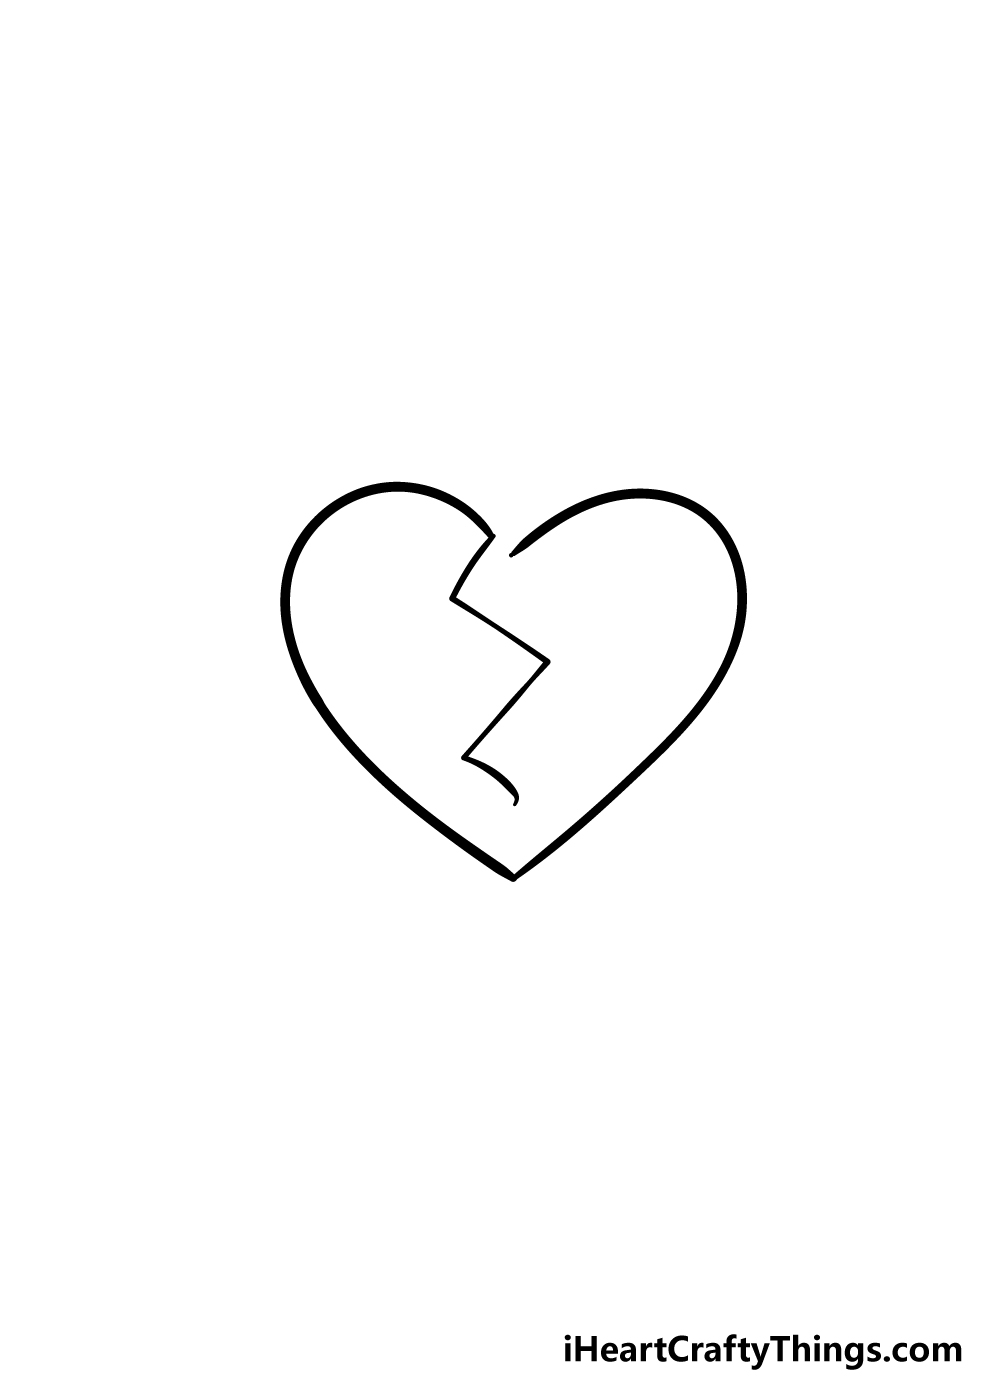
For this step of your broken heart drawing, you can add some straight lines going down into the heart.
This line should stop near the bottom of the heart, but shouldn’t quite touch the bottom. We will be drawing the other broken side of the heart in the next few steps, so let’s move on!
Step 5 – Finish off with the other inner broken edge of the broken heart
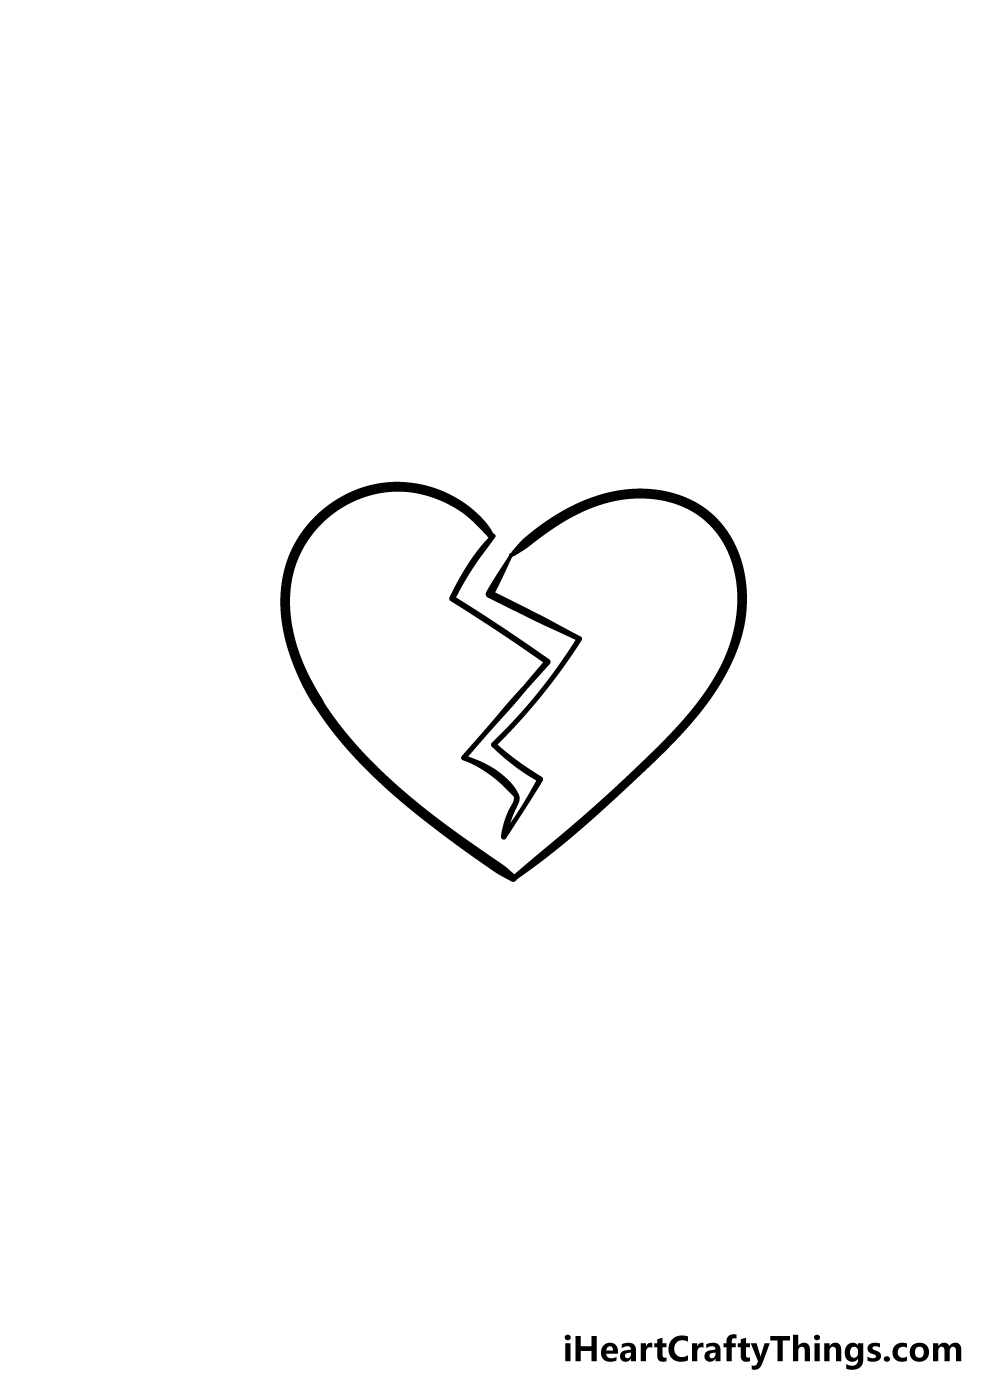
We will be finishing off the drawing portion of our guide on how to draw a broken heart in this step!
Once we do these last details, we can move on to the coloring stage. Before you do, you can draw the other broken edges of the heart.
Drawing down from the top of the right-hand inner side of the heart, draw some more straight, jagged lines running parallel to the inner ones.
Then, that line will connect to the bottom of the previous one
Once you have that done, your broken heart drawing is complete and ready for the final step! Before you move on, however, you can take this opportunity to add some final details.
There are a lot of ideas that you could use to really personalize this drawing. You could draw some textures onto the heart to make it look like it’s made of something like cracking porcelain.
You could also add some text underneath the heart, or maybe even draw some shapes into the background. How do you think you will finish off this drawing before you start to color it in?
Step 6 – Finish off your broken heart drawing with some color
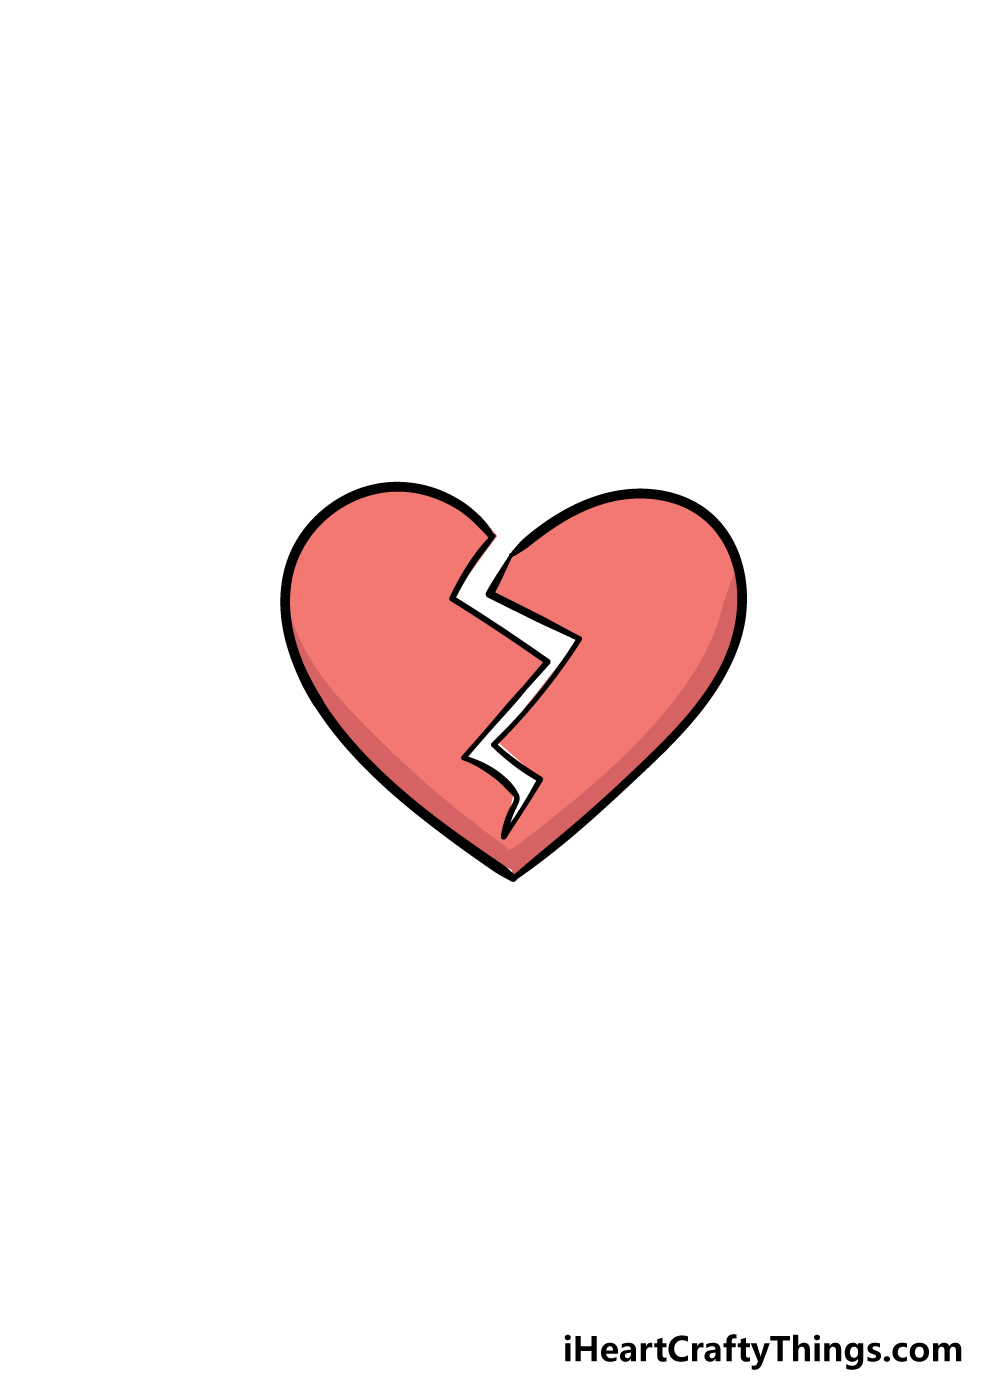
That brings us to the final step of your broken heart drawing! This is the step where you get to take over and show how creative you can be with your amazing colors!
As you can see in our reference image, we went with some shades of red for our drawing, but this is just one of many color schemes you could choose!
Red would seem like the first choice for such a drawing, and while it would look great if you used some beautiful shades of red there are many other options you could choose from!
One example would be to use some shades of blue, as a broken heart is a sad thing and blue would fit that sadness perfectly.
Maybe you could use one color on one side and a different one on the other. If you added any elements to the picture such as more shapes or text, you can color those in as well!
Once you know what colors you would like, you can choose which art mediums you will use.
If I were coloring this picture in, I would use some nice watercolor paints for a softer look to this more somber image.
You could also use some colored pencils or crayons for a similar effect.
It would also look amazing with brighter mediums such as acrylic paints, colored pens or markers, so you should use whichever mediums you love!
Bonus: Use Crafts To Make This Broken Heart Drawing Even Better.
In this guide on how to draw a broken heart, we showed you a few ways that you can add color to your artwork. When you color in a drawing, there are many standard coloring tools and mediums that you can use.
These include popular options such as crayons, colored pencils and pens. But, there is a whole world of other art mediums that can be used to bring some magical colors to your artwork!
For example, we always love to use glitter on artwork like this. Glitter can come in many different colors, and you could use red glitter and glitter glues to make the heart sparkle.
If you want to use regular glitter, then you could start by applying a thin layer of glue paste to the image, then sprinkle the glitter over it. Blow off the excess, and then you will have a beautiful sparkling element to the drawing.
If you use something like glitter, it’s always a good idea to put a layer of newspaper down on the table first. Beads can also be beautiful when used in your artwork.
Using a small blob of glue for each bead, you could create a border around the heart or make a pattern around it. These are just suggestions, of course, and you could use these crafts in any way that you like!
Using even simple crafts could be a great way to elevate your beautiful artwork and gives it new elements. You can even add a whole new dimension with textures that you can feel with your fingertips.
Whatever you use, we’re sure it will look absolutely amazing! We can’t wait to see what you choose to use to finish off your artwork.
4 More Ways To Make Your Broken Heart Drawing Unique
Find some tips you’ll love with this guide on how to make your broken heart look even better!
One way to really make this broken heart sketch even more interesting would be to add some texture details.
It is already cracked down the middle, but you could make the message of the image even more apparent with some smaller cracks.
These could be as big or as small as you like, but adding them will definitely make for a picture that catches the eye. What are some other textures or extra details you could add?
There are also some other ways you can make your broken heart drawing quite different with small details. One way would be to turn it into a cartoon character.
The idea of a broken heart is pretty sad, but you could make it even more so with a sad face on the heart. This would be possible with some simple shapes and lines, but it will really give the image some new life.
Next, you could make this drawing of a broken heart more unique with some background details. There are so many ways you could do this, such as filling the background with a pattern.
One fun pattern would be to add many different broken hearts forming a background behind the main one. That is just one approach you could take, but what else could you do for this background?
If you turned the broken heart into a character, then the background could be made to complement that design.
Finally, you can make your broken heart drawing more unique by turning it into a card. Maybe you know someone who recently went through something sad.
If so, you could draw this on a piece of cardboard and add a message to the front or inside. That would be the perfect way to show your sympathy and cheer them up.
If you decide to go with this idea, you could combine it with the other tips in this list as well!
Your Broken Heart Drawing is Complete!
We hope that you had an amazing time working through this guide on how to draw a broken heart!
While having a broken heart is no fun, we hope that learning to draw one was fun and easy for you to do.
Learning a new drawing is always much easier when you have a step-by-step guide to follow!
Now that you have mastered this drawing, it will be interesting to see how you put your own spin on it!
You could use some extra shapes or background images or incorporate some text. Maybe you could even draw this image on a card for someone suffering from heartbreak!
Then you can finish it off with some amazing colors and art techniques.
We hope that you will visit our website to see what other great step-by-step drawing guides we have for you to enjoy!
We will be uploading many more for you as well, so be sure to check in frequently to never miss out.
Once your broken heart drawing is complete, please do share it on our Facebook and Pinterest pages for us to enjoy! We can’t wait to see your amazing drawing.