A book is a wonderful thing, as any kind of story, adventure or information you could think of can be contained within its pages.
The possibilities with books are seemingly endless, and there’s always a new one to get lost within!
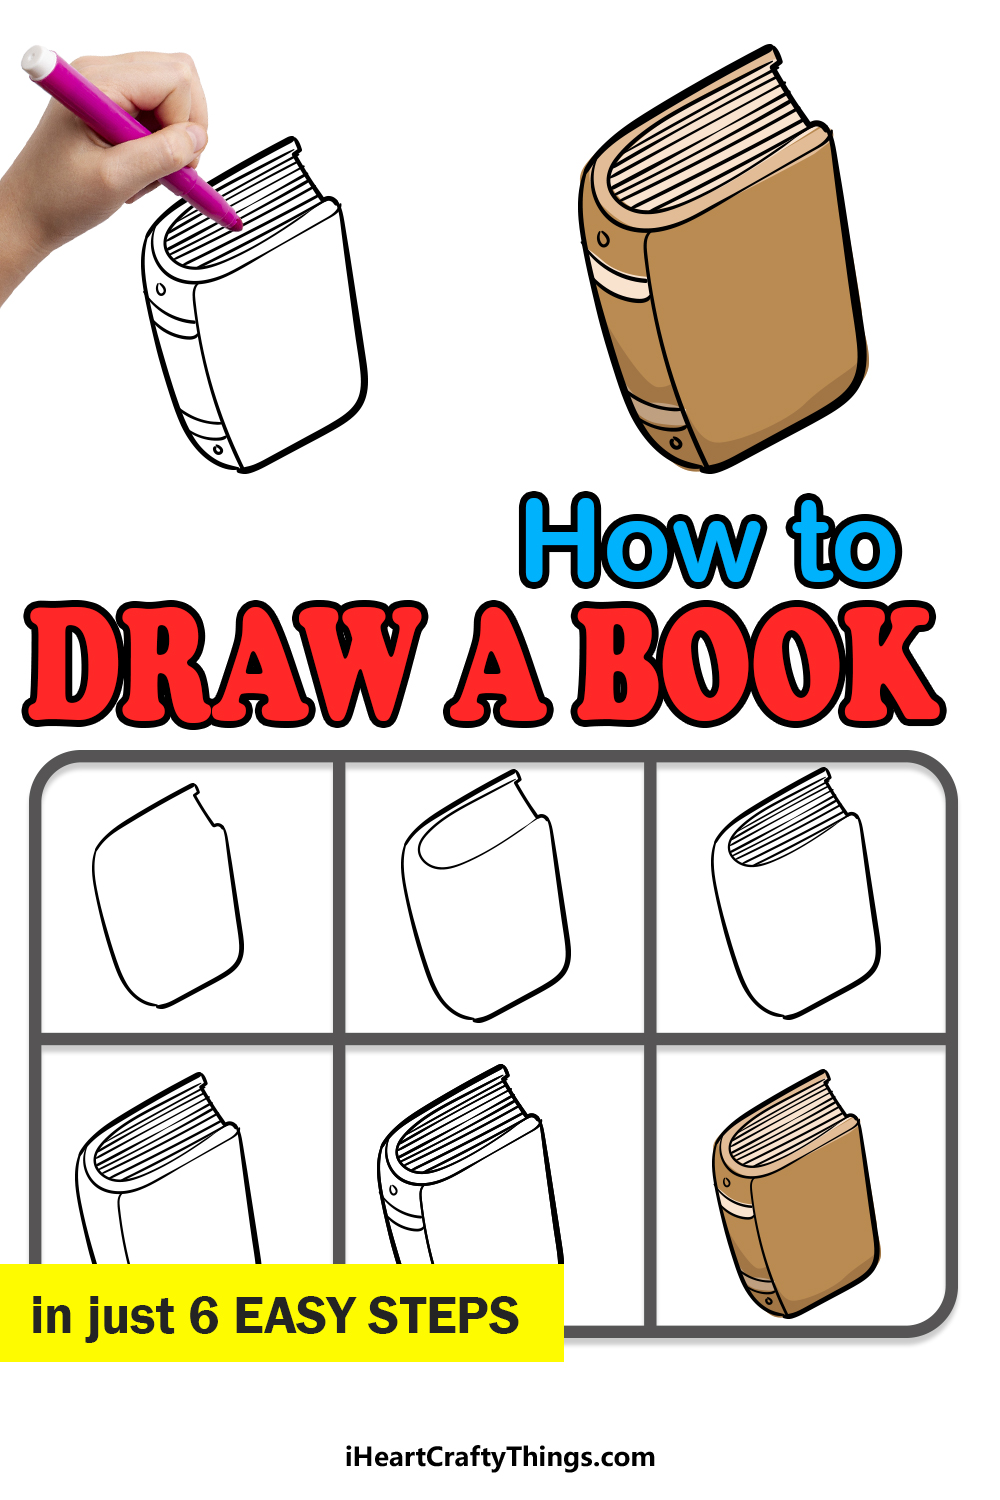
If you love to read and can’t get enough of books, then perhaps you have wondered what it would take to learn how to draw one. If that sounds like you, then we have the guide for you!
We have made this easy step-by-step guide on how to draw a book for you, to make this drawing challenge as easy as possible.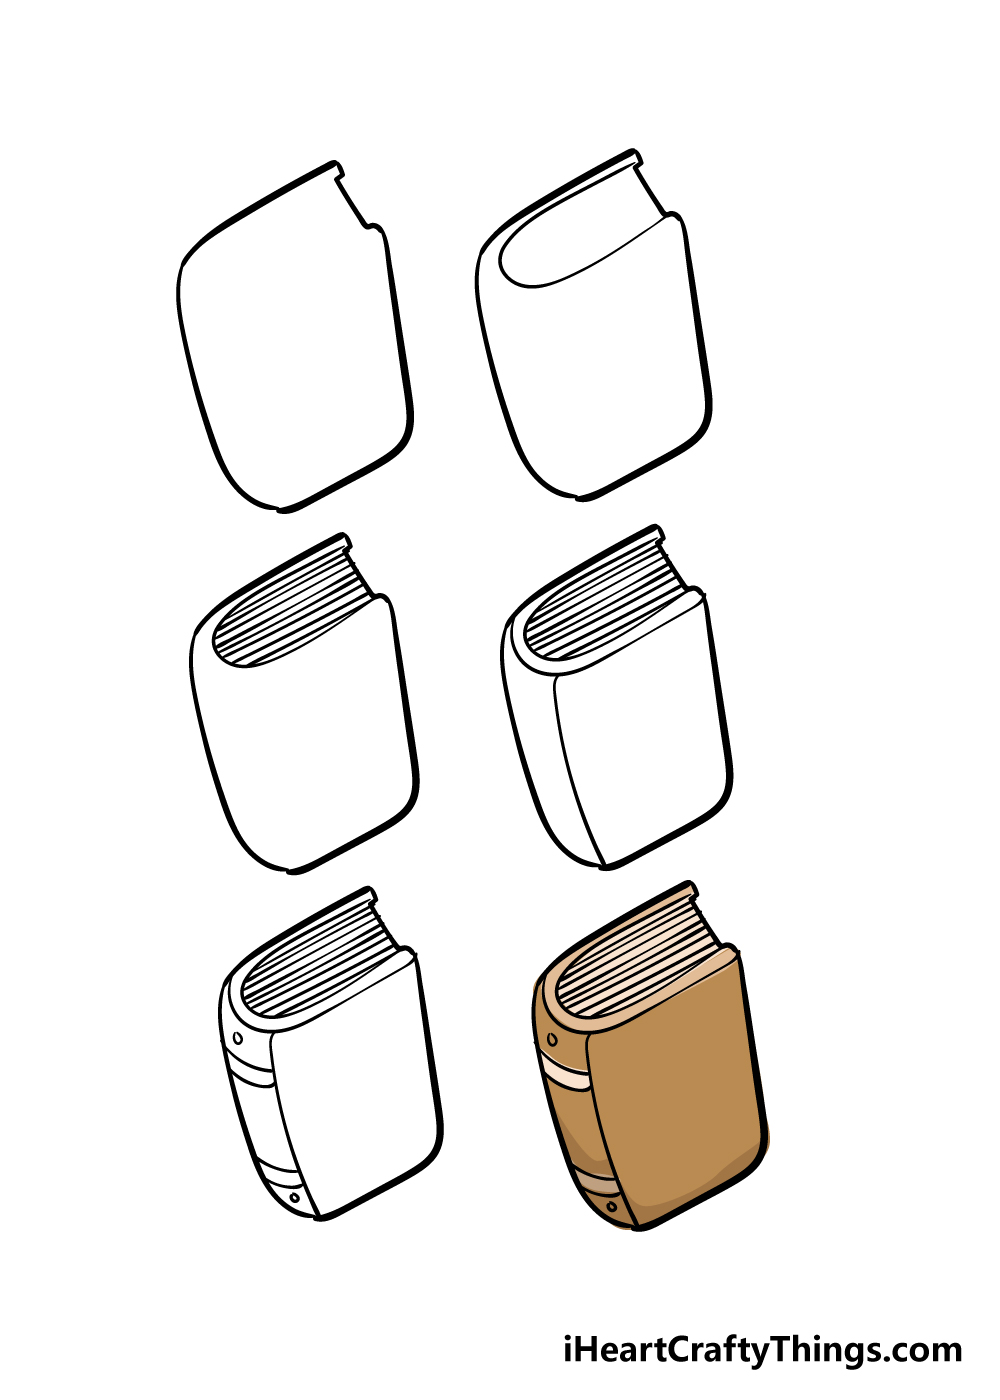
How to Draw A Book – Let’s get Started!
Step 1
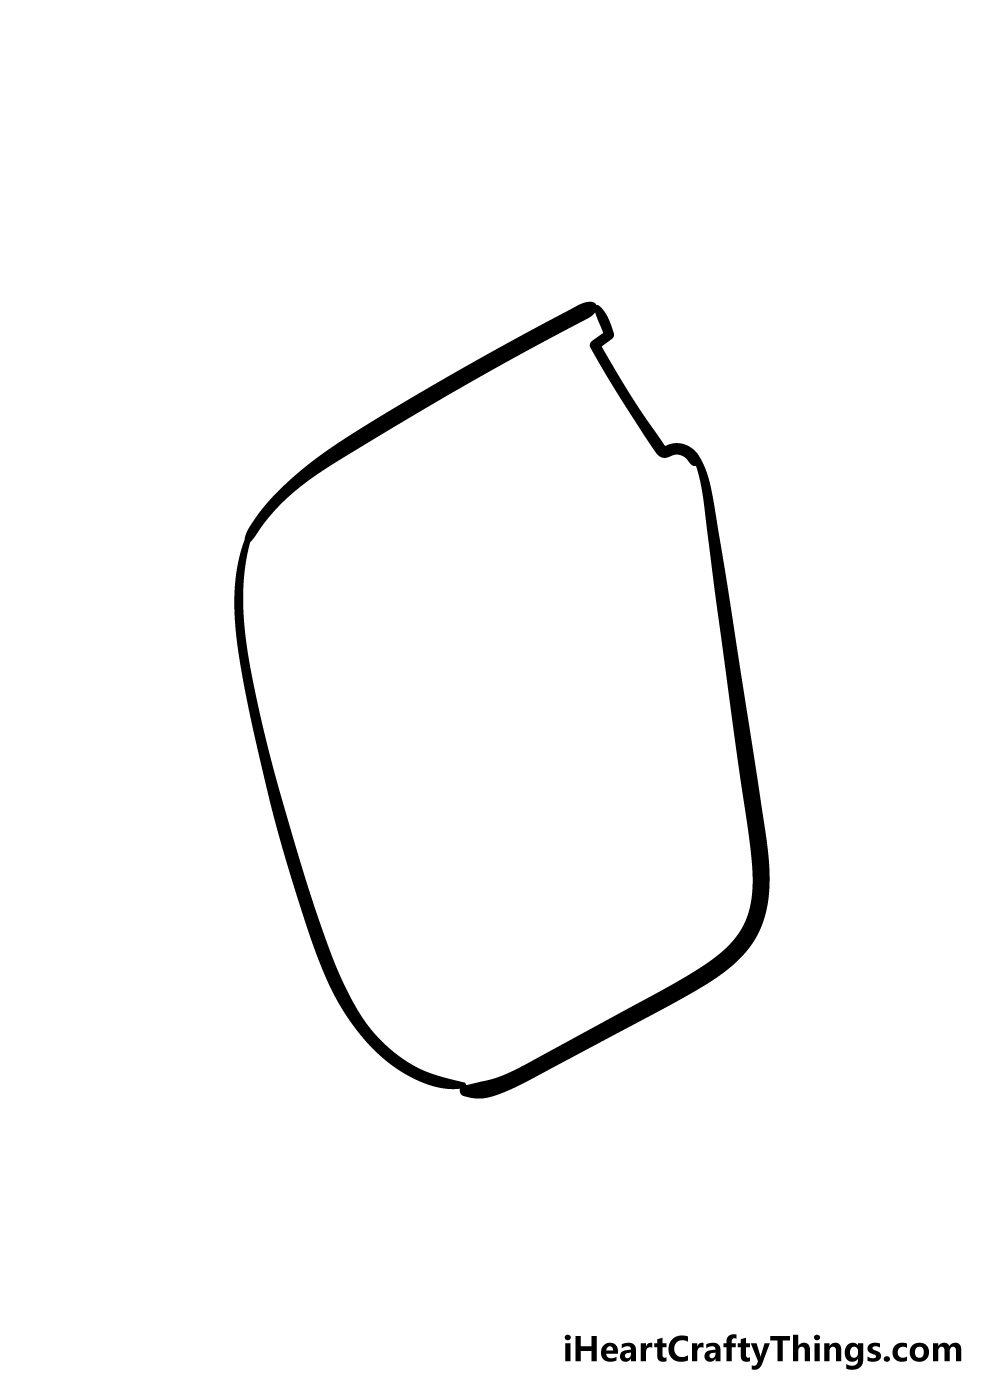
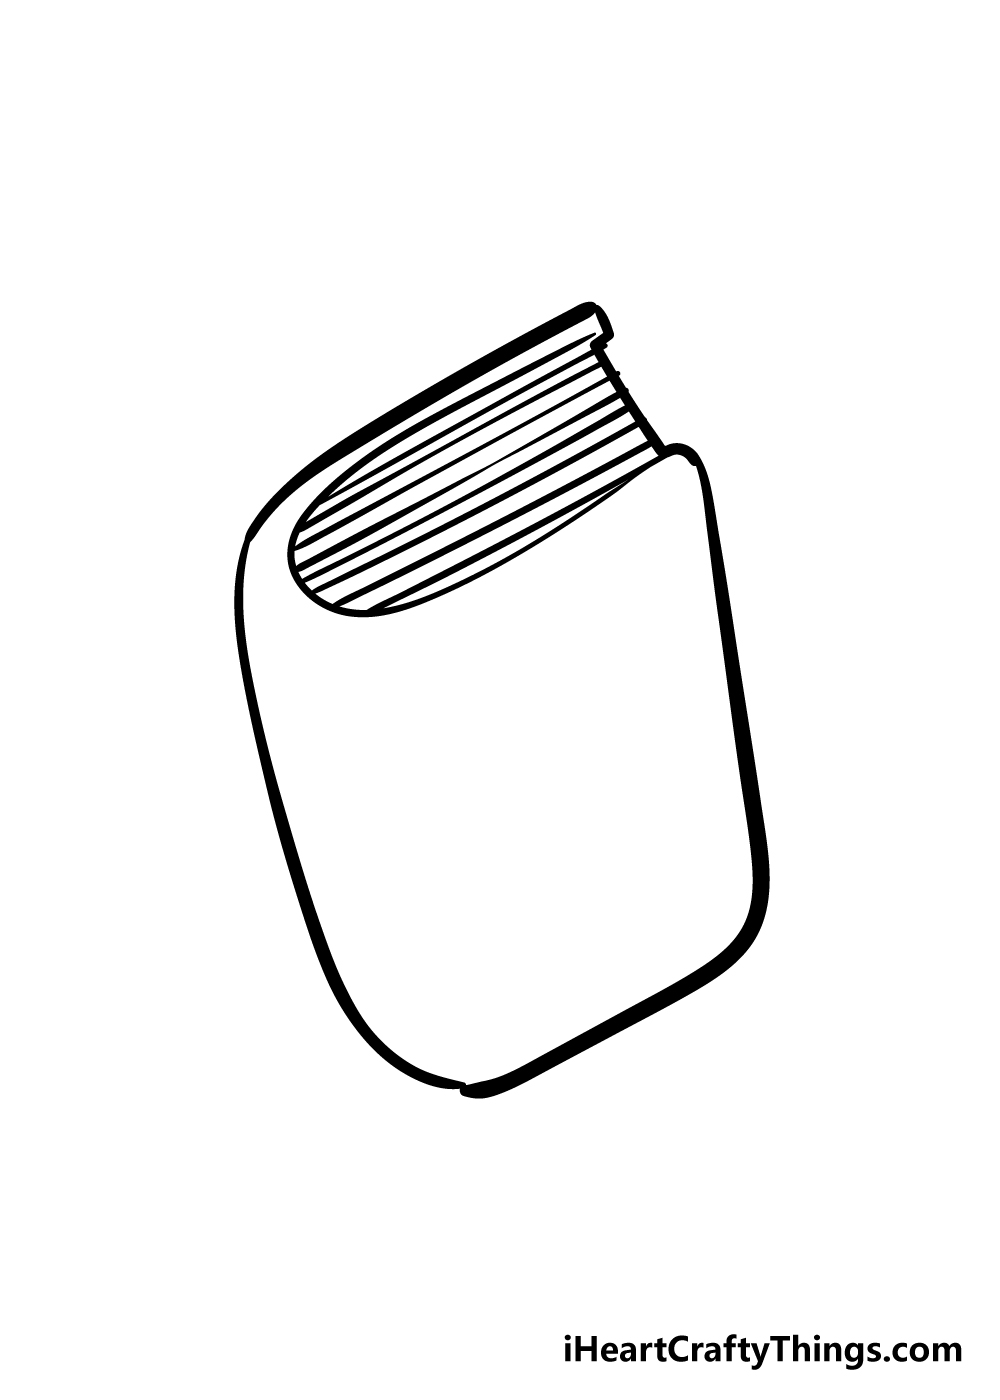
To start our guide on how to draw a book, we will begin with a slightly elongated rectangle shape.
To make this step a bit easier, you could use a ruler to draw in a rectangle that’s at the same angle as the book in the picture.
Once you have that guiding shape, you can draw in the final shape of the book. When you’re happy with the final shape, you should rub out any pencil lines that you drew as a guide.
The top right corner of the book will have more straight edges, as you can see in the picture.
Step 2 – Add in the top part of the book
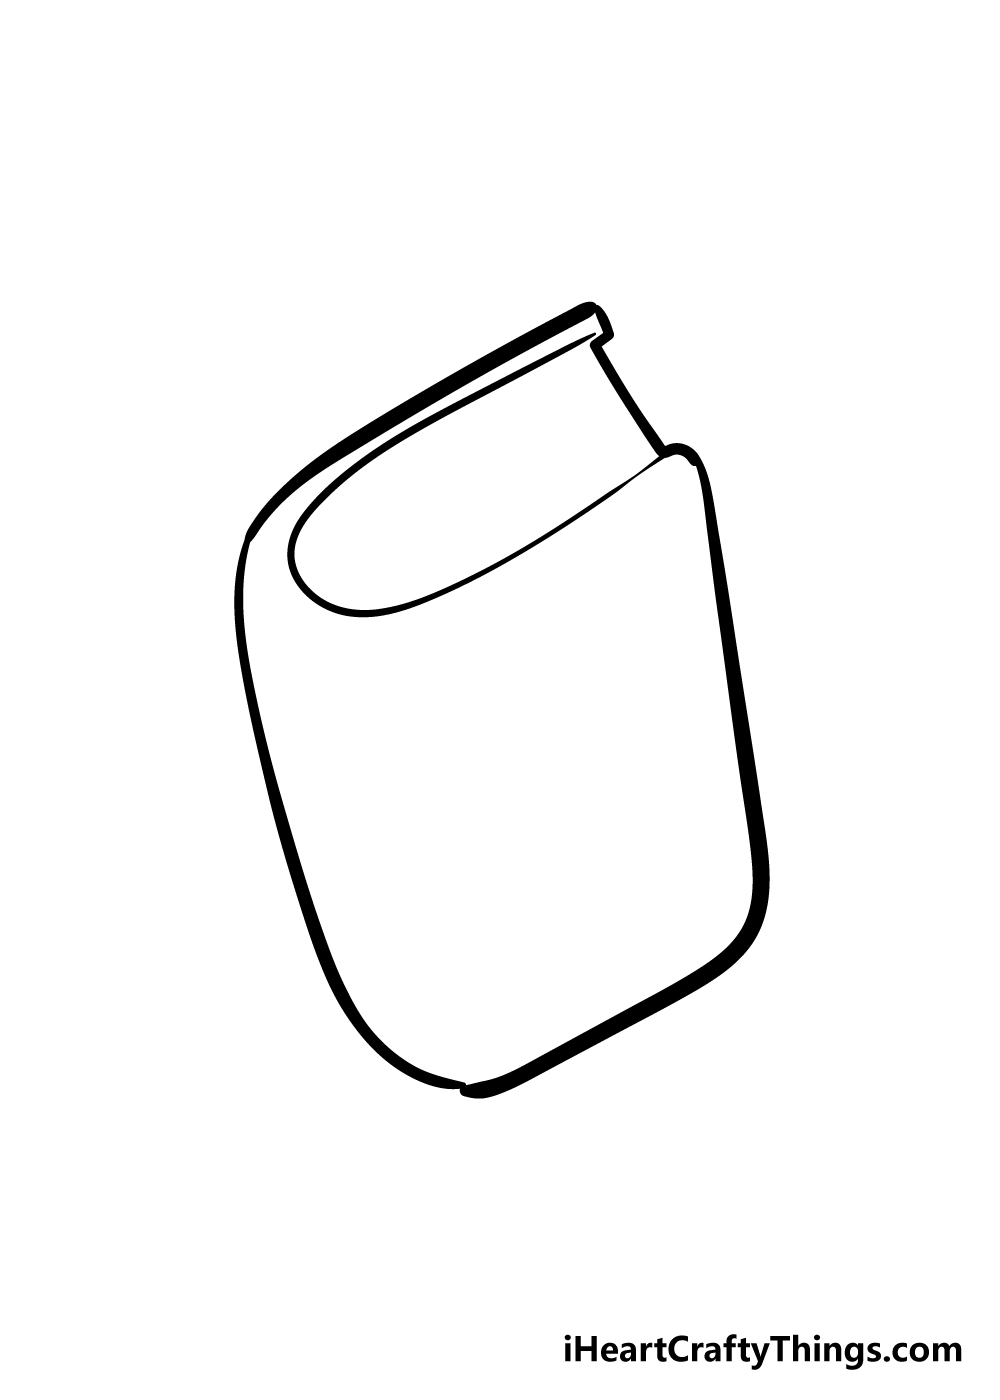
Now that you have the outline of your book drawn in, you can start to draw in the inner details.
Using the more angular shape you left at the top right of your book, you can draw in a very rounded line between the two angled shapes.
This will be the top of the book’s pages, which we will draw in a bit later. Once it looks like the image in the reference image, you can move on to the next step!
Step 3 – We will now add in some lines for the pages
For this part of our guide on how to draw a book, we shall add in some lines to represent the pages of your book.
Using a ruler would be ideal for this step, as it will help to keep the space between each line a bit more even.
You could change the space between the lines to make it look like the book has more or fewer pages depending on what you prefer!
Step 4 – Draw in the spine of the book
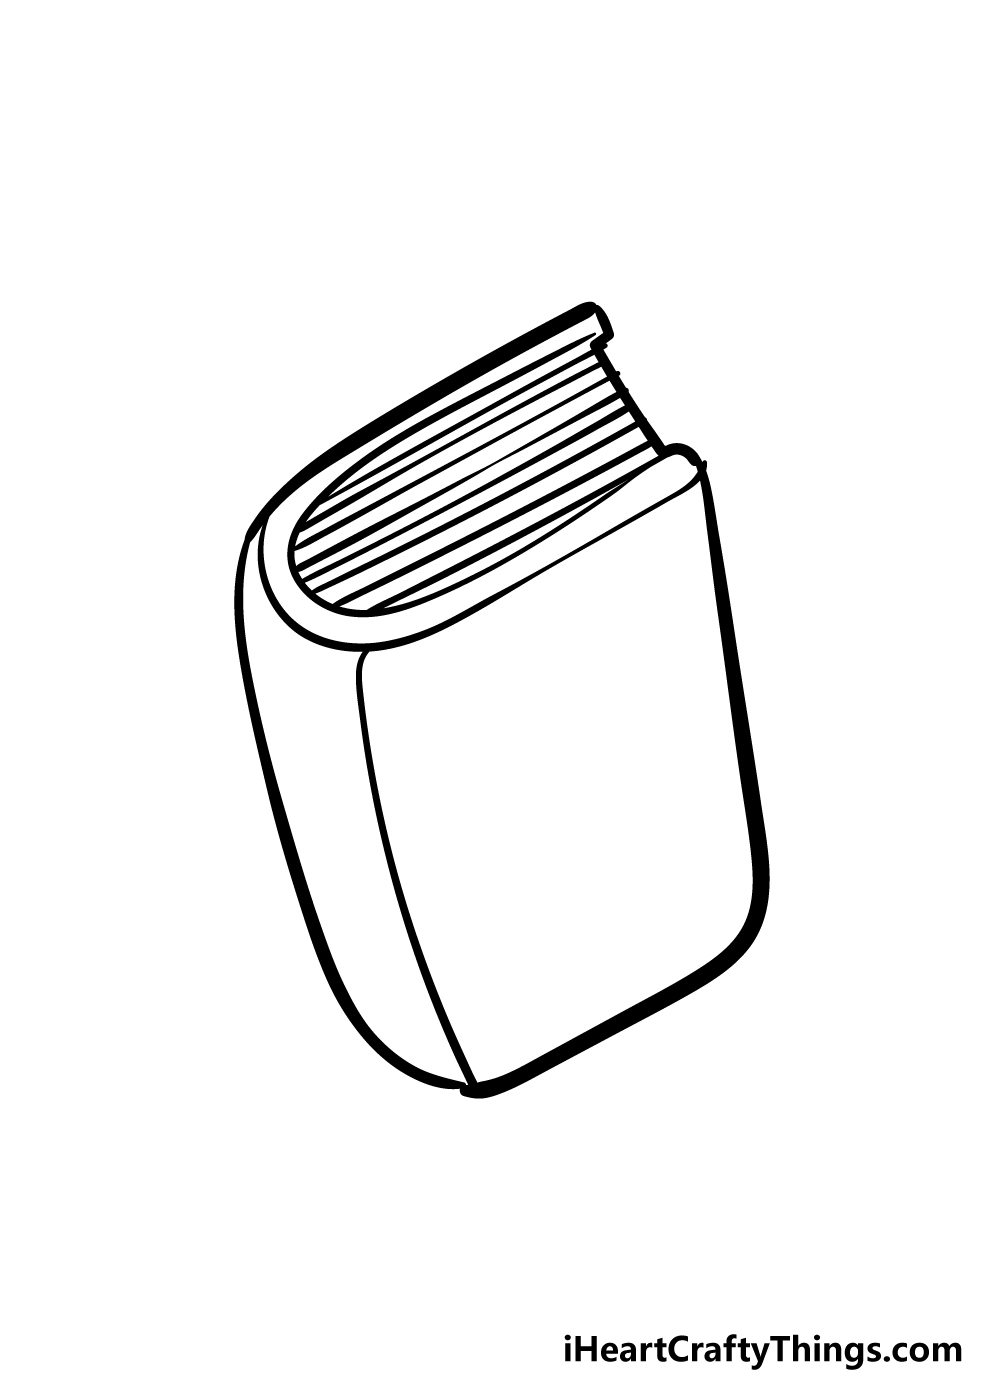
You’re drawing a nice, thick book in this guide, so your book drawing needs an equally thick cover and spine!
To make it look like the book has a thick cover, carefully draw in a line around the top of the pages that you drew in the previous steps.
Once you have drawn in the thick cover, draw in a curved line going down the back of the book to give it a nice thick spine!
Now that you have these elements drawn in, you can add some final details to your book.
Step 5 – Now, add in the final details
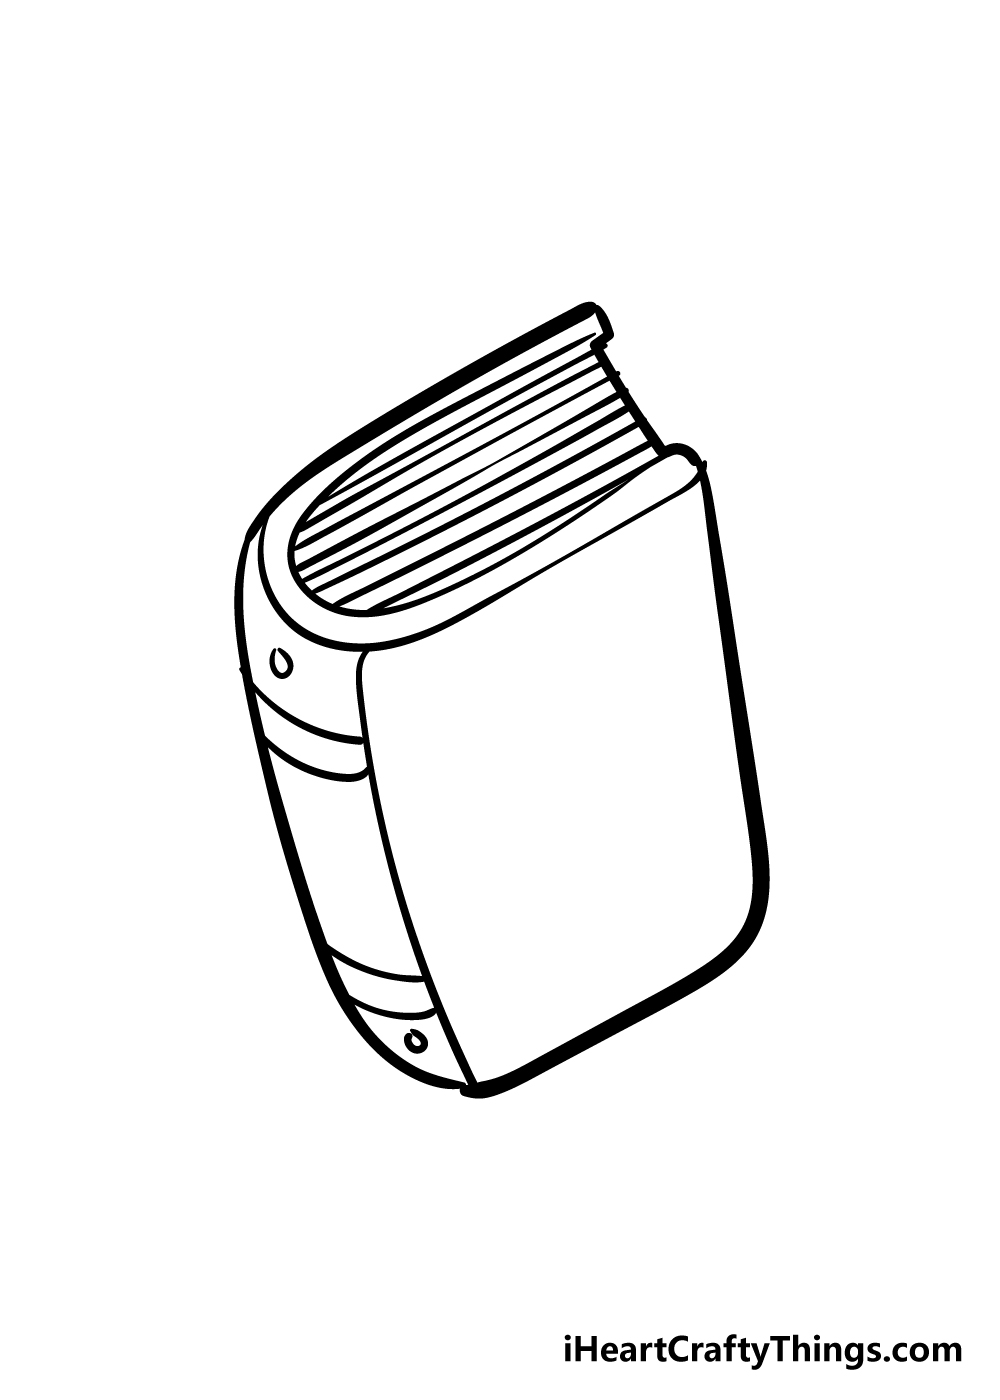
You’re so close to finishing your book drawing! Before you move on to the fun coloring step, your book needs some final details.
We’ve shown some details that you could add to your book drawing, and the details we show have some small circles and lines going along the spine.
These are some details that we suggest, but you can also get creative with adding in your own! I think that it would especially be really cool if you drew in the cover of your own favorite book onto the cover of your book drawing!
You could even do something like draw in your favorite character from the book onto the cover along with the title.
What book would you transform your book drawing into?
Step 6 – Now your book needs some color
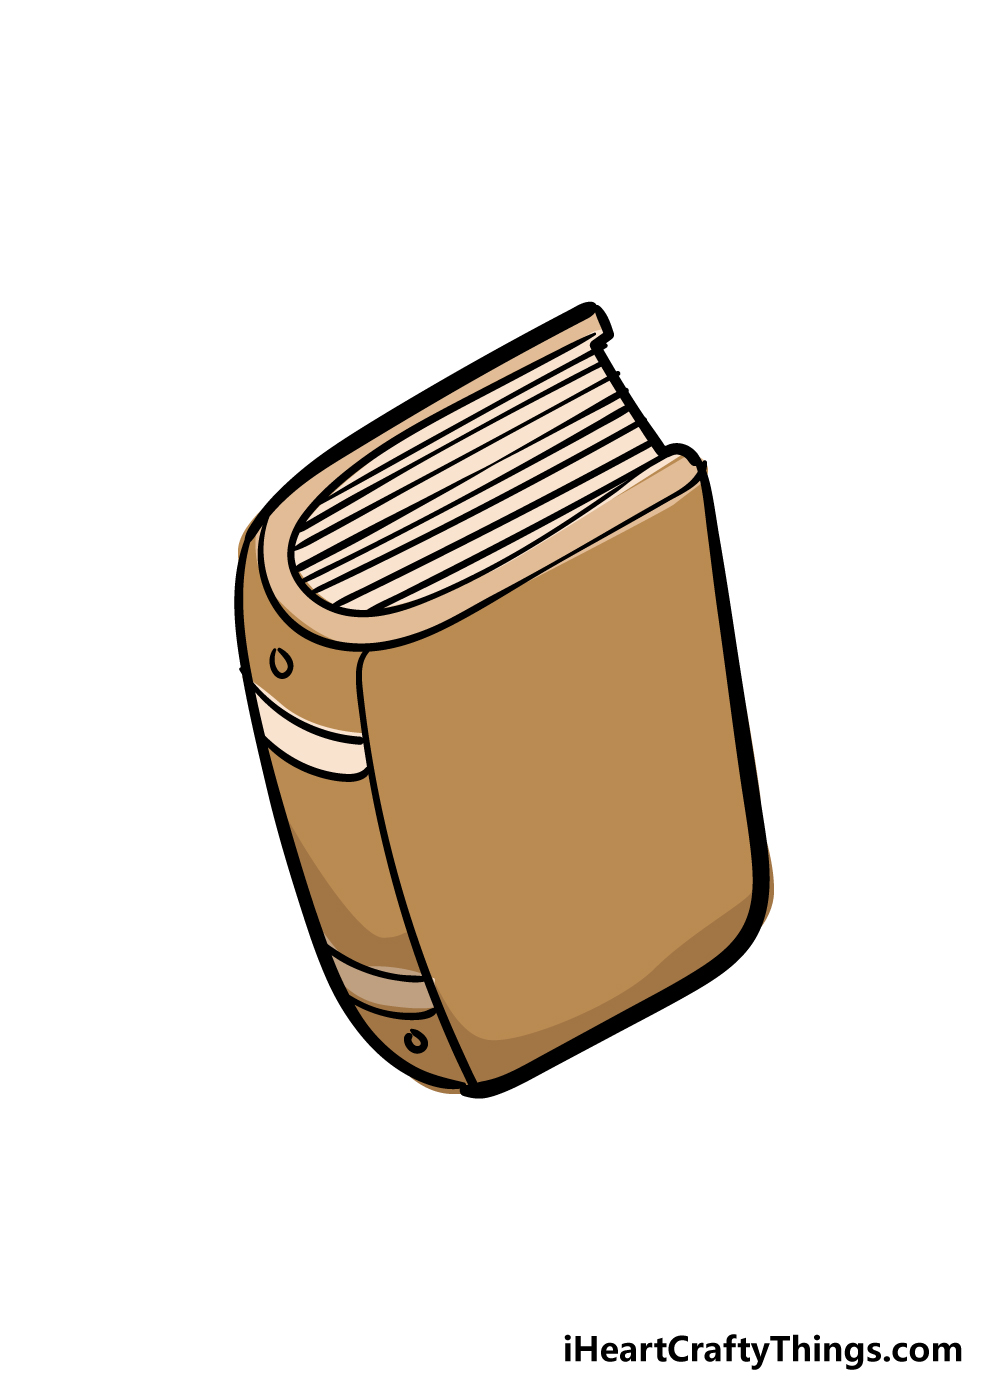
You set out to learn how to draw a book when you started this guide, and now you can see that you succeeded! Before your book drawing is complete, it needs some beautiful colors to be complete!
We’ve shown you how we colored in this book drawing, but this is a step where you can show off how creative you are!
In the previous step, I put out the idea of drawing in the cover of your favorite book onto the cover of your book drawing.
If you do go with that idea, you could look at the cover of the book in real life and then replicate the colors of the cover onto the cover of your book drawing.
Once you’ve decided on the colors for your book drawing, you can also have a great time experimenting with different art mediums.
I would use some watercolors if I were coloring this in, as the softer colors would make it look like an old, faded book. What color mediums and details will you choose to finish off your book drawing.
4 More Ways To Make Your Book Drawing Unique
You’ll definitely want to read through all of these tips for your book sketch!
You shouldn’t judge a book by its cover, but you can add some more details to the cover of this drawing of a book! There are a few ways you could make this book’s cover more interesting.
You could stick to adding just a title, or you may want to add a picture as well. This cover could be unique or you could base it on one of your favorite real books.
What kind of cover would you create for this book?
This guide showed you how to draw a book that has a closed cover. To make a variation, you could make it look like it’s open instead.
If you were to do this, you may want to use a real book and then open it to see how it should look. You could even have this open book next to the closed one in order to show the contrast.
What kinds of details would you add on the pages of this book?
Next, you could add some other objects that may be around when you’re having a cozy reading session. For instance, this book drawing could benefit from showing your favorite reading beverage.
A big cup of hot chocolate would be a great one to have! If you have other favorite drinks or snack that you enjoy when getting lost in a book then you should definitely add it here.
What kinds of objects would you like to add here?
Every reader has their special quiet place they like to enjoy their favorite books. You could use this space as a background for this book sketch!
It could be a comfy chair in your bedroom or maybe a quiet corner of your favorite library. This background could be based on a real place, or you could design your very own perfect reading nook.
Do you have a place in mind that you could use for this background?
Your Book Drawing is Complete!
With the final details and colors added in, you have reached the end of this guide on how to draw a book!
You set out to learn how to do this, and now you can see that it’s easier than you may have assumed it would be.
Drawing isn’t always easier, but it can be made a lot easier if you follow the steps and take it slow.
We created this guide to help you along and break it into more manageable steps to make it fun and easy for you to learn!
Now that you have finished your drawing, it’s up to you to finish it up with your own colors and details.
Whether you draw in the cover of your favorite book or maybe design the cover of a book you would like to write, there’s a lot you can do to personalize it!
Then you can pick out some amazing colors and art mediums to further add some personalization to your drawing. We can’t wait to see how you finish off your drawing!
This guide is one of many that we will be releasing, so be sure to check out our site and pages to be one of the first to enjoy each step-by-step drawing guide we will be bringing out.
Lastly, we always love to see your creativity on show, so we really hope you will share your book drawing on our Facebook and Pinterest pages once it’s done.
We can’t wait to see what you come up with!