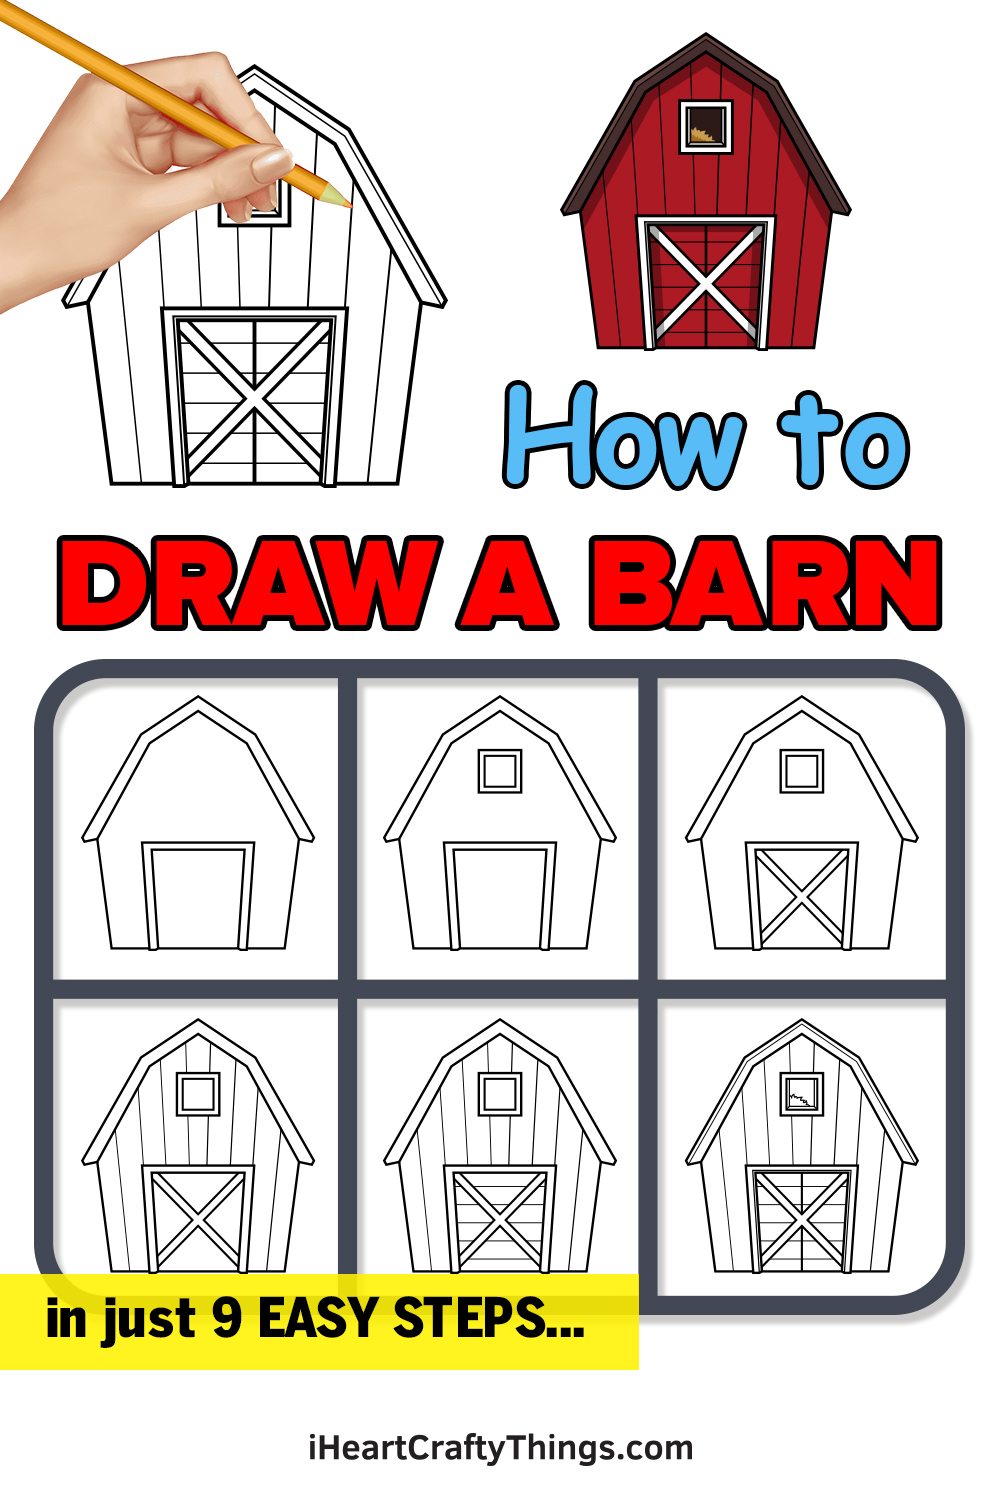
Get ready to learn how to draw a barn with this fun and easy guide for kids! You won’t believe how simple it is when you know what to do.
When driving along the countryside, I always love to pass farms and see the different kinds of barns there are. They come in many different styles, sizes and colors and I’ve often wondered what I would design a barn to look like.
If you have as well, then this guide is for you! I will show you how to create this fantastic barn design and take you through everything you need in order to complete it.
Once you have finished it, you could even add your own ideas, details and background elements to make a completely unique drawing.
So let’s begin as we make this incredible barn together.
Watch And Learn How To Make Your Barn Drawing
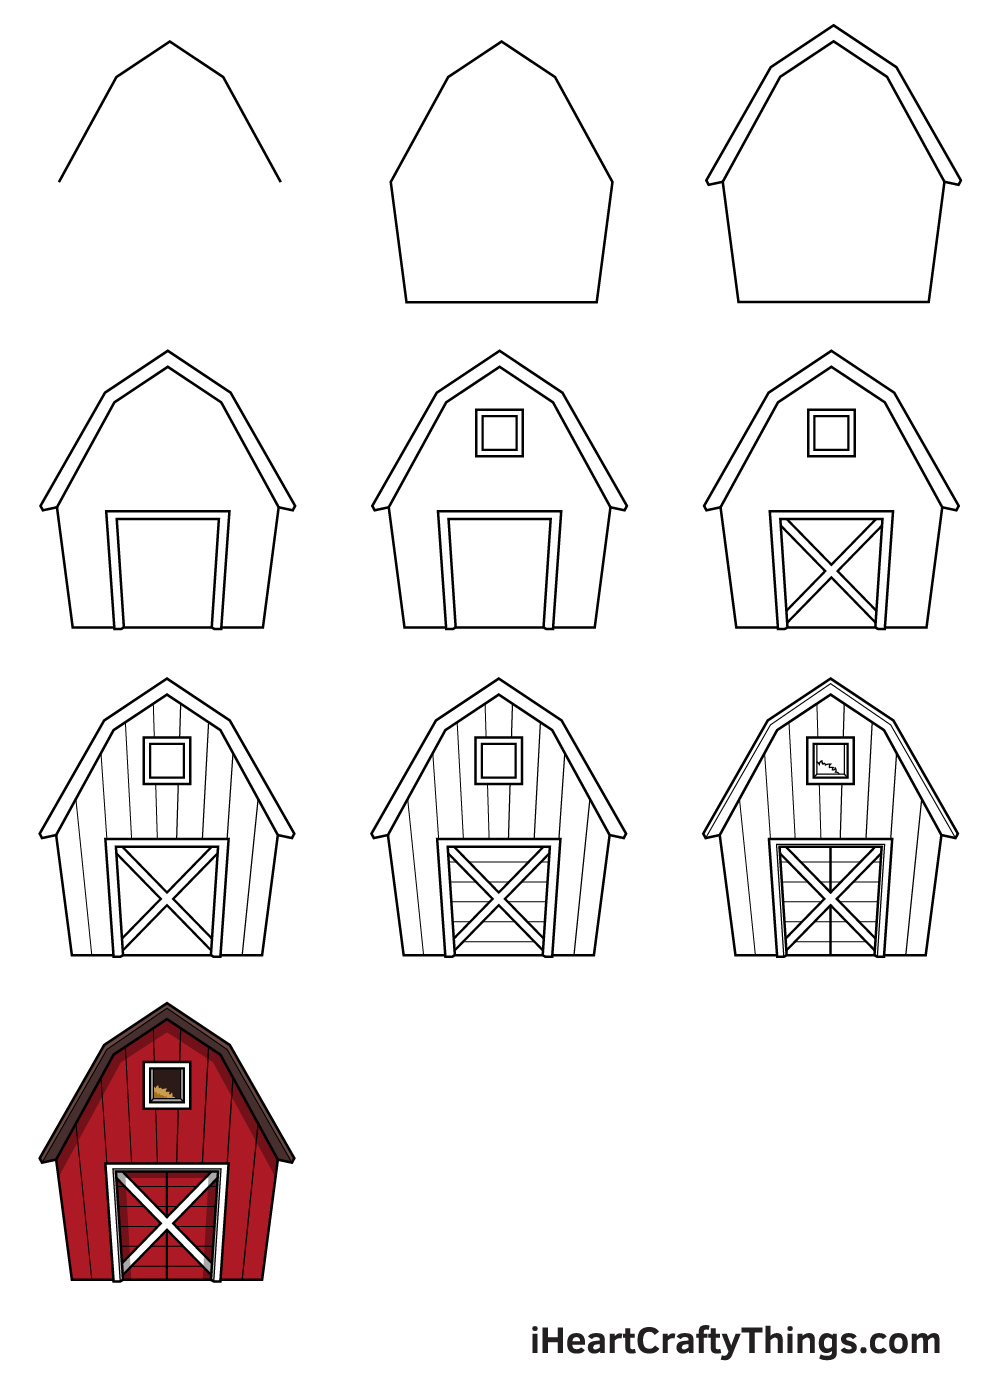
How to Draw a Barn – Let’s get started!
Step 1
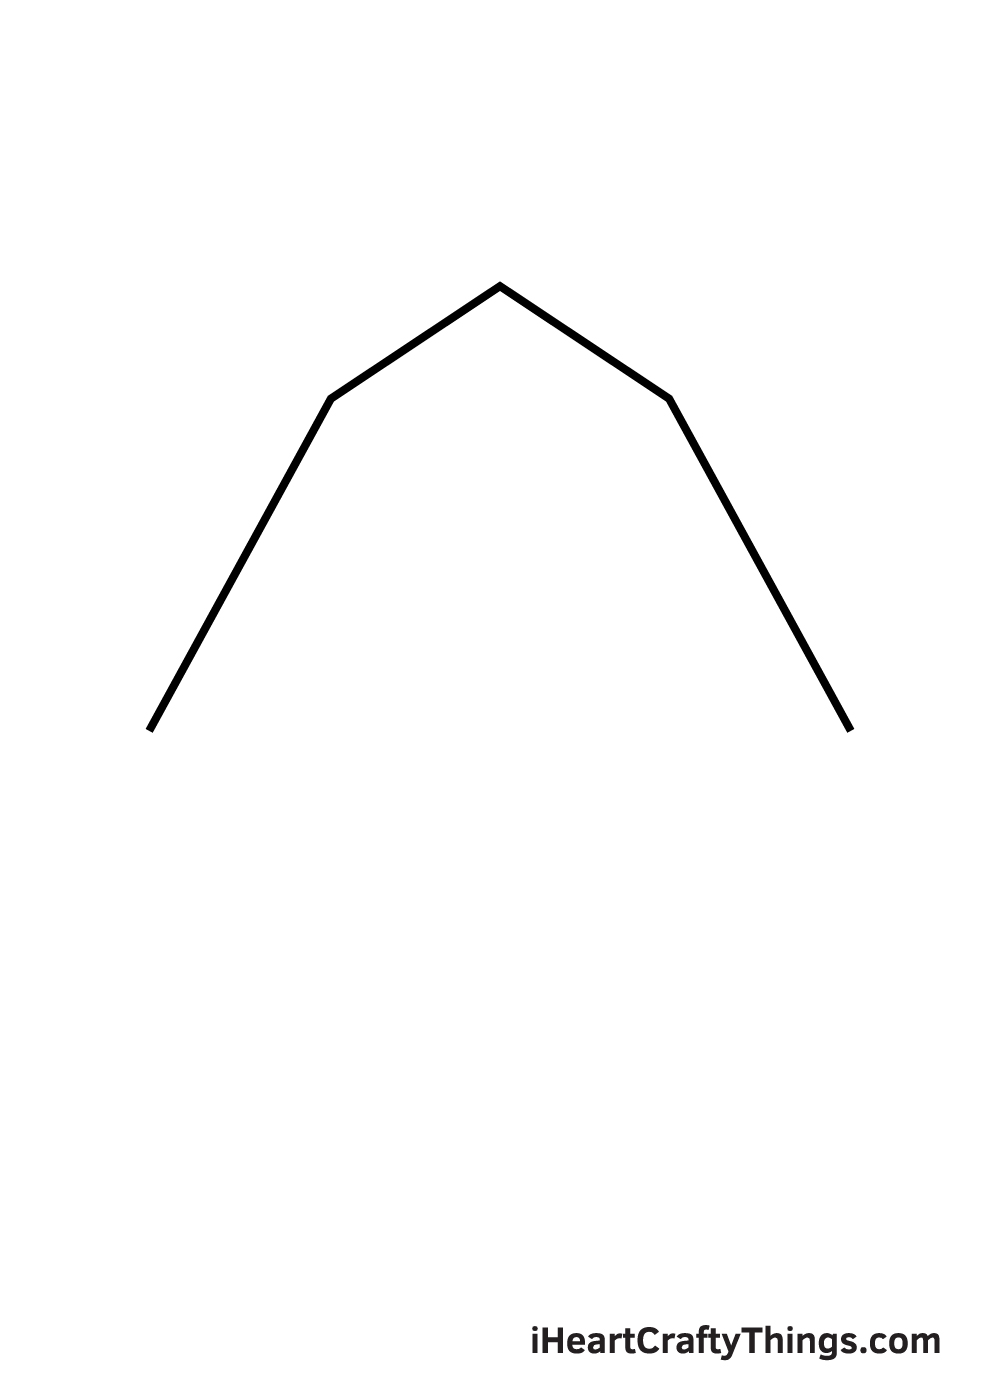
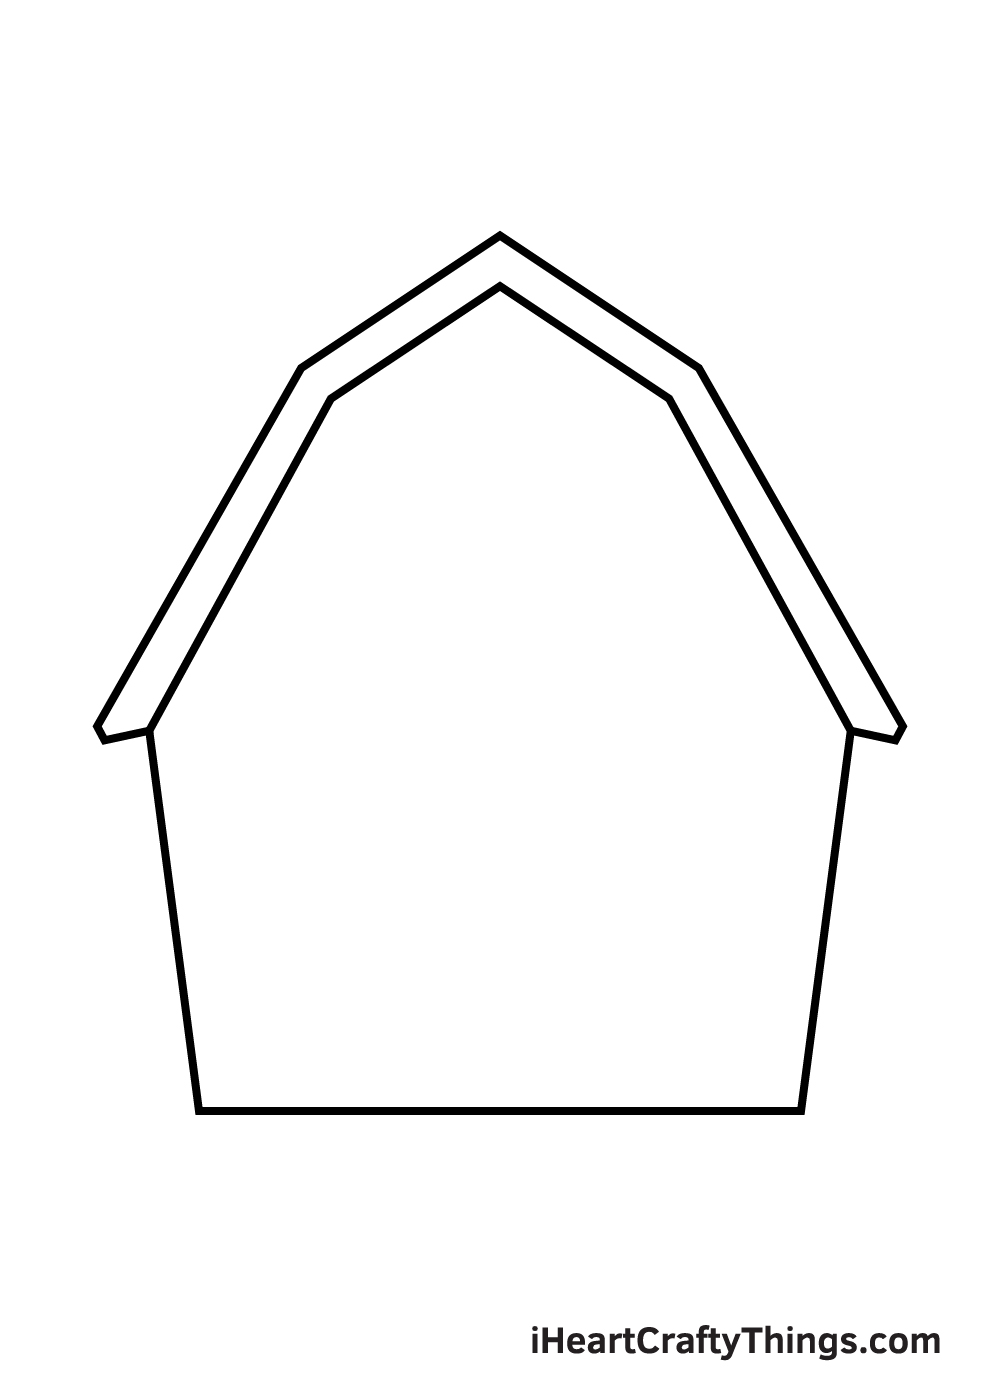
Start by drawing the barn from the top then work your way downwards to the bottom. Draw a wide inverted V-shaped line for the topmost part of the barn.
Afterwards, draw a diagonal line on each end-point of the V-shaped line that we drew just now.
A barn primarily consists of straight lines. So, feel free to use a ruler to help you draw straight lines quickly and easily. This also helps ensure that the barn is proportioned.
Step 2 – Create an Outline of the Barn
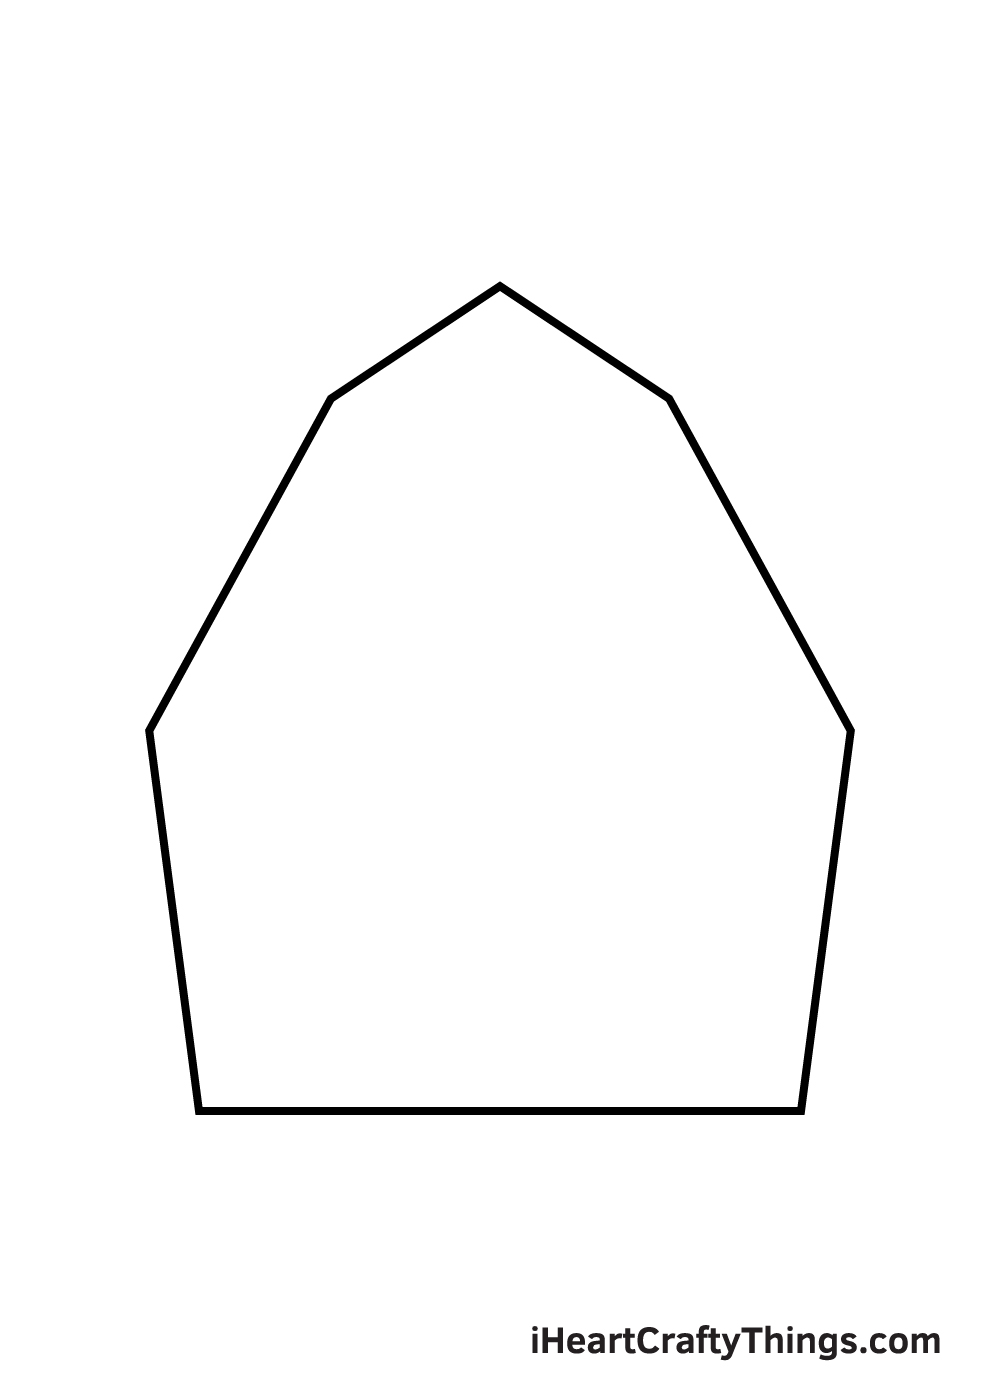
Draw a diagonal line on each endpoint of the lines we drew in the previous step. Then, draw a horizontal line at the bottom connecting both endpoints of the two diagonal lines.
When drawn correctly, it should look like the bottom half of a pentagon.
After finishing this step, the outline of the barn should be completed.
Step 3 – Next, Draw the Roof of the Barn
Draw a platform right above the top of the barn, following its outline.
This forms the roof of the barn.
Step 4 – Afterwards, Draw the Barn’s Door

Draw a square shape at the bottom middle part of the barn to create the door. Then, draw a line within the door following its outline. This forms the door frame surrounding all sides of the door.
At this point, the door of the barn should be fully structured.
Step 5 – Then, Add a Window on the Barn
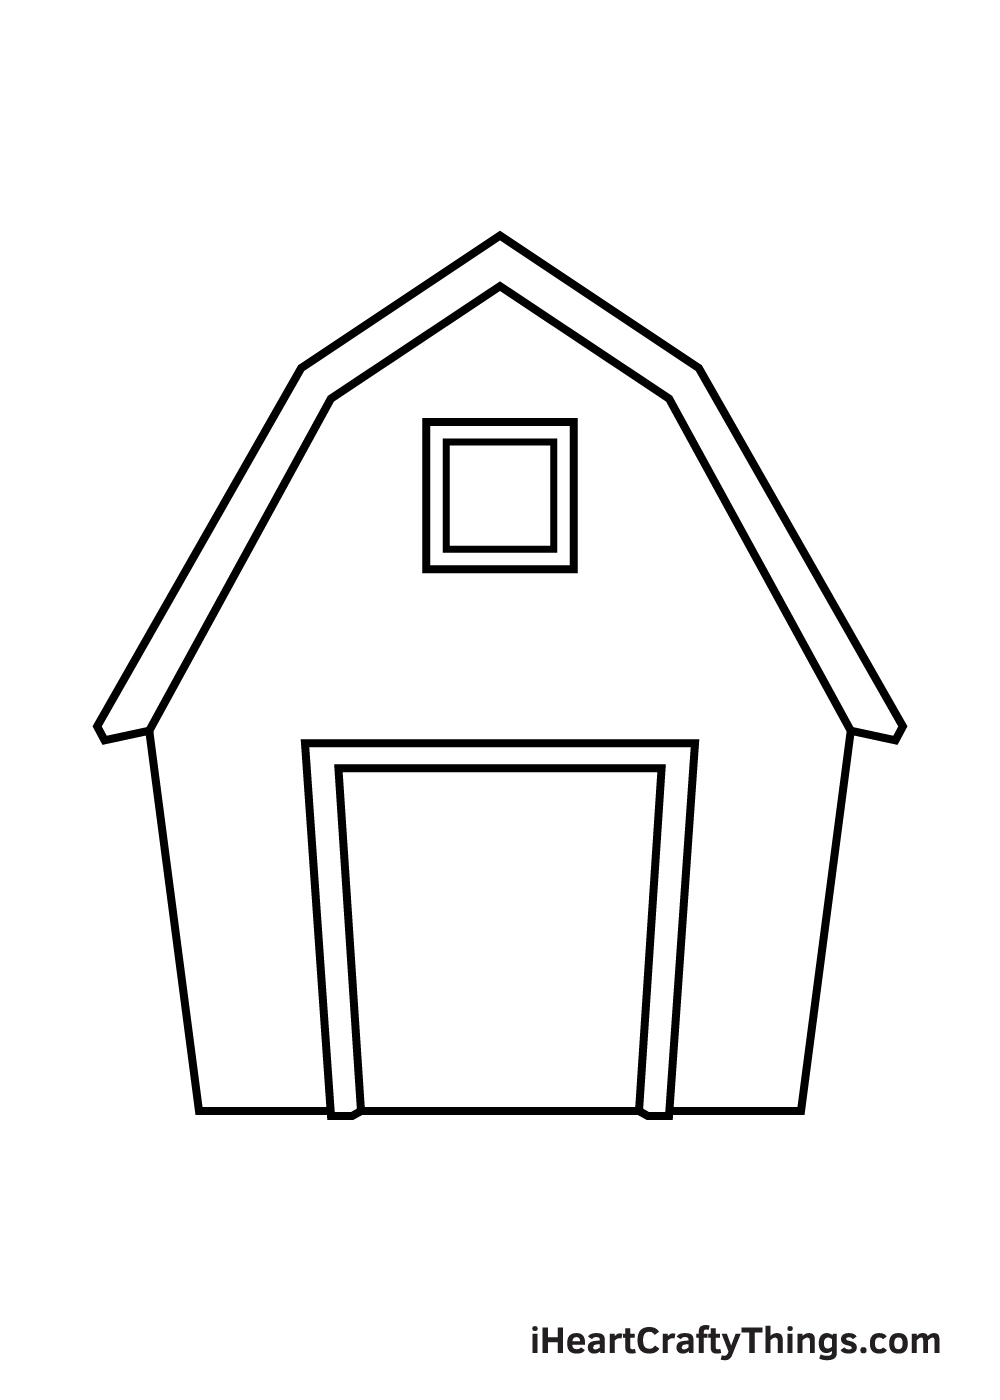
Draw a square shape with another smaller square inside the figure above the door.
This forms the window on the upper portion of the barn.
Step 6 – Then, Draw the Alley Doors
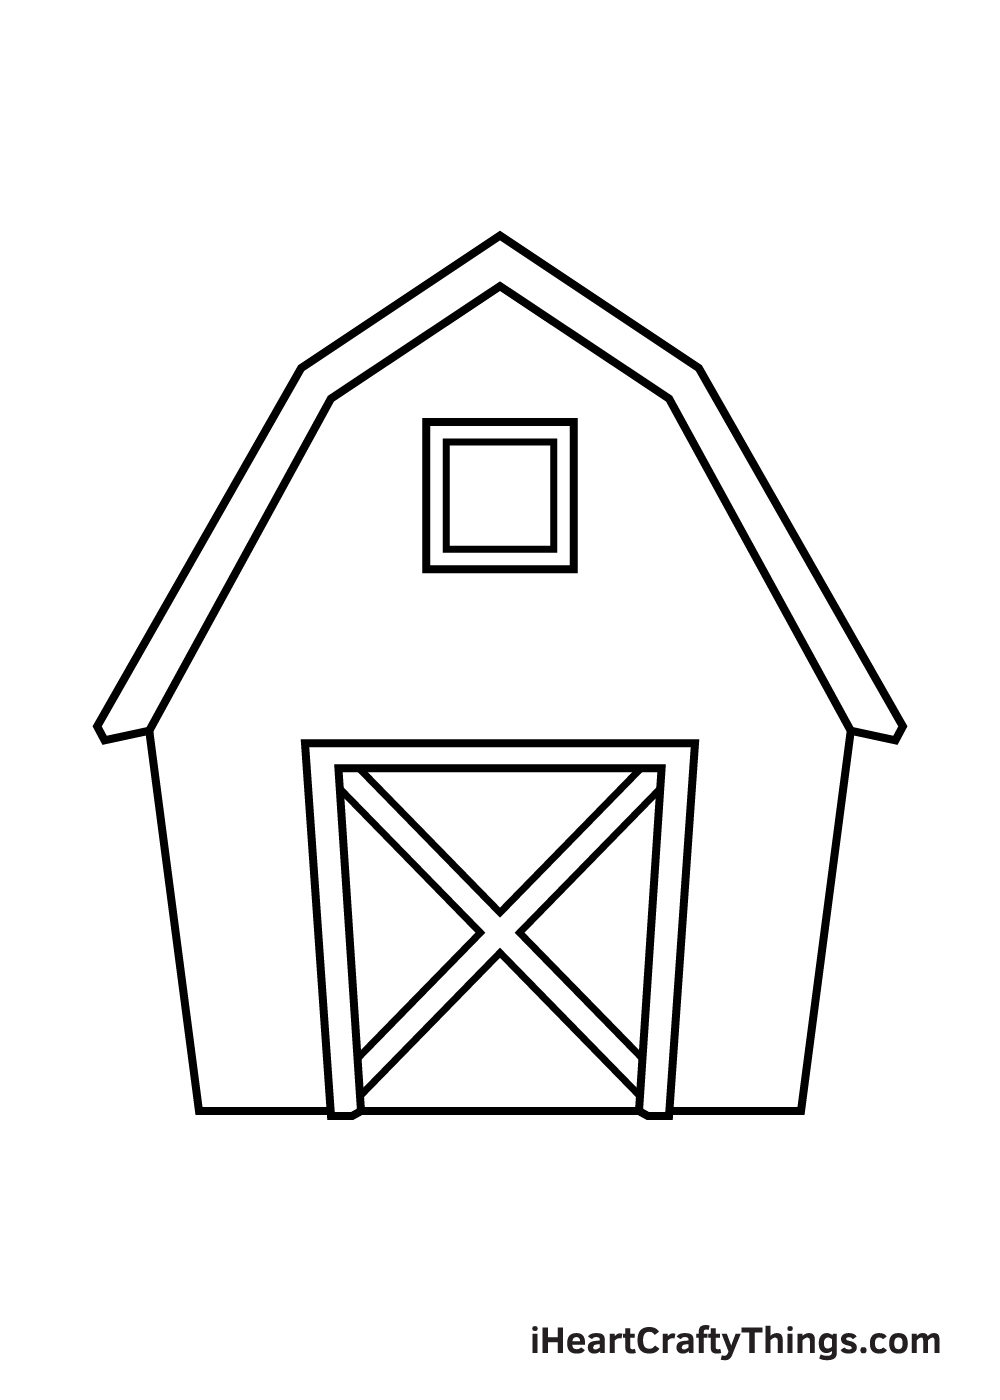
Draw intersecting diagonal line figures across the door. The first diagonal figure should go from the upper left corner to the lower right corner, while the other one starts from the upper right corner to the lower left corner.
Make sure that the lines are straight and aligned properly, forming an X pattern across the door of the barn.
Step 7 – Draw Ridges All Over the Barn
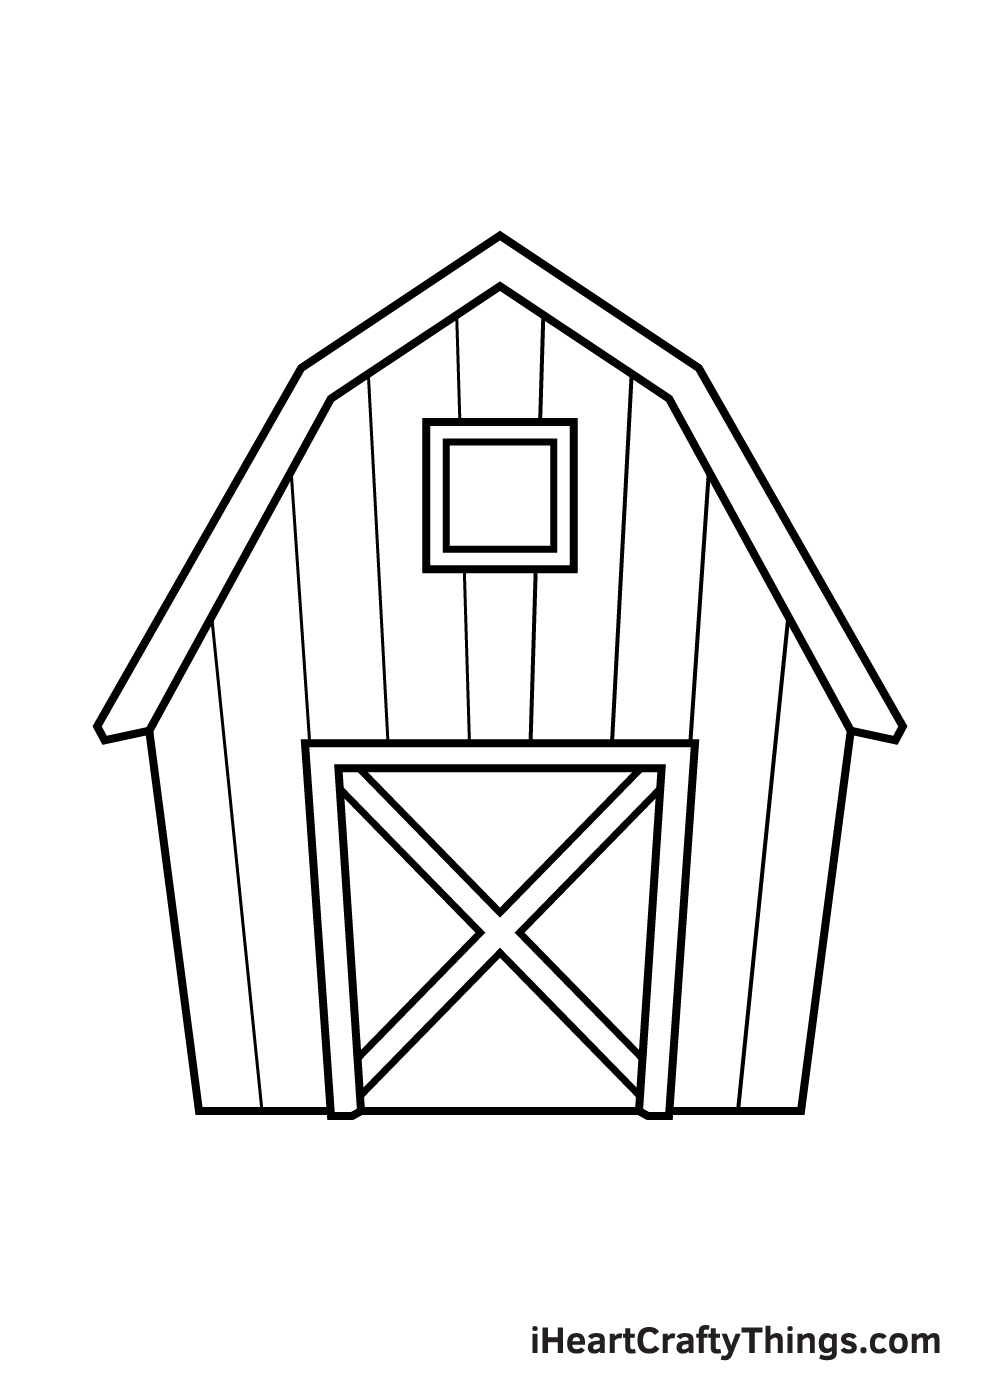
Since barns are primarily made of wood, these buildings typically have parallel vertical lines patterns all over its surface. In this step, that’s exactly what we’ll be drawing.
Draw multiple vertical lines down the length of the barn until the entire barn is furnished. Make sure to leave out the barn’s door and window when drawing these patterns.
Also, the lines should be straight and parallel to each other.
Step 8 – Add Patterns on the Barn’s Door
After drawing the patterns for the entire barn, it’s time to furnish the door. Simply draw multiple parallel horizontal lines across the door.
Make sure that the horizontal lines don’t overlap with the X pattern we drew previously.
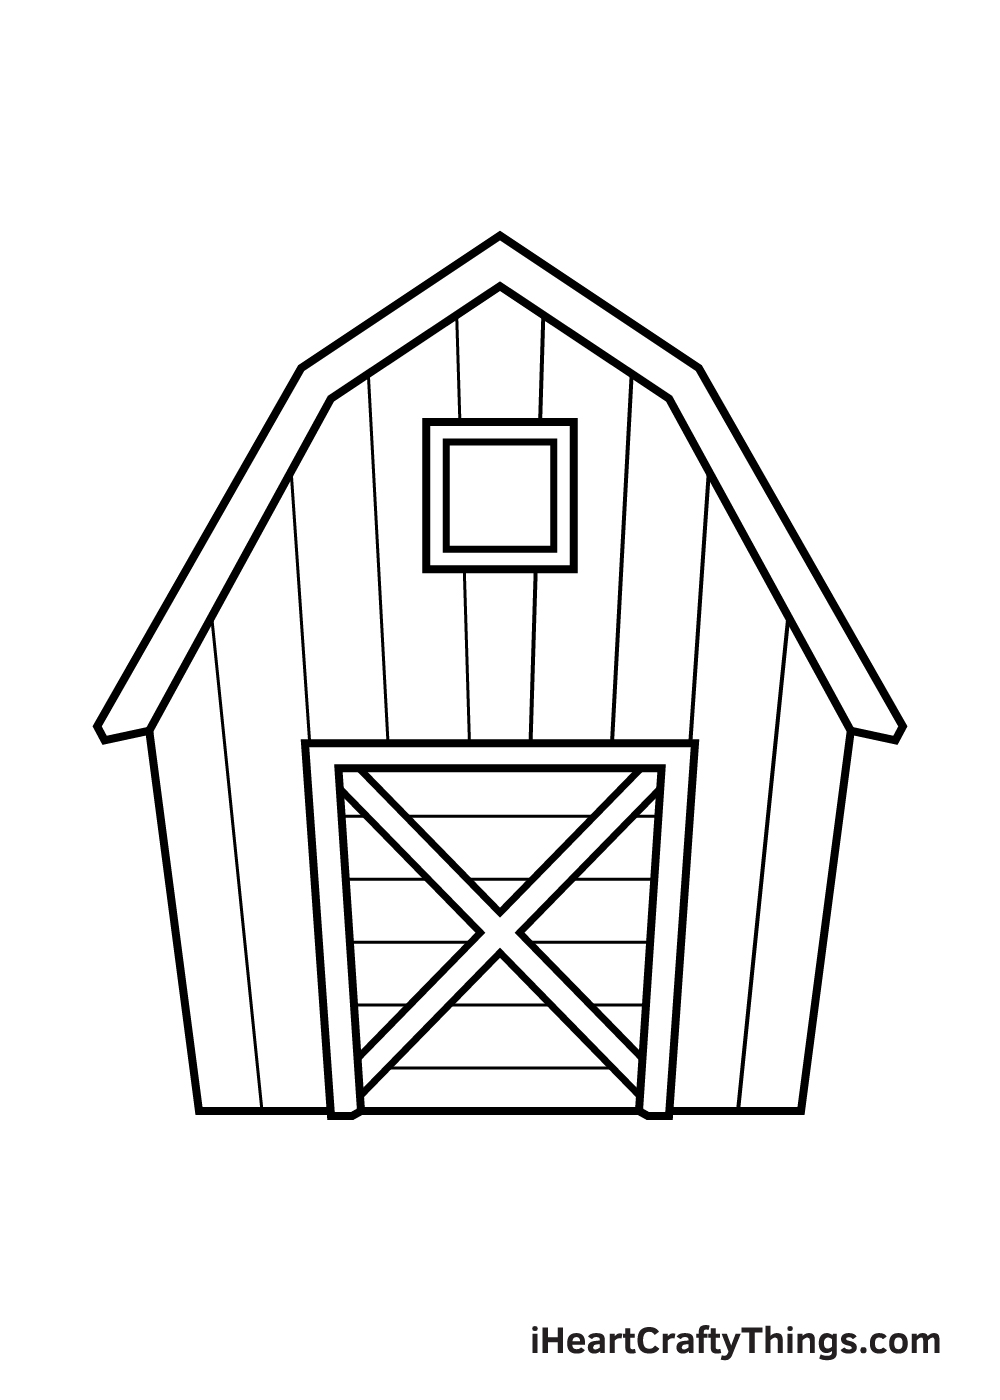
Step 9 – Now, Add Details on the Window
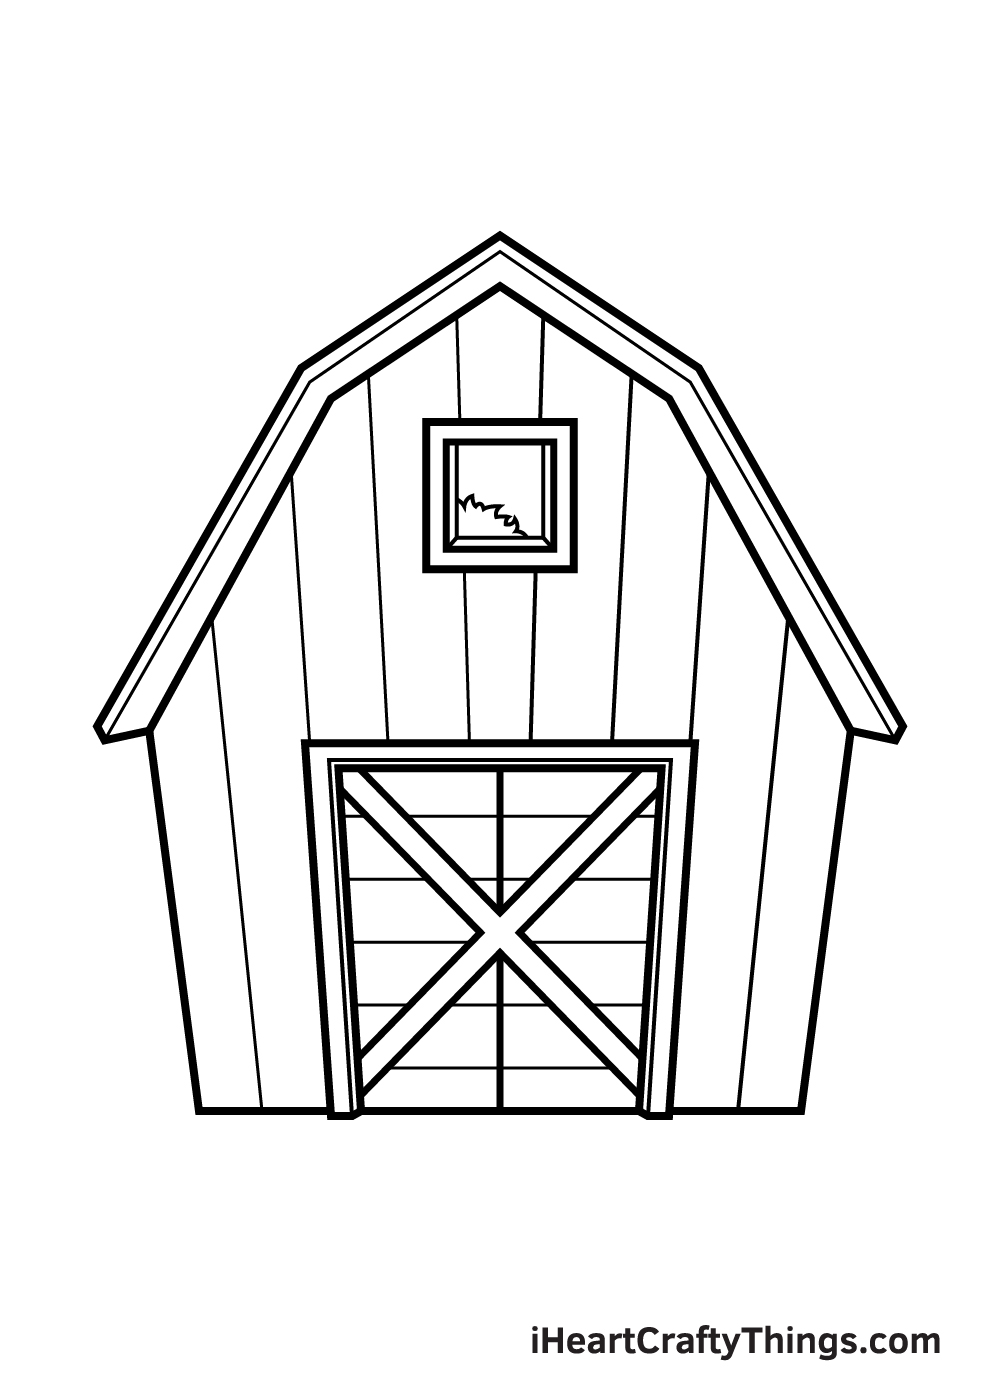
As you can see in the illustration above, our barn’s window is open and you can actually see the hay inside.
To create the hay, simply draw connected pointed shapes forming a curve within the space of the window.
Don’t hesitate to add customizations on this step. You can even draw a chicken or any other barn animals visible through the window!
Don’t forget to draw a vertical line in the middle of the door. This creates a division between the left and the right door. Also, make sure you draw a thin line within the roof to add an extra detail!
Now that we’ve successfully drawn a barn, it’s finally time for the part we are most excited about. In this step, we’ll be picking the colors and coloring the barn! This is optional, but we definitely recommend doing so to make your artwork colorful!
Since barns are primarily made of wood, its color ranges from brown to dark red. However, there are also barns that are painted with vibrant colors.
Feel free to use any colors you like! You can even use more than one color to make the barn multi-colored!
Have fun playing with colors and watch as the barn ultimately comes to life!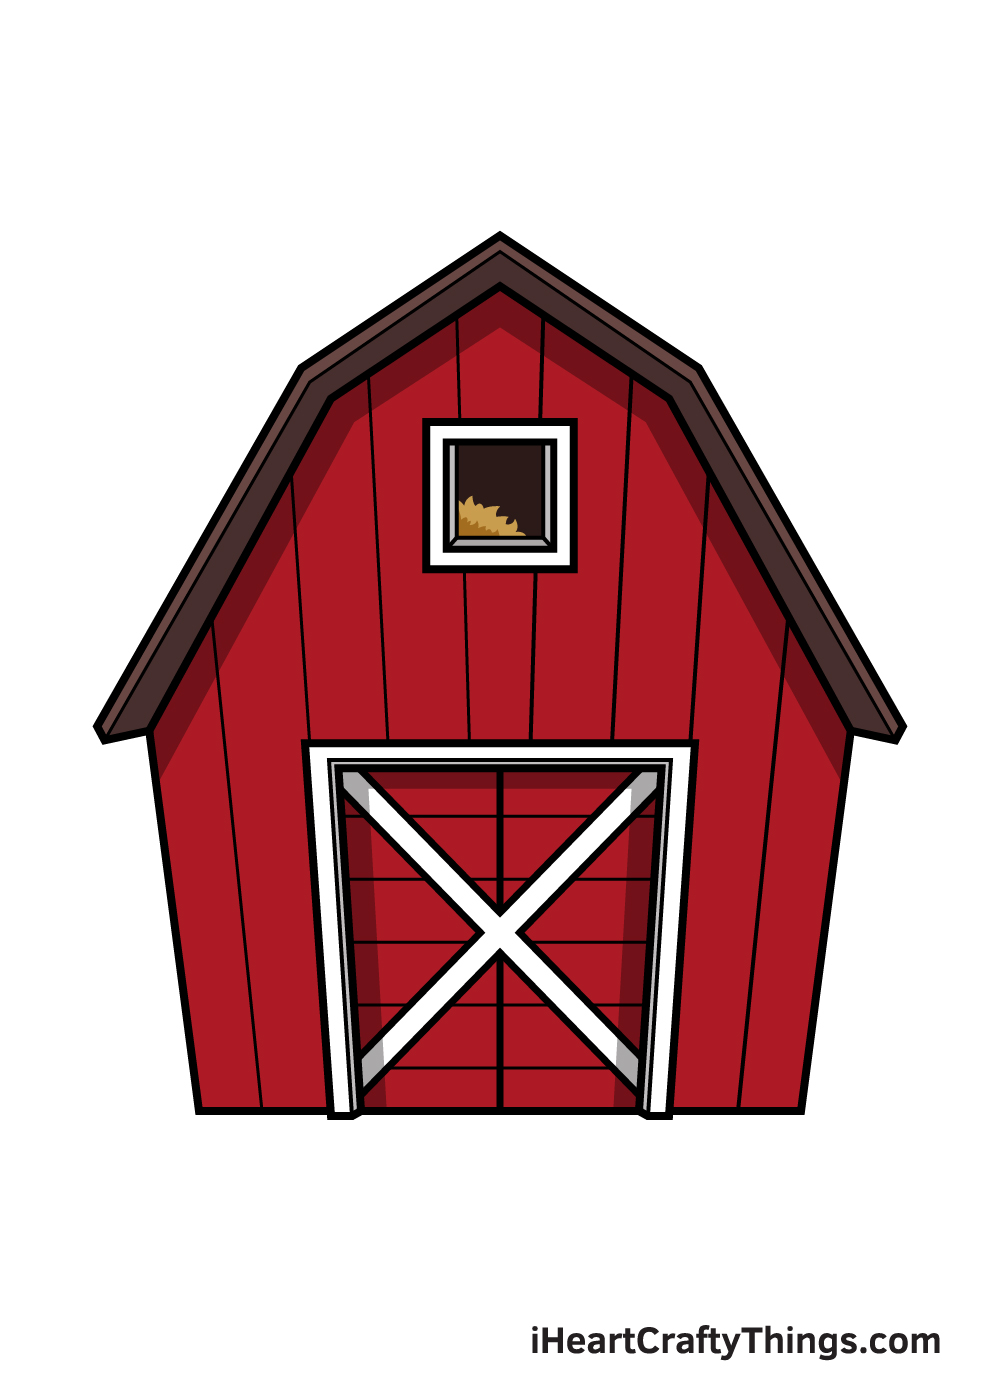
5 Tips To Make Your Barn Drawing Even Better!
Find out how to make your barn sketch look even better with 5 fun and easy tips!
We get a front view of one section of the building in this barn drawing we created, but you could easily extend it! Some bigger barns will have several sections, and you could easily add these to the barn.
Taking what you learned from the guide, adding sections to the side or behind the barn should be easy enough to do!
Whether you add more sections to the barn or keep it as is, you could also change some of the smaller details.
These could be as simple as adding another window section or maybe simply adding another one.
Or, you could have it so that the doors of the barn are open to show what’s inside. These are a few ideas, but there are lots of ways to put a unique spin on it!
If you’re feeling creative and a bit ambitious, you could also add some more of the farm around this drawing of a barn. If you were to do this, you should either use a big piece of paper or draw the barn nice and small.
That way, you would have plenty of room for a silo, a windmill or a farmhouse for a few ideas.
If you visit a real barn, you’re very likely to encounter some farm animals. These would be a great addition to this barn sketch!
There are so many different animals you could add, too. These could be big like horses or cows, or you could go for pigs, chickens and goats.
What farm animals would you add?
Red is a traditional color for barns, and it’s what we went with in our example for this drawing of a barn. While the red looks great, you could also go for any other colors you may prefer!
Once you have chosen your colors, you can also think about the art tools and mediums you will use to bring it to life.
Your Barn Drawing is Complete!
Hopefully, you enjoy this step-by-step barn drawing tutorial. Now that you can draw a barn, you can incorporate this to more drawings in the future.
Perhaps you can draw a barn with farm animals surrounding it next? Check out our drawing tutorials catalog to learn how to draw a goat, horse, sheep, and many more animals!
Once you’ve finished drawing and coloring the barn, go ahead and show off your masterpiece! Take a photo of your artwork and share it on our Facebook page and on Pinterest.
Don’t be shy—you’ve worked hard for it, so we’re sure it looks impressive! While you’re at it, make sure to like our Facebook page too!
We can’t wait to see your beautiful barn drawing!
Here Is A Quick Barn Drawing To Inspire You!
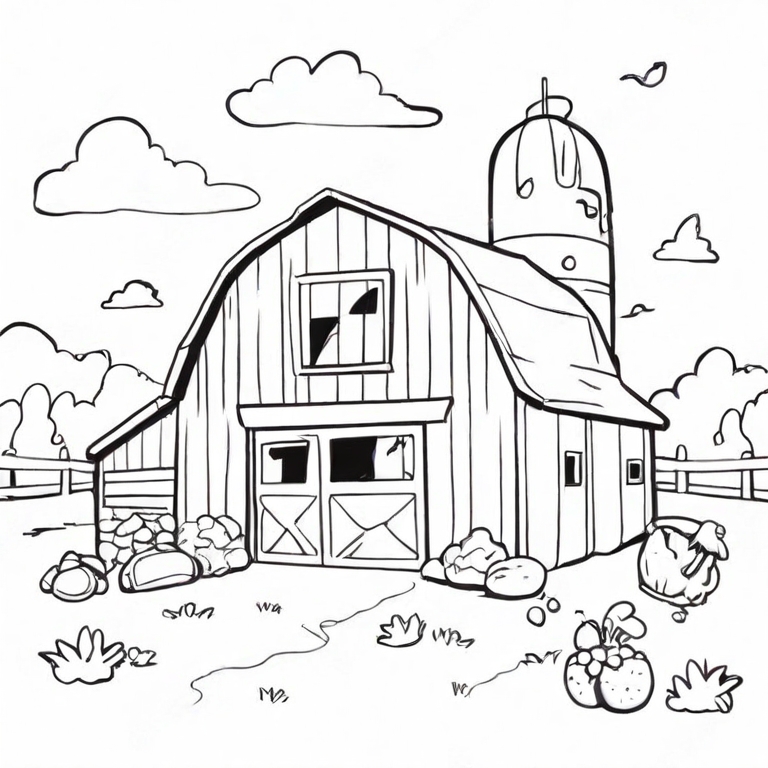
When you drive in the country, you will likely see barns as a part of the landscape. It’s an iconic aspect of country life, and so many people like to draw them and create art about barns.
It can be harder than expected to draw these distinctive buildings, though! Our artist Freddy has helped out by creating this quick barn drawing for kids to help you.
It has a lot of details and shows off the structure of a barn so that you can replicate it for your own drawing. You can also use this as a starting point to get you going.
Once you have mastered the drawing, you can add a lot of your own details and features. This would be a great way for you to create your very own farm paradise!
What features do you think this barn needs?