{This post contains affiliate links for your convenience. Read our full disclosure policy for more information.}
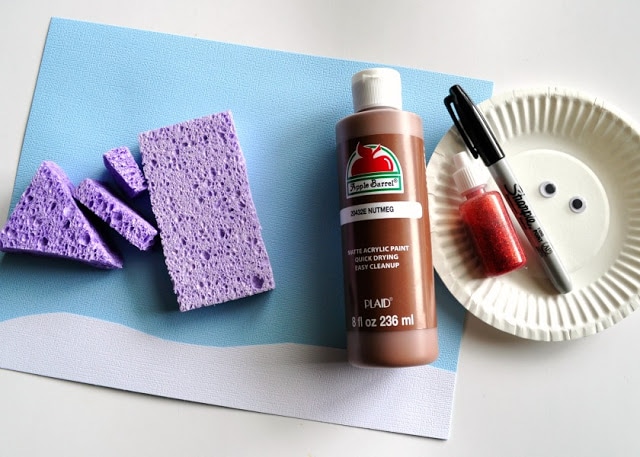
Supplies needed:
- light blue and white cardstock paper
- large sponge
- brown and white paint
- small paper plates
- red glitter glue
- googly eyes
- black permanent marker
- glue
Tutorial:
1. Prepare your supplies
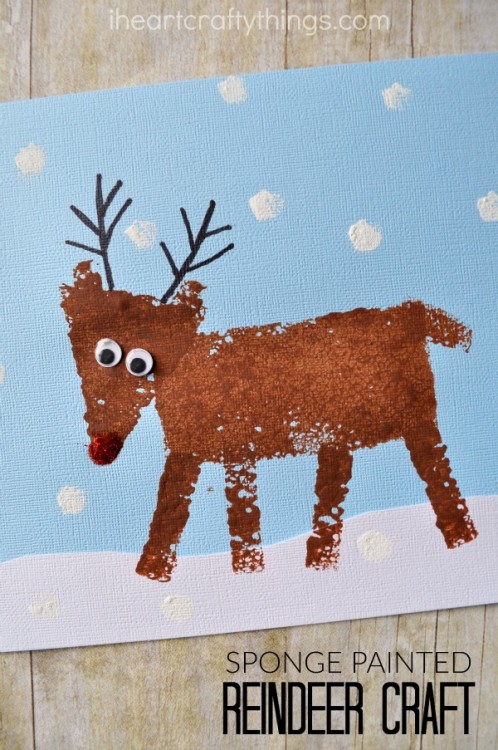
Start by gathering your supplies and cutting out the shapes you’ll need from your large sponge. You’ll need a triangle for the reindeer face, rectangle for the body, and two skinny rectangles for the legs and tail. We also ended up cutting out a small circle to use for dabbing snow (not pictured).
2. Make snow bottom
Cut a section off along the bottom of your white cardstock paper for snow and glue it at the bottom of your light blue cardstock paper.
3. Paint a reindeer
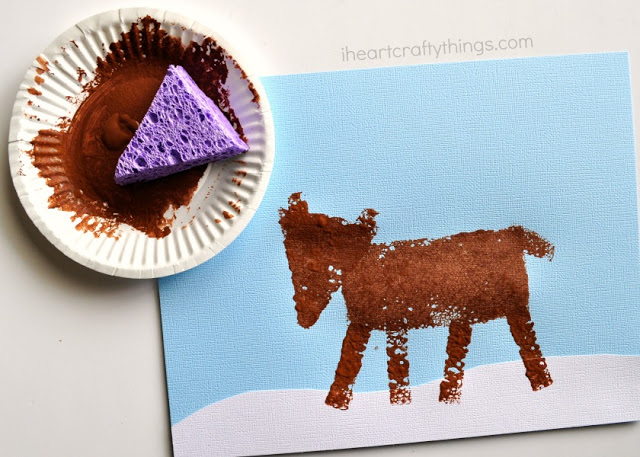
Pour some brown paint onto a small paper plate. Dab your large rectangle sponge into the paint, covering the bottom of it completely and then press it in the middle of your blue cardstock paper. Continue by dabbing in the triangle in the paint and onto your paper for the reindeer head. Next the longer skinny rectangle for the four legs. Finish by using the smallest rectangle for the tail and two ears.
4. Paint snow on cardstock
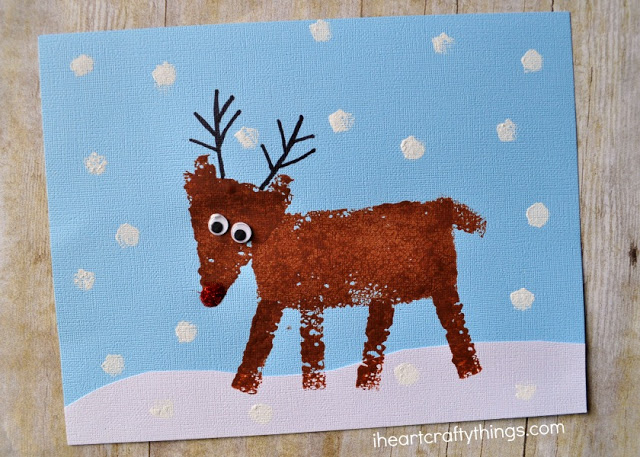
At this point we decided to cut a small circle out of our sponge and used white paint to dab it in and then on our paper all over to make snow falling. It’s an optional step but I think it looks great!
5. Finish with adding face details
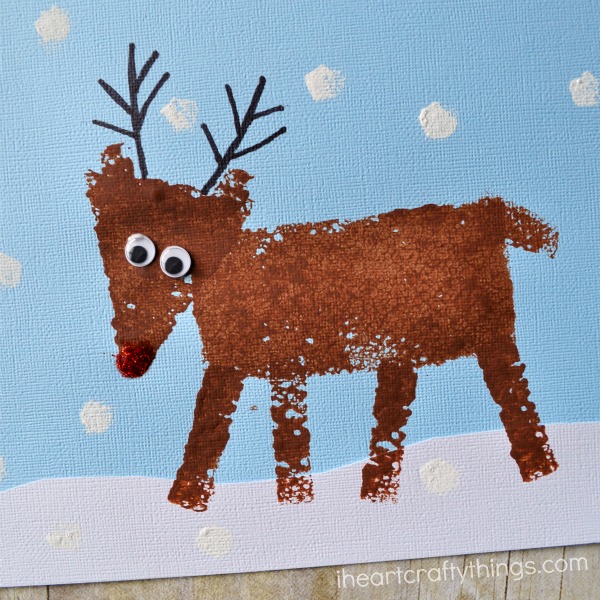
Once your paint has dried, glue googly eyes onto your reindeer face, draw on antlers with your black marker and finish your reindeer craft by making a bright, shiny Rudolph nose with you red glitter glue.
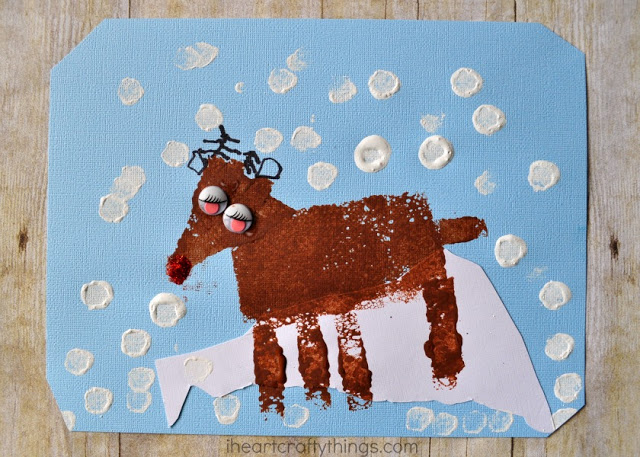
Here is my five year old daughter’s finished reindeer craft. I love her big, puffy snowflakes and silly googly eyes! And how adorable is it that she cut off the corners of her paper?! She told me it gave it a special touch.


