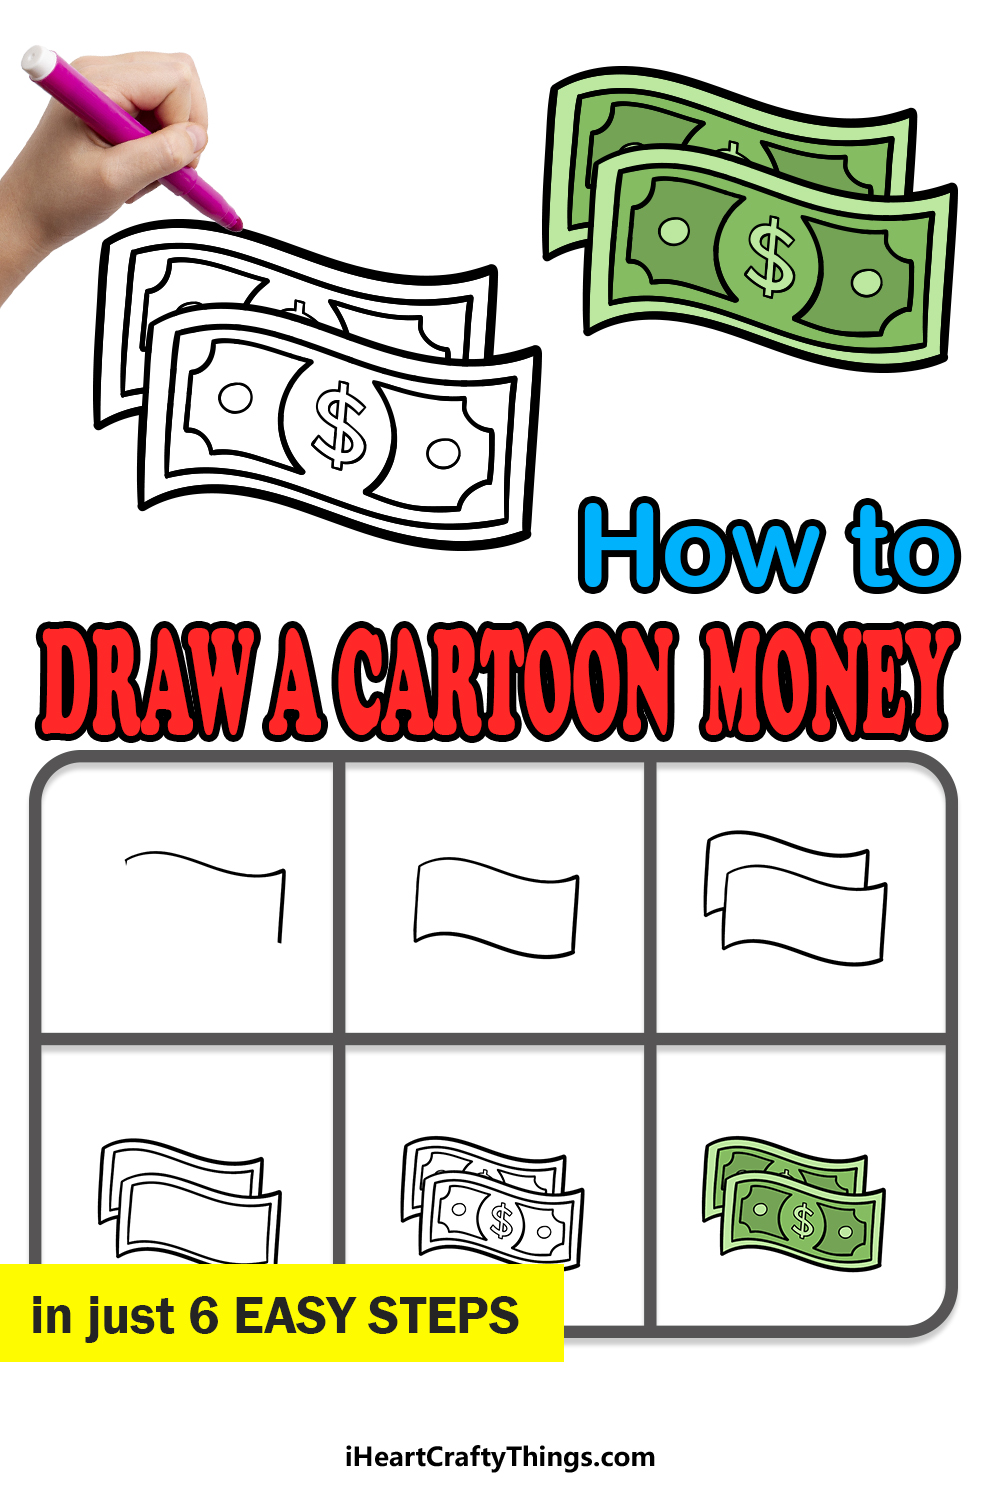
Money is a big part of all of our lives. It can be used to buy all sorts of things, from essentials like food to fun items like video games.
Whatever it may be used for, it is something everyone needs to spend from time to time, and it has been the focus of many stories and visual representations.
By learning how to draw cartoon money, you can create all kinds of intriguing images!
This tutorial is all about showing you a fun and easy way that you can draw this important resource. By the time you have learned it, you will be able to create all sorts of fun scenarios!
So let’s begin this step-by-step guide on how to draw cartoon money in just 6 fun and easy steps.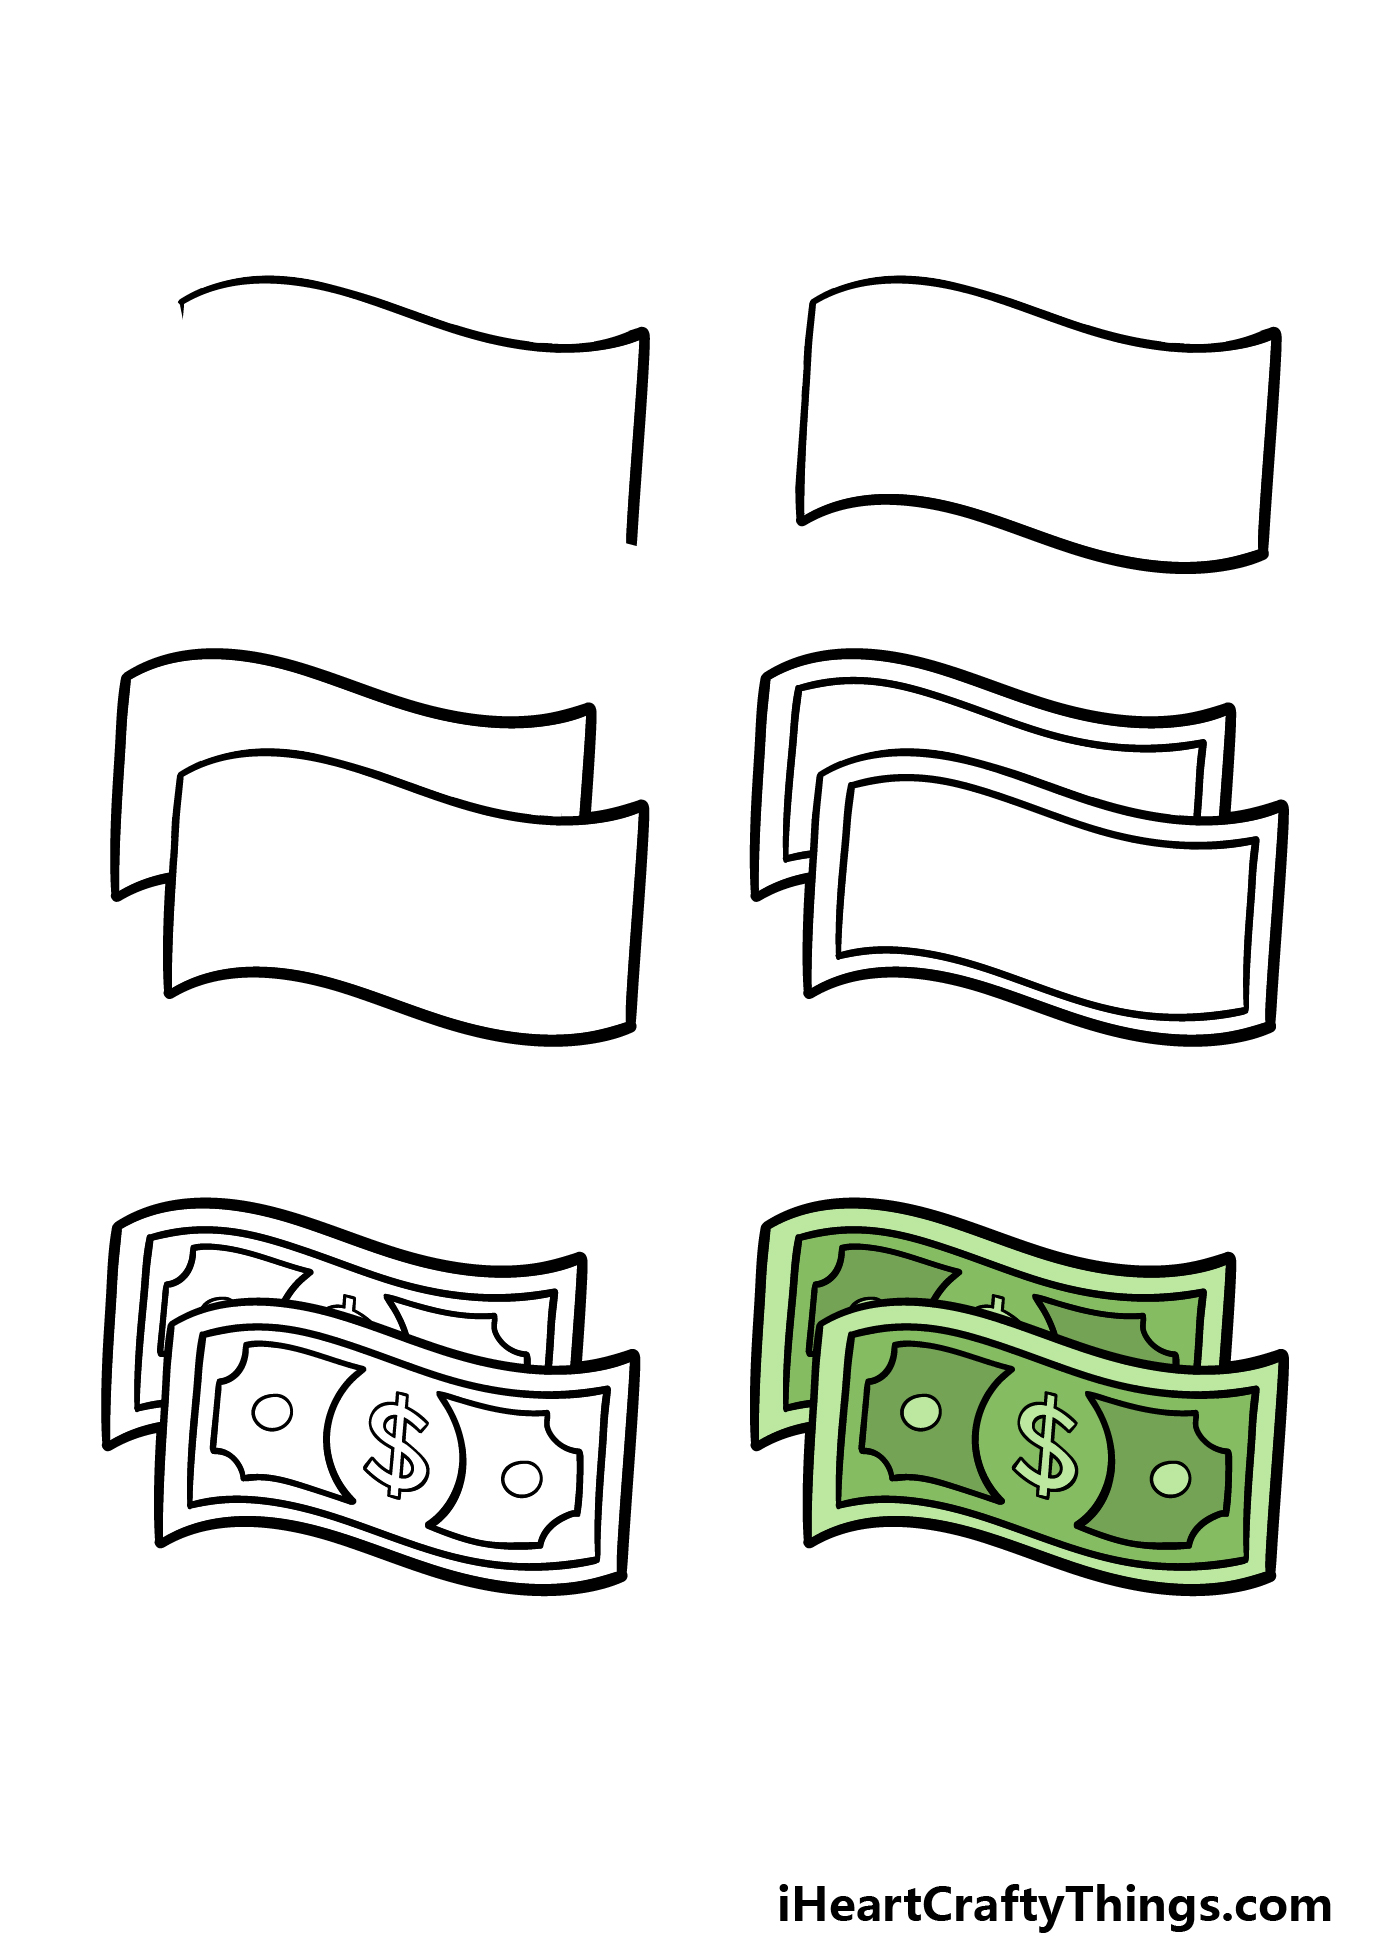
How to Draw Cartoon Money – Let’s Get Started!
Step 1
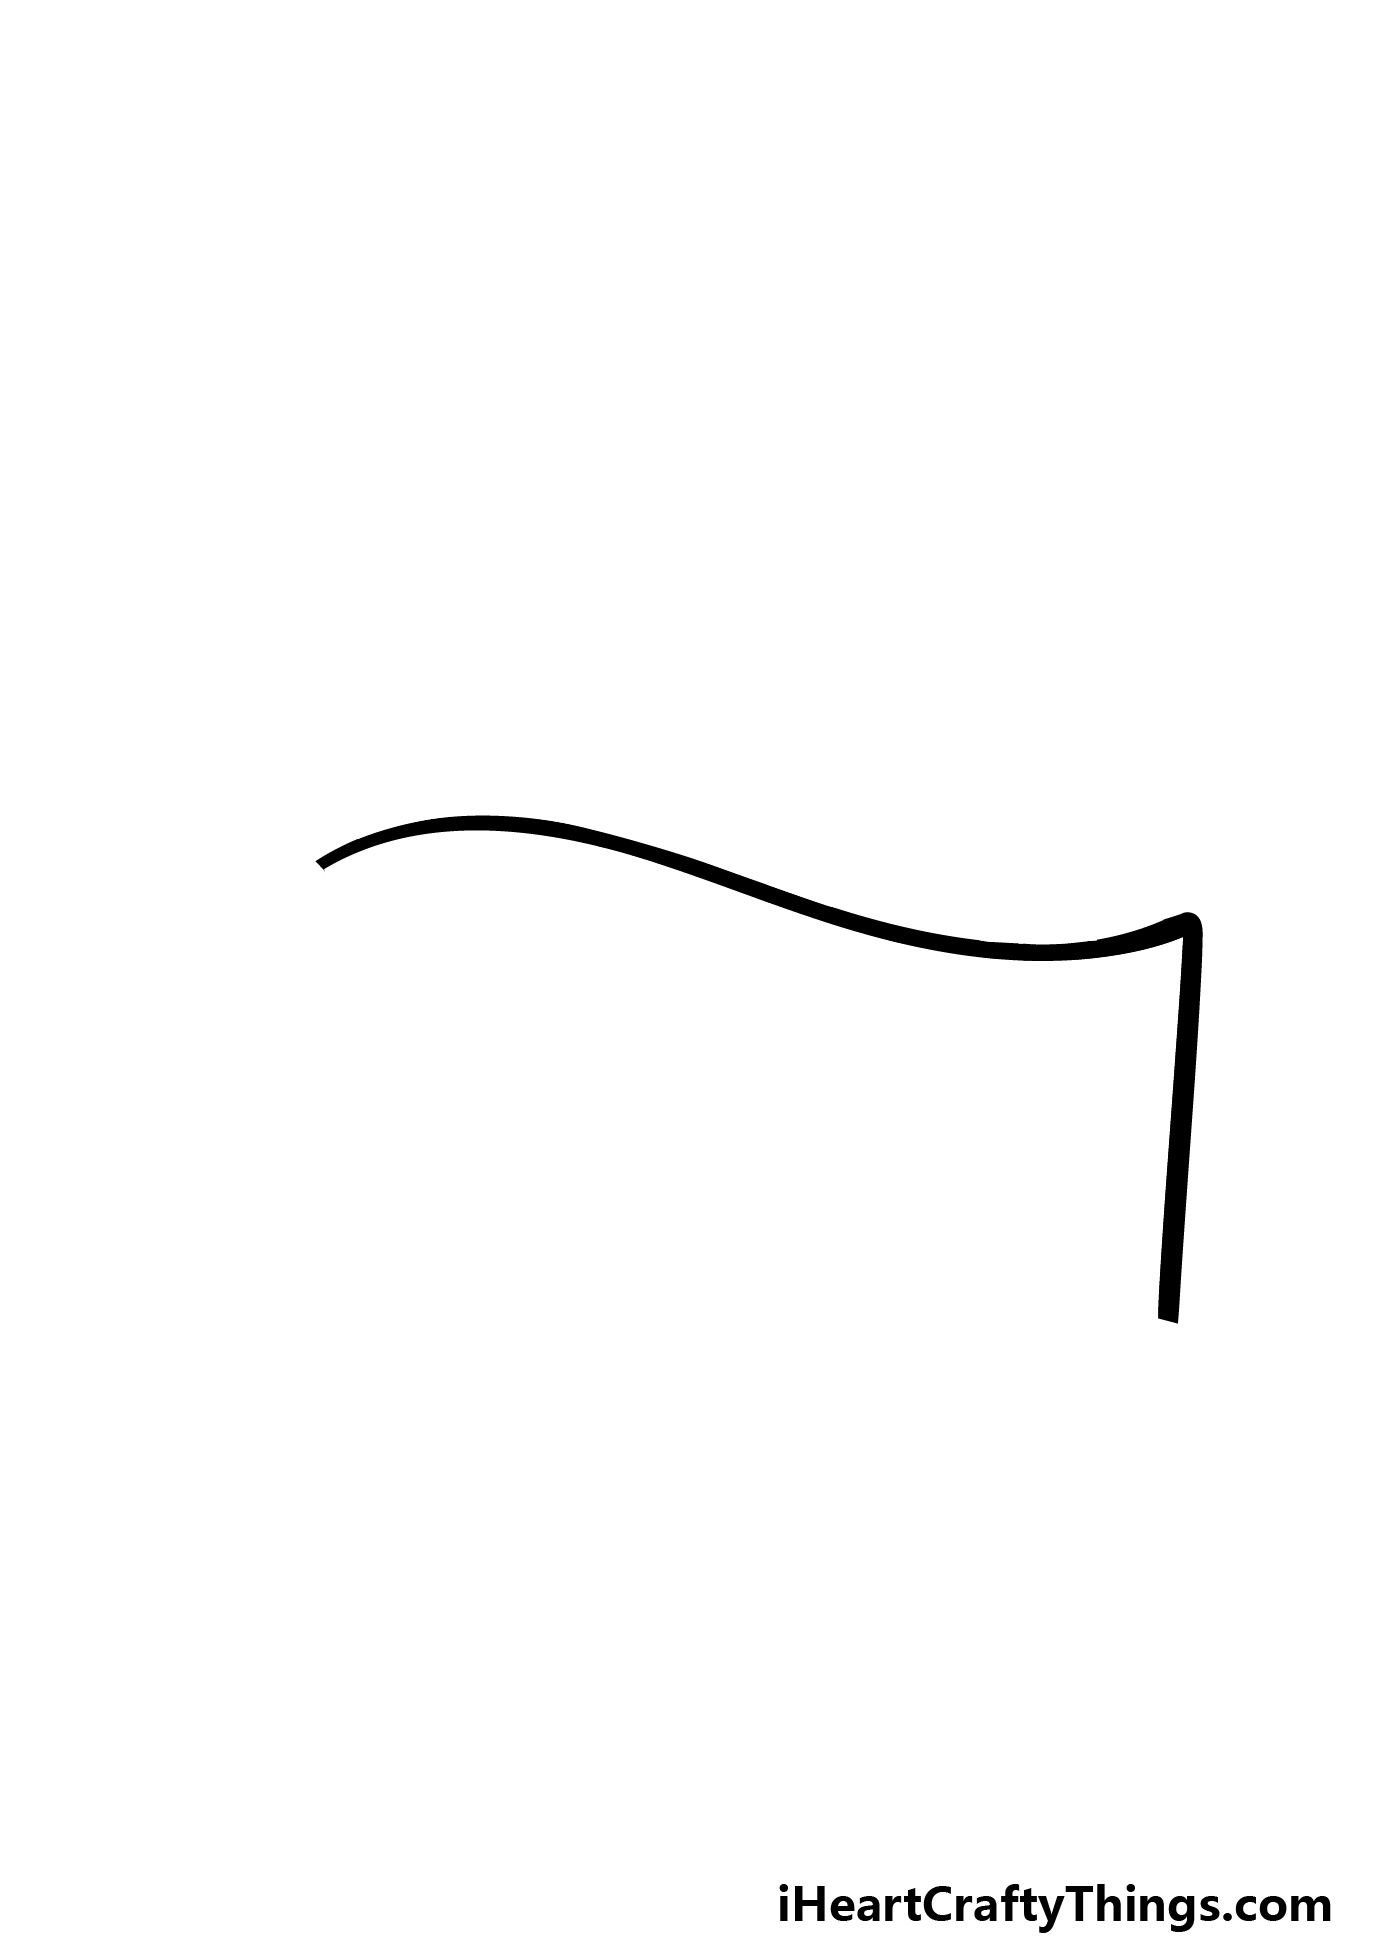
To begin this cartoon money drawing, we will start things simple. As you can see in the later images of the guide, we will be drawing two bills next to one another.
For now, we will be drawing some wavy lines for the top and side of the first bill. This will be done in such a way as to make the money look vaguely flag-shaped.
First, draw a wavy line for the top edge of the bill. There will then be a pointy tip at the top right of the bill.
This will extend down in a straight line for the right-hand edge, and once these are drawn we can then move on to step 2!
Step 2 – Now, draw the rest of the money outline
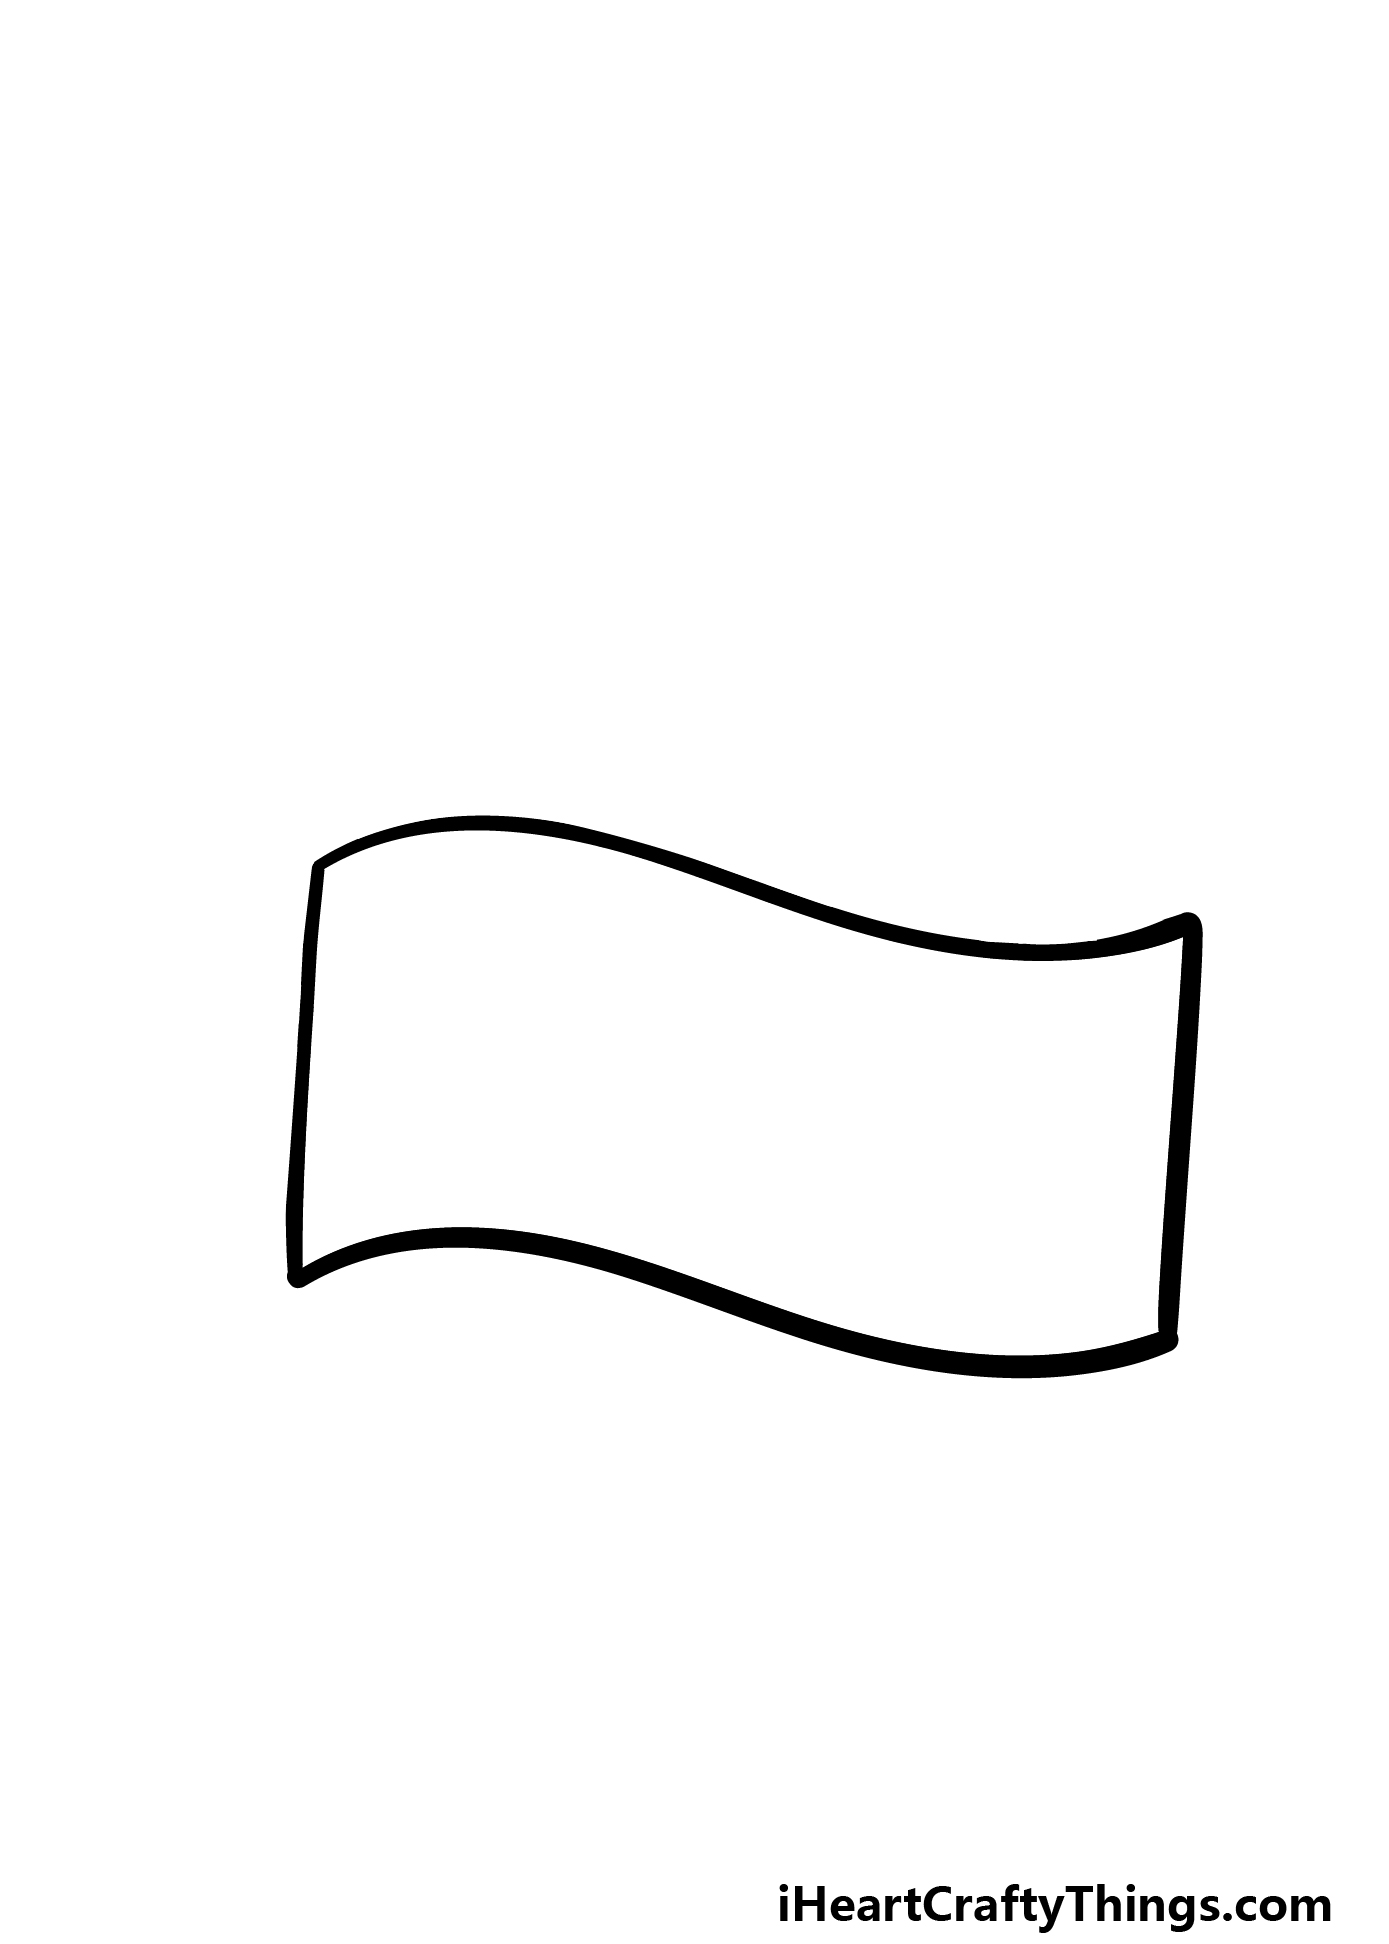
For the second step of this guide on how to draw cartoon money, we will finish off the outline of the first bill you started drawing in the previous step.
To begin this, first draw another straight line coming down from the left-hand top tip of the money. When you have done this, there will be a pointy tip there just as there was for the opposite top edge.
Finally for this step, add a wavy line for the bottom edge to finish off the first bill. Then we can proceed and add some more details to this drawing!
Step 3 – Next, add another bill behind the first one
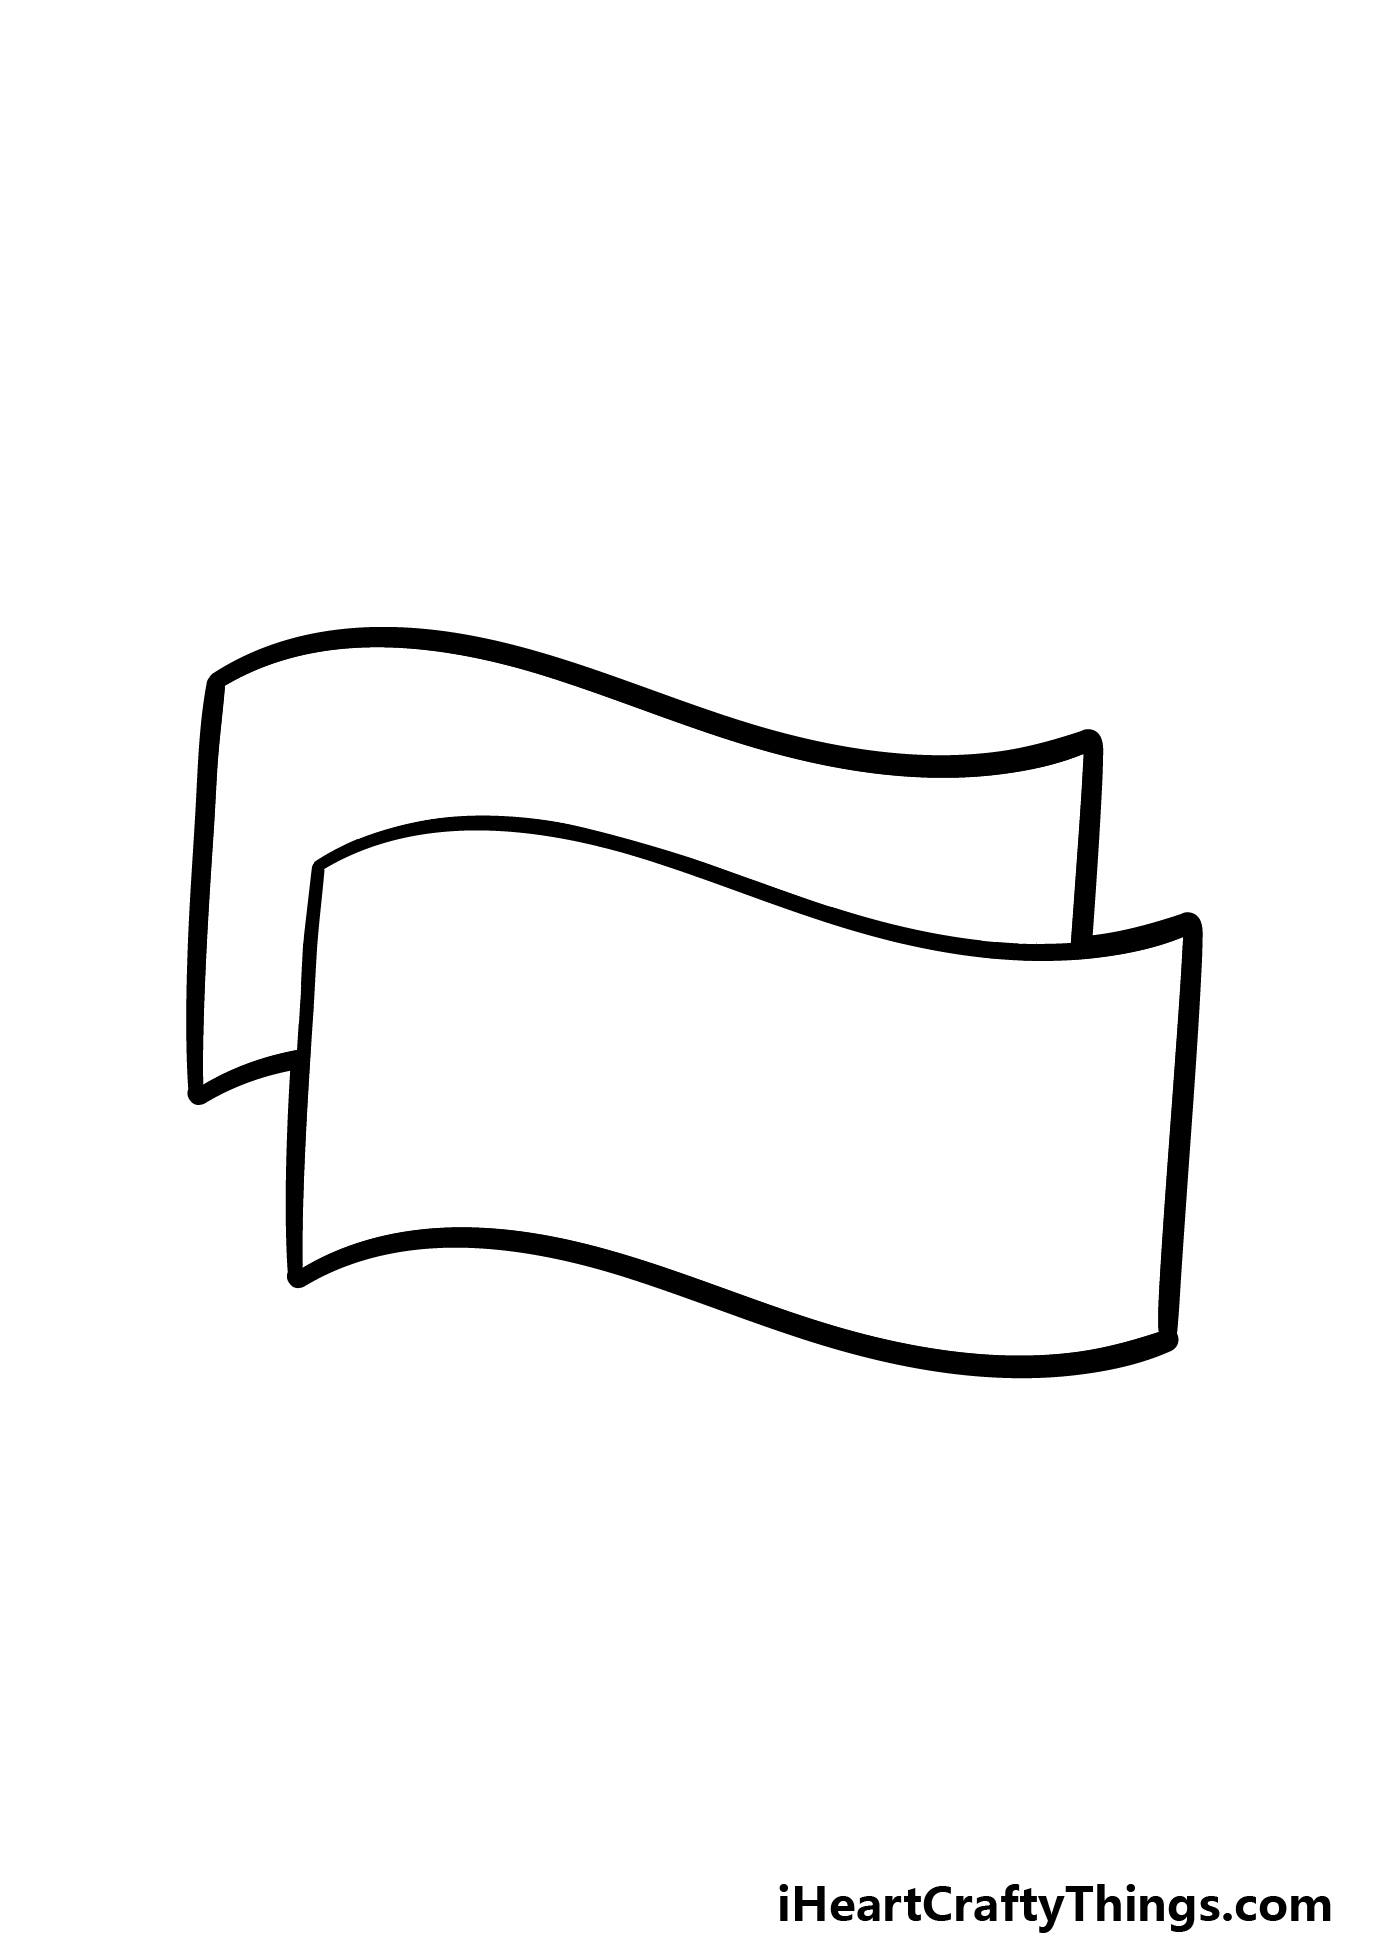
This drawing is looking really good so far! In this step, we will be adding the second bill behind the first on, and this will mean essentially replicating what you did in the previous steps.
This one will be posed behind the first bill, and because of this we will only see certain edges of it.
Other than this, there will be the same pointy tips and wavy lines that we drew for the previous one. Now that both outlines are drawn, we can begin adding some finer details in the next few steps of the guide.
Step 4 – Now, draw the first inner details of the bills
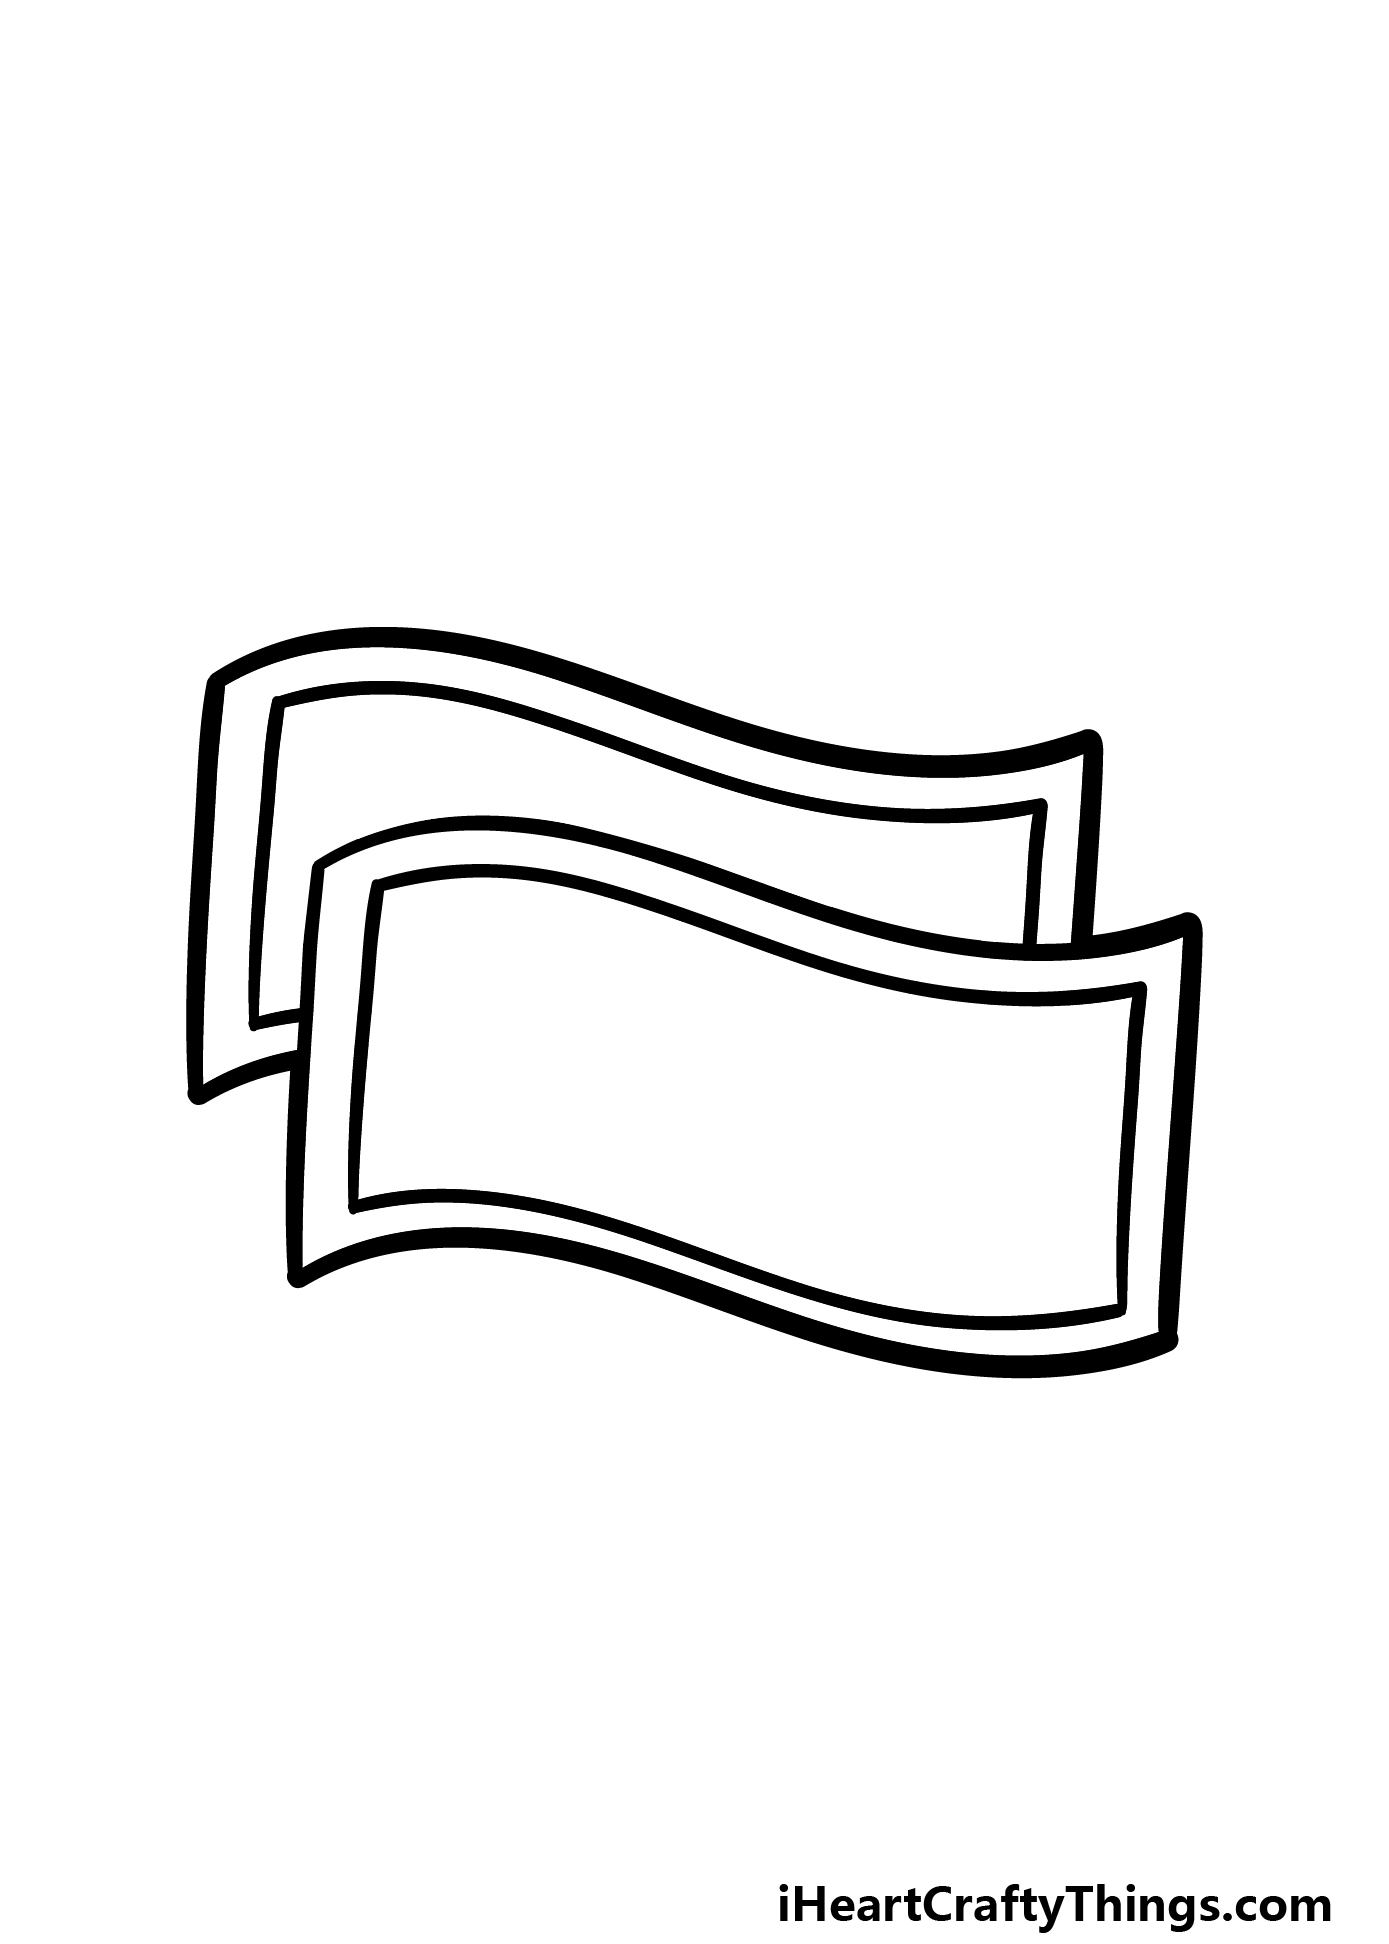
In this fourth part of your cartoon money drawing, we will be adding the first inner details to the money.
We are drawing an interpretation of money instead of a specific real currency, but it will still be based on a regular dollar.
This means that there will be a border inside of the outlines, and they will run closely to the inner perimeter of the outlines.
Basically, these inner details should look like smaller versions of the outlines you have drawn already.
With these done, we can start adding some final details and touches in the next step of the guide.
Step 5 – Add the final details to your drawing
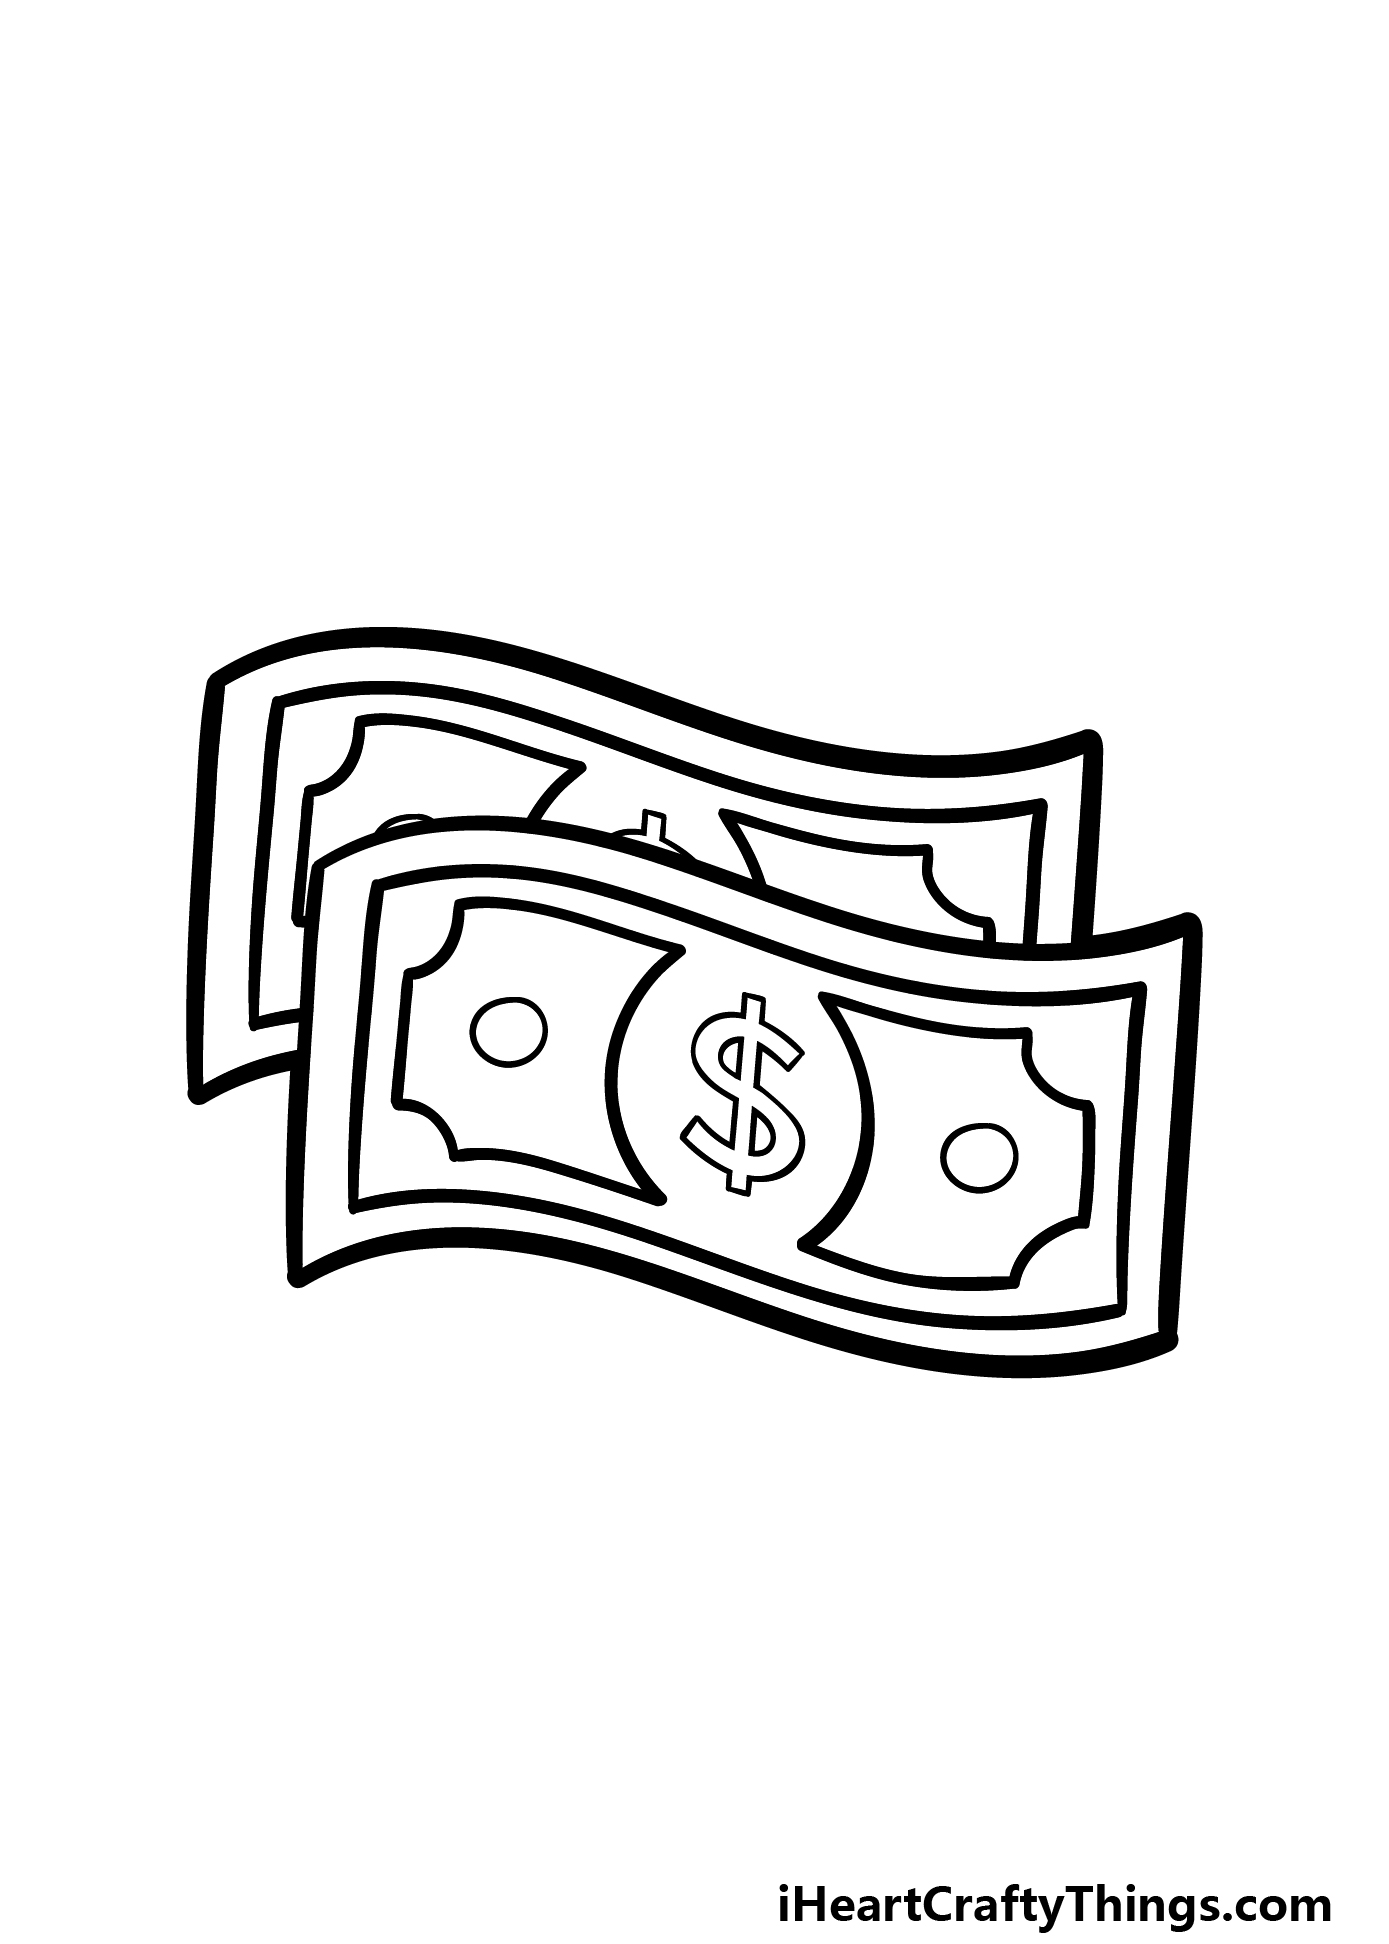
As we mentioned in the previous step of this guide on how to draw cartoon money, we are not drawing a real representation of a specific currency.
That being said, we can begin drawing the details. You can start this by drawing a dollar sign onto the center of the bill.
It will be drawn like this: $. The reference image will show you how you can draw this sign in a bubble font.
Then, we will draw a shape on either side of this dollar sign. These shapes will be rounded on the inner edges and more squared on the other edges.
They will go on both bills, and then you are finished with the design!
Before you proceed to the final step, you can also add some extra details of your own. There are lots of fun designs and settings you could create around them.
For example, you could draw a bank robbery scene around them, but this is just one fun idea. What else can you think of for this image?
Step 6 – Finish off your drawing with color
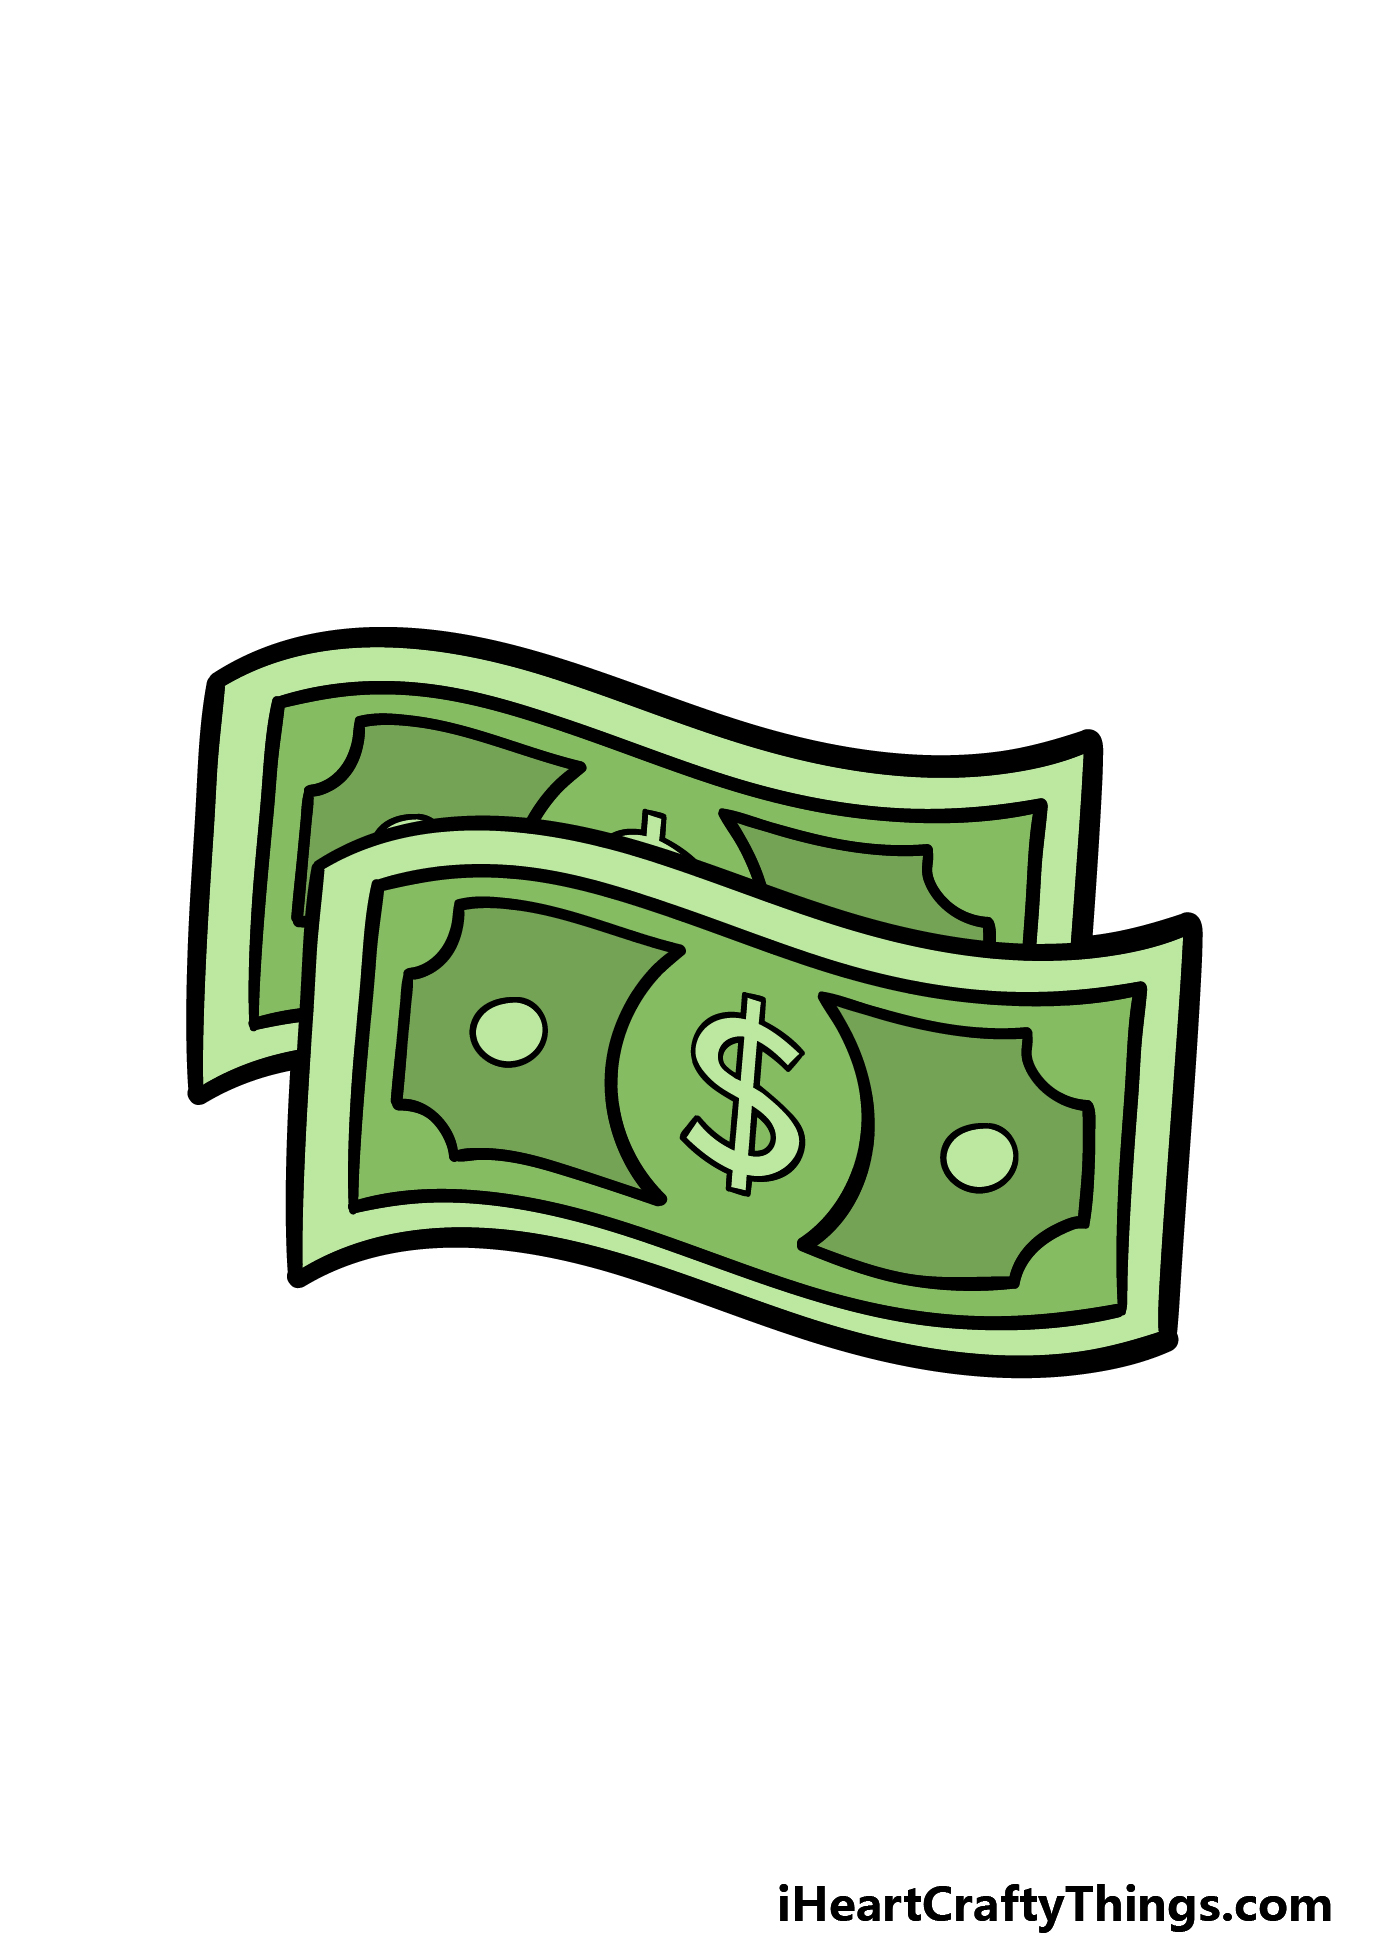
You’re ready to finish off this drawing with some color! In our reference image, we took more inspiration from a US dollar and colored it in with various shades of greens.
The outer borders are done in a lighter green, while some slightly darker shades are used for the inner portions.
These are some colors you could use for your own image, but it’s up to you to decide!
You could go for some more colors if you prefer, and these colors could be used to emulate real currencies that you may be familiar with.
It’s up to you now, so what colors, art tools and mediums do you think you will go for when coloring this picture?
Do this to take your cartoon money drawing to the next level
Make this cartoon money sketch look like a million bucks with these tips we have for you!
In this drawing of cartoon money, we have two bills, and this was done to make it easier to draw. Now that you have mastered drawing this cartoon money, you could add many more to the image!
No one would ever say no to a bigger pile of money, so you could add as many more as you like to make this artwork even richer. There is no limit to the fortune you can create in this image!
When you have a big pile of money, there are a few ways that you can store it. You could show some of these alternative ways in this drawing.
One common way will be to have stacks of money held together with paper bands. This would be a cool way to draw this cartoon money, but there are other ways you could do it.
You could also add different forms of money such as coins or even a credit card to shake things up.
For this cartoon money drawing, we didn’t use any specific real currency for the drawing. If you want to make it more realistic, you could add some details to represent a real form of currency.
You could make it look like your local currency or maybe make it look like the currency of a place that you love to visit in real life.
Finally, you could finish off this cartoon money sketch with a cool background. This picture would allow you to make the background as simple or as complex as you like!
For example, it could be simple as having the money sitting on a table. Or, you could make an elaborate scene and show a bank heist in progress.
These are just a few ideas, but you can really let your imagination run wild with this one! Do you have some ideas for some cool backgrounds you could create here?
Your Cartoon Money Drawing is Complete!
You have now finished this guide, and you have a really fun drawing to show for it!
We hope that you had a great time working on this guide on how to draw cartoon money, and we hope that it showed you how easy and fun it is.
Now we invite you to show us what you can do as you finish off with some of your own awesome extra details, color choices and other additions!
When you’re ready for more, you can also check out our website for many more incredible drawing guides and other activities to enjoy.
We look forward to seeing you there soon! Be sure to check in often, as we have many more coming out soon.
You can then share your finished cartoon money drawing on our Facebook and Pinterest pages for us to see. We can’t wait to see how it turned out!