With how busy life can get, sometimes it can be nice to find a quiet place to visit where you can be alone with nature.
A forest is a great place to do this, as it is not only quiet and tranquil but you also get to enjoy plenty of natural beauty.
It’s no wonder why so many artists have used forests as the inspiration for their artwork, and now it’s your turn to create some!
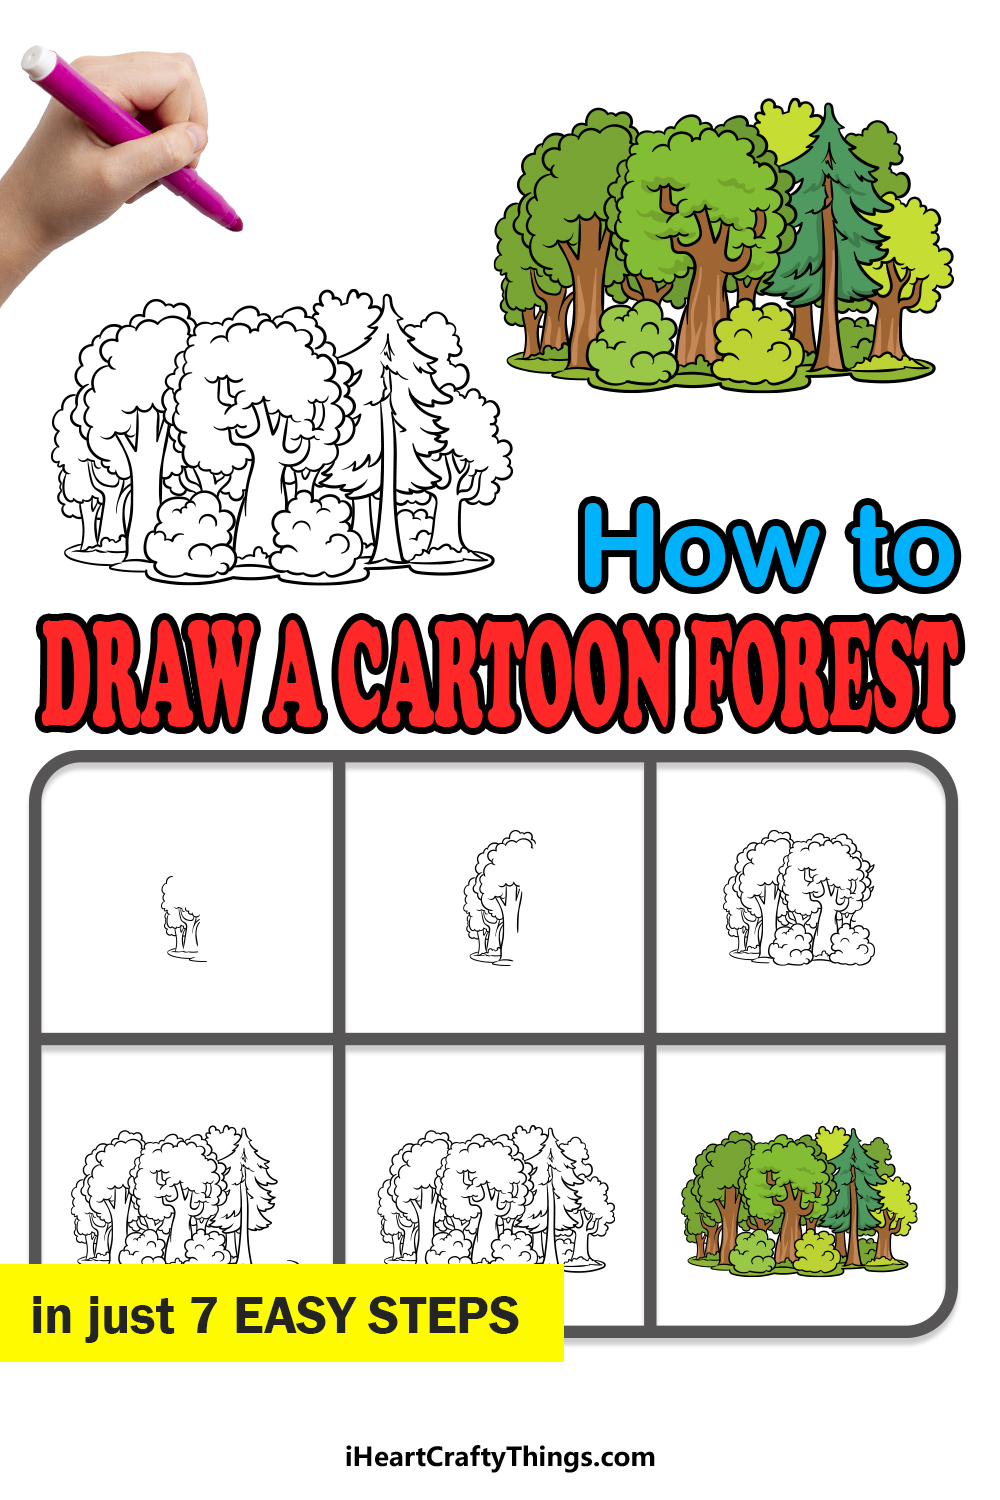
This guide on how to draw a cartoon forest will show you how to create a pretty forest with ease.
It may be possible to get lost in a forest, but with these steps we will make sure you don’t get lost with this drawing!
With that, let us begin this step-by-step guide on how to draw a cartoon forest in just 7 easy steps!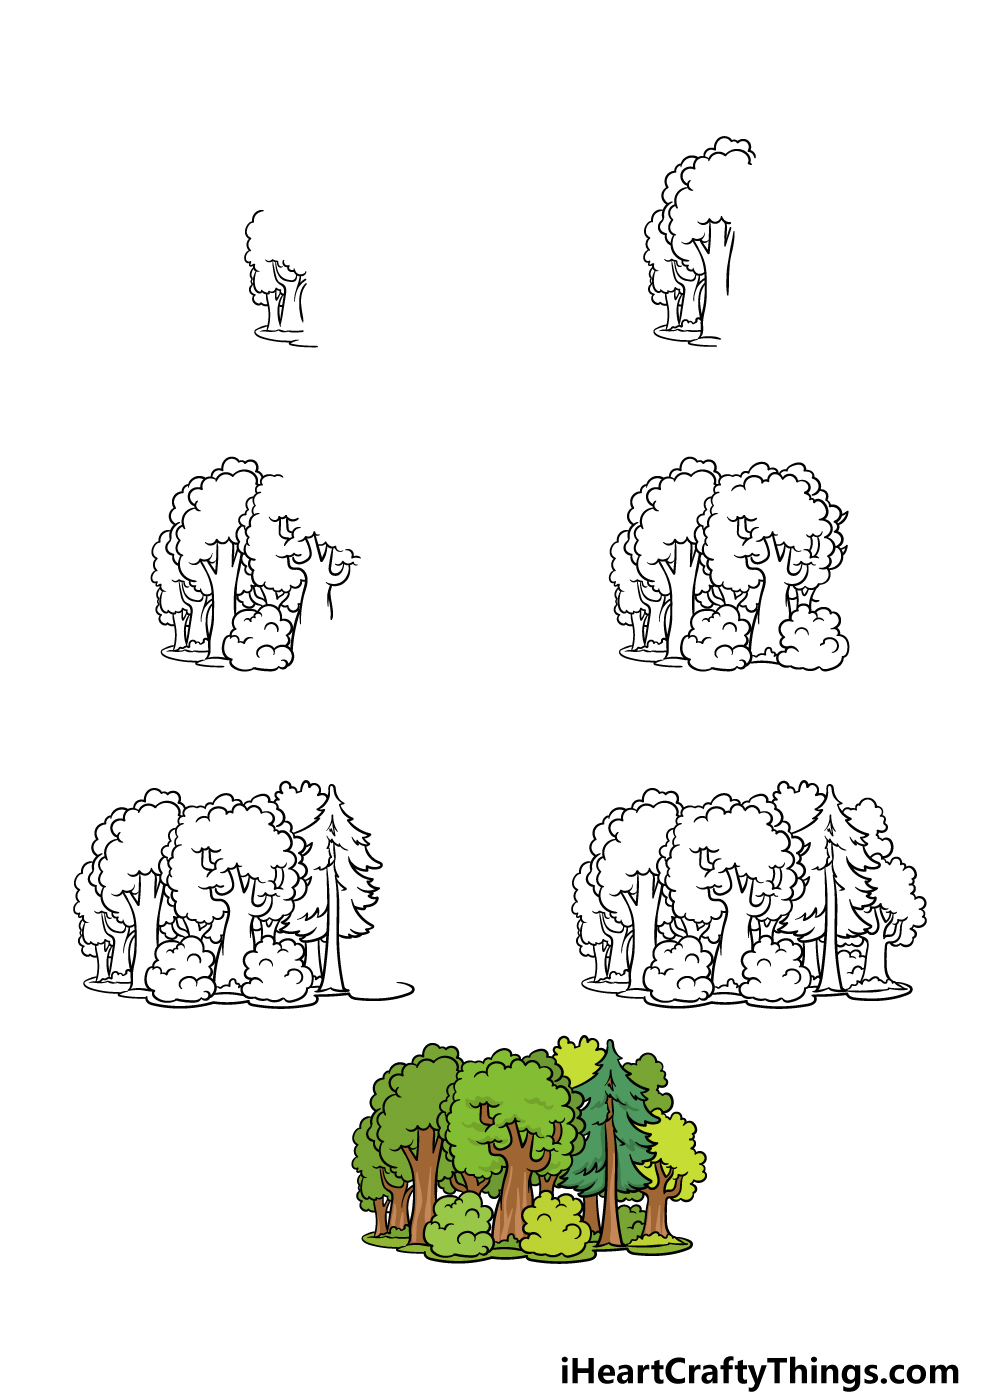
How to Draw A Cartoon Forest – Let’s get Started!
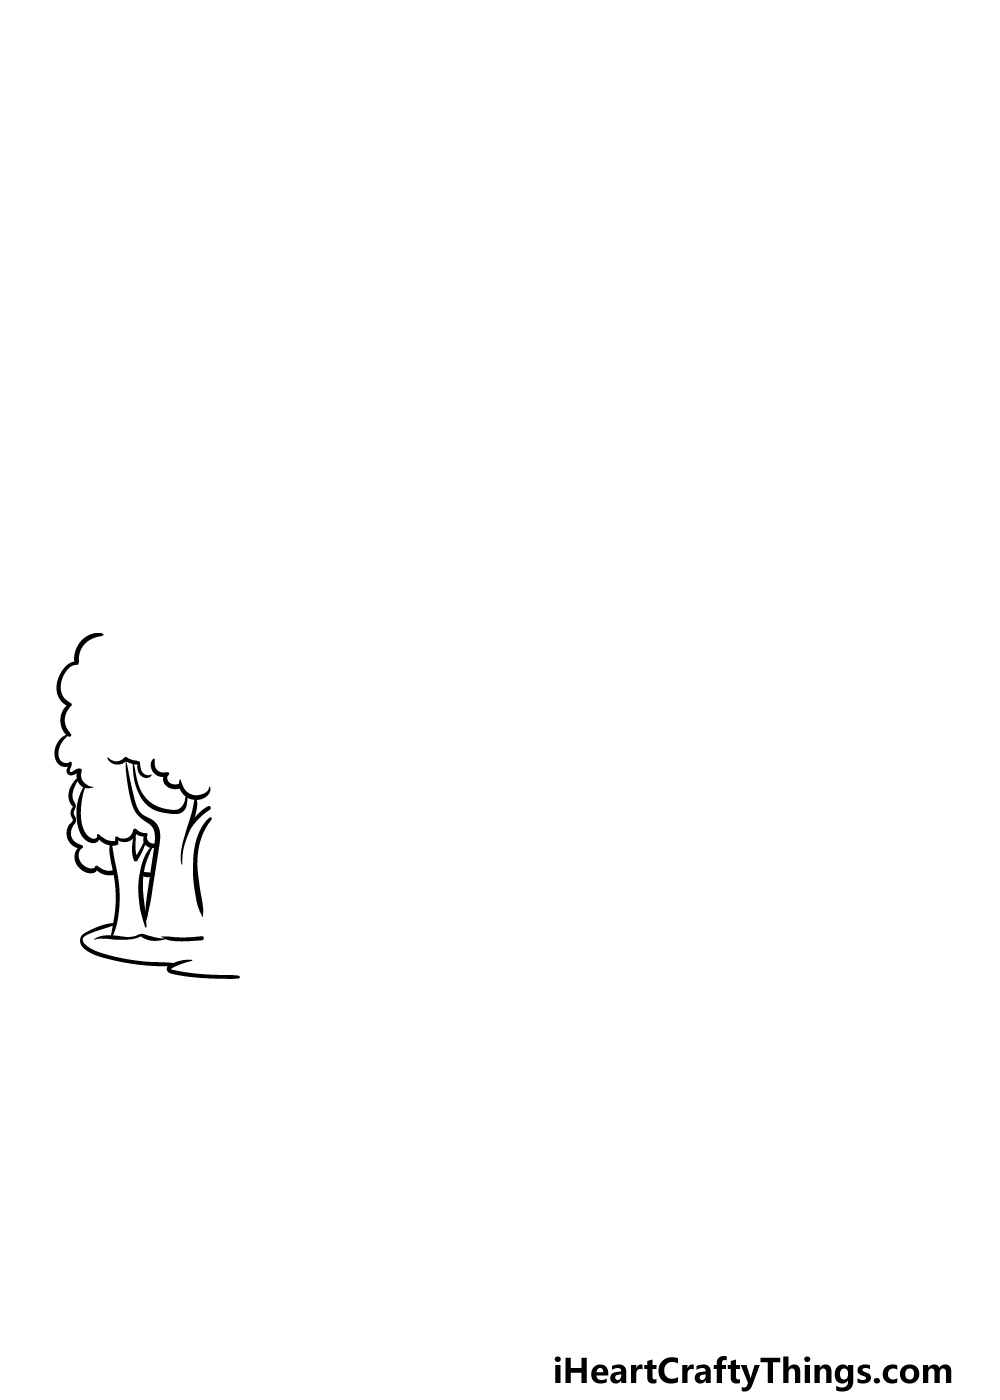
Step 1
When looking at the final images of this guide on how to draw a cartoon forest, you may think that this detailed image will be very difficult to draw.
However, we aim to show you that it can be much easier when you know what to do. Also, we will be breaking it down into smaller steps so that it is much easier.
First, we will begin with the left-most side of the forest. You can use some bumpy lines for the leafy canopy of the trees, and then we will use some curved lines for the trunks of the trees.
That’s all for this first step, and then we can continue!
Step 2 – Draw some larger trees
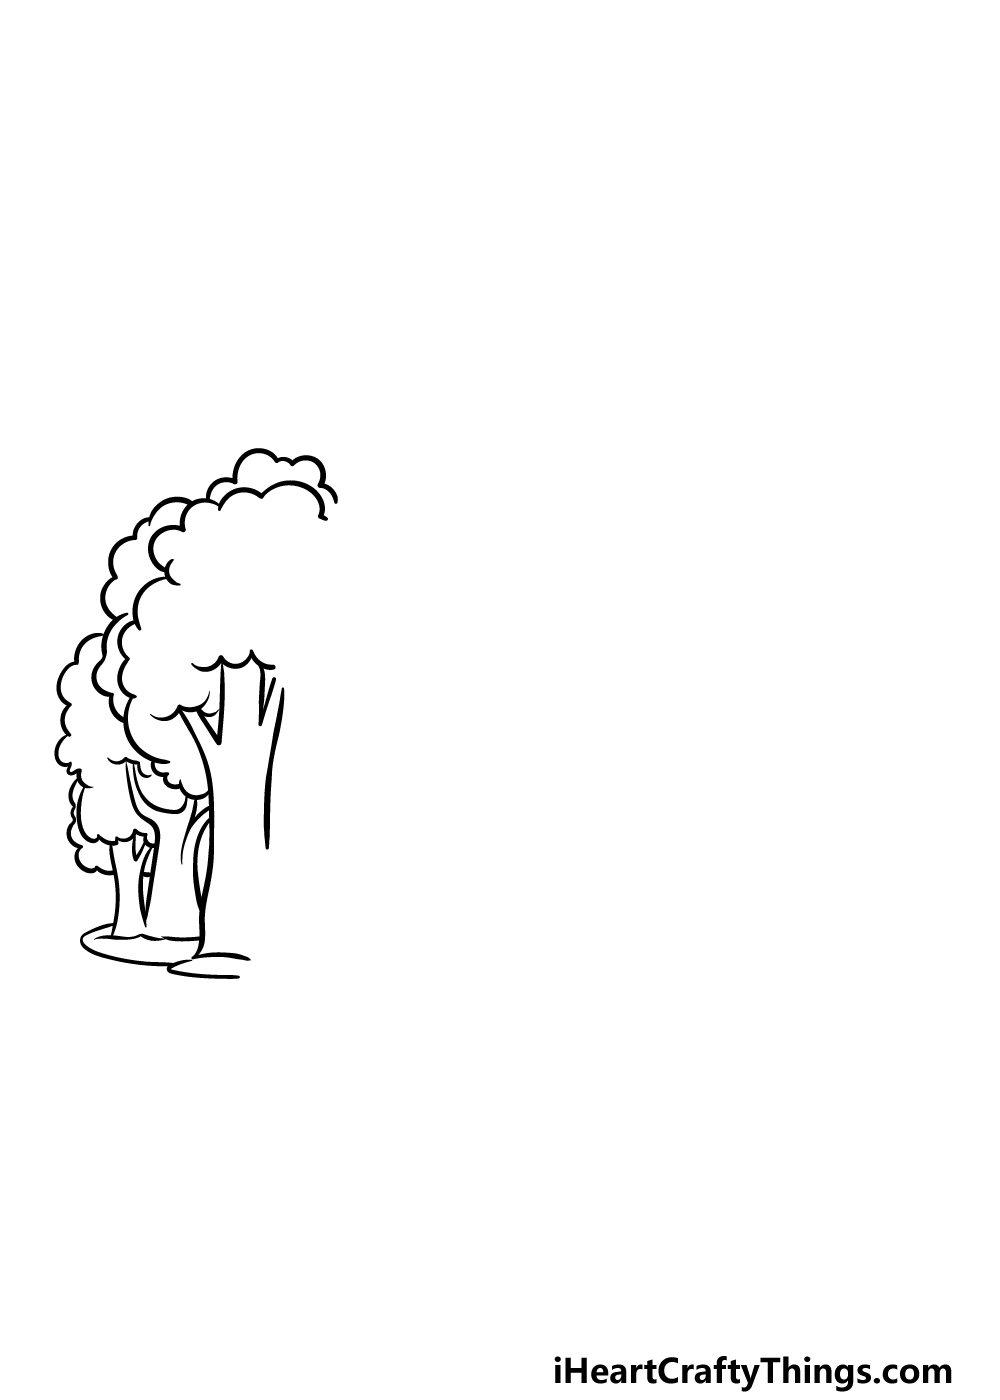
We will be adding a larger tree to your cartoon forest drawing in this second step!
This tree will also have some bumpy lines for the leafy treetops, but this section will have more volume than the previous leafy section.
Then, we will use a combination of slightly curved and mostly straight lines for the trunk of this tree.
The trunk will be taller and thicker than the previous ones, and there will be a small open space at the lower right-hand side.
Step 3 – Add some bushes and more trees
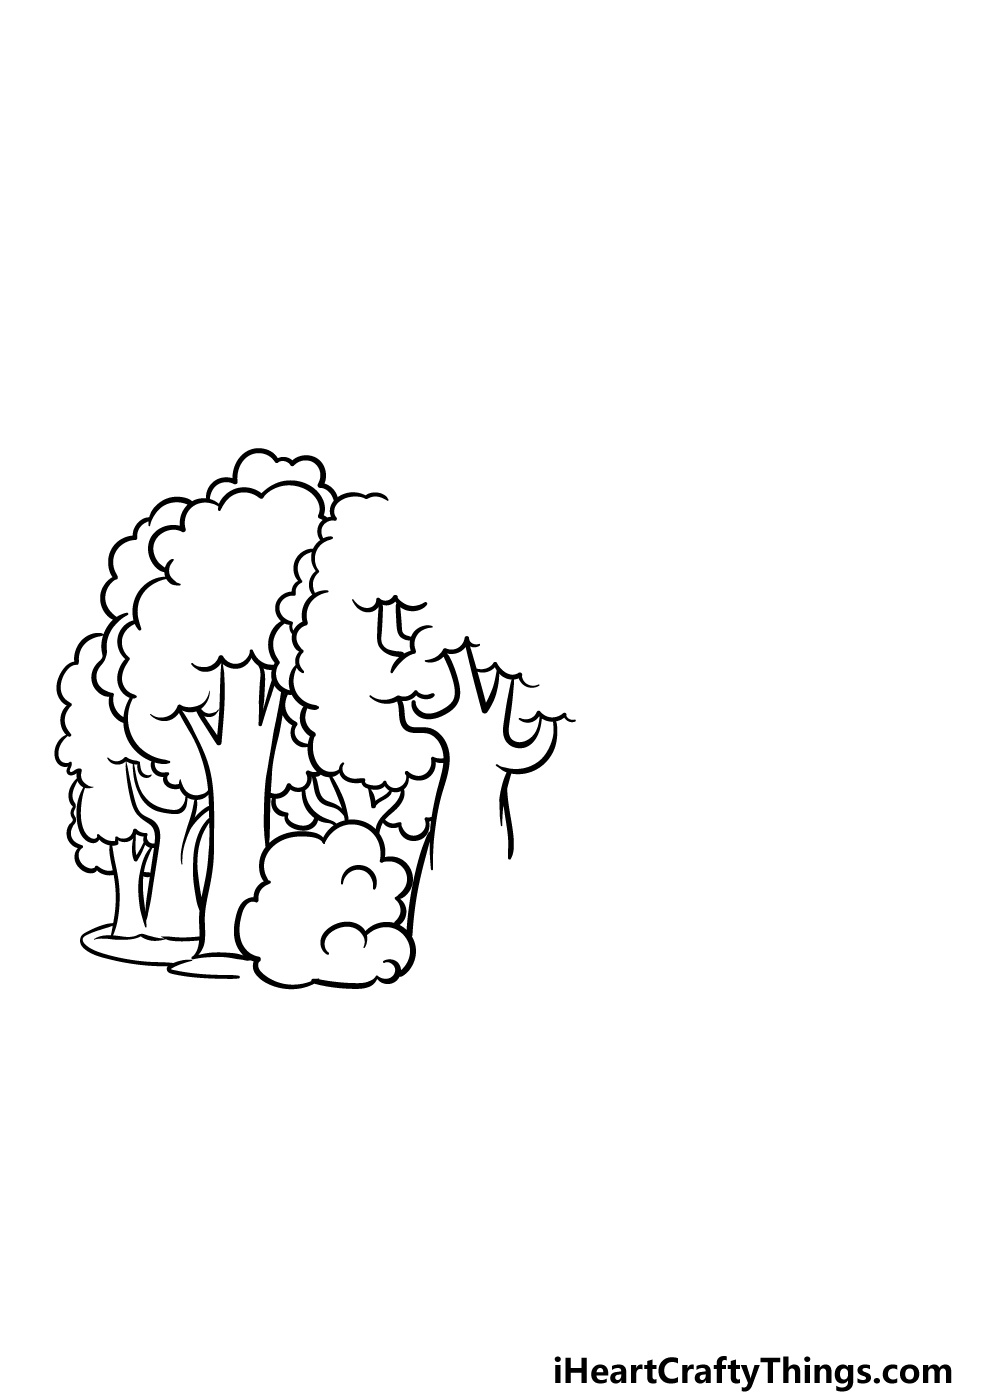
Now we can add some more life to this forest in this third step of the guide!
First, you will see why we left that empty space at the base of the previous tree, as there will be a bush filling the space.
This bush will be drawn with a similarly bumpy outline to the leafy tops of the trees.
Then, we will add some more trees, and the main tree in this step will be another big one drawn with both curved and straight lines.
Step 4 – Now draw some more bushes and trees
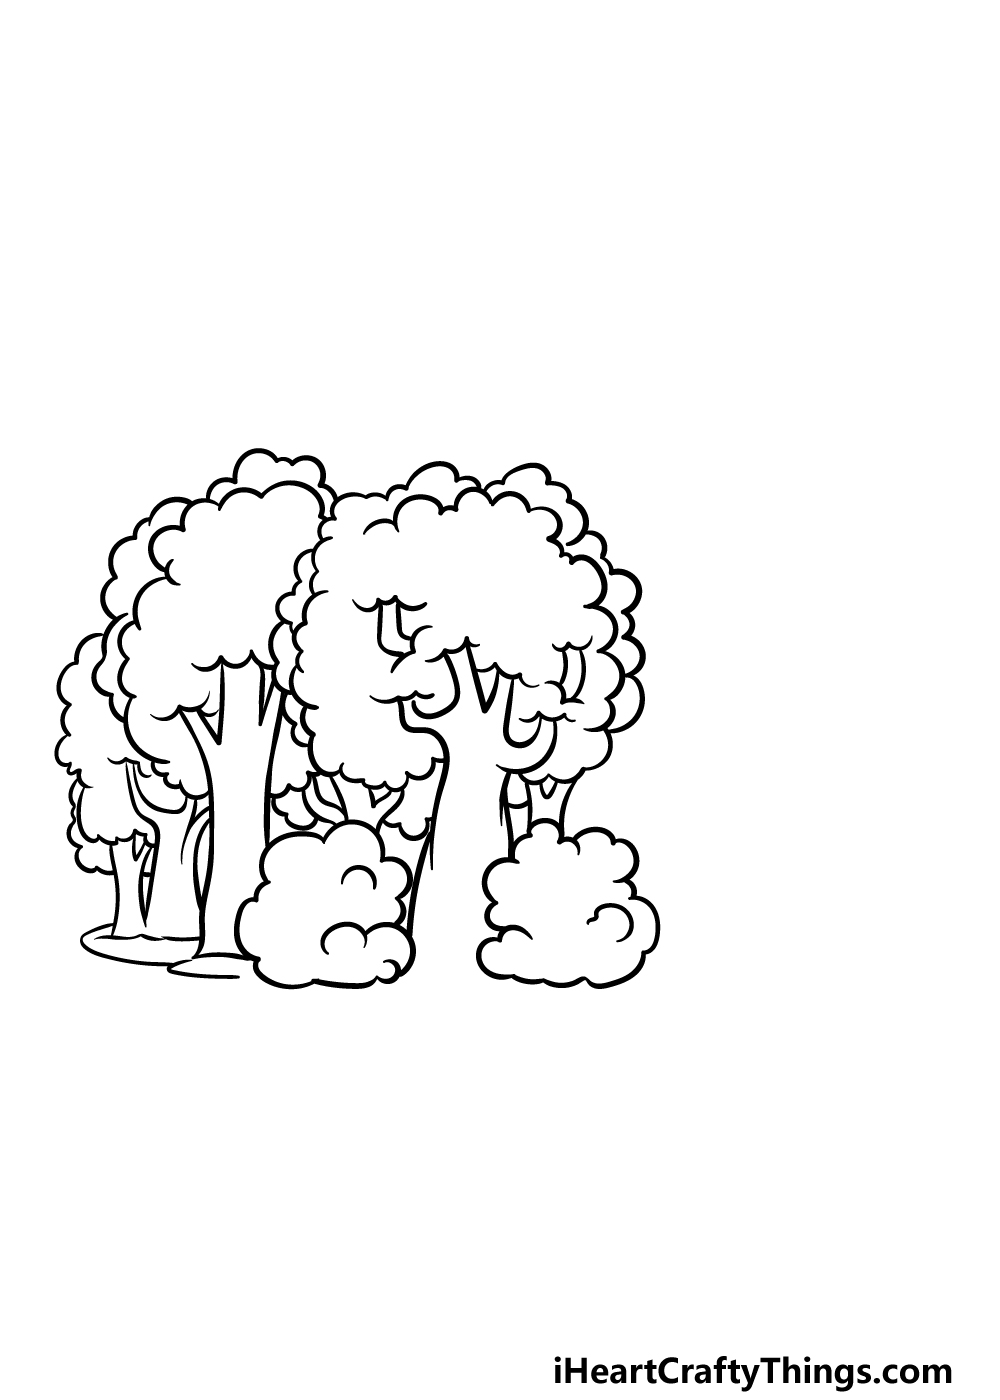
The key to this guide on how to draw a cartoon forest is to build it up gradually, and we will add another section in this fourth step.
First, add another bush at the base of the previous tree. Then, we will add some more trees into the background using some similar methods to the previous trees you have drawn.
That’s all there is to it for this step, and then we can move on!
Step 5 – Draw another section of forest
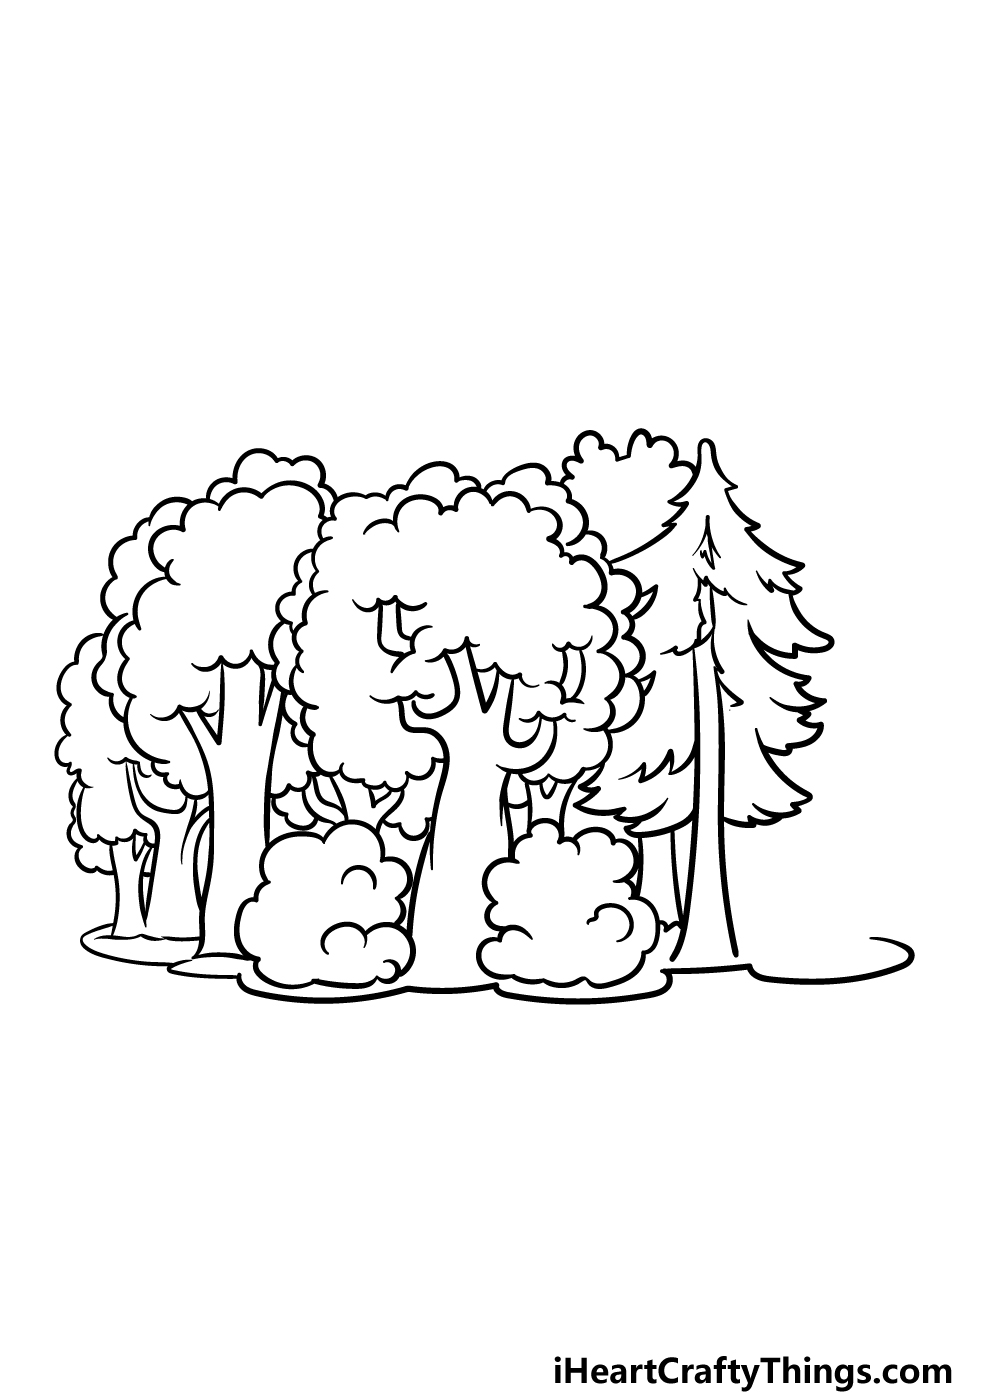
This fifth part of your cartoon forest drawing will shake things up a bit! We will be adding another large tree, but this one will look different to the previous ones.
This next tree will resemble a majestic pine tree, and it should prove to be fun to draw! The trunk of this particular tree will be thin and slightly bendy.
It will then have some pointier lines for the canopy of the tree, and these pointy lines will help to give it that look of having lots of needles making up the canopy.
Then, we will be ready for the final details of this drawing in the next step of the guide!
Step 6 – Now, add some final touches
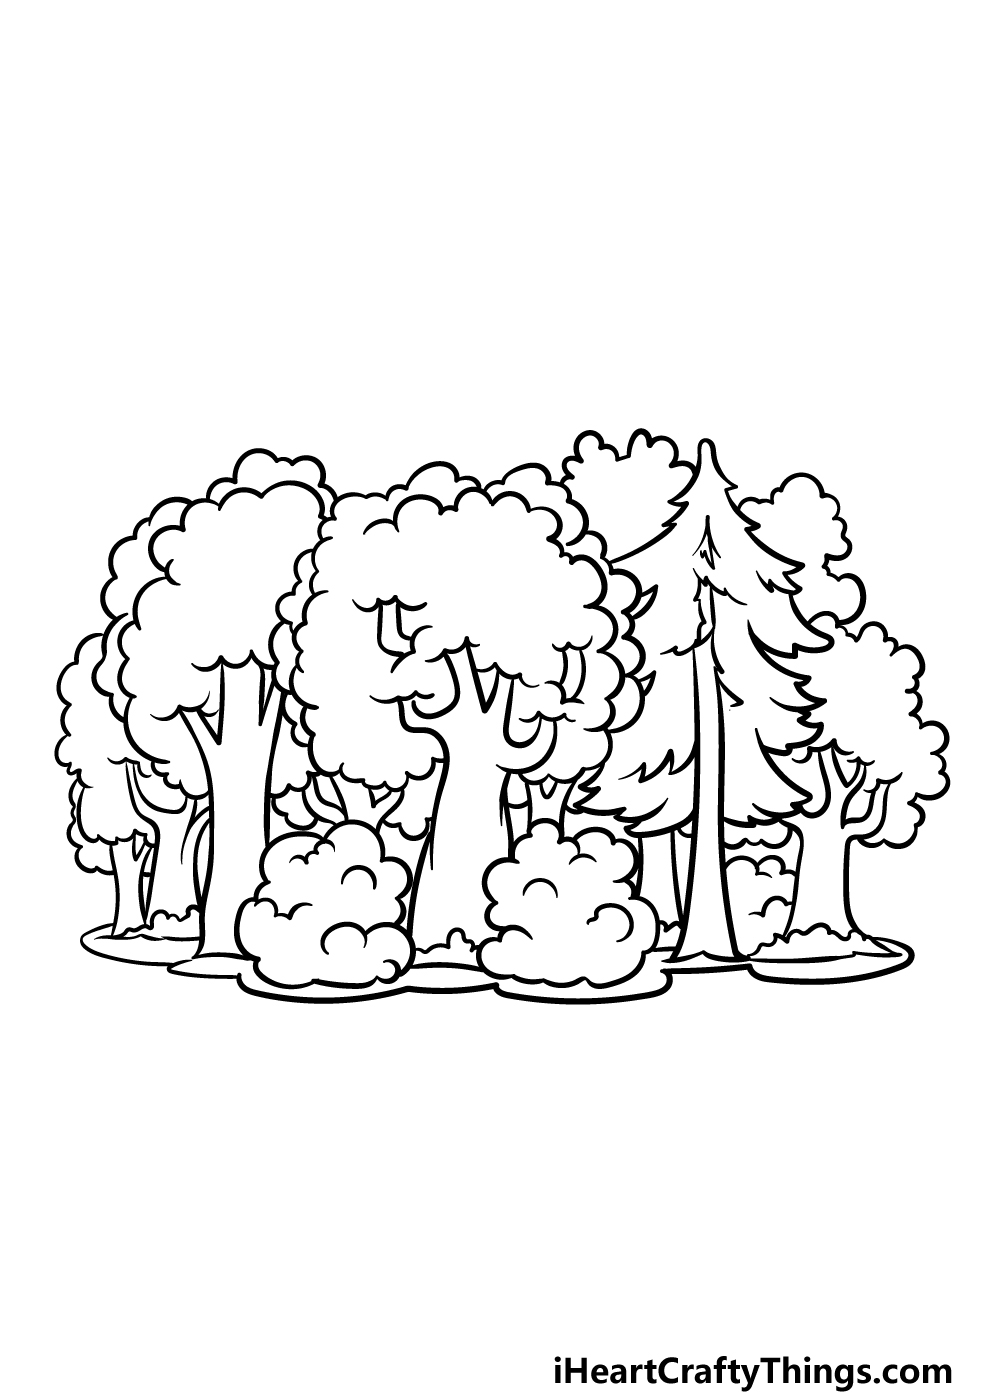
Let’s finish off this composition with some final touches in this step of the guide! To do this, we will add some more trees to the right-hand side of the drawing and in the background.
Then, you can add some bumpy, curved line details to the various bushes to give them some more texture and volume.
Once these details are added, you will be ready for the final step! Remember to add some extra details of your own that you may like for this drawing, too.
You could add some little animals, extra trees or maybe some sky details for a few ideas. What else can you think of to finish off this image?
Step 7 – Finish off your drawing with some color
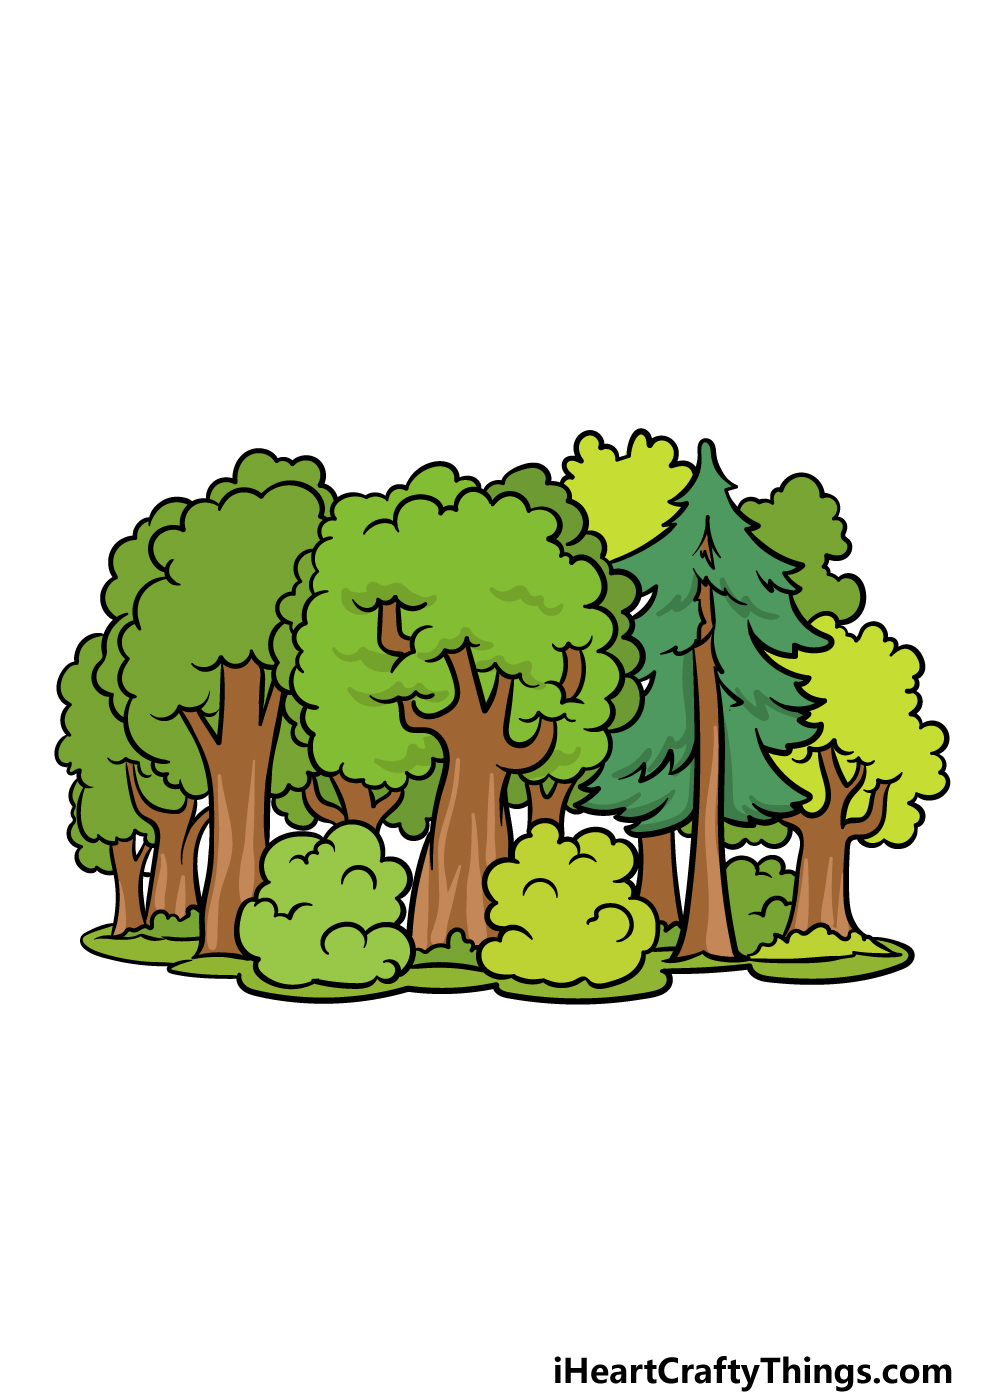
This is the final step of this guide on how to draw a cartoon forest, and in it we shall make this wonderful drawing look even better with some colors!
In our reference image, we show you one way that you can color this picture in.
We used some bright yet varied shades of greens for the leaves and bushes, and then some lovely browns for the tree trunks.
You could use similar colors if you wish, but you can also go for entirely unique ones! It can also be fun to try out some new art mediums when coloring.
We would suggest using some watercolor paints, as this softer medium is great for natural settings. What will you choose to finish this off?
5 Tips To Make Your Cartoon Forest Drawing Even Better!
Create a magical cartoon forest sketch with the help of these 5 fun ideas to try!
This drawing of a cartoon forest has a nice bunch of trees to make it look thicker and more alive. A forest can never have too many trees, however, so you could add some more to make it even better!
These new trees could look similar to the ones already included, or they could be other tree species you love.
Next, you could make this forest more atmospheric by adding some sky details above this cartoon forest. This could be as simple as a blue sky with a shining sun.
Or, you could go for a darker scene with clouds and rain looming over the forest. What kinds of weather details would you like to add here?
There are other details that you could add to the background of this cartoon forest apart from weather details.
If you wanted to keep things looking natural, there could be some mountains looming behind the forest.
Or, you could create a contrast between nature and civilization by having a giant city in the background of this drawing. What sort of approach would you take for a background?
It would also add some life to your cartoon forest drawing if you added some wildlife to the forest. These could be small additions such as birds, squirrels or raccoons.
Or, you could go for something larger such as a bear or maybe some deer. You may even want to go for some humans exploring the forest instead!
Adding living creatures and characters is a great way to immediately make the forest more interesting.
We have spoken about additions above and in the cartoon forest sketch you have created, but you could also add some features below it.
One example of this would be to add a small stream or river snaking below the cartoon forest. Another idea would be to have a small pathway going along the bottom of the forest.
These are just a few ways you could make the lower half more realized.
Your Cartoon Forest Drawing is Complete!
When you first saw the image we would be creating in this guide on how to draw a cartoon forest, you may have assumed that it would be difficult to draw it!
In these steps, our aim was to show you that it can be both fun and easy to draw a picture that’s detailed like this one is.
We also wanted to make sure that you could add your own details and ideas to the mix, so you can have even more fun creating!
If you loved this guide, you can find many more to enjoy on our website. Here we have tons of awesome guides with more coming out soon, so stay tuned for those!
We would love to see your amazing finished cartoon forest drawing, so please share your creation on our Facebook and Pinterest pages for us to enjoy.