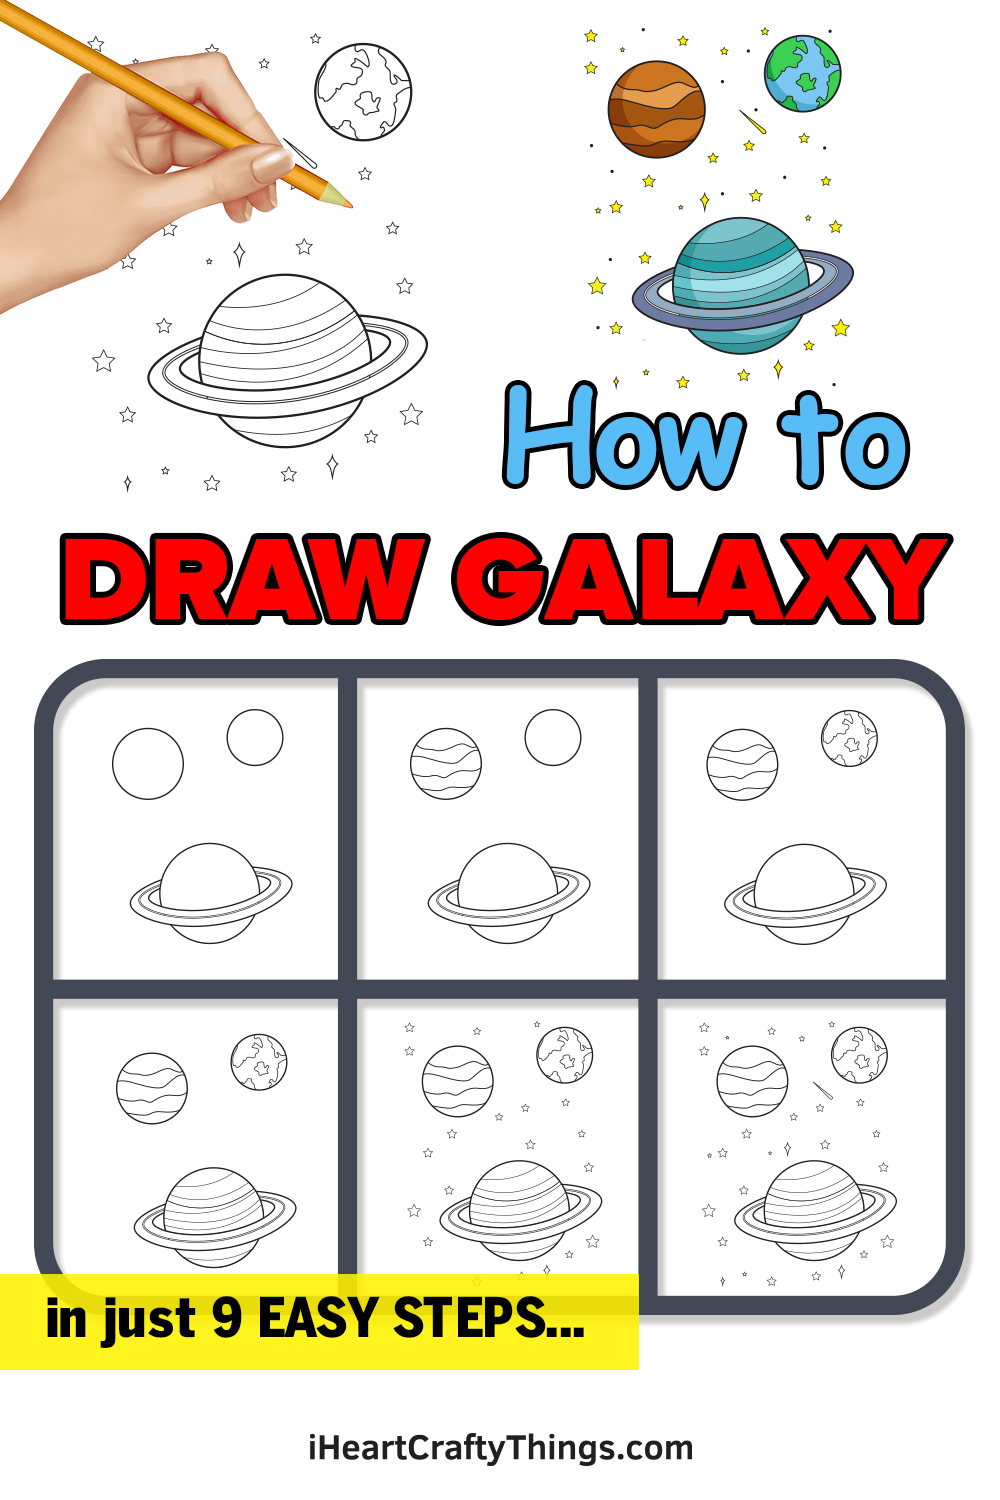
This guide on how to draw a galaxy is really out of this world! Anyone can follow this guide for kids and see how to make their very own galaxy.
There are many galaxies in the universe, and there is so much to learn about the one that we all live in. We don’t all get to explore the galaxy we live in, but drawing it can be the next best thing!
You may not know where to begin when doing so, though. That’s why I wanted to make this guide in order to show you exactly how it’s done.
Once you’ve finished the guide, you could even add your own ideas, details and planets! It’s all waiting for you, so let’s begin the first step and see how it’s all done.
See How To Make Your Galaxy Drawing With These Tips
How to Draw a Galaxy – Let’s get started!
Step 1
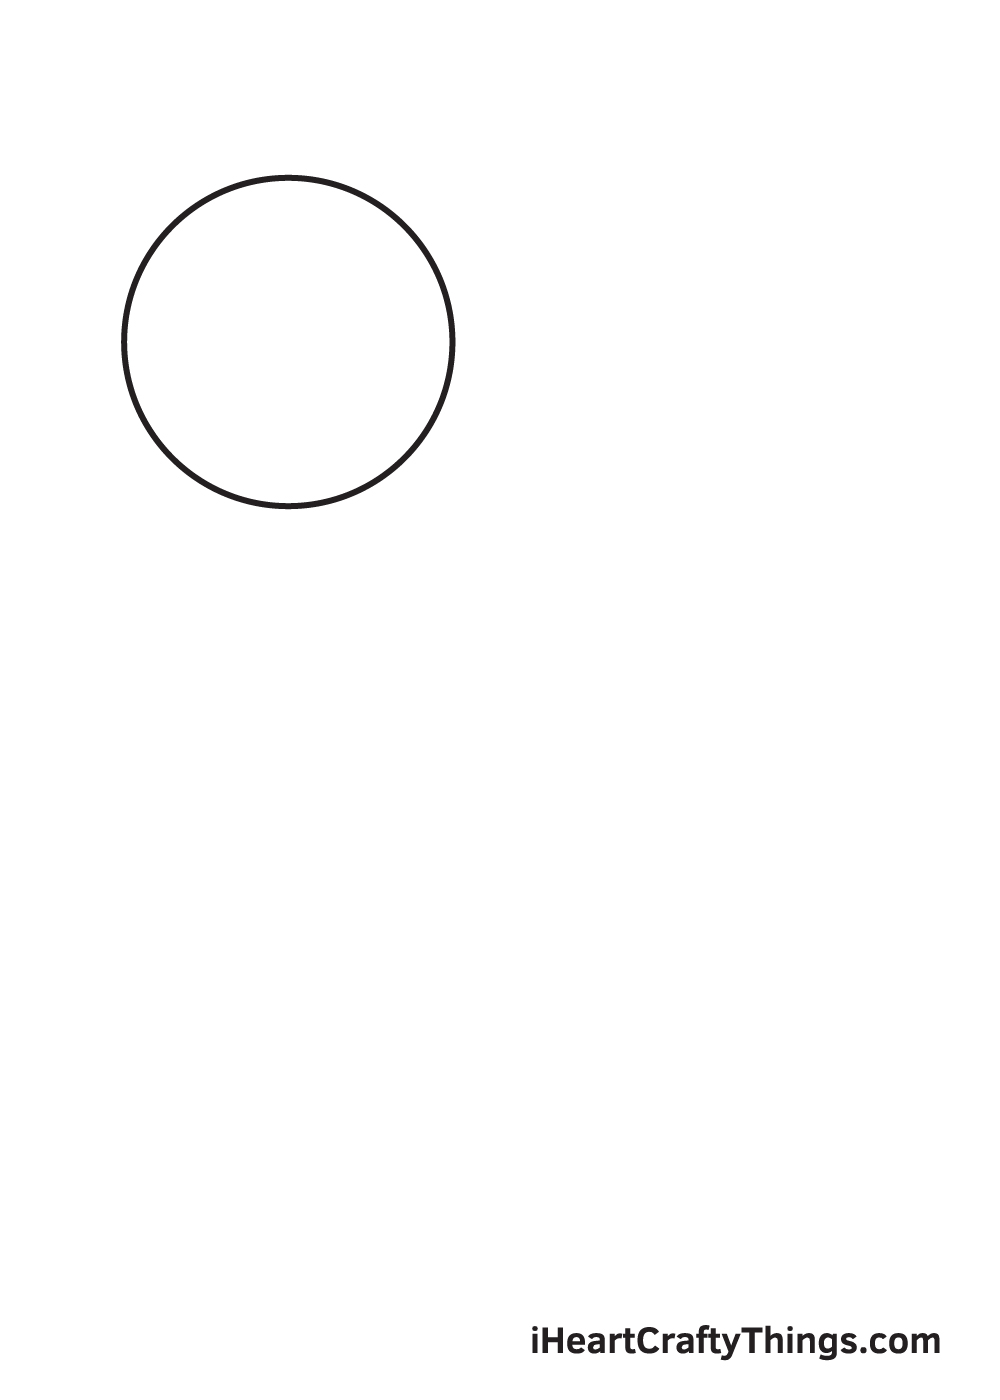
On the upper left corner of your paper, draw a medium-sized perfect circle. This outlines the first planet in your galaxy drawing.
If you can’t freehand a perfect circle, don’t worry because you can always use a compass. It is a drawing tool that assists you in drawing a flawless circle quickly and easily.
Step 2 – Draw a Small-Sized Perfect Circle
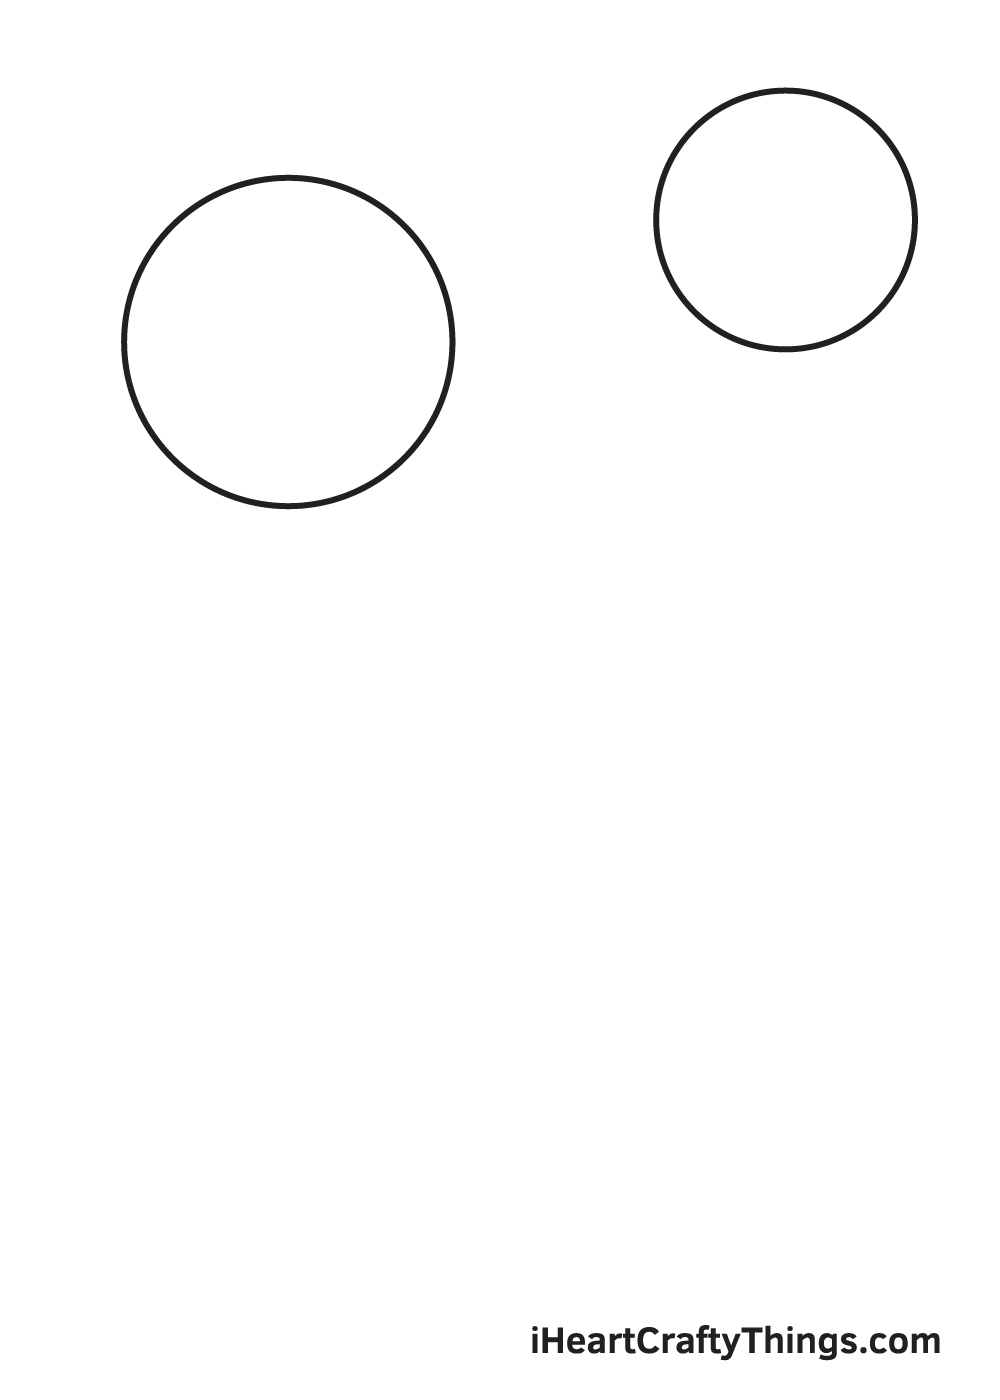
Draw a circle on the upper right corner of your paper to create the second planet in the galaxy.
This time, however, the circle shape should be relatively smaller than the previous one.
Step 3 – Draw a Large-Sized Perfect Circle
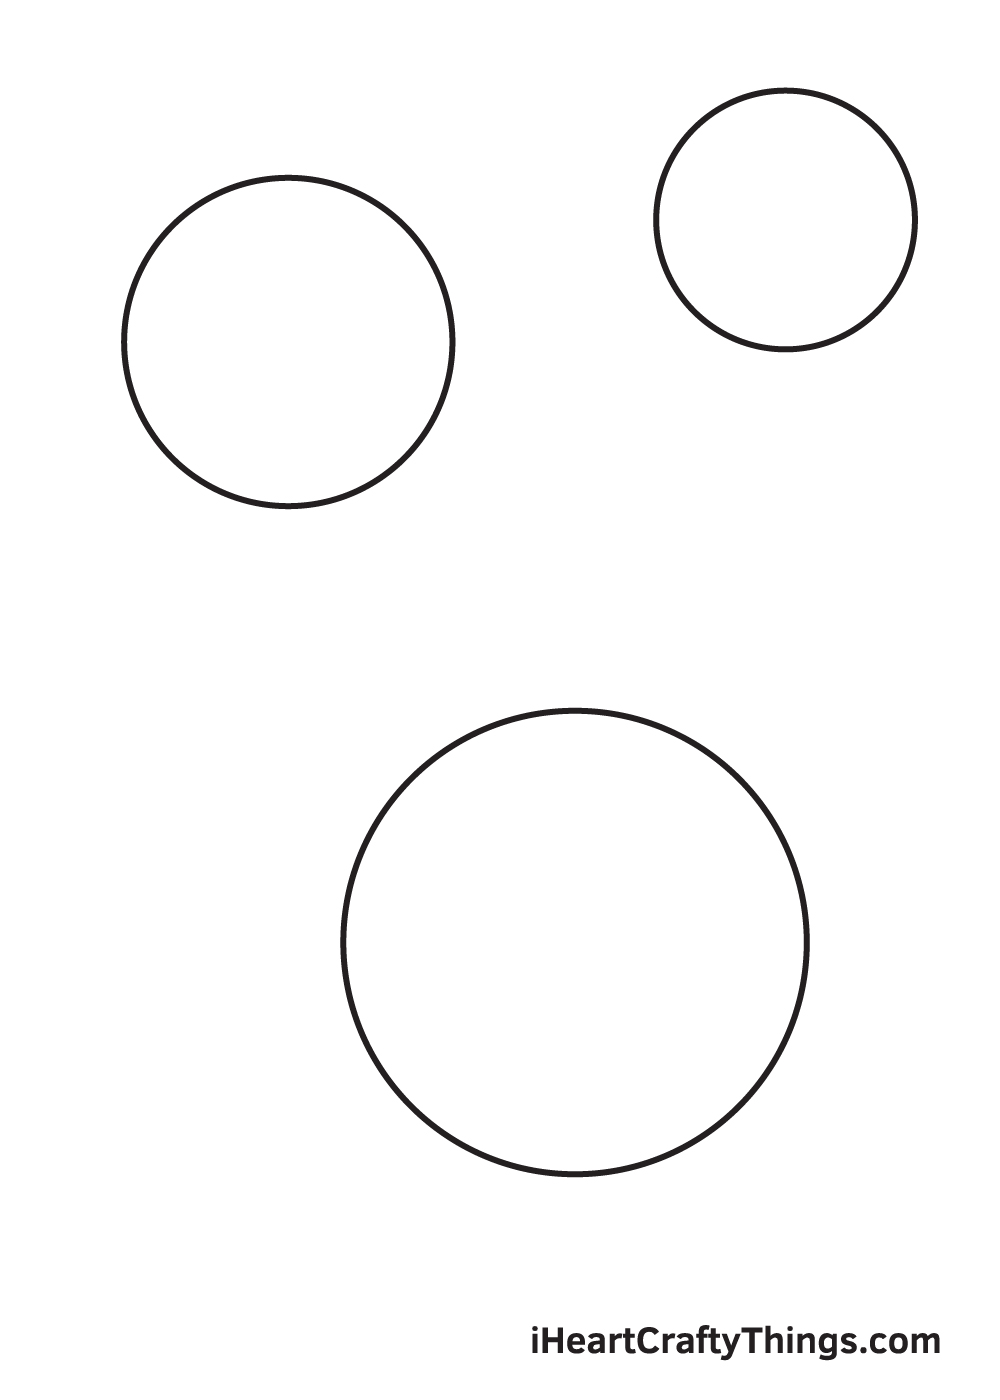
Create the third planet in the galaxy by drawing a large circle shape below the two planets.
Keep in mind that the three planets should be apart from each other to make them look like they’re revolving in outer space.
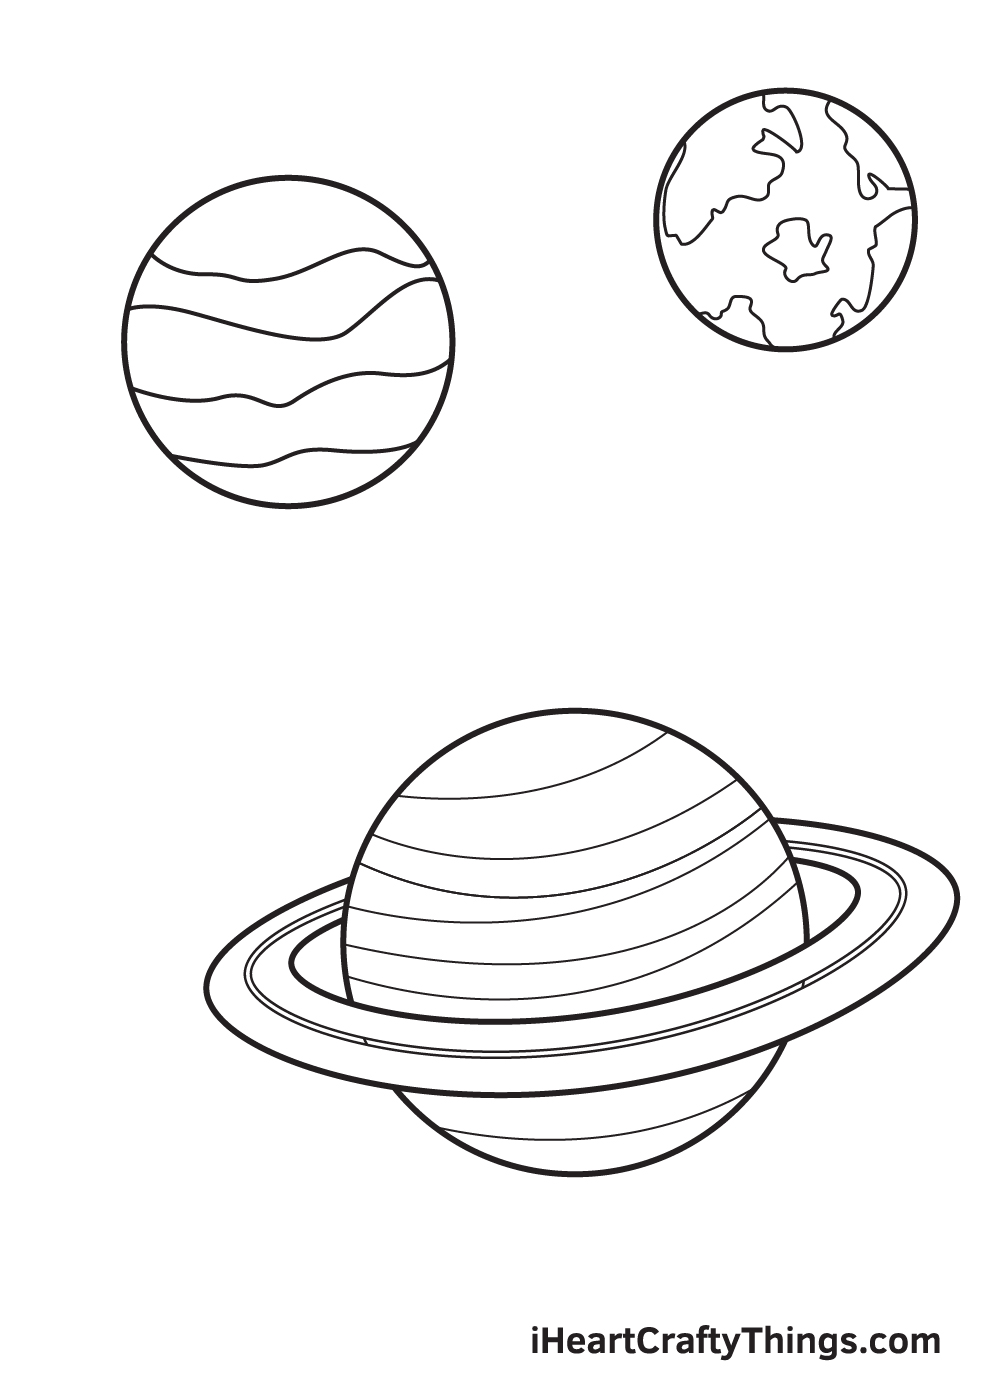
Step 4 – Draw the Ring Around the Large Planet
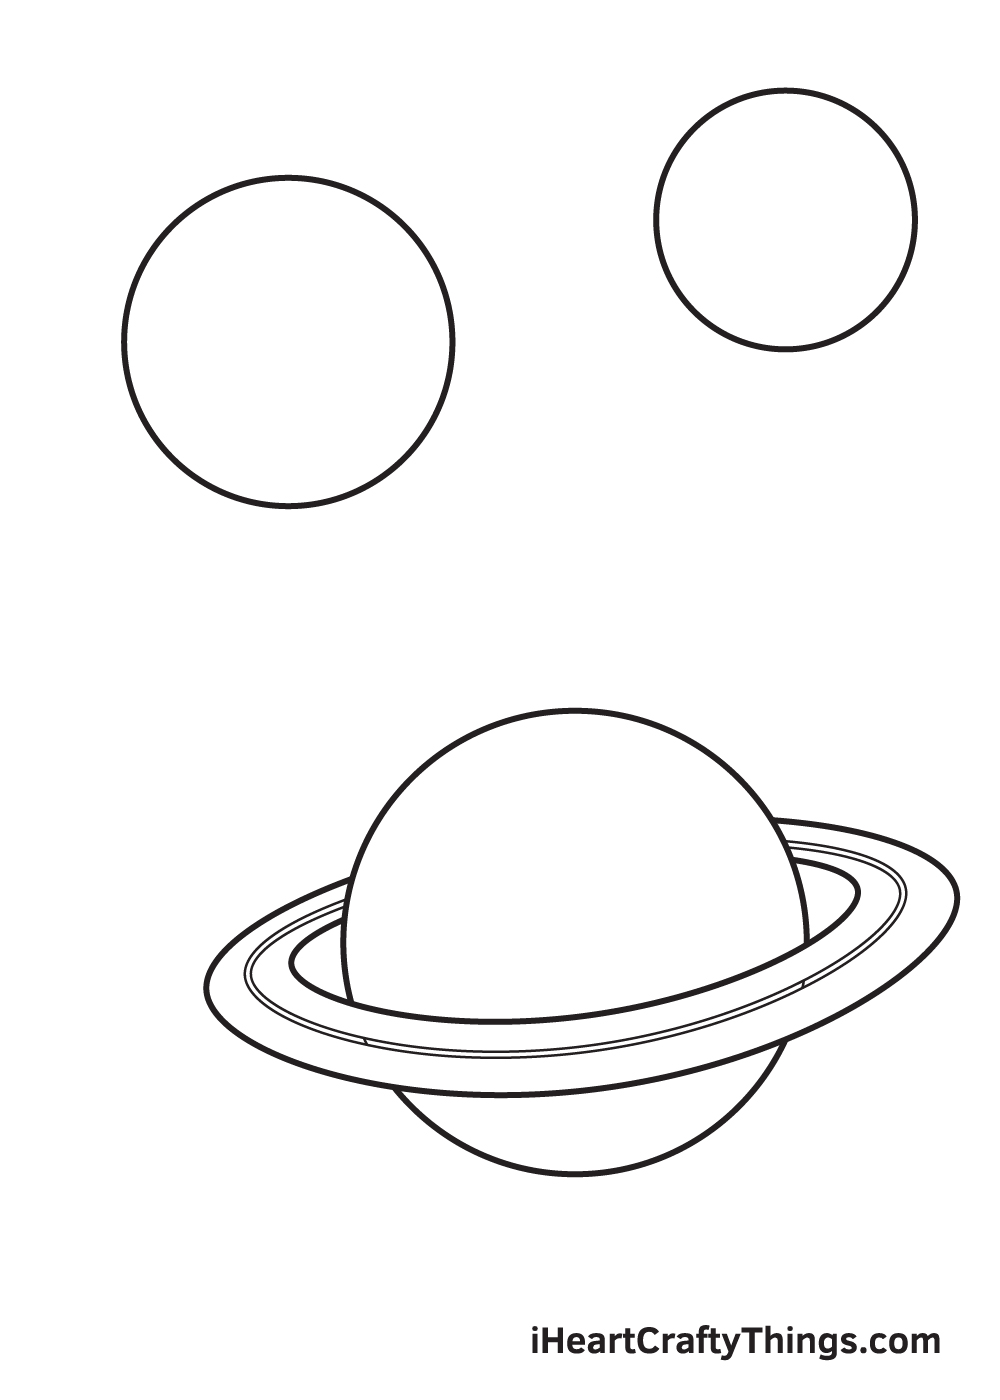
The biggest planet in this drawing is Saturn, as shown in the illustration. Saturn is the sixth planet from the sun and is particularly known for its bright rings that surround its equator.
Draw a line encircling the planet. Then, draw another line surrounding the first line to structure Saturn’s ring. Afterwards, draw another thin line in between the two lines to create the pattern within the ring.
Step 5 – Next, Draw the Patterns of the Medium Planet
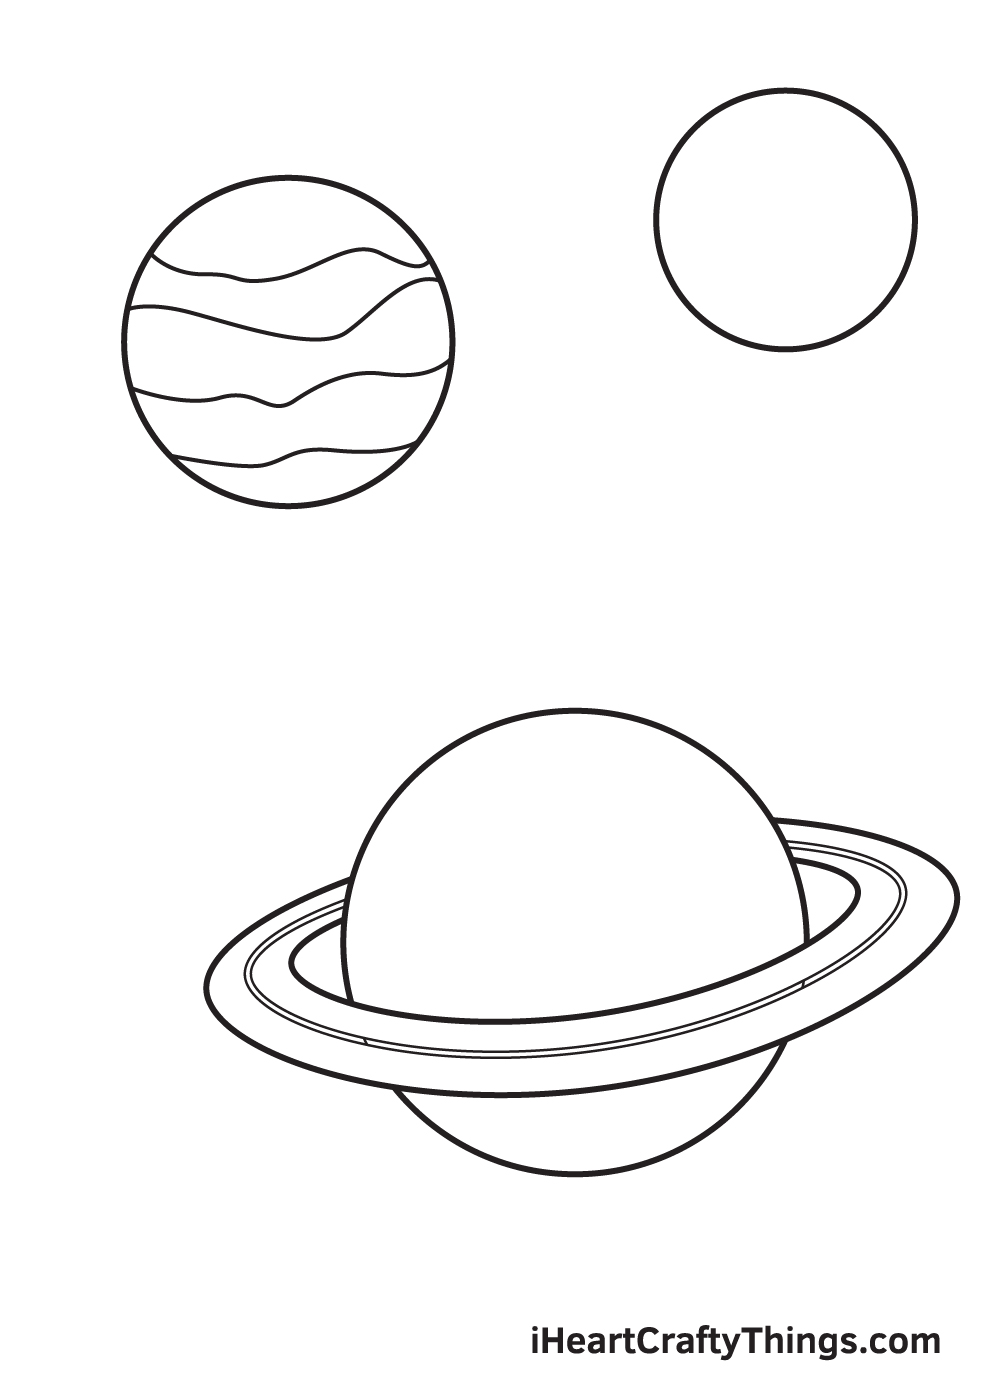
The medium-sized circle that we drew in the very first step will be Jupiter. This planet is known for its distinctive “stripes” pattern on its surface due to the white clouds surrounding it.
To achieve this unique pattern, draw multiple uneven horizontal lines across the planet’s surface. The lines should all differ in structure and slightly apart from each other.
Step 6 – Then, Draw the Features of the Small Planet
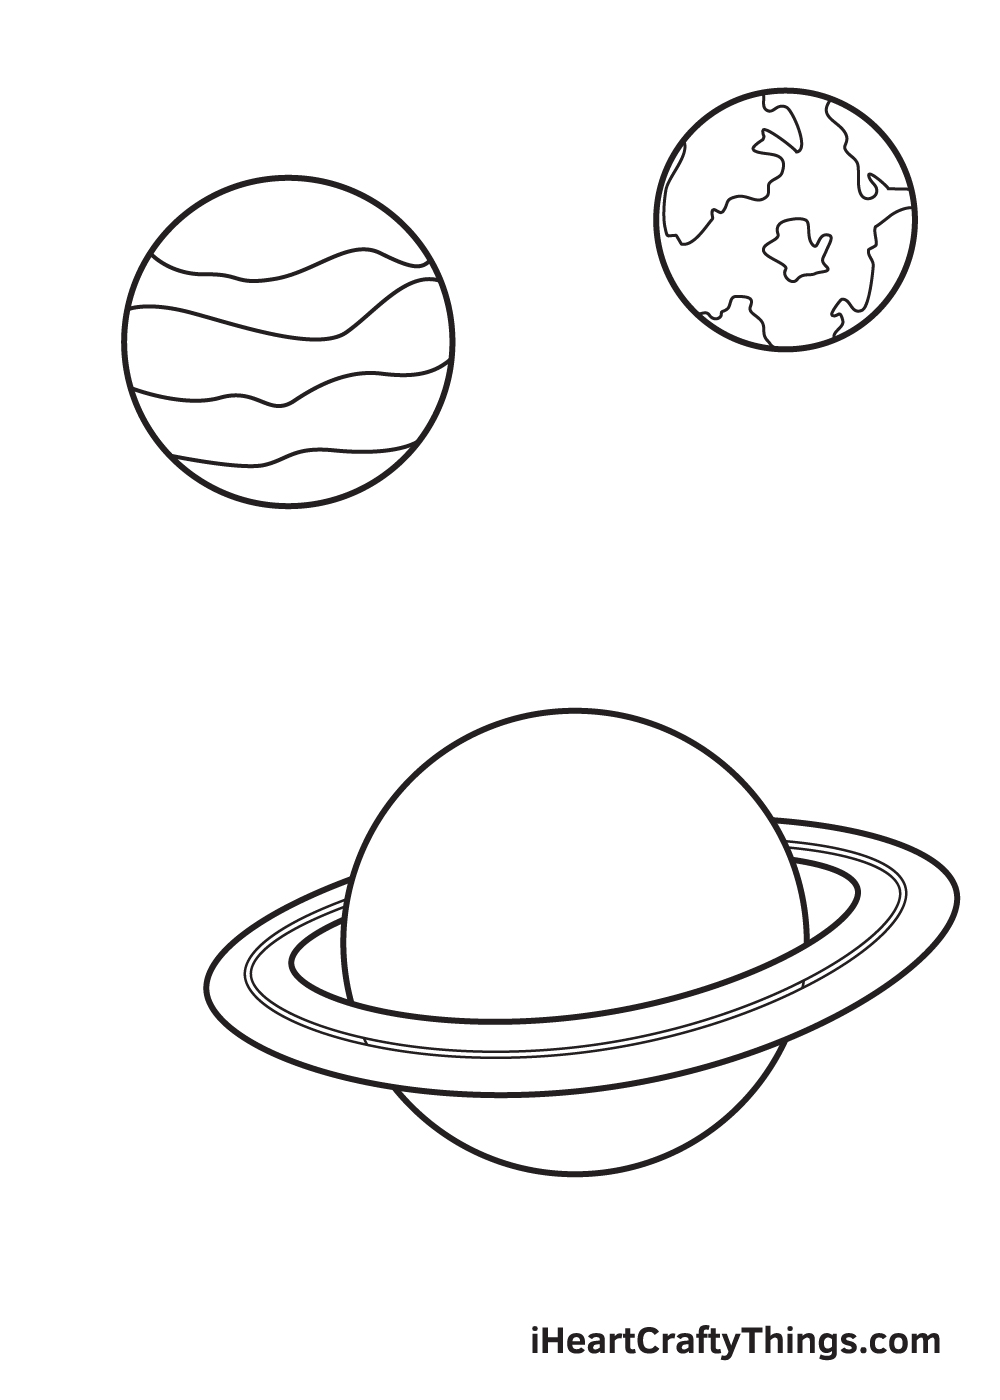
The smallest planet in this galaxy drawing will obviously be Earth, as shown in the illustration. The Earth is our home planet. It is the third planet from the Sun and is the only planet known to be habitable.
In order to create the Earth’s distinct patterns, draw multiple uneven shapes all over its surface resembling the “land”. The spaces in between the shapes will symbolize the “water”.
Step 7 – Now, Draw the Patterns on the Large Planet
Going back to the planet Saturn, now that we have finished drawing the ring previously, we will now be working on the planet’s surface to finally complete all three planets.
Start by drawing multiple horizontal lines across the planet’s surface. Some lines should be near to each other, while others are further apart. Also, make sure that all the lines are slightly curved to follow the natural spherical shape of the planet, making your drawing appear more dimensional and realistic.
Step 8 – Draw a Lot of Stars in the Background
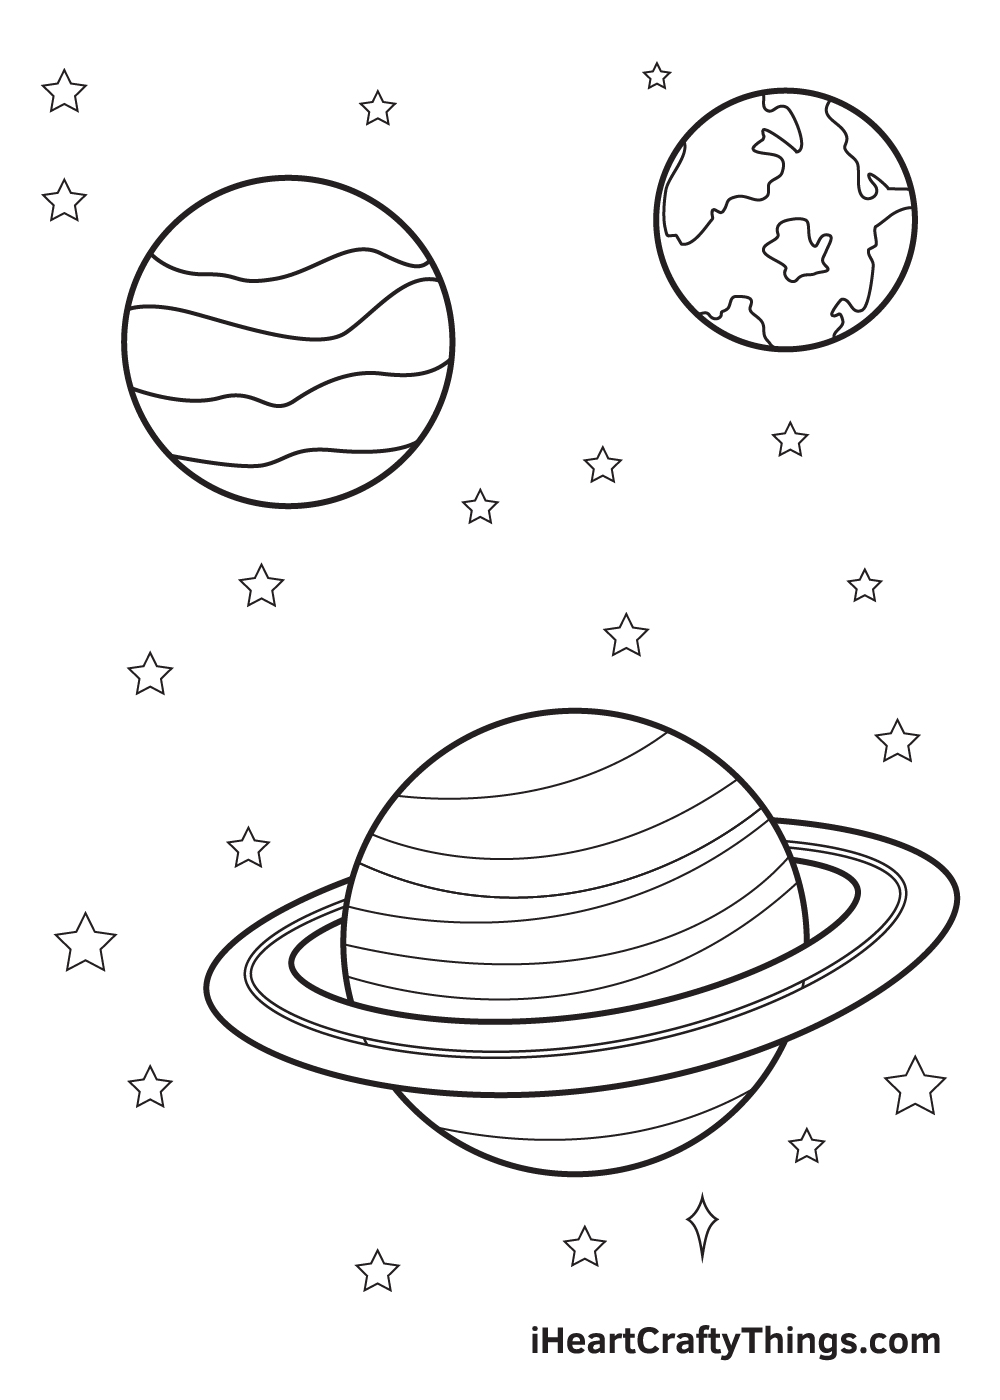
Now that we have successfully drawn the three planets, it’s time to surround them with beautiful glittering stars.
Draw multiple star shapes all over the background. You can make as many, or as few as you want! Just keep in mind that the stars should come in various sizes.
Step 9 – Add Bigger Stars and Comets in the Galaxy
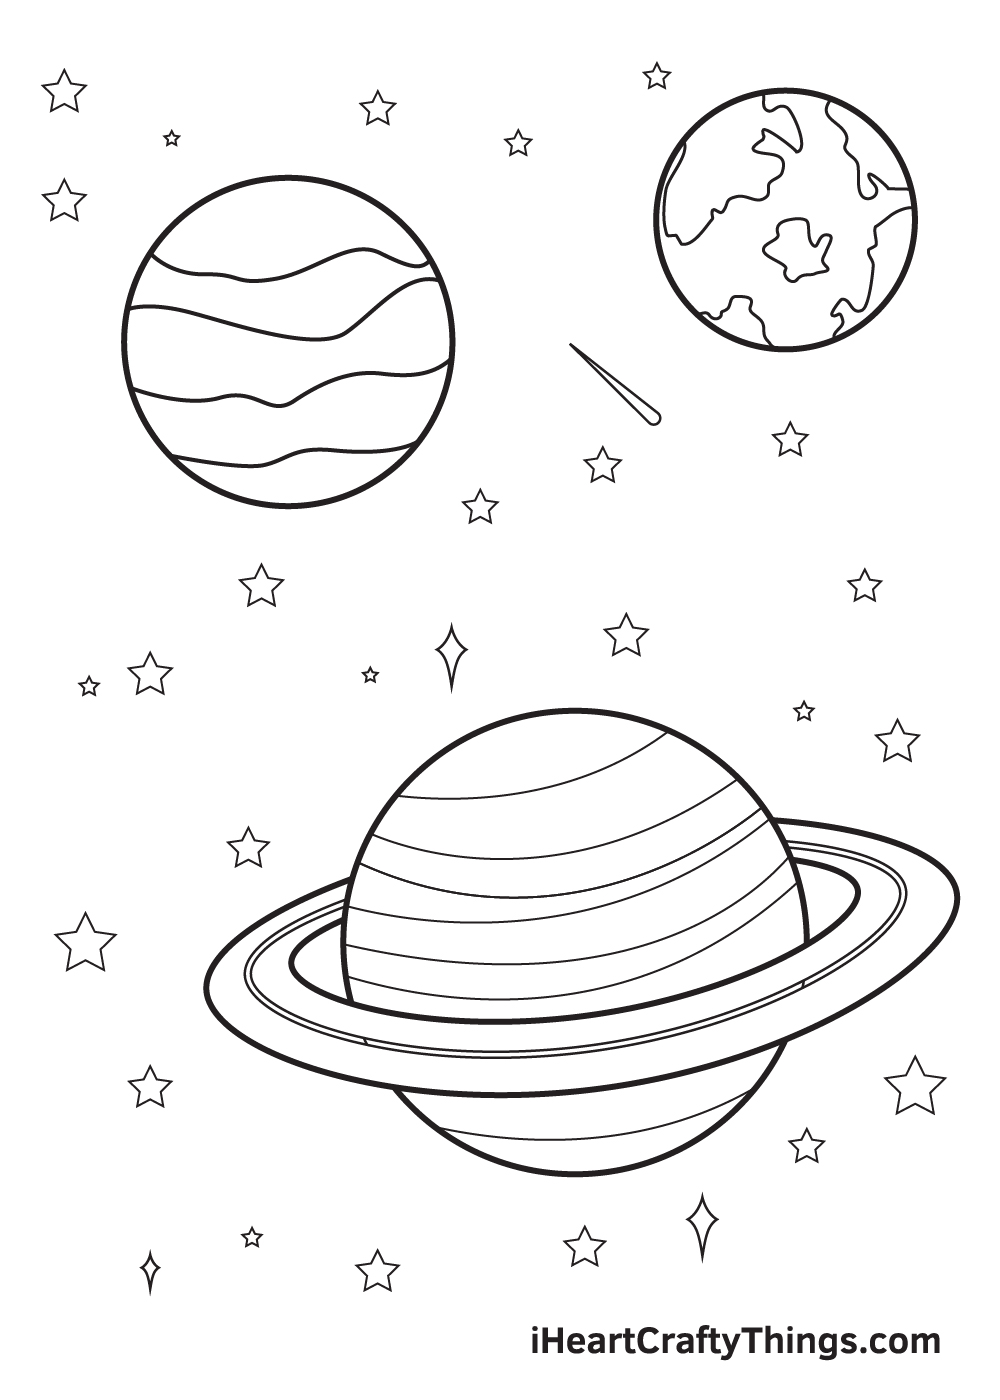
Make the background stand out more by drawing larger sparkling stars and falling stars in the background.
Instead of drawing regular star shapes, add diamond shapes with curved sides and pointed edges in different sizes anywhere you like in the background. This adds a dramatic effect to the galaxy!
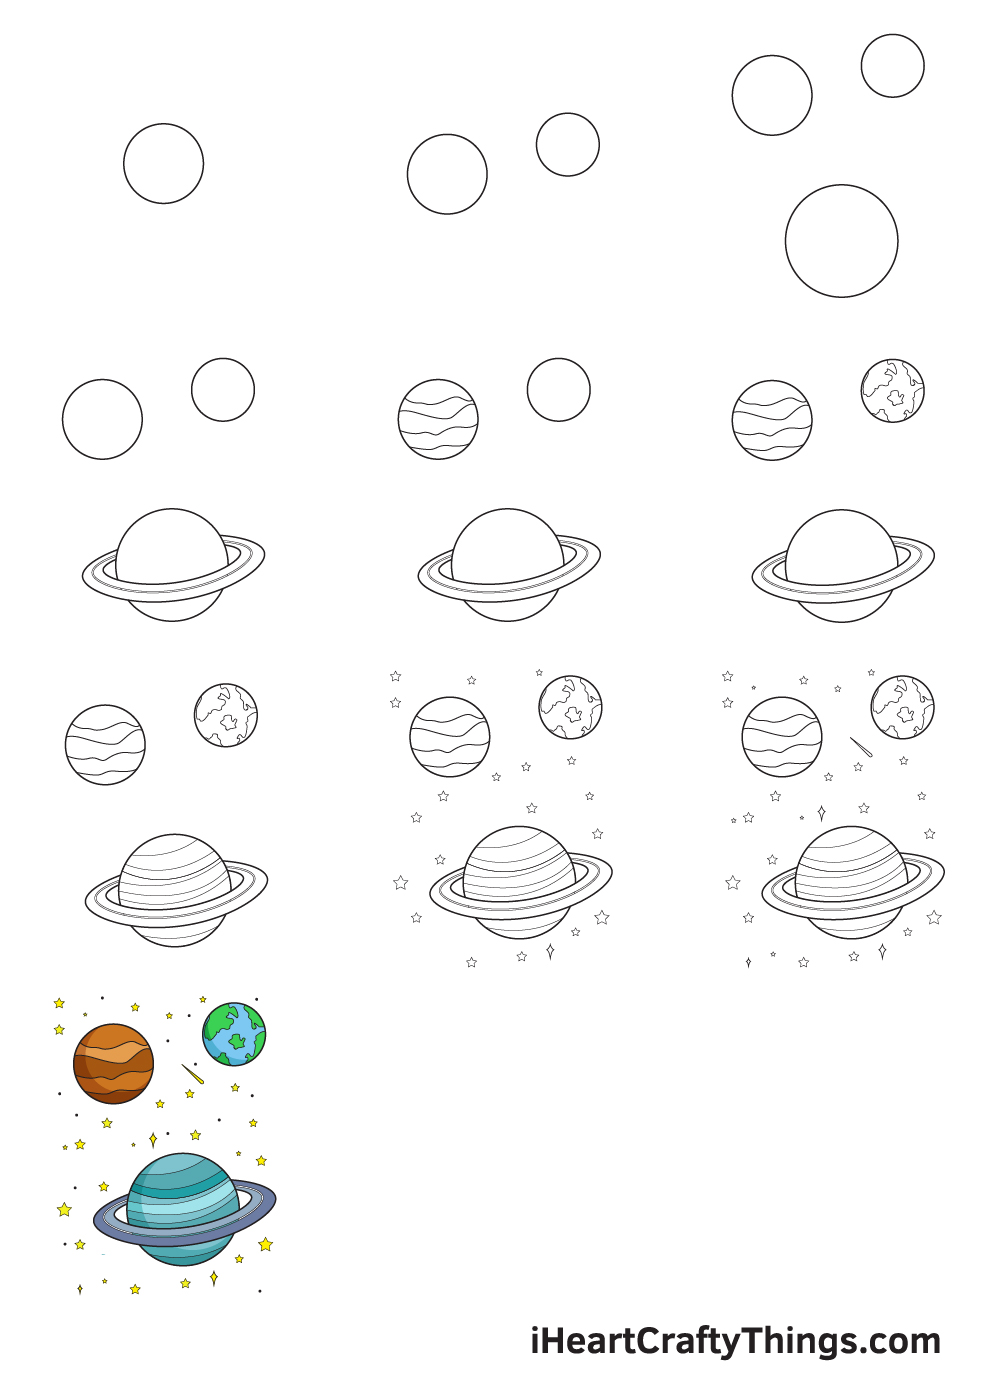
Lastly, it’s time for the most enjoyable part, which is coloring your drawing! This is the part when you can show off your artistic skills in mixing and matching different colors.
Pick the colors you like depending on which planets you drew. Mercury is grey; Venus is brown and grey; Earth is blue, brown, green, and white; Mars is red, brown, and tan; Jupiter is brown, orange, and tan with white cloud stripes, Saturn is golden, brown, and blue-grey; Uranus is blue-green; and lastly, Neptune is blue.
Make sure to use a variation of vivid and vibrant colors to make your galaxy drawing colorful!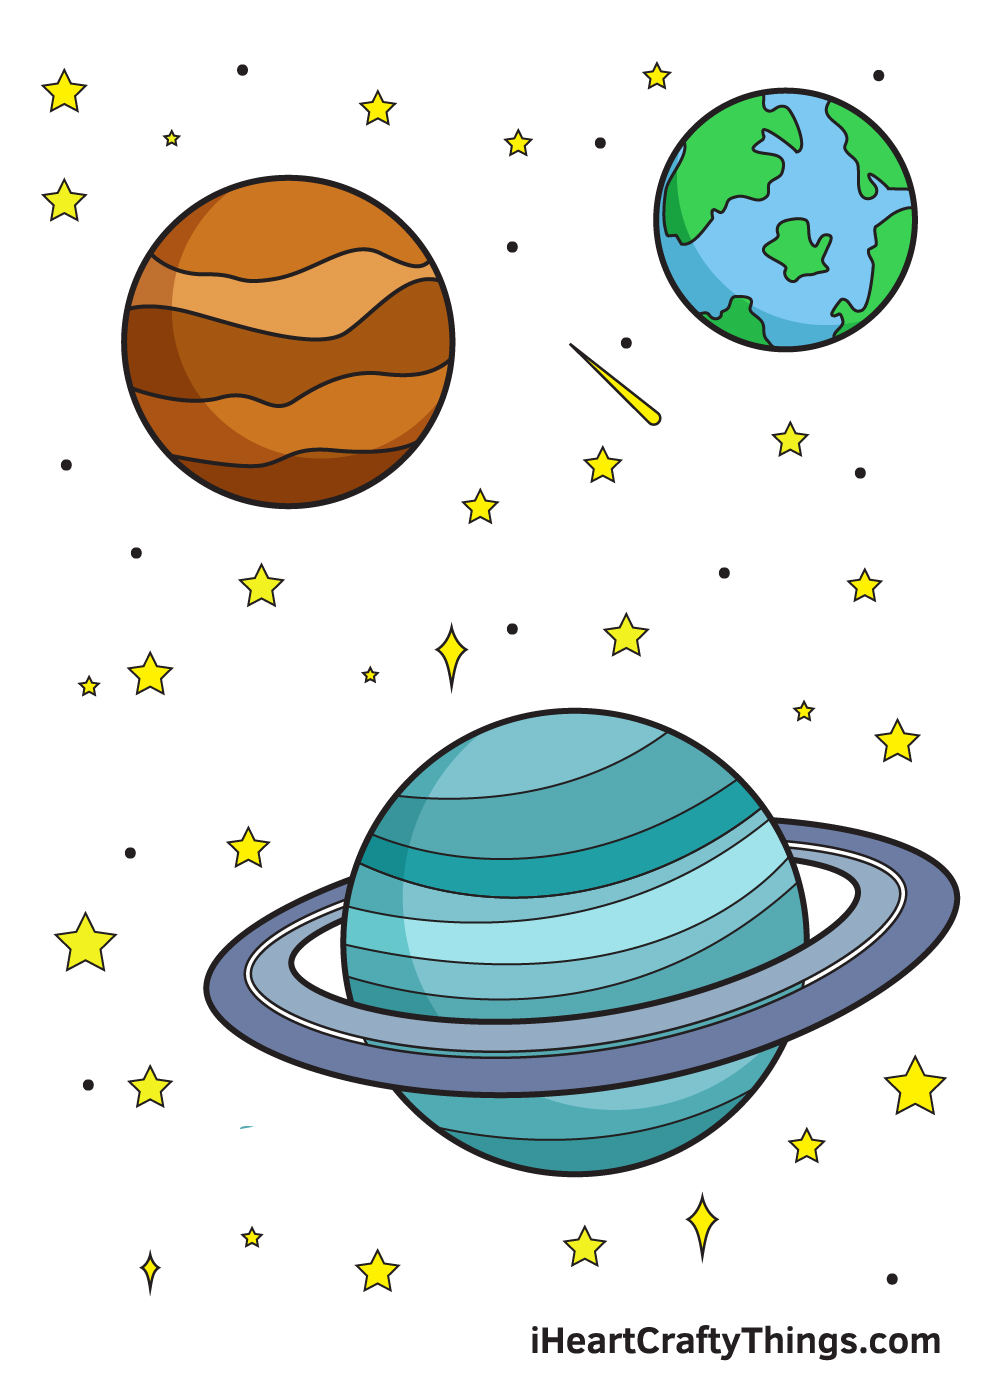
4 More Ways To Make Your Galaxy Drawing Unique
Make this drawing even more out of this world with these 4 fun tips!
As you know, our galaxy has a lot more than three planets. We stuck to three to make this galaxy sketch a bit easier to take on, but you could add as many planets as you like!
You could recreate our galaxy by adding the rest, but you could also make your own unique one. If you were to go with this second option, then you could make some really unique and interesting planet designs. What are some ways you could make these additional planets more unique?
In the guide, we added stars of various shapes and sizes to the background. We mentioned you could add some more to your galaxy sketch, but we want to emphasize just how much you can have fun with it!
You could draw as many stars as you can fit in to make a truly stunning scene. It would make it take more time to draw and color, but the effort will go a long way to making this even better.
Stars aren’t the only thing you can add to this drawing of a galaxy, as you could put in all kinds of creative and fun additions.
Some ideas for what you could add would include some alien spaceships or rocket ships. Asteroids and shooting stars would also look great!
The only limit here is what you can think of, so let your imagination run wild as you make this picture even more interesting.
In real life, planets come in so many amazing colors due to their various atmospheres. This gives you free rein to use any of the colors that you love for this drawing.
You could model the colors on real planets, but feel free to also use any of your own choices. It could also be fun to use a different art medium or style for each planet to further differentiate them.
You may be surprised how much the colors and mediums can make this picture look amazing.
Your Galaxy Drawing is Complete!
We hope you enjoy this step-by-step galaxy drawing tutorial. This guide is designed for beginners and experts alike who want to learn how to draw a beautiful galaxy.
Feel free to personalize your drawing and mix and match colors when coloring your drawing. And while you’re at it, why not try experimenting with different drawing and coloring materials as well?
We are always uploading new drawing tutorials to update our catalog, so make sure you keep checking back on our website to learn how to draw something new.
We are looking forward to seeing what you will be drawing next! If you would like to see a drawing tutorial of a subject we haven’t covered yet, let us know about it! We always strive to deliver our readers’ requests.
Once you’ve successfully drawn a galaxy and colored it, we’re sure you must be feeling proud of yourself—as you should be!
Make sure to flaunt your work of art by sharing it on our Facebook page, Pinterest, and other social media channels. Don’t be shy! You’ve worked hard for it so we’re certain it looks amazing!
We can’t wait to see your mesmerizing galaxy drawing!