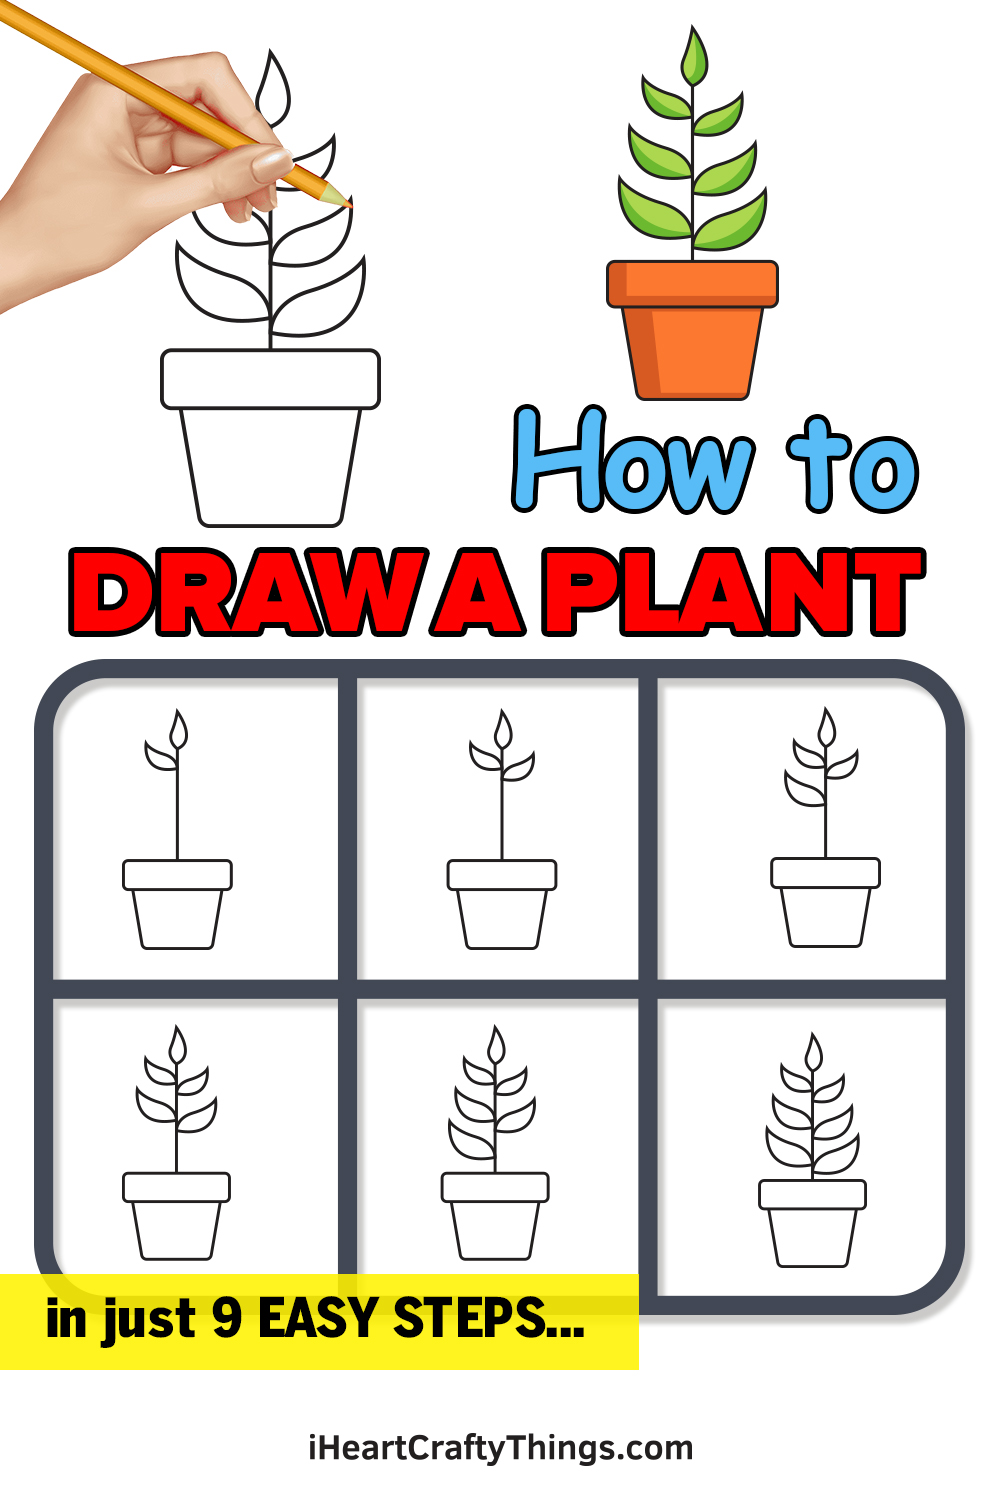
If you want to learn how to draw a plant but don’t know how or where to start, this guide is for you. By the end, kids of all ages can learn how to create and customize their very own plant.
Having a plant in your living area can really breathe some life into a room or a setting. A similar effect can be achieved when you draw one, but not everyone can do that straight from their head.
That’s why I want to get you started with this simple plant drawing. I’ve kept it very basic, showing you how to draw the pot, stem and some leaves.
While it may be basic, it will show you how to get the hang of it, and then you can add some details like flowers or more specific leaves to create different plant species. Let’s follow the steps together and recreate this pretty plant!
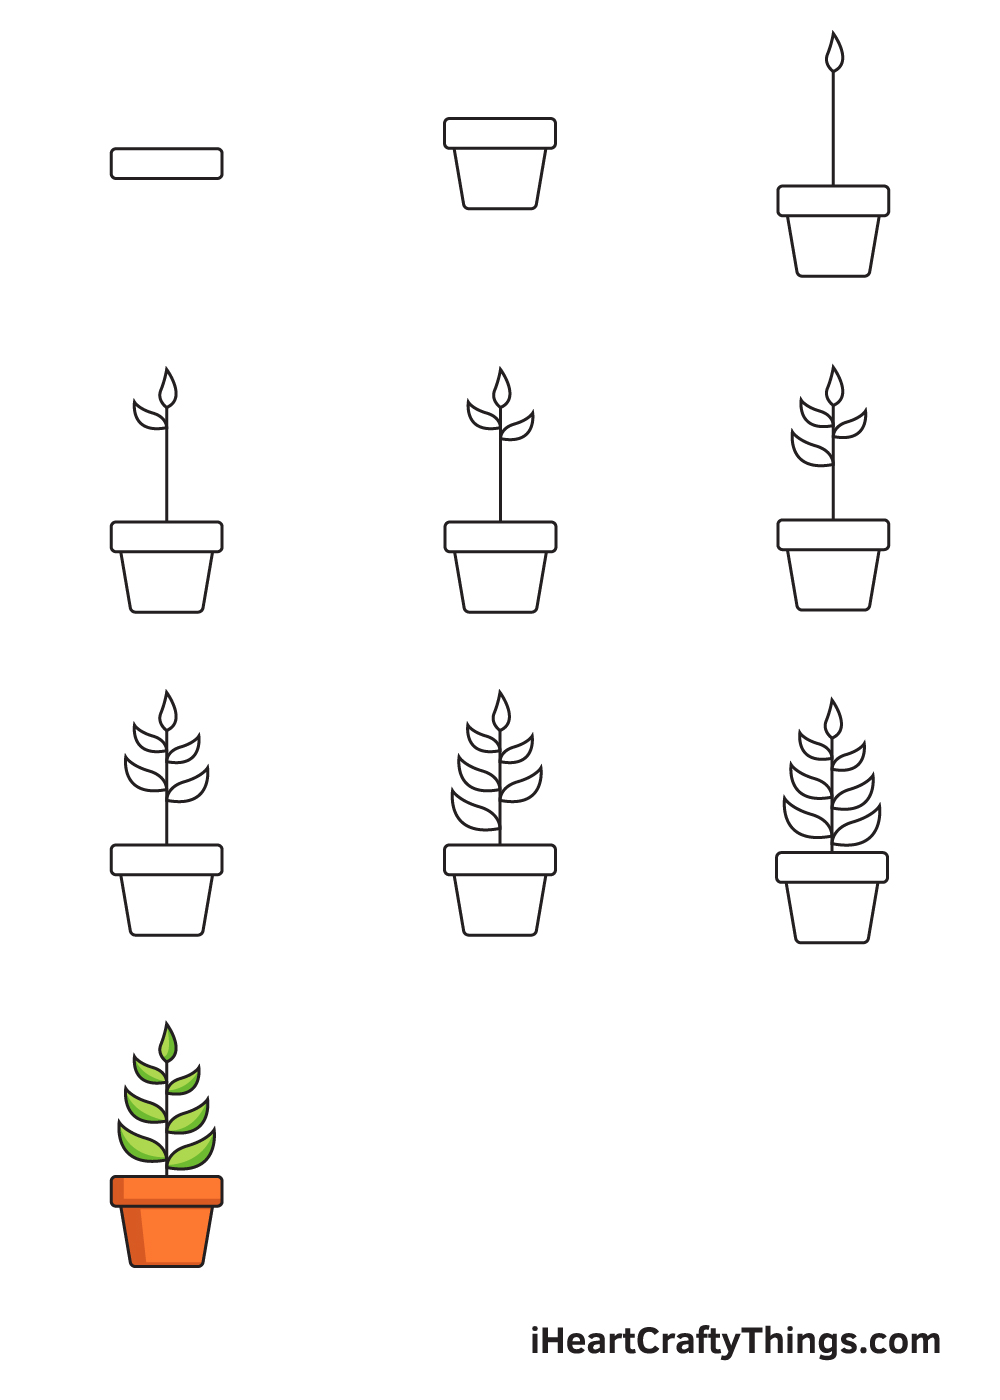
Watch This Fun Guide To Creating A Plant Drawing
How to Draw a Plant – Let’s get started!
Step 1

Draw the rim of the flower pot in the lower portion of your paper.
In order to ensure that the flower pot will be positioned in the correct spot, draw a horizontal line and vertical line across the paper to create reference lines.
Step 2 – Draw the Rim of the Flower Pot
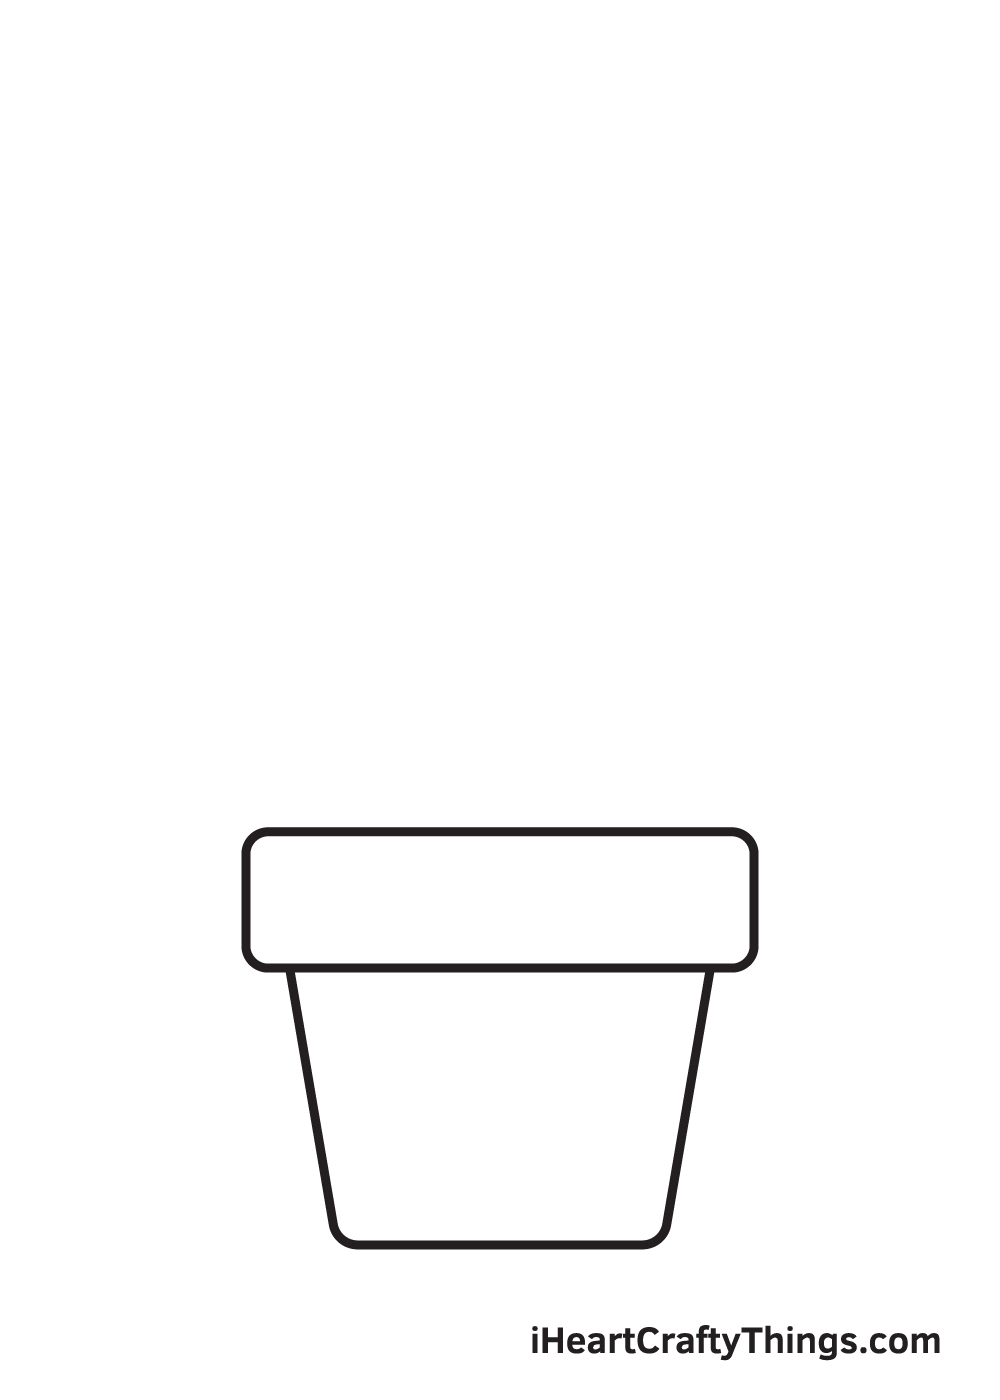
Complete the flower pot by drawing two diagonal lines connected by a horizontal line at the bottom. This outlines the body or the container of the flower pot.
Bonus: Try Out Drawing Some Different Pots And Vases
For the design in this guide on how to draw a plant, we didn’t really focus on the pot that the plant is in. We talk about some ways you can customize the pot later on, but we wanted to go into more detail.
There are many different variations of real pots that you can see. If you live near a gardening store, you could maybe visit to see some of the pots that they have for some inspiration.
Or, you could simply look some up online to get an idea of what they can look like. Even if they’re shaped conventionally like the one in our drawing, they can still be unique.
You can achieve this by painting them with patterns, and this will often consist of a floral pattern. Some pots will also be unusual shapes, and you could come up with a few of your own.
For example, if you wanted this to be a spooky Halloween plant, you could draw the pot in the shape of a skull. Or for something breezier, it could be shaped like a star.
These are simple ideas, but they show you how you can think of various shapes and themes and then incorporate them. You also don’t have to stick to pots.
It could also be fun to instead draw the plant in a vase. This would allow you to use some really cool shapes, colors and textures to complete your drawing.
If you have too many ideas for pots and vases, then you could create a few different variations to show off all of your design ideas! Then, you may want to change the plant itself to fit the theme or design of your planned drawing.
Step 3 – Draw the Stem with One Leaf at the Top
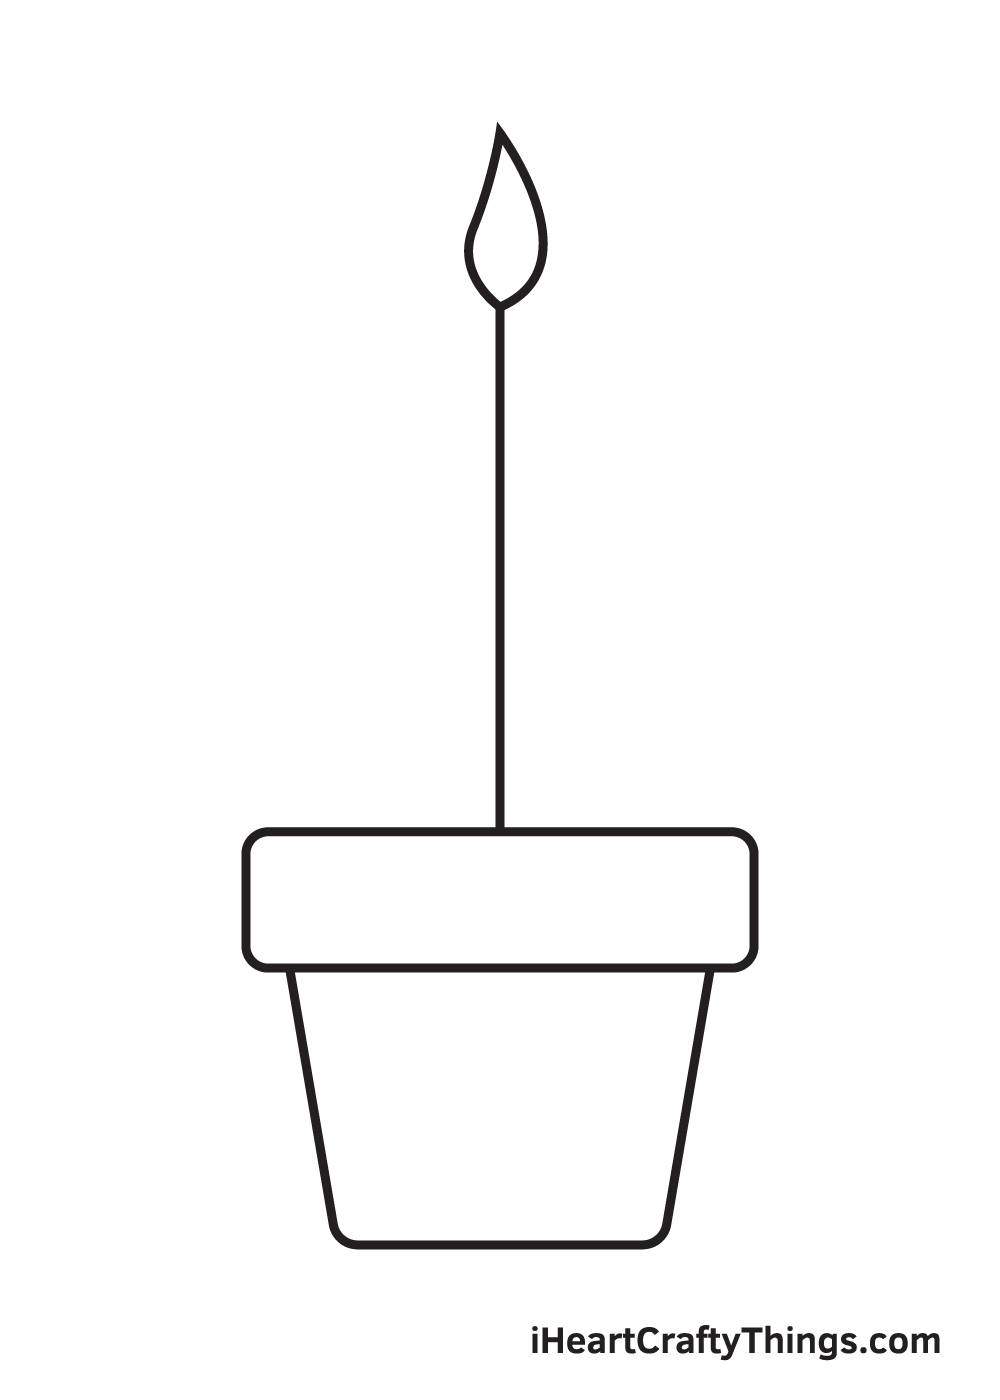
Draw a long vertical line starting from the rim of the pot all the way up to the upper portion of your paper. Then, draw a single leaf at the tip of the stem.
The leaf can be created by drawing two connected curved lines. The leaf can be drawn quite similar to a droplet of water, but instead of having a curved edge, a leaf is pointed on both ends.
Step 4 – Add the Second Leaf
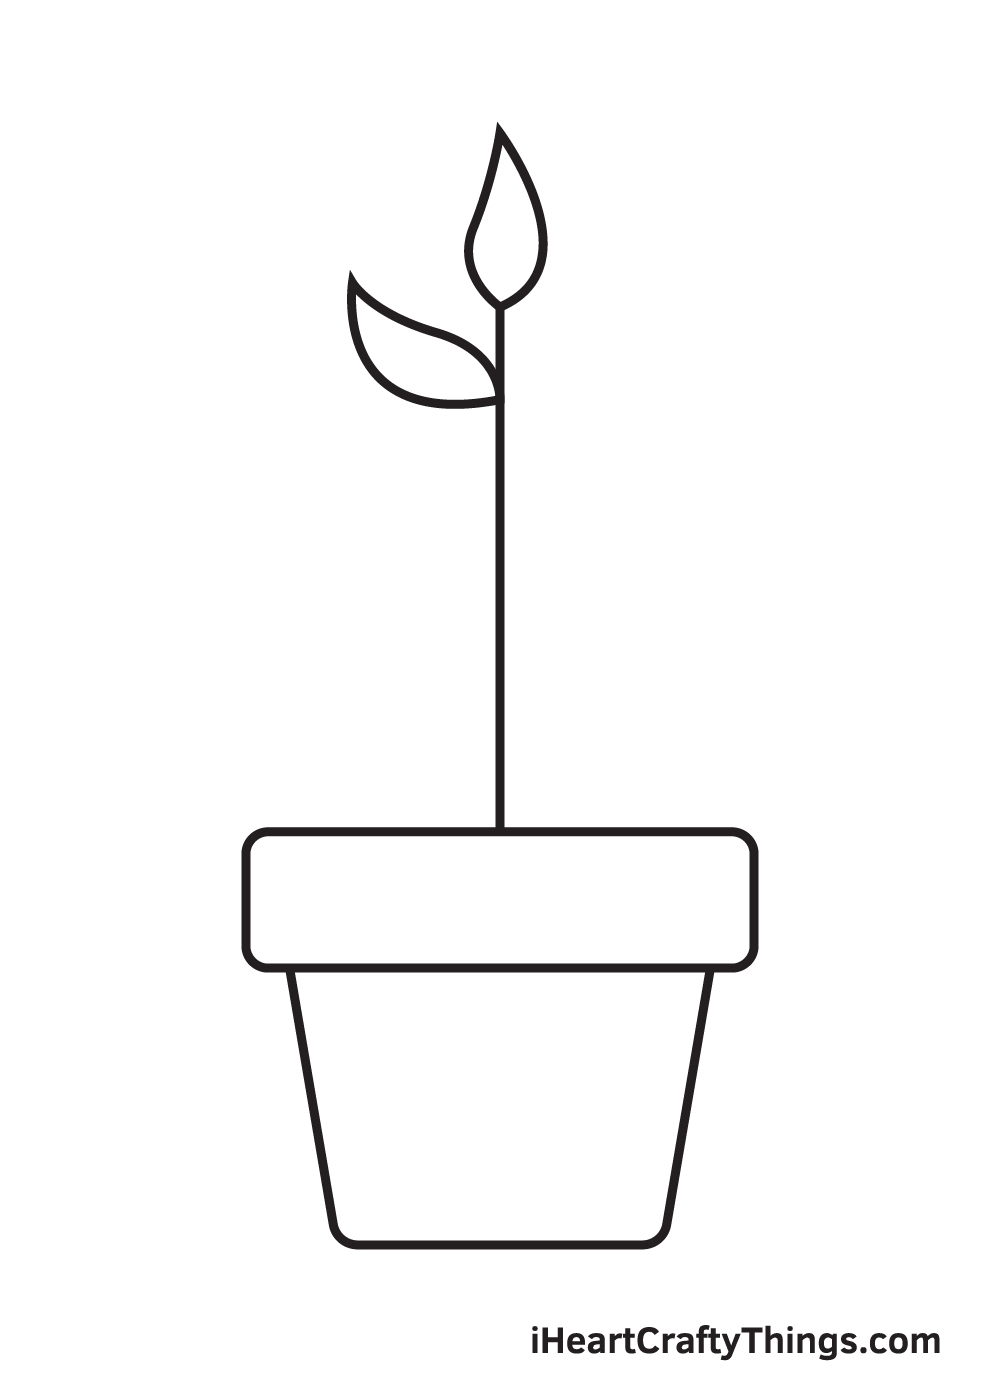
Draw another leaf at the bottom of the first leaf. The second leaf must be positioned at the top left side of the sem.
Step 5 – Then, Add the Third Leaf
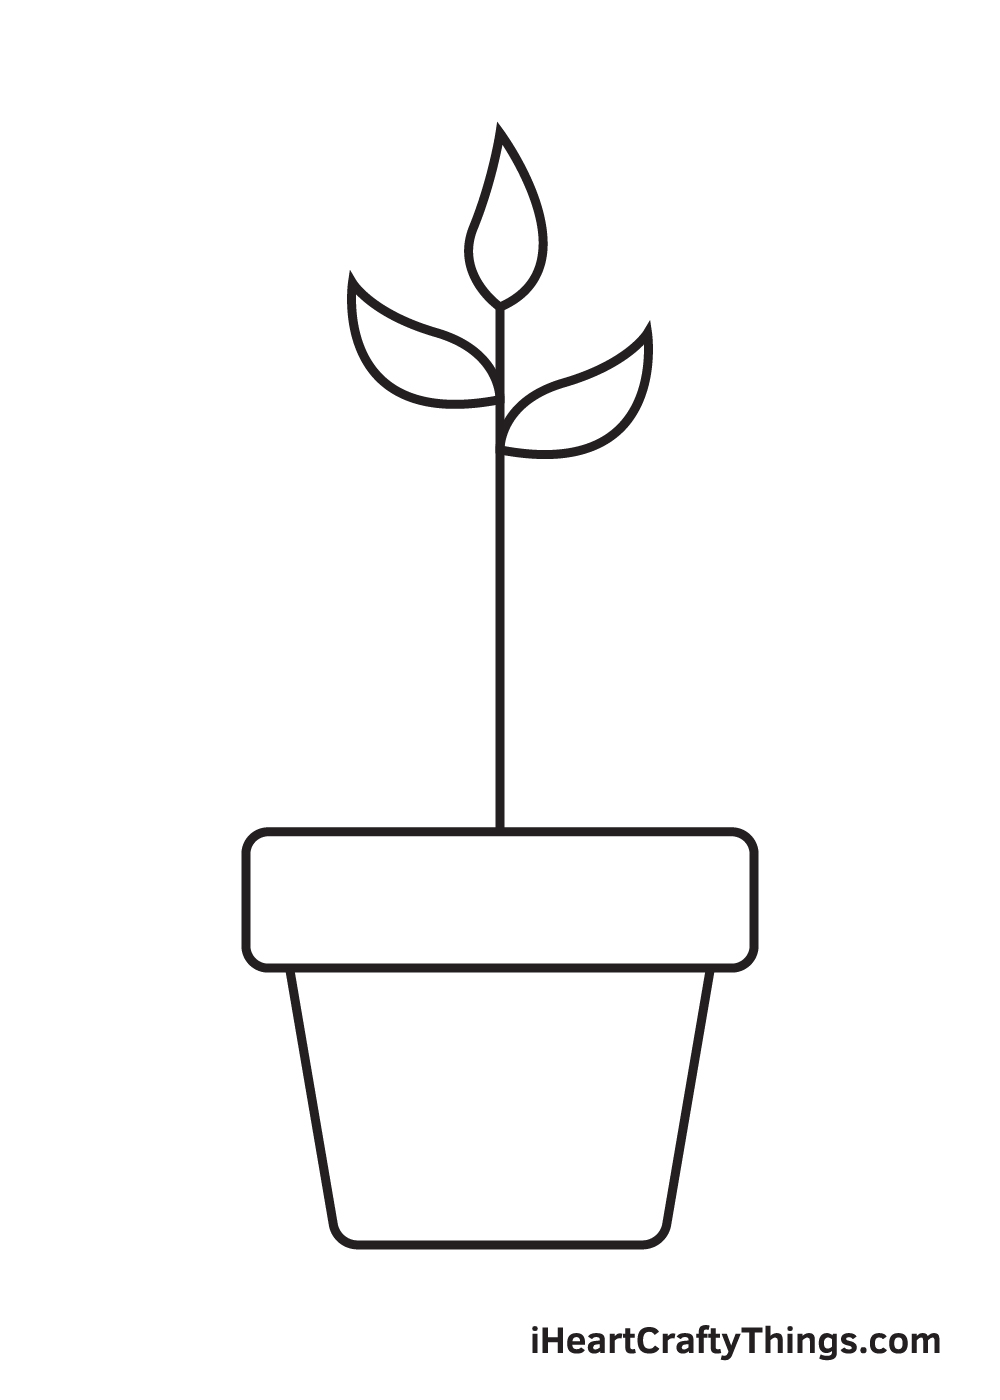
Repeat the previous step on the right side of the stem. The third leaf should not be aligned with the second leaf, rather it should be right underneath the second leaf but on the opposite side.
Step 6 – Add the Fourth Leaf
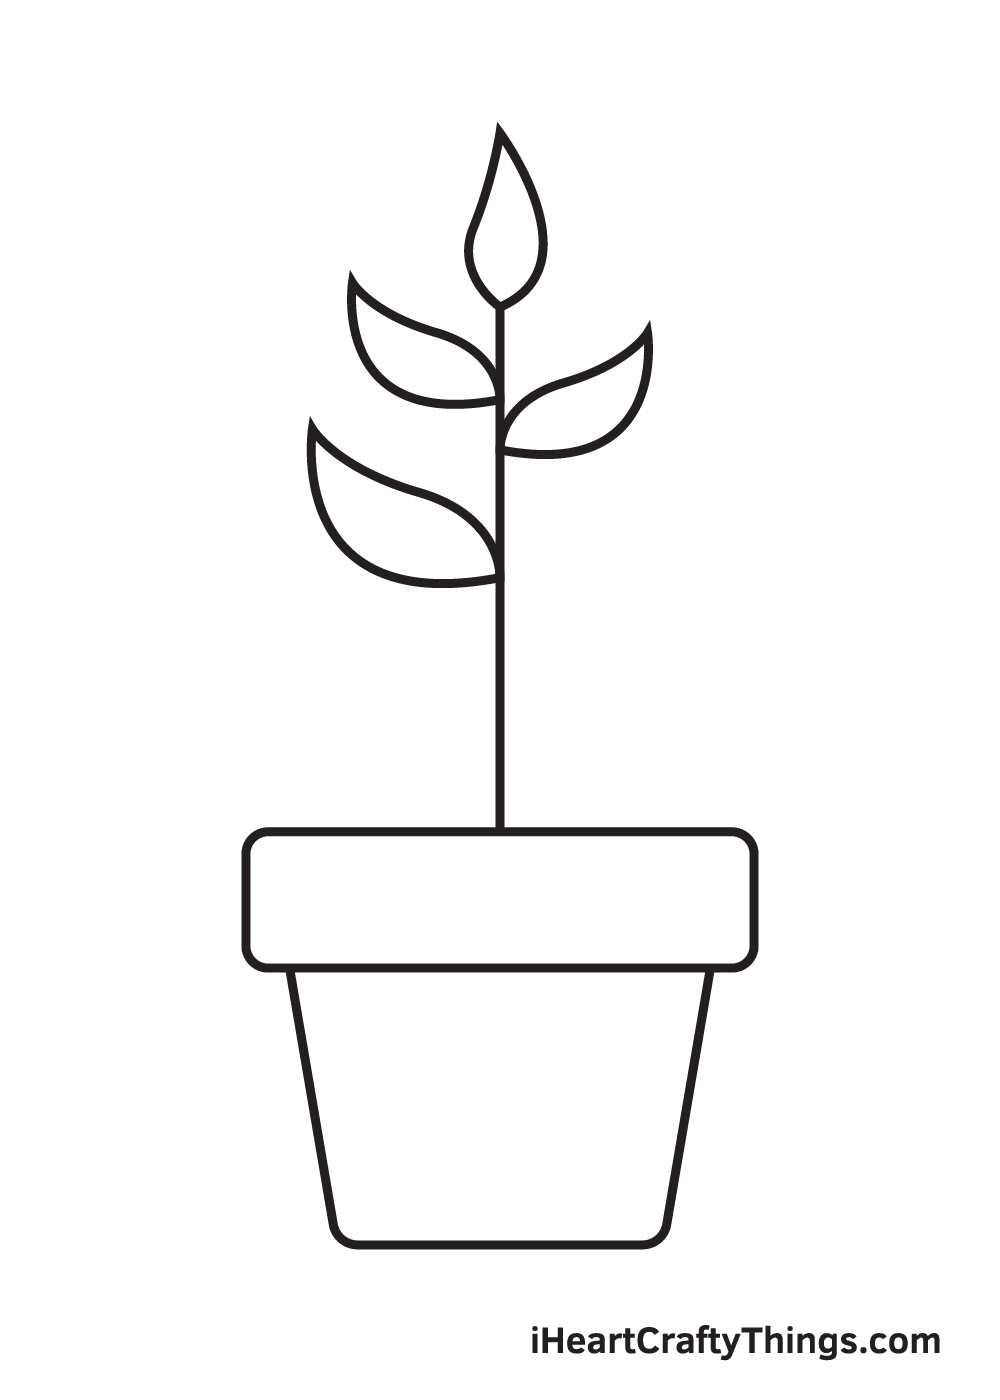
Draw the fourth leaf on the left side of the step right underneath the first leaf.
Step 7 – Add the Fifth Leaf
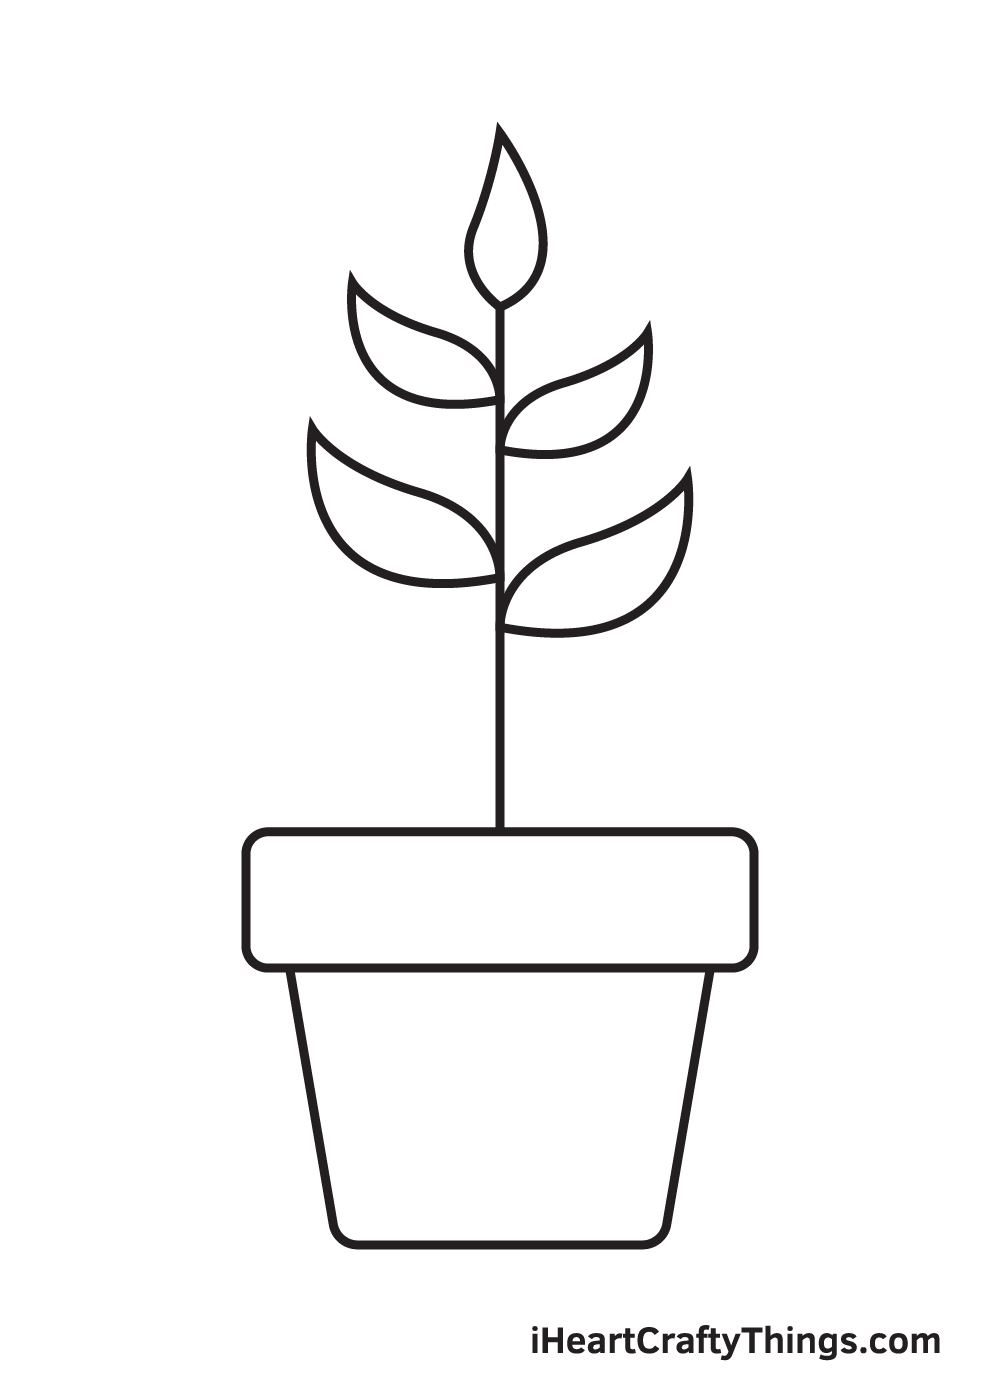
Repeat the previous on the other side of the stem to draw the fifth leaf.
Step 8 – Add the Sixth Leaf
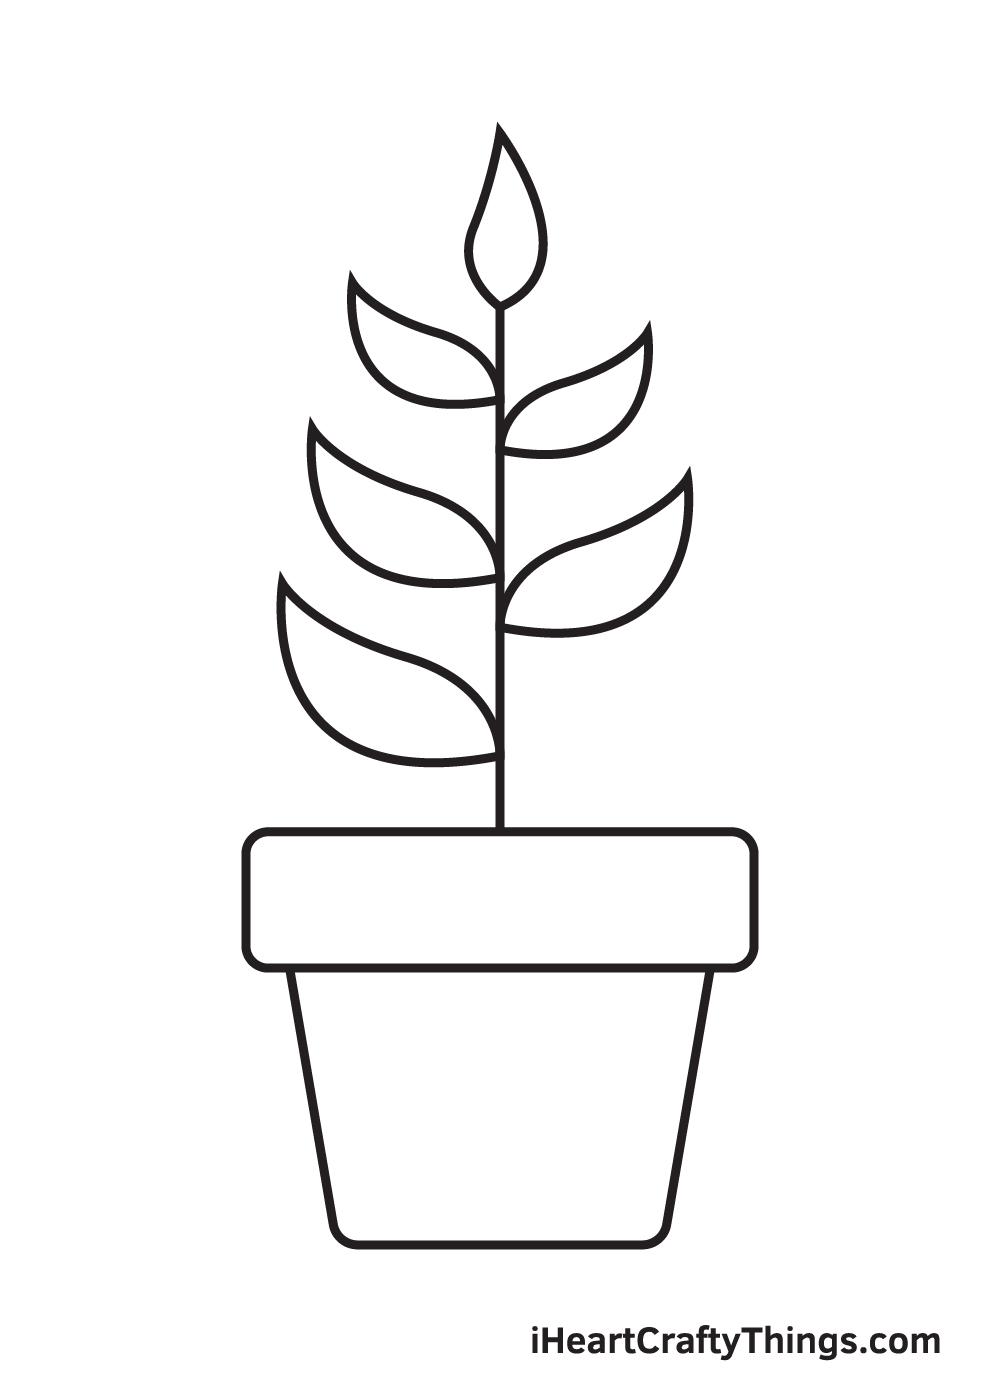
Now, draw the sixth leaf on the right side of the stem below the fourth leaf.
Step 9 – Add the Last Leaf
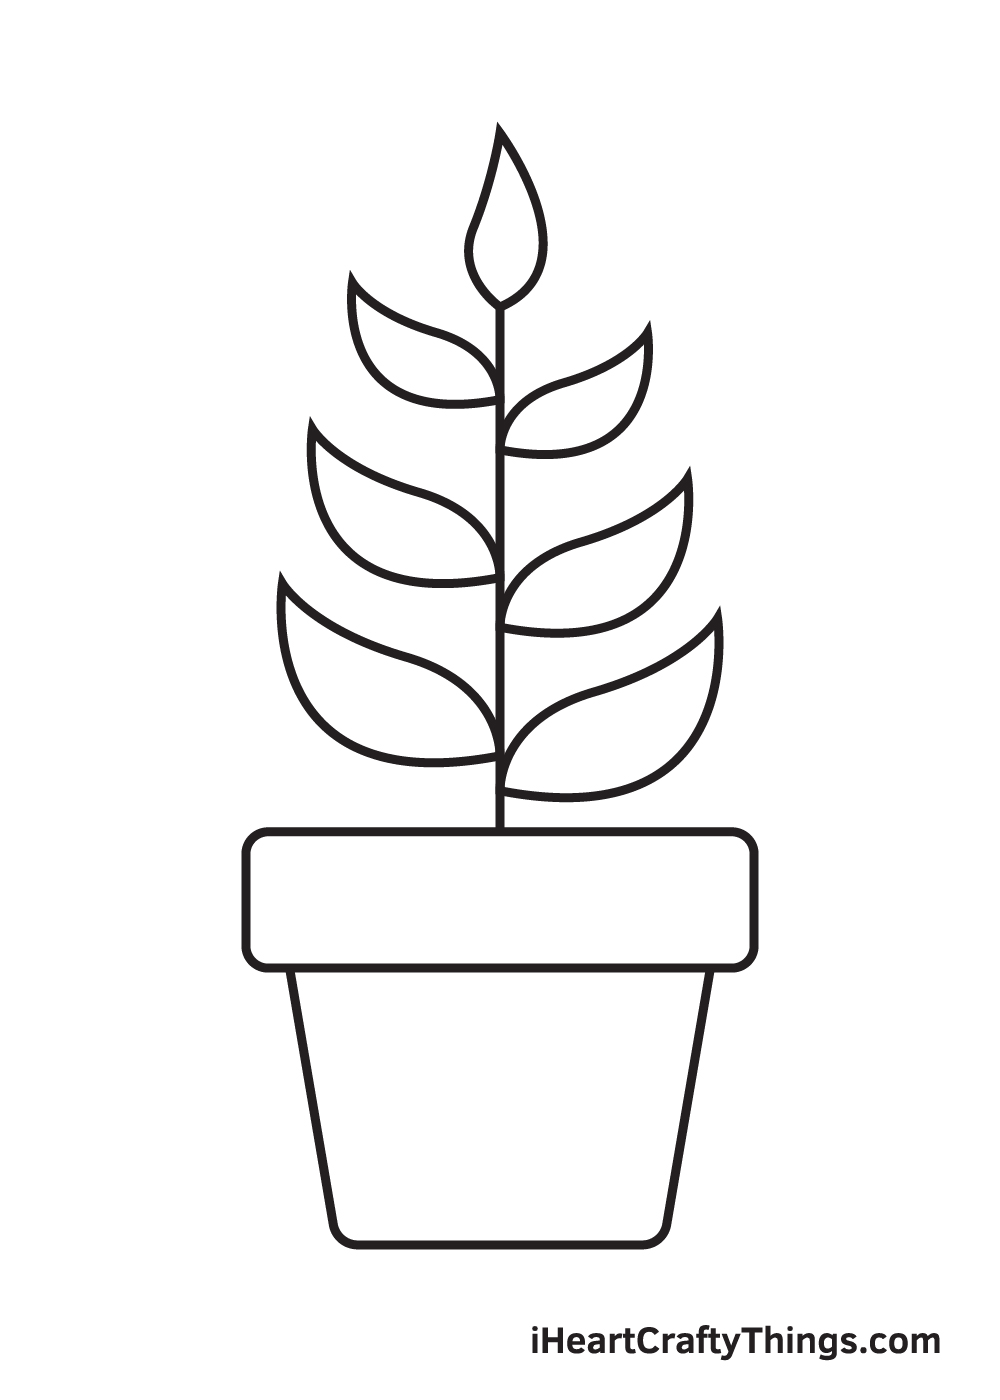
Now, draw the last leaf at the bottom right side of the stem. When drawn correctly, the leaves of the plant should be positioned alternately.
Here, you can see the plant is nearly finished! The only thing it’s missing is a dash of multiple colors to complete your artwork!
Finally, here is the most exciting part—filling in the colors for your awesome drawing! This is the part where you can show off your artistic skills and your ability to mix and match various colors.
Plants come in various colors ranging from green and yellow to orange and red, with green being the most common. Its color largely depends on the current season as well as the plant’s overall health.
Feel free to color your plant drawing however you like and watch as your drawing ultimately comes to life! And while you’re at it, why not try experimenting with different coloring materials such as watercolor and brush pens as well?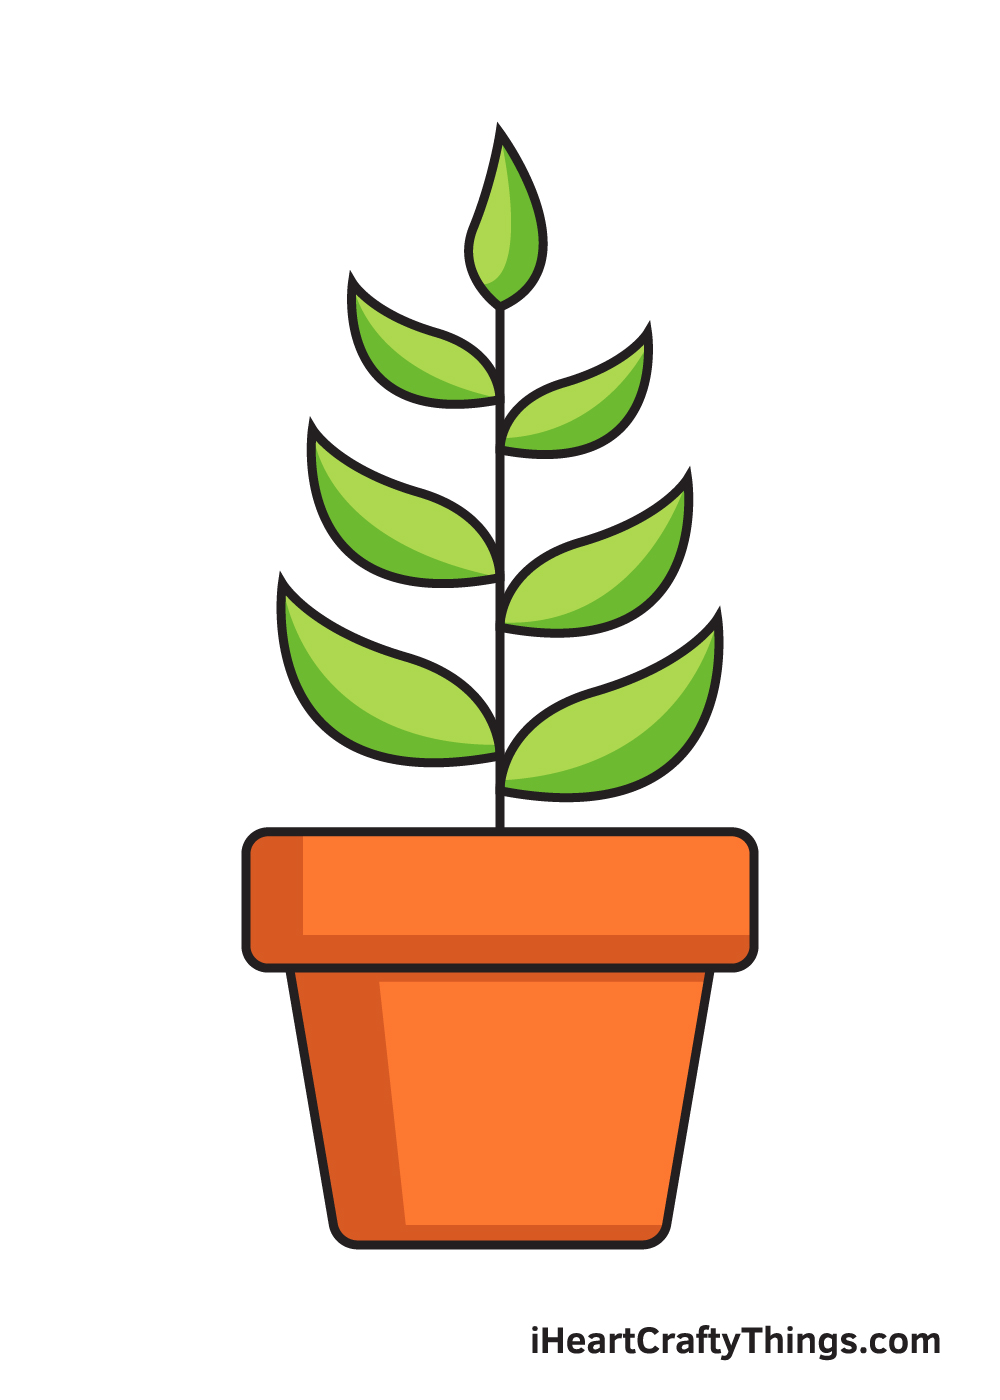
Here’s how you can make your plant drawing even better…
Grow your art skills with these 4 helpful tips for this plant sketch!
We kept the design of this plant drawing nice and simple so that you could focus on learning the drawing. You could add some more elements to the design once you have the hang of it!
The picture shows leaves on a stem, and that means that you could add some flowers to the plant.
These could be any flowers you like, and you may even have some in your yard that you could use to help you as you draw!
Another way to make your drawing of a plant even better would be by adding some more plants around it. Using the guide, you could add a few more pots next to this one.
Then, fill the pots with any other flowers or plants that you love to make this a vibrant scene to behold. Once again, you could look at your yard or check out some pictures online if you don’t have one.
This is a great way to get some inspiration!
Drawing a background is another great way to take this drawing to the next level. There are so many ideas you could go for if you were to do so!
There are a few ideas that come to mind, such as having the plant in a garden or maybe on a windowsill. These are just two ideas, but there are many different background settings you could depict.
Where do you think this plant would be kept?
Finally, we would highly recommend experimenting with colors and mediums to make this plant drawing even more special. We kept the colors nice and simple for our image, but this doesn’t mean you have to make your colors match ours!
You could really use any and all colors you love to bring this to life. Once you have chosen your colors, you can then decide on the art tools and mediums you will use.
If you added any additional details and elements, then don’t forget to color those as well!
Your Plant Drawing is Complete!
We hope you enjoy this step-by-step tutorial on how to draw a plant. With this guide, you can surely draw and color a plant along with its complex features and elaborate details in no time.
And the most fun part is, you can customize its physical attributes and play with various colors as much as you like!
We are always updating our “How to Draw” catalog, so make sure to keep checking back on our website to take advantage of newly uploaded tutorials.
All you need is a pen and paper and you’re all set to start drawing! We are excited to see what you will draw next. We’re sure it will be just as amazing as this one!
Once you’ve finished your masterpiece, we’re certain you must be feeling very proud of yourself—as you should be! Completing this plant drawing is definitely fulfilling.
Make sure to show off your work of art and share it on our Facebook page and on Pinterest. We’re sure it looks amazing! We can’t wait to see your colorful plant drawing!