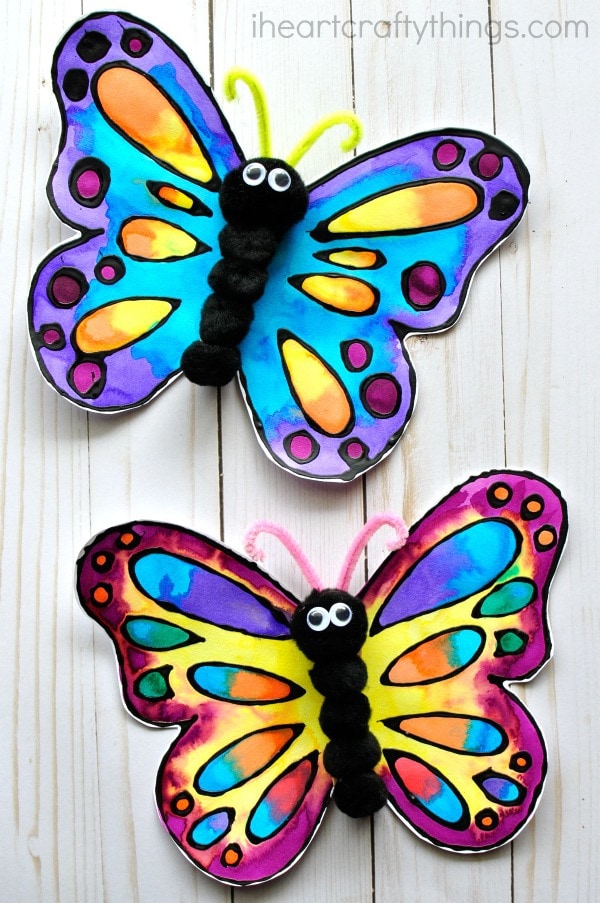
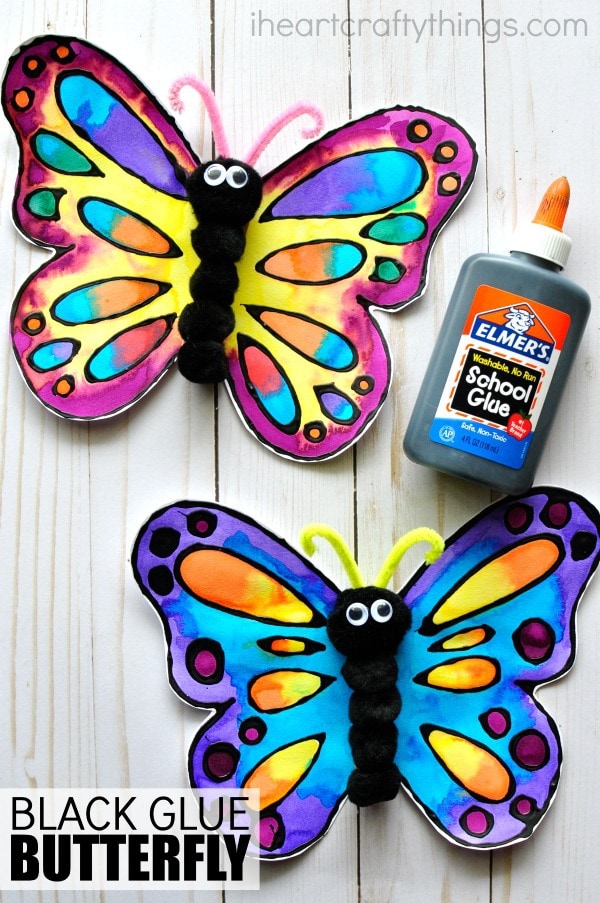
A big thank you to Elmer’s for sponsoring today’s post. We hope this watercolor and black glue butterfly craft brings some crafty fun into your home this spring season.
Since every craft project we make with it has yielded gorgeous results, you will definitely want to make some and keep it handy in your craft closet.
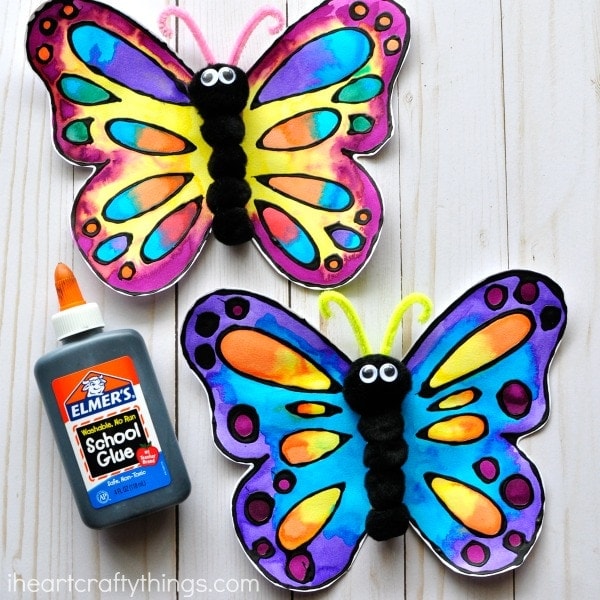
Spring and colorful butterflies go hand in hand don’t you think? This watercolor and black glue butterfly craft is a perfect spring art project for kids. Go outside and spend some time observing the beautiful colors of spring and be on the lookout for colorful butterflies. Then come inside and make your own gorgeous black glue butterfly craft.
Supplies Needed:
- mixed media paper
- butterfly wings pattern (optional)
- School Glue
- black acrylic paint
- stirring stick
- watercolors
- scissors
- pencil
- paint brush
- wooden scoop stick
- black poms
- pipe cleaner
- googly eyes
- Tacky Glue
Instructions:
1. Prepare black glue
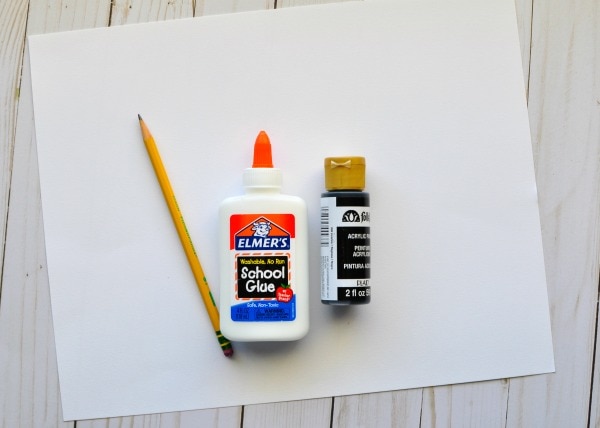
Begin by mixing together your black glue. To do this, remove the lid from your Elmer’s School glue. Squirt some black acrylic paint into the bottle and then put the lid back on the bottle. Shake the bottle vigorously to mix together the glue and black paint. We usually remove the lid one more time and use a food skewer to finish mixing together the glue and black paint. Now you have black glue. Easy, peasy huh?!
2. Draw a butterfly wings
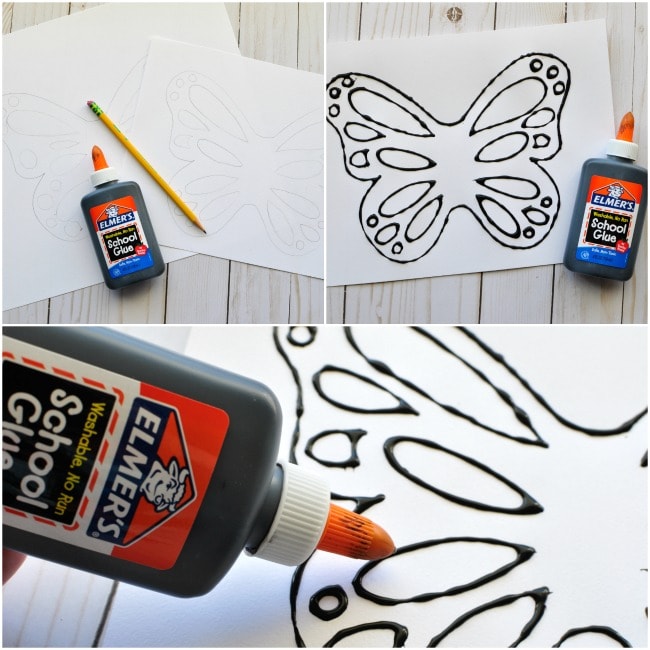
Print off our butterfly wings pattern and use it to trace the wings on your mixed media paper. Then use your pencil to lightly decorate the inside of your butterfly wings with circles and shapes. This is your time to let your creativity take over to create a one of a kind butterfly.
3. Trace the wings
Use your black glue to trace over the pencil markings on your butterfly wings. Set your butterfly wings aside to dry completely. Depending on how thick your glue lines are it can take up to 12-24 hours to dry.
4. Paint with watercolors
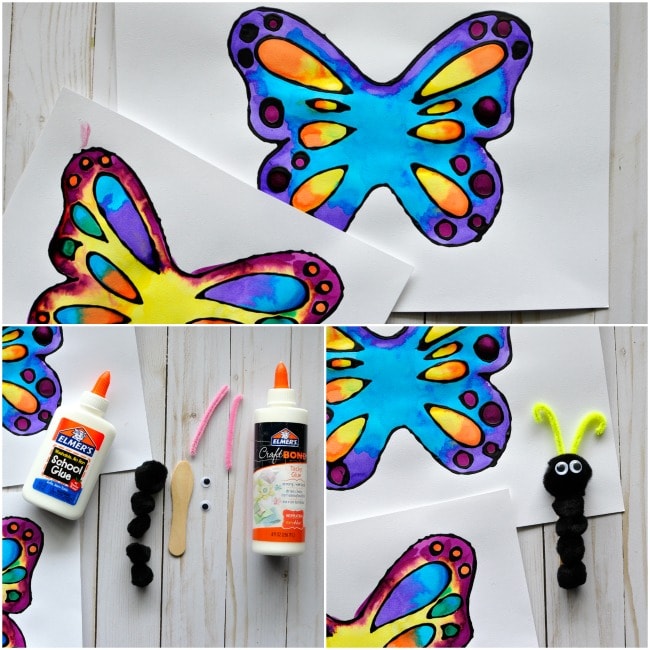
After your black glue is dry, use your liquid watercolors to paint your butterfly wings. The black glue naturally resists the watercolors so you are left with a stunning contrast of black against the colorful watercolors. Let your watercolor paint dry completely.
5. Make butterfly body
To make your butterfly body, glue black poms onto a wooden scoop stick or craft stick. You can either use Elmer’s Tacky Glue for this step or a hot glue gun (with parental supervision). Then glue on pieces of a pipe cleaner behind your butterfly head for antennae, and two googly eyes.
6. Add body to the wings
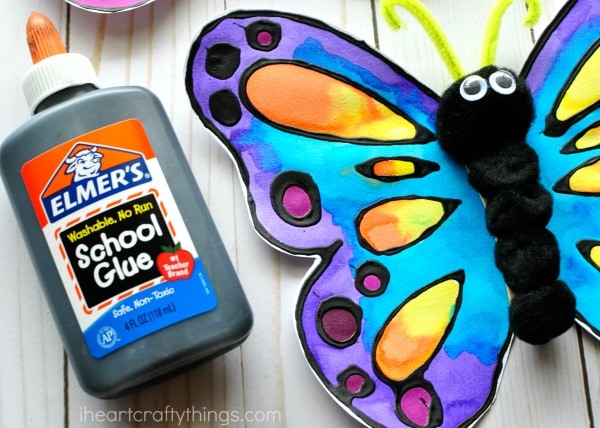
Finish your watercolor and black glue butterfly craft by gluing the butterfly body onto the wings.
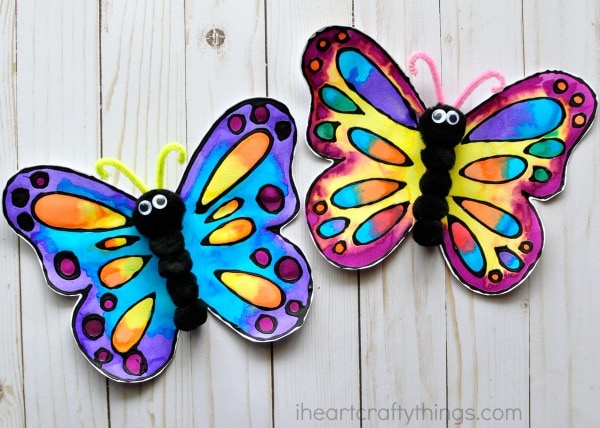
Every time we make an art project with black glue I am impressed with the beautiful contract of the black glue next to the colorful watercolors. This beautiful black glue butterfly craft is one you’ll want to display in the home during the entire spring season.
