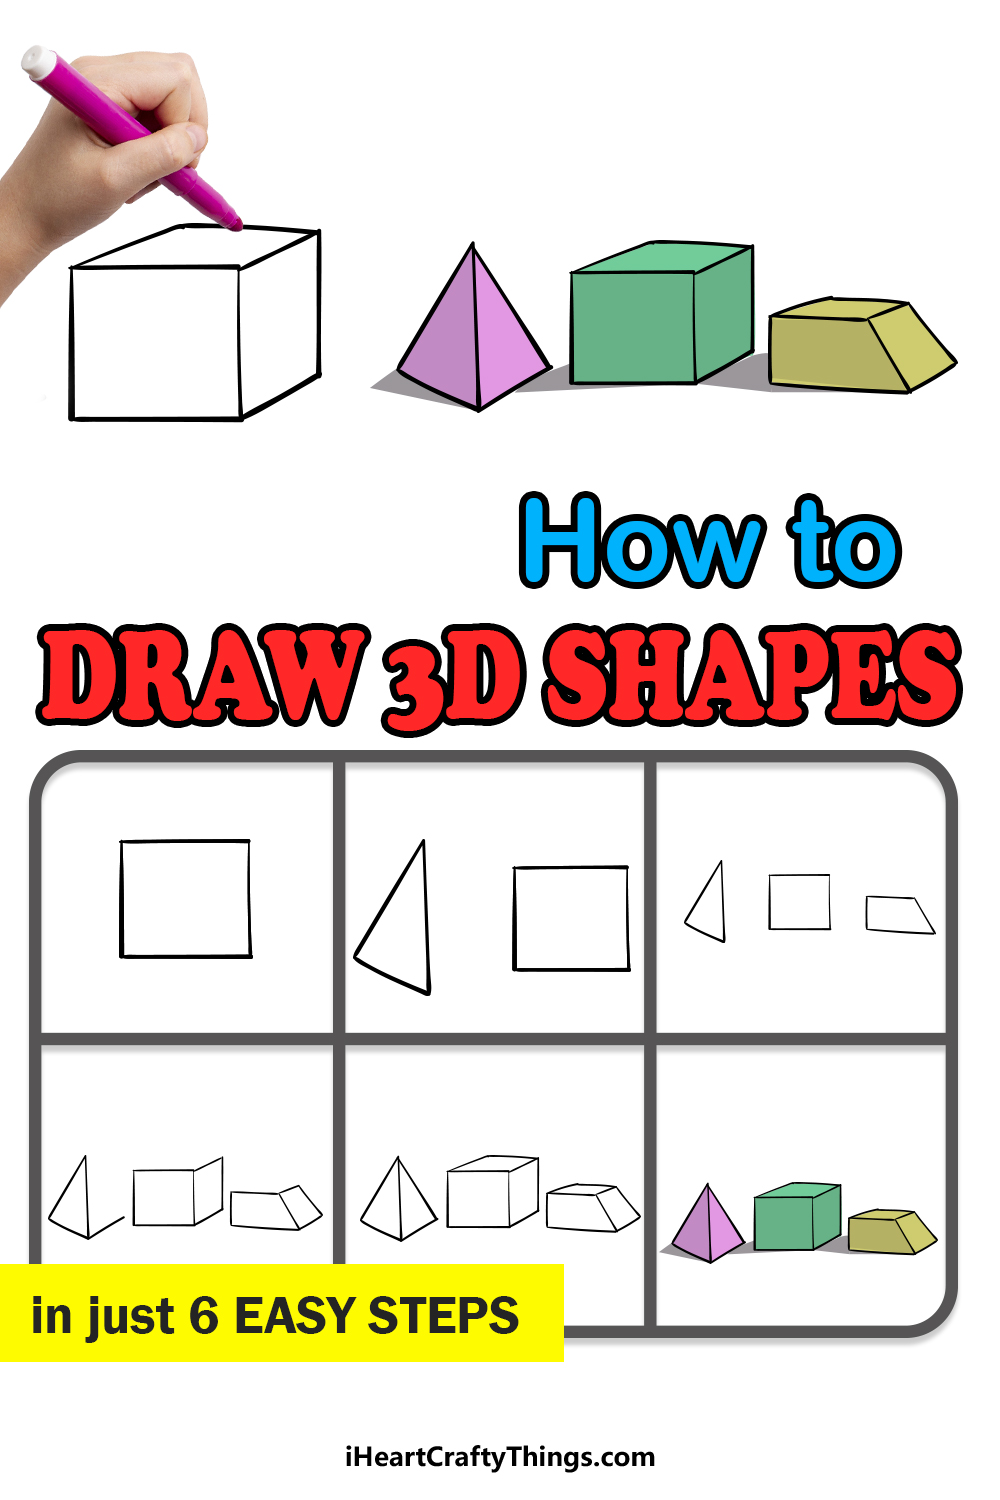
3D shapes are all around us, and pretty much every single thing we see surrounding us is made up of them.
The challenge with 3D shapes is portraying them on a 2D page, making many people wonder whether they can learn how to draw 3D shapes.
Luckily, when you know what to do it can be not only possible but easy to do if you know the steps!
If you would like to learn how it’s done, then you’re in the right place!
This step-by-step guide on how to draw 3D shapes will show you how easy it can be!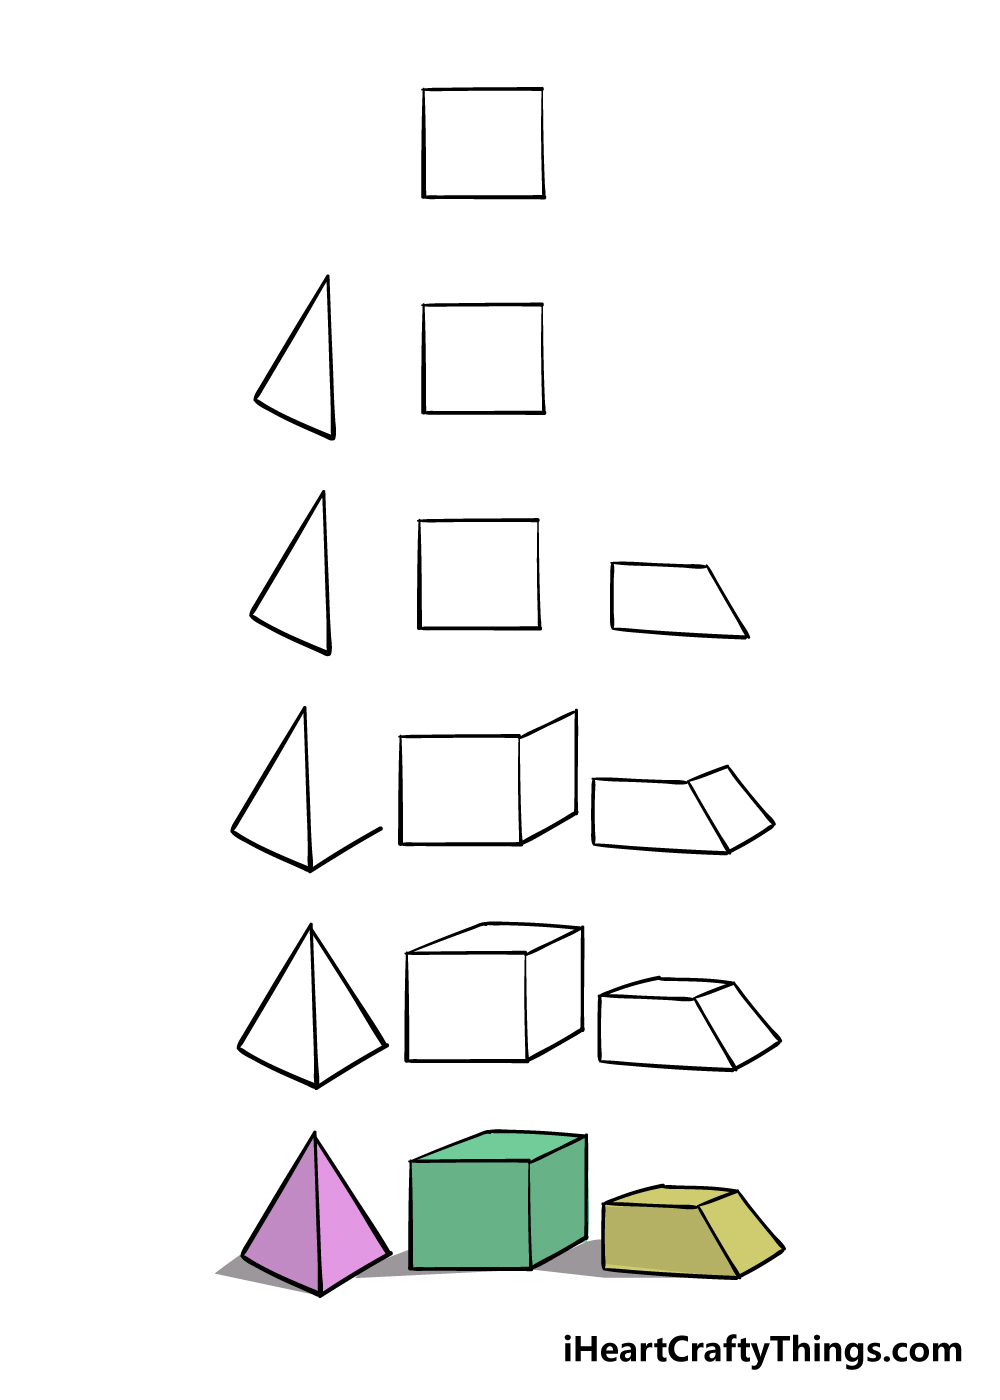
How to Draw 3D shapes – Let’s Get Started!
Step 1

For this first step of our guide on how to draw 3D shapes, we shall start with a square that will turn into a cube.
For now, if you have a ruler to use it would be very helpful for this step. Using your ruler, simply draw a square that’s side are as equal in size as possible. Once you have that, we’re on to the next step!
Step 2 – Draw a triangle shape for this step
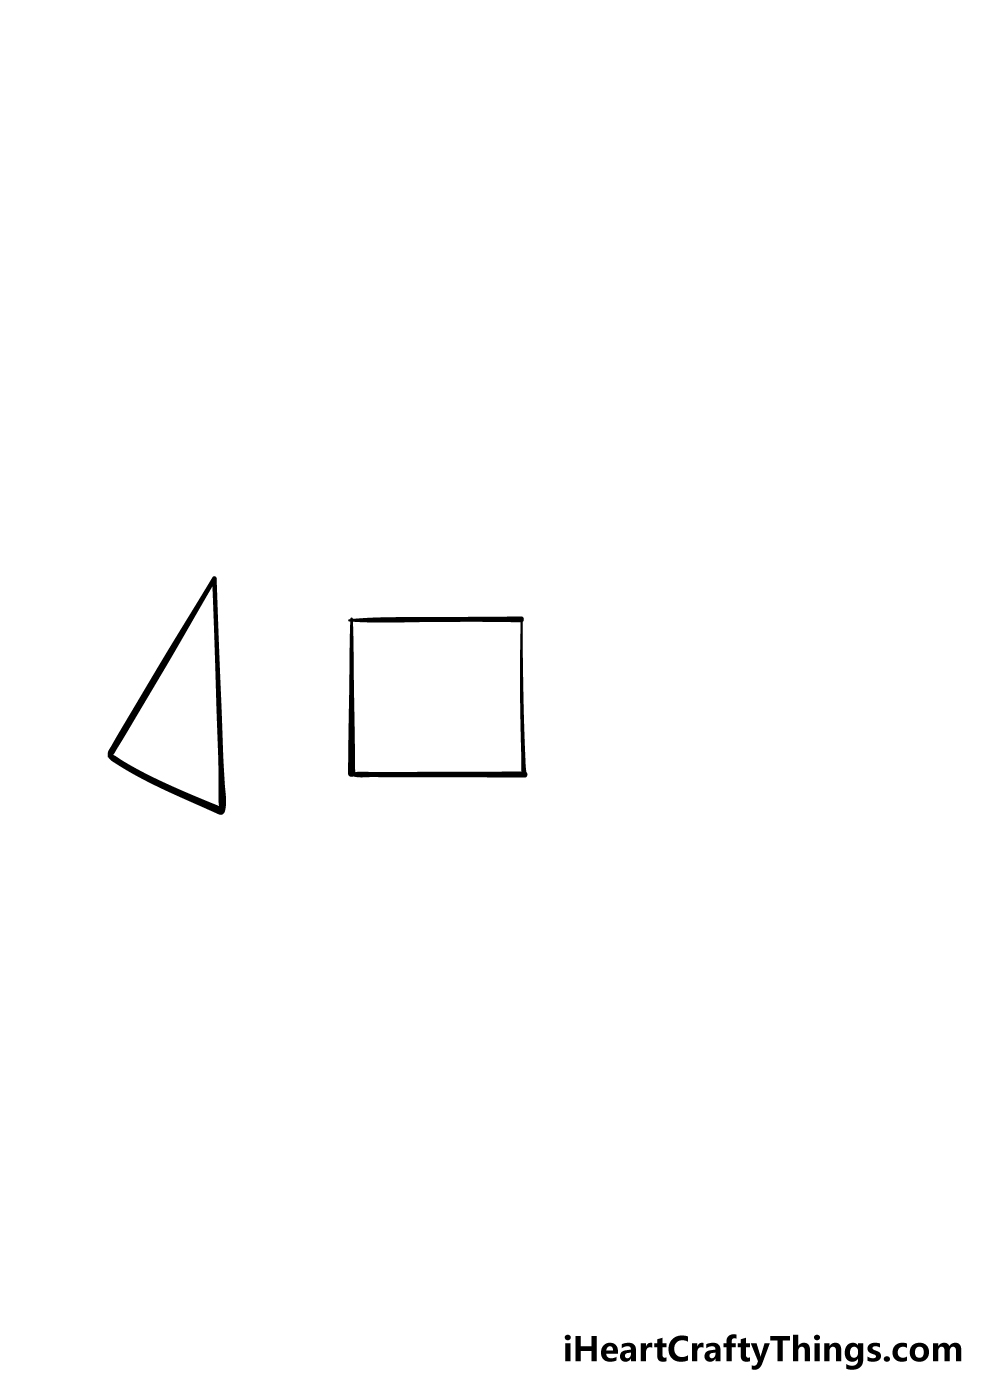
We shall be drawing a triangle shape for this step of your 3D shapes drawing. This is another step where it would be very handy to have your ruler handy.
The bottom line of the triangle, which will be the shortest, will also be at a bit of an angle. You can see how it should look in our reference image!
This picture will also help you with how the two longer lines should look.
Step 3 – Draw a trapezium shape
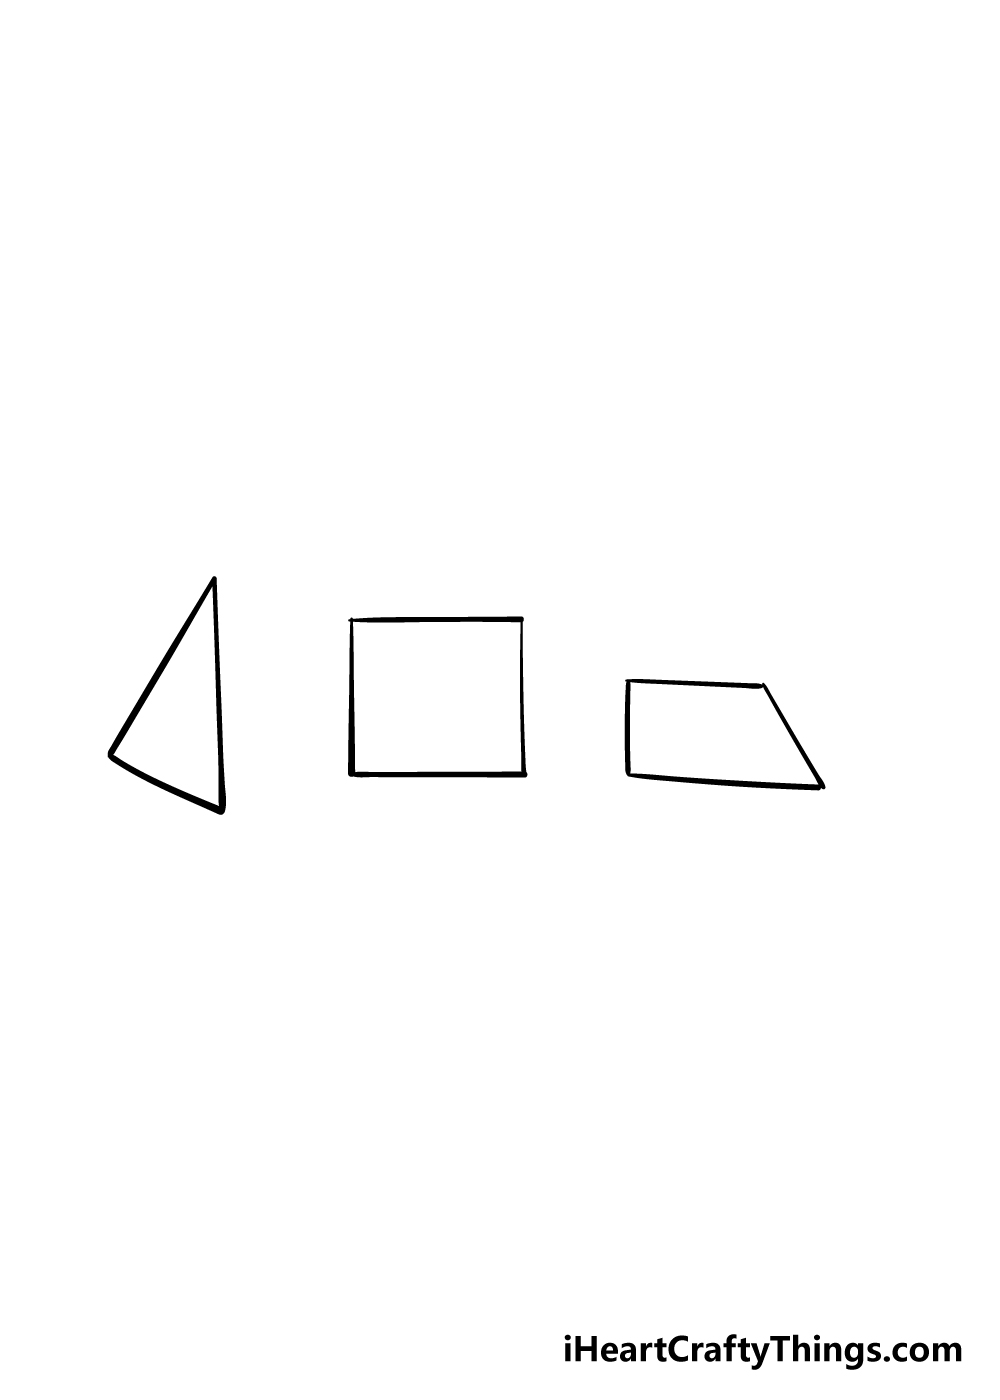
In this third step of our guide on how to draw 3D shapes, we shall be creating a shape called a trapezium.
This shape looks a bit like a rectangle, except the line on the right-hand side will be long and sloped, while the top and bottom lines are also not equal.
This is yet another step where a ruler would be very helpful indeed!
If you’ve never seen a shape like this before, then the reference image will guide you in how it should look.
Now that you have the basic shapes drawn, we shall start adding the 3D effect in the next few steps.
Step 4 – Start drawing the 3D aspects of the shapes
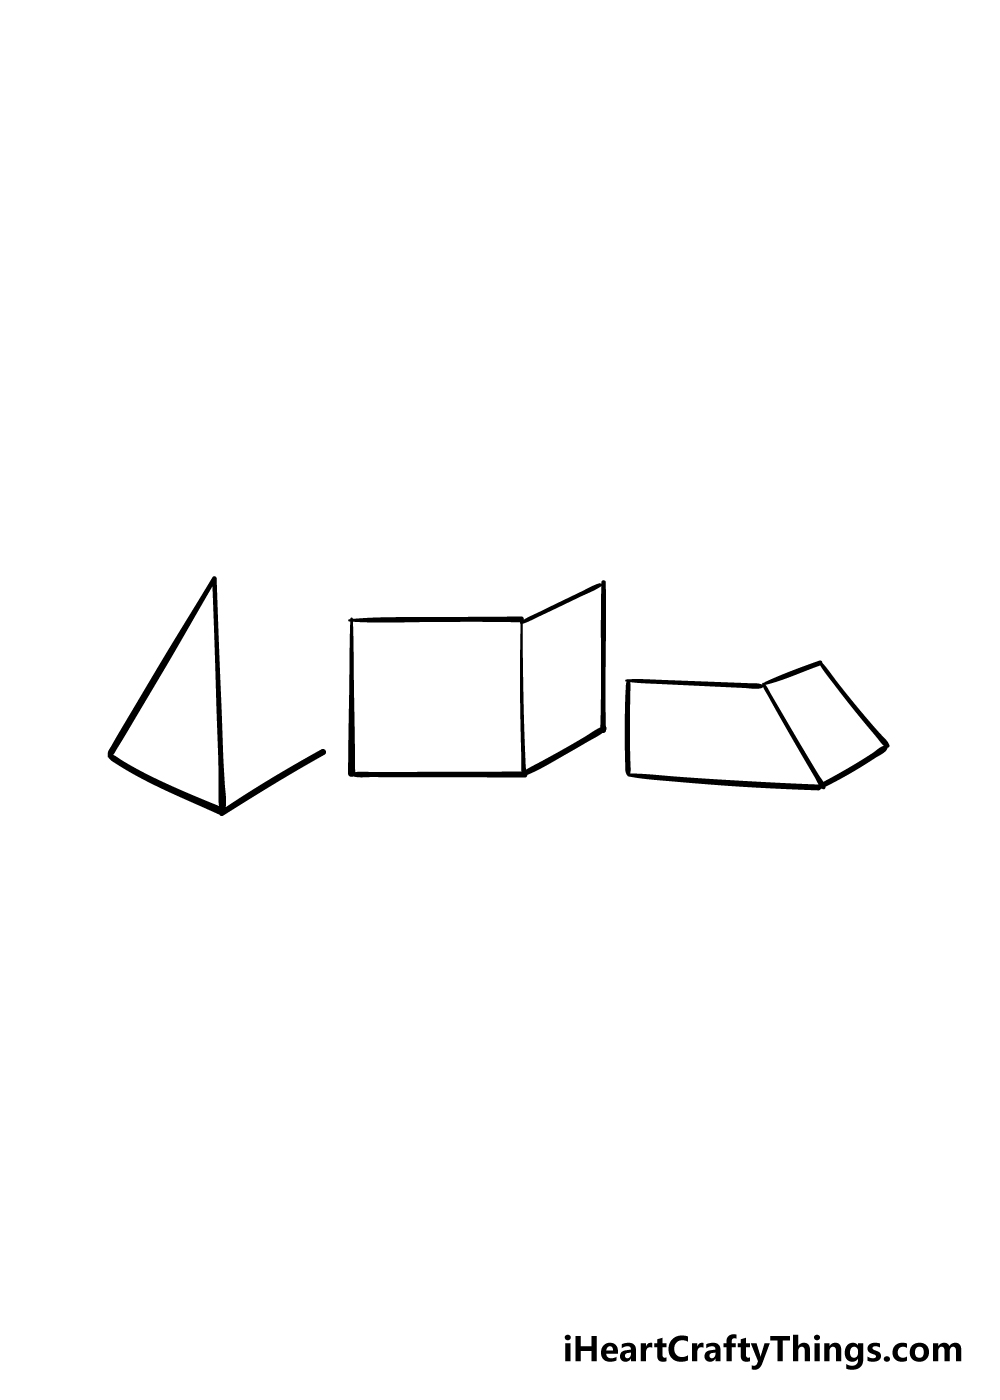
We shall be drawing the 3D aspects of your 3D shapes drawing in this step. The reference image will show you how these next few lines should look, as they will be heading “backwards” into the background of the picture.
These lines will be drawn starting from the bottom right-hand corner of each shape upwards into the picture.
The triangular shape will have one line going upwards at an angle that will form a part of the base.
The cube shape will have three lines coming up from it that will form an elongated square shape on the left-hand side.
Finally, the trapezium shape will also have three lines added on to make another elongated square shape.
It may sound complicated now, but the picture will be very helpful as a visual reference for you as you draw!
Step 5 – Finish off the final sides of the shapes
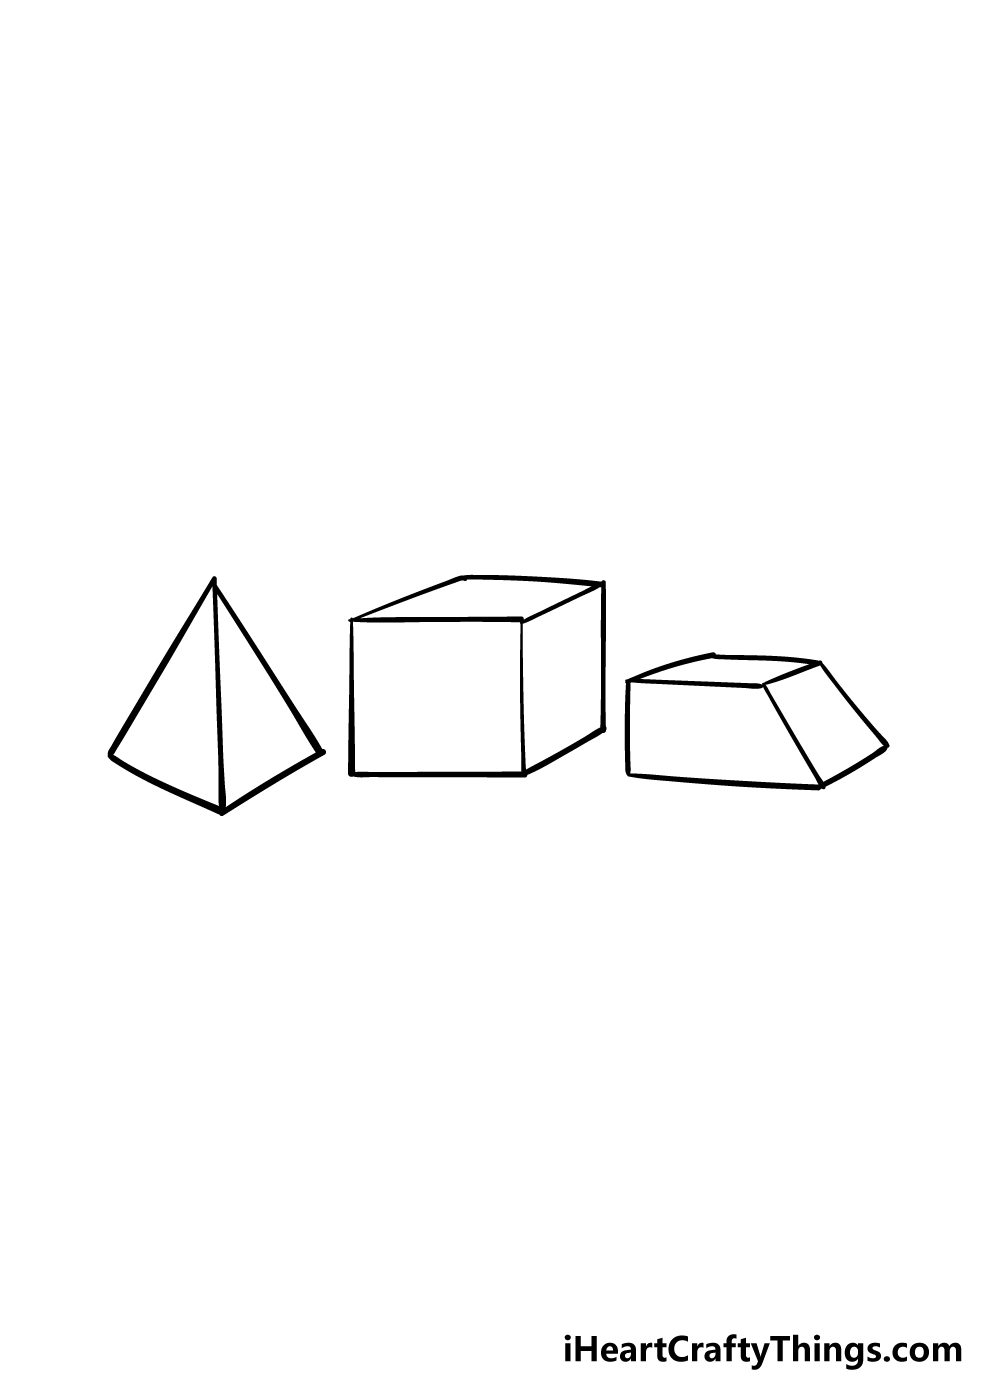
In this fifth step of our guide on how to draw 3D shapes, we shall be drawing the final sides of each shape.
The triangular pyramid shape has one more line needed between the bottom right-hand corner and the tip at the top. You should be able to easily draw that with your ruler!
For the cube, you will be needing two more lines, and these ones may be a bit trickier than the final line for the triangular shape was.
You may want to use a light pencil for these lines as getting the angles right can be quite tricky.
Once it’s looking like the reference image you can finish off the trapezium.
The final lines of the trapezium shape can also be tricky when it comes to getting the angles right, so it’s another step where you may want to draw with your pencil first before going over with a pen once you’re happy with it.
Step 6 – Finish off your 3D shapes drawing with some color
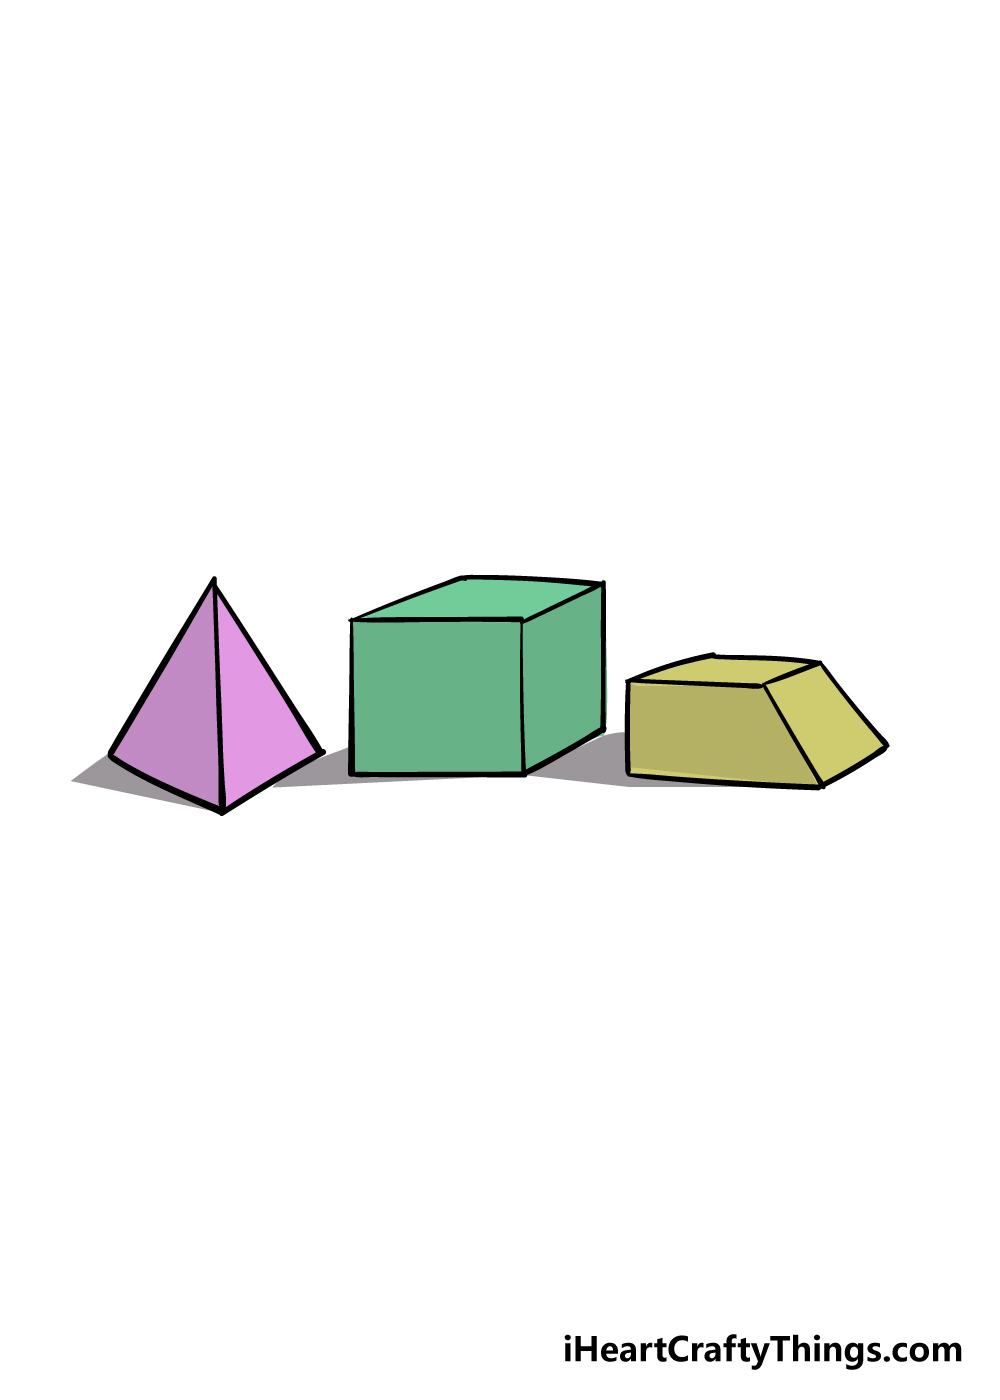
This 3D shapes drawing may have had some tricky aspects to it, but in this final step you have finished all the hard parts and can kick back with some coloring fun!
For our reference picture, we used purple for the triangular shape, green for the cube and yellow for the trapezium.
While these are the colors that we chose, this is the step where you get to let your creativity really take over!
These shapes that you have drawn could be any color that you can think of, so you should really feel free to make them look however you would like.
Choosing some of your favorite colors is just one way to go about it, however. You could also color them in with a wood or metallic texture to make it look like they are made out of another material.
You can also have a great time playing around with some cool art mediums! One fun thing you could try would be to use a different art medium for each individual shape.
How will you finish off your 3D shapes drawing?
Here’s how you can make your 3D shapes drawing even better…
Have some 3-dimensional fun with these tips for your 3D shapes sketch!
Right now, the objects we drew for this 3D shapes drawing are just vague objects, but you could change that!
For instance, you could change the cube into a big ice block and maybe turn the triangle into a spinning top.
These are just a few of the objects you could create, but there are many more you can probably think of. What are some other objects you could turn these into?
Even if you don’t turn the objects in your drawing of 3D shapes into objects, you could still use some texture details to make them look solid. Some ideas would be to maybe use a wooden texture for one, metal for the other and fabric for the third.
These are some of the texture details you could add, but you can create anything you can imagine with your art tools. What other fun texture details could you add to make this drawing even better?
Tying into the previous suggestion, you could also use some crafts to create real textures for your 3D shapes sketch. You could buy some fluffy material for one and then cut it into the shape for one idea.
Or, you could use some glitter over another to give it that sparkly look. Don’t be afraid to get creative with your crafts and use some things that wouldn’t normally come to mind.
You can create all kinds of amazing effects using objects that may seem unconventional!
Another way to make this arrangement even better would be by adding some more 3D shapes to go with these ones.
These are just 3 of the many shapes that exist, so you have many options for how you could add to it!
Once you have found the other shapes you like, try to draw them in the same steps as the ones in this guide. What are some other cool shapes you can think of that would go well with these ones?
Your 3D shapes Drawing is Complete!
We really hope that you had a great time working through this step-by-step guide on how to draw 3D shapes!
Drawing these shapes can be harder than it looks if you want to get the 3D effect looking right, so you should be very proud of completing your drawing so well!
Now you can take over from us and show us how you will make these shapes your own!
Whether you draw some textures, use some brilliant colors or create a fun background we know you’ll do an amazing job!
The drawing fun can continue for you on our website! We have enough drawing guides to keep you busy for a long time, and the best part is that we upload new ones all the time.
Be sure to check in frequently to never miss out!
We hope that you will share your completed 3D shapes drawing on our Facebook and Pinterest pages as well.
We’re very curious to see how creative you got with this drawing and we can’t wait to see!