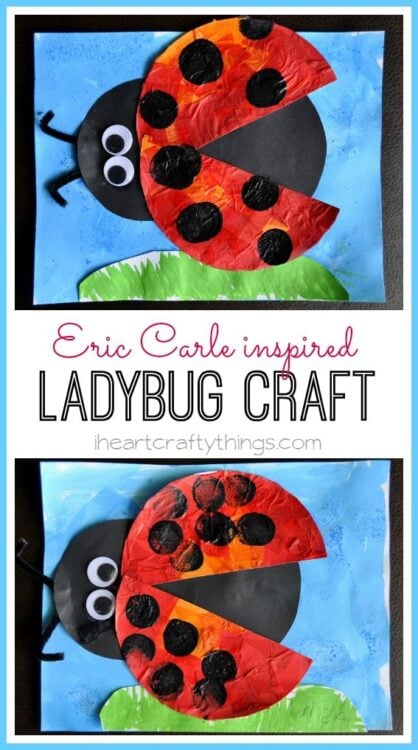
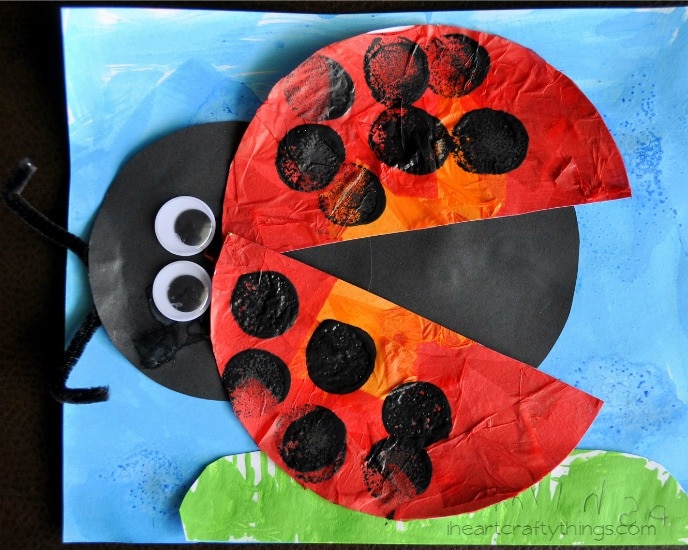
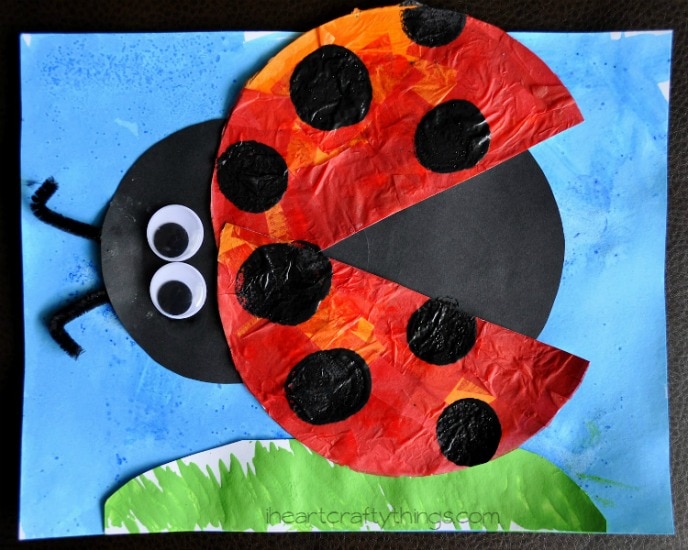
I saw a darling Eric Carle Inspired Lady Bug Craft at Artsonia Art Museum made by a Kindergartner named Weston. I absolutely adore this craft! We literally tried to re-make the masterpiece exactly as I saw it pictured because it was so amazing! I watched one of my son’s friends for a couple hours today so both her and my son made one. They turned out frame-worthy for sure!!

This post contains affiliate links for your convenience. Read our Disclosure Policy for more information.
I intended to take pictures of the process of making them but when I got my camera out my battery was dead. Drats! There are quite a few steps involved and lots of different materials, so here are some instructions.
Supplies you will need:
- white heavy cardstock paper
- black and white cardstock paper
- blue watercolors
- salt
- red and orange tissue paper
- green and black paint
- large googly eyes
- black pipecleaner
- circle sponge brush
- plastic fork
- scissors
- glue
Directions:
1. Paint watercolor paper and sprinkle salt while it is still very wet
Paint your watercolor paper with your blue liquid watercolors. While the watercolors are still very wet, sprinkle salt on your paper to get the fun textured background. We have tried this technique with regular watercolors that you add water to, but it didn’t work well. Liquid watercolors is the way to go! After the watercolors are completely dry, rub off the salt and you are left with the fun texture.
2. Make grass piece and glue onto blue background
Use a fork to paint the bottom of a sheet of cardstock with your green paint. Let it dry completely then cut it out and glue it to your blue background.

3. Create ladybug wings
Make the ladybug wings by gluing orange and red tissue paper all over a white cardstock circle. Then use a paint brush to cover it completely with school glue to seal it in good and to give it a little bit of a shiny look. Let it dry completely and then cut it in half to make two wings.
4. Paint black spots all over wings
Use a circle sponge brush to paint black spots all over your wings and set them aside to dry.
5. Create ladybug body
We cut two circle out of our black cardstock paper to use for the ladybug body and glued them onto our blue painted background, one layered on top of the other.

6. Glue wings and eyes
Glue your wings onto your ladybug body. Glue your large googly eyes onto your ladybug.
7. Make antennae
Finish your ladybug by cutting your black pipecleaner in half. Bend it in half and then bend the two ends to make antennae. Glue the antennae under the head of your ladybug.
As I mentioned, this art project as several steps so you may want to space it out over a few days. Once it’s completed, it’s so stunning and you’ll definitely want to put them on display.


