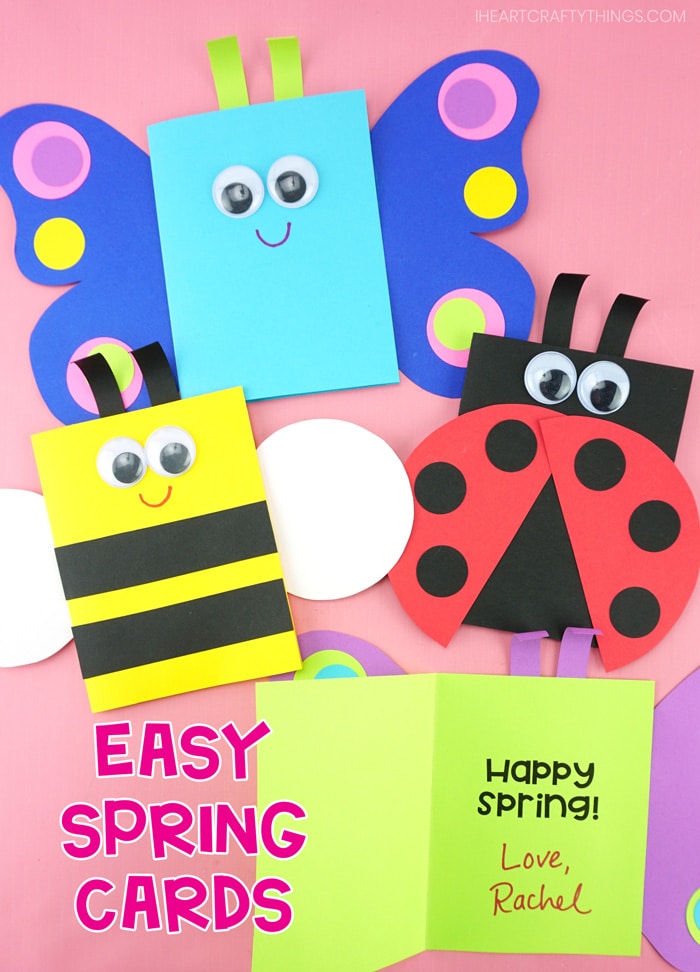
These darling spring cards for kids to make are colorful, fun and simple for kids of all ages!
If you’ve been on the hunt for some fun spring craft ideas for kids to make this year, add these beautiful homemade cards to the top of your list! Not only are they easy for kids to make, but they are certain to bring big smiles and brighten someone’s day.
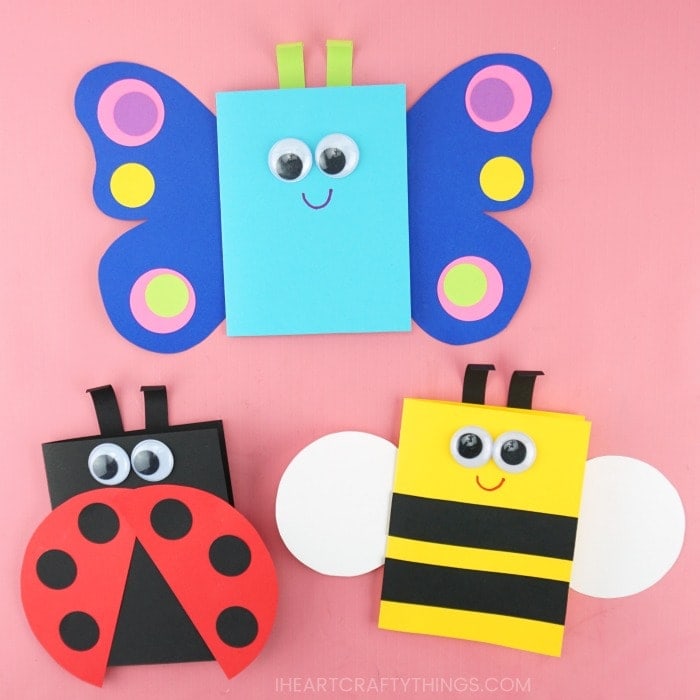
We have three different card designs for kids to choose from: A butterfly, ladybug or bee. You might find yourself making all three designs since they are all so colorful and cute.
While we designed these craft projects for spring, they could also be used for Mother’s Day. Swap out our spring greeting on the inside of the card for something more fitting for Mother’s Day like “Mom, You’re Bee-autiful!” or “Mom, you are the wind beneath my wings!”
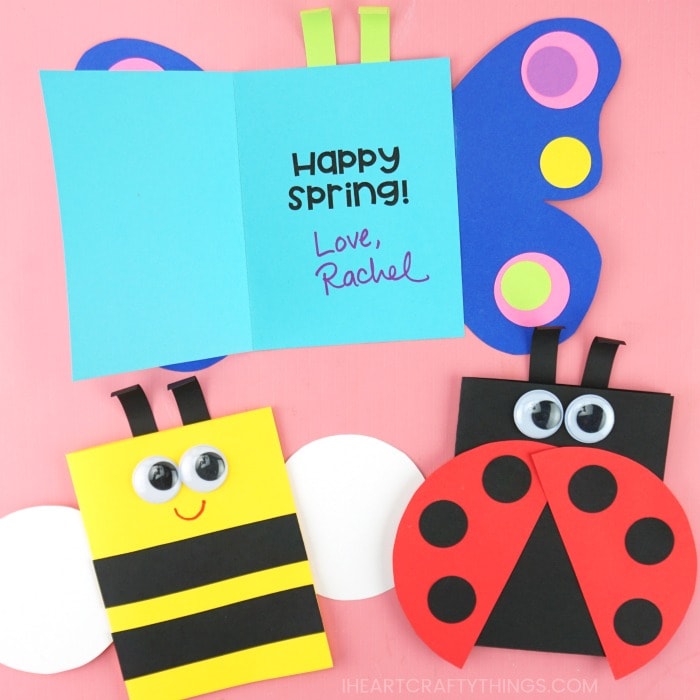
All you need to get started making your homemade cards is a few craft supplies you probably already have on hand, and our card templates.
Read our simple tutorials below for making the butterfly, bee and ladybug cards, and make sure to watch our full video tutorial inside this post before you get started.
Supplies needed for making your spring cards
- butterfly, ladybug and bee card templates <—– Get the printable templates HERE
- cardstock paper (we like 65 lb. weight)
- 1-inch googly eyes
- markers
- scissors
- glue stick
How to Make a Spring Butterfly Card
Beautiful butterflies are always a favorite insect for kids and adults to see fluttering around outside in the spring. Kids will love choosing a variety of different colors when they make their butterfly, giving each card a unique, colorful design.
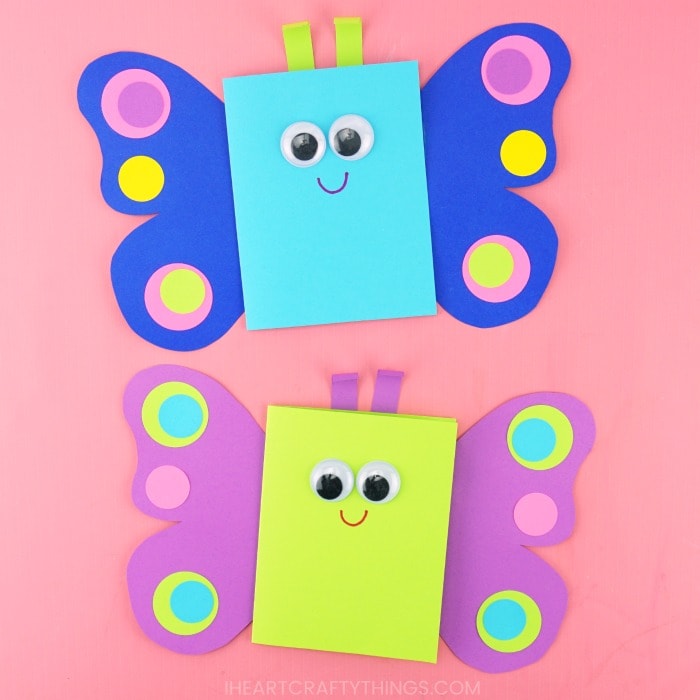
1. Trace butterfly template pieces on colored cardstock and cut them out
Download and print out the spring cards template. Cut out each of the butterfly pieces from the template and use them as a pattern to trace and cut out each of the pieces on colored cardstock or construction paper. Or print out the template on colored cardstock and cut out each of the pieces.
2. Make folded card
Fold the card template in half along the dashed line to create your folded card.
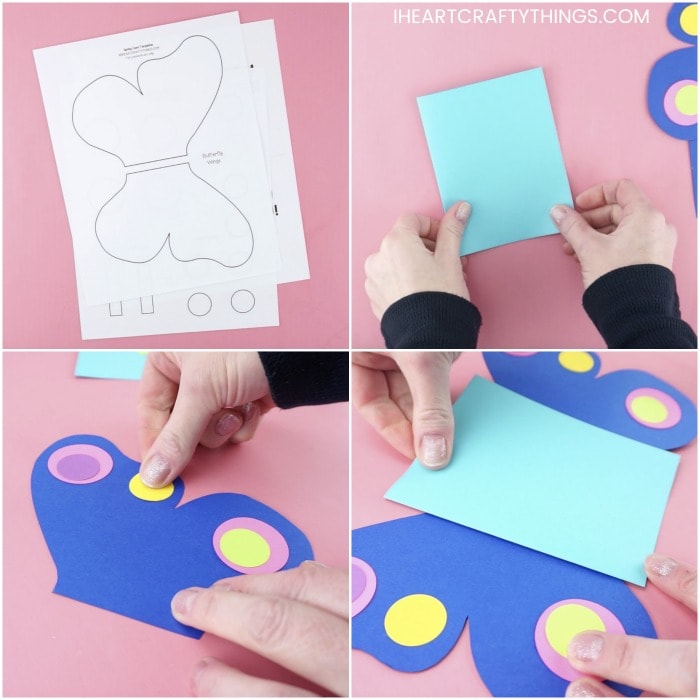
3. Decorate butterfly wings and glue them on the card sides
Decorate the butterfly wings by gluing the circles from the template on them. Add glue on the inside edge of each wing and glue them on the sides of the card.
4. Glue eyes
Glue googly eyes on the front of your butterfly card.
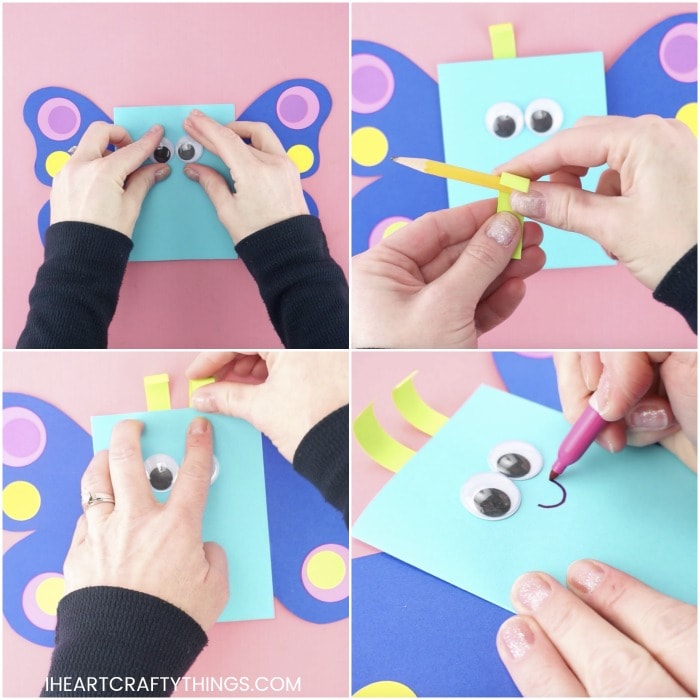
5. Glue antennae
Wrap the end of each of the antennae around a pencil to curl the ends. Glue each of the antennae at the top and back of the card.
6. Draw a smile
Use a marker to draw a smile on your butterfly. Then open up the card and write a greeting on the inside of the card and sign your name.
How to Make a cute Bee Homemade Card
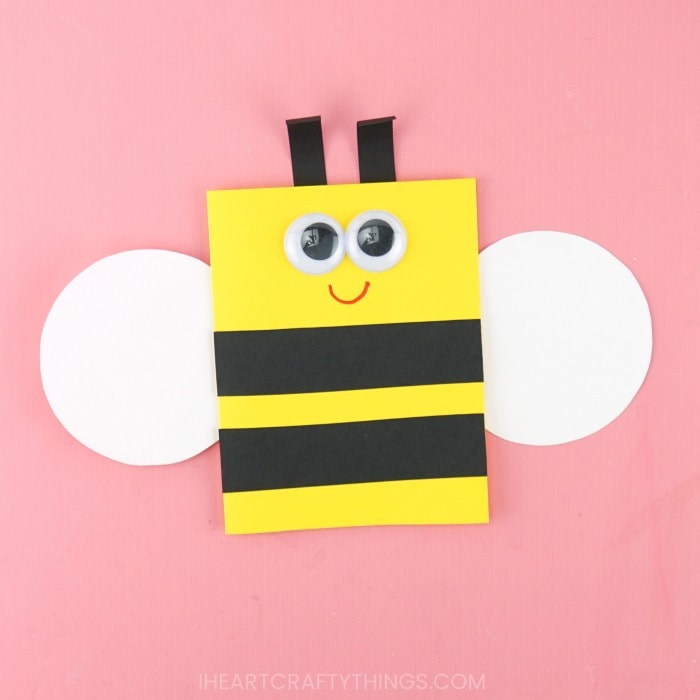
Kids will love being busy little bees creating these darling bee cards. This simple card is easy for toddlers, preschoolers and kids of all ages to make with our handy template.
1. Trace bee template pieces on colored cardstock and cut them out
Download and print out the spring cards template. Cut out each of the bee pieces from the template and use them as a pattern to trace and cut out each of the pieces on colored cardstock or construction paper. Or print out the template on colored cardstock and cut out each of the pieces.
2. Create folded card
Fold the card template in half along the dashed line to create your folded card.
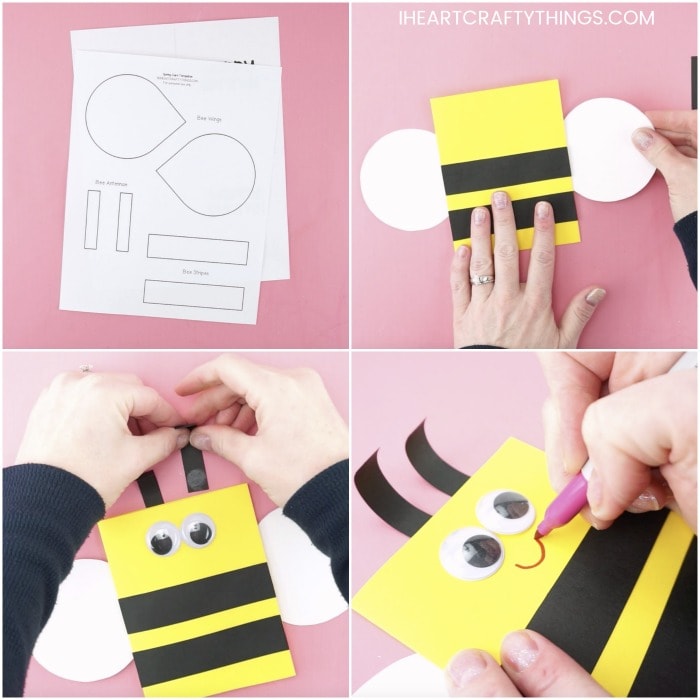
3. Glue bee stripes and wings
Glue the two bee stripes on the front of the card. Then glue the wings on the sides of the card.
4. Glue eyes and antennae
Glue two googly eyes on the front of the card. Wrap the end of each of the antennae around a pencil to curl the ends. Then glue them at the top and back of the card.
5. Draw a smile
Use a marker to draw a smile on your bee. Then open up the card and write a greeting on the inside of the card and sign your name.
How to Make a colorful ladybug DIY card
There’s something magical about watching pretty ladybugs in the spring. This colorful ladybug card is certain to add a little bit of magic to someone’s day, and it’s so easy for kids to make.
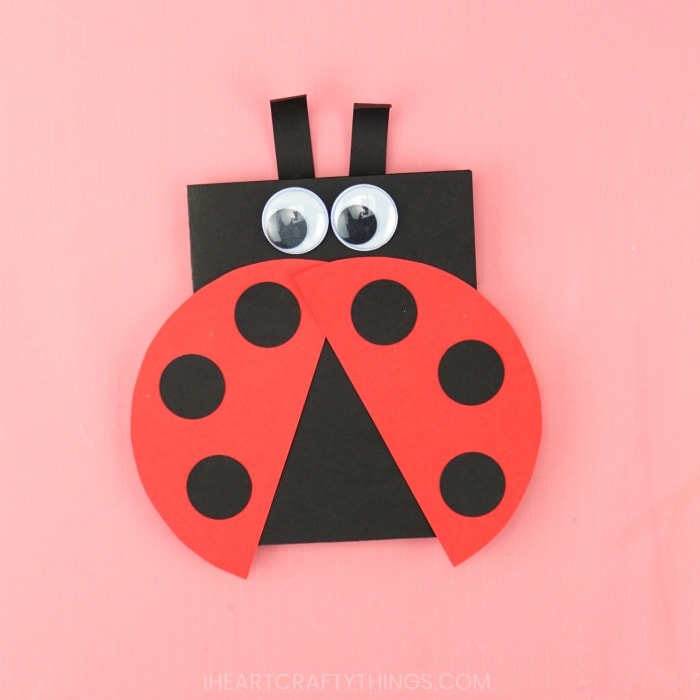
1. Trace ladybug template pieces on colored cardstock and cut them out
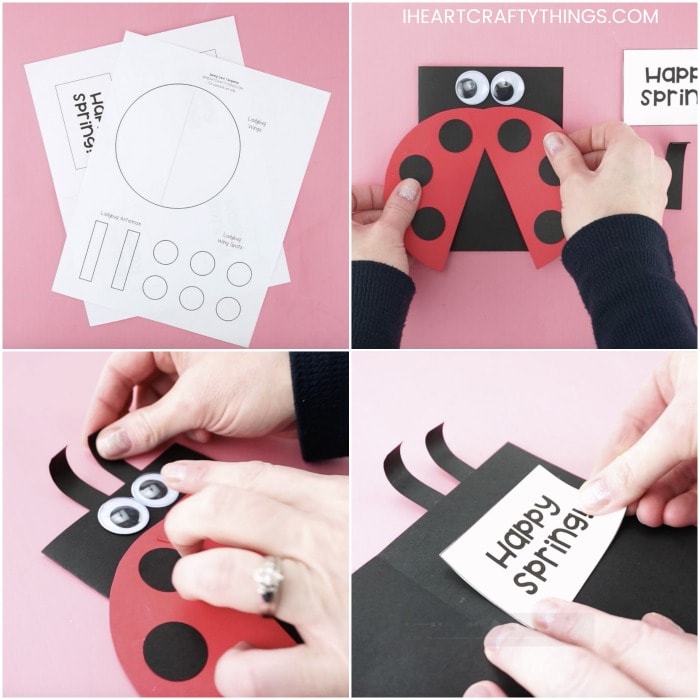
Download and print out the spring cards template. Cut out each of the ladybug pieces from the template and use them as a pattern to trace and cut out each of the pieces on colored cardstock or construction paper.
2. Create folded card, glue googly eyes
Cut a black piece of cardstock paper in half. Then fold one of the paper halves in half to create your folded card. Glue two googly eyes at the top of your black card.
3. Glue spots on the wings, then glue wings onto card
Glue each of the black ladybug spots on your red ladybug wings. Then glue them on the front of your ladybug card.
4. Glue antennae
Wrap the end of each of the antennae around a pencil to curl the ends. Then glue them at the top and back of the card.
5. Glue “Happy Spring” greeting
Open up your ladybug card and glue the “Happy Spring” greeting on the inside of the card.
