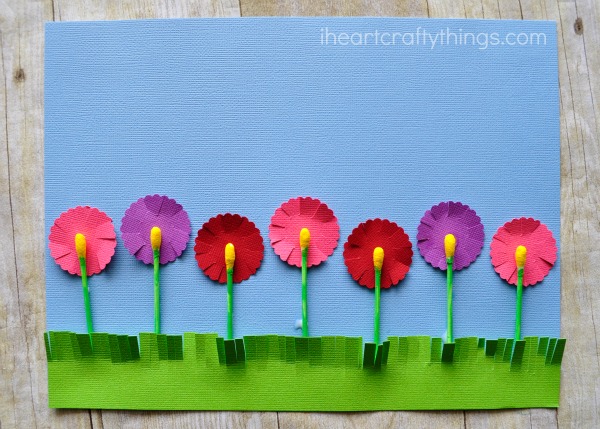
We created this q-tip flowers craft to remind us of happy memories in spring time going on walks. Your kids are going to have so much fun making this easy spring craft!
Taking walks through my neighborhood in spring is one of mine and my daughter’s favorite activities. We live in a neighborhood where flower bulbs are really popular so we love to walk around and admire all of the beautifully colored flowers in everyone’s front yards. Our nightly walk was the inspiration behind us creating this simple flower craft.
I love thinking outside the box when it comes to using every day household materials for crafting. That’s how when I came upon a q-tip recently, it inspired this fun way to use them to make a pretty flower craft.
Read our easy instructions below to see how easy it is for you to create your own q-tip flowers craft.
Supplies needed to make this flower craft:
This post contains affiliate links to the products mentioned. Read our full disclosure policy for more information.
-
- Q-tips cotton swabs
- green and yellow paint
- blue and green cardstock paper (and whatever colors you’d like to use for your flowers)
- paintbrush
- scallop circle punch (optional)
- scissors
- glue
Instructions for making your own Q-Tip Flowers:
1. Paint q-tip’s
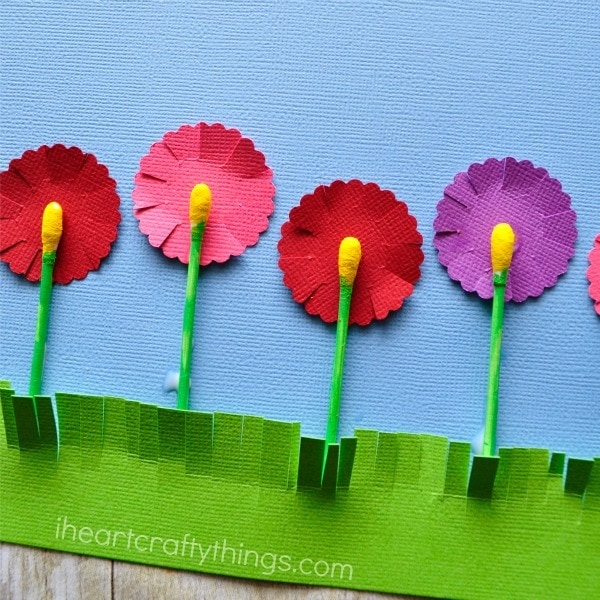
Start by painting top of the q-tip tips yellow and the stick of the q-tip green. We simply rolled the tip in yellow paint to cover it and then used a paintbrush to paint the sticks. Set them aside to dry completely. (Note: We ended up cutting one of the tops off of our q-tips but I don’t think it’s completely necessary.)

2. Create flowers
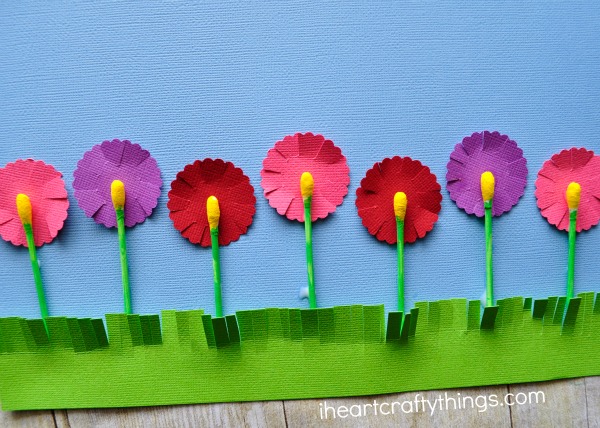
Use your 1.5″ scallop circle punch to cut out several flowers in different colors. Use your scissors to cut small slits all around the circle and then bend some of them upwards to look like flower petals.
3. Create grass
Cut out a strip of green cardstock paper for grass, and cut small slits all along the top of it for grass.

4. Glue flowers and q-tips onto cardstock paper
Glue your flowers onto your blue cardstock paper. Then glue your q-tips onto the flowers, with the yellow tip being in the center of the flower.
5. Glue grass at the bottom of cardstock paper
Finish your q-tip flowers craft by gluing your green grass at the bottom of your paper. The q-tips and flowers pop off the page and look so vibrant and colorful.