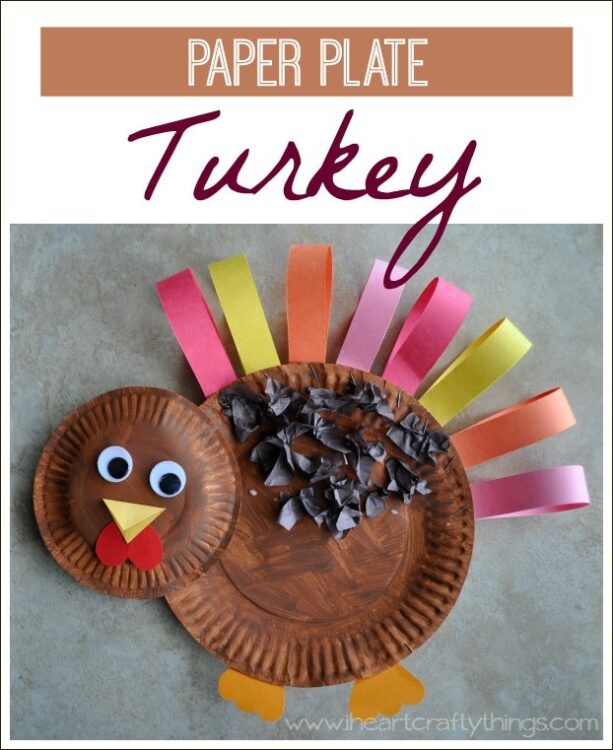
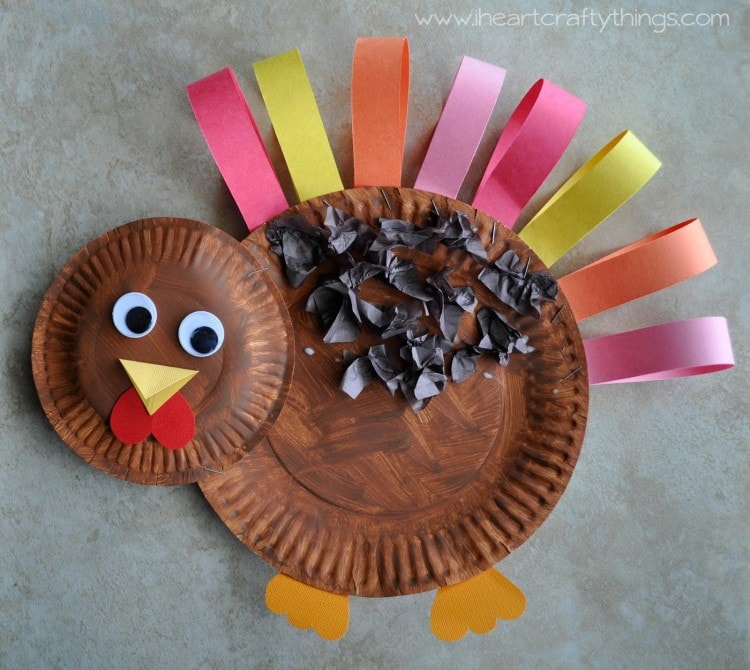
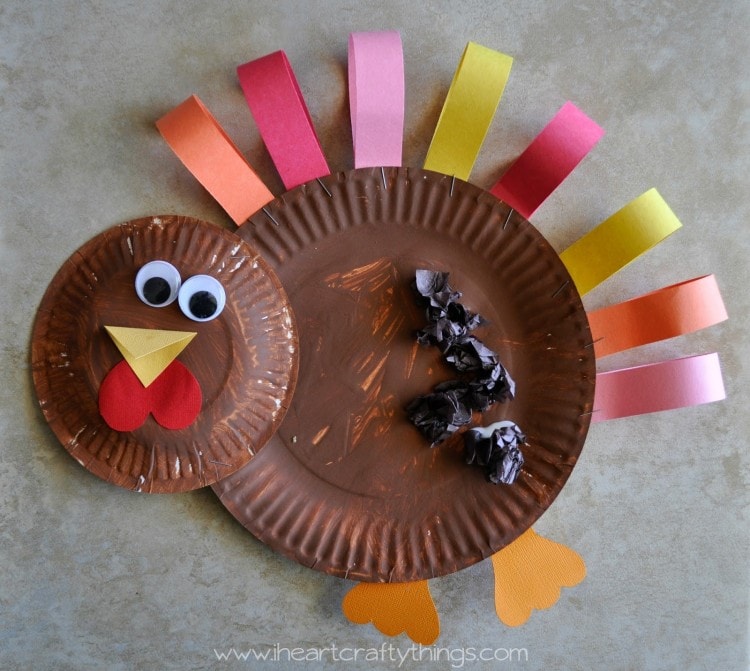
The one thing that’s odd about about being a blogger is the fact that I have to be a step ahead in my holidays, always planning and preparing way in advance for crafts I want to do. So while Halloween isn’t until next week, I already feel Halloween’ed out and I’m beyond excited to move on to Thanksgiving. A little sad, I know, but I really don’t mind since I love crafting so much. That being said, we’ve already made a trip to the library this week and picked up some of our favorite Thanksgiving books and today we made this adorable Paper Plate Turkey.
{This post contains affiliate links, read our Disclosure Policy for more information.}
Supplies needed:
Tutorial:
1. Color your plates
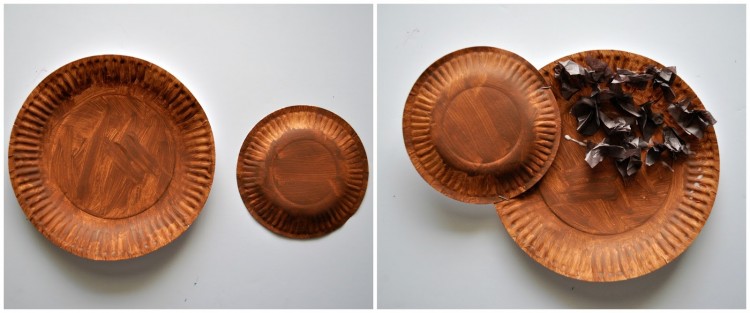
Paint the top side of your regular sized paper and the bottom side of your small paper plate with your brown paint. Let them dry completely.
2. Stample plates together
When your plates are dry, assist your child in stampling the small paper plate onto the large paper plate to form the turkey head and body.
3. Glue tissue paper to the plate
Crumple up your brown tissue paper squares and glue them onto your turkey body to add some feather texture onto the turkey body.
4. Fold & glue your paper strips
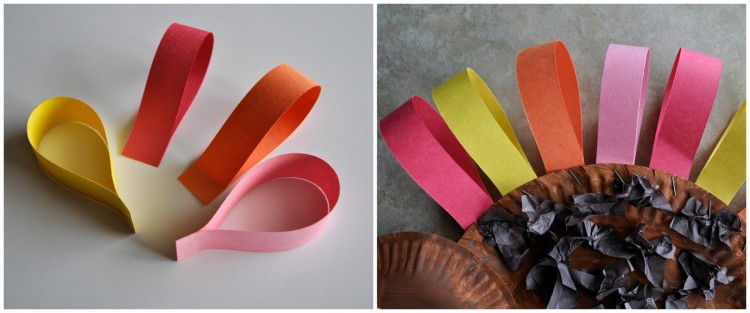
Take your construction paper strips, add some glue to one end and fold the other end over to meet the glued end. Try not to crease the paper. Instead leave a loop like pictured below.
5. Stample paper strips
Assist your child in stapling the paper strips to the top of your turkey to make feathers. Small children may need an adult to do this step for them. For my daughter (age 4) I put the feather and stapler in place and then let her press the stapler down.
6. Cut & glue remaining shapes
Cut a beak, snood and feet out of your red, yellow and orange cardstock paper. Glue them onto your turkey, together with the large wiggly eyes.
My daughter took two days to finish her turkey. After painting her paper plates she wandered to play while they dried and didn’t come back to it before bedtime so she finished the next day. I tell you this because I don’t want you to feel discouraged if your preschooler doesn’t want to complete this project from start to finish in one sitting. Sometimes I actually prefer splitting projects like this up into two days.


