Spring time is quickly approaching and you know what that means… Hello flowers, butterflies, rainbows and ladybug crafts! It’s no wonder why I love spring so much!
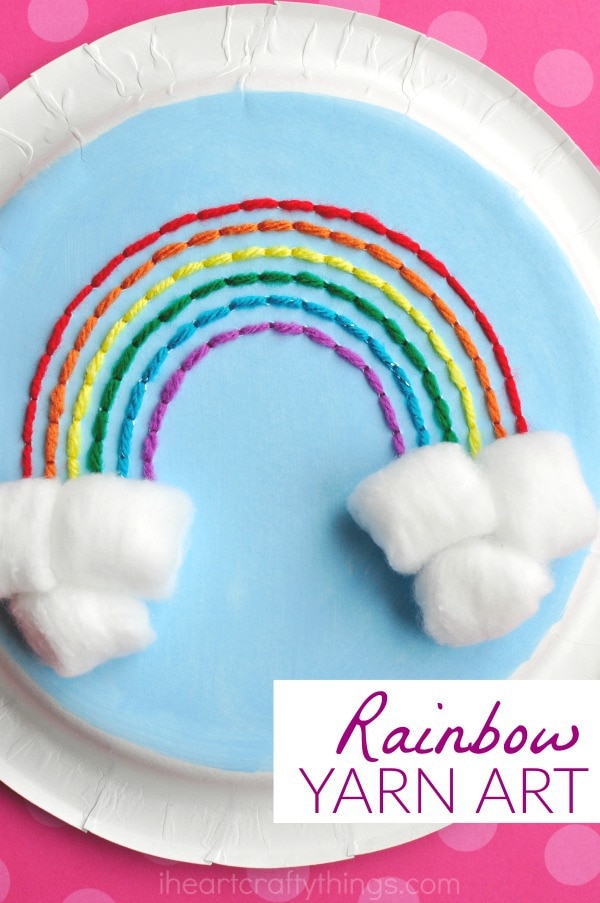
Today we are sharing this absolutely gorgeous paper plate rainbow yarn art craft that was inspired by our snowflake yarn art a few months ago.
If you are looking for a fun craft that introduces kids to sewing or if you simply love rainbows like me, this craft is perfect! It takes a bit of patience but believe me the end result is worth it! It’s beautiful!
This post contains affiliate links to the products mentioned. Read our disclosure policy for more information.
Supplies Needed for this Paper Plate Yarn Art
- Rainbow pattern (printed)
- heavy duty paper plate
- light blue paint
- paintbrush
- push pin
- red, orange, yellow, green, blue and purple yarn
- yarn needle
- cotton balls
- scissors
- glue
Instructions for this Paper Plate Yarn Rainbow Craft
1. Paint bottom of paper plate
Begin by painting the bottom of your paper plate with light blue paint. We left the outside rim of the paper plate unpainted so we would have a border around our rainbow yarn art but you can paint the entire bottom if you want.
2. Glue rainbow pattern on the front of paper plate
Print out the rainbow yarn art pattern. Cut out the pattern and after the paint on your paper plate has dried, glue the pattern on the front of the paper plate. See picture below for example.
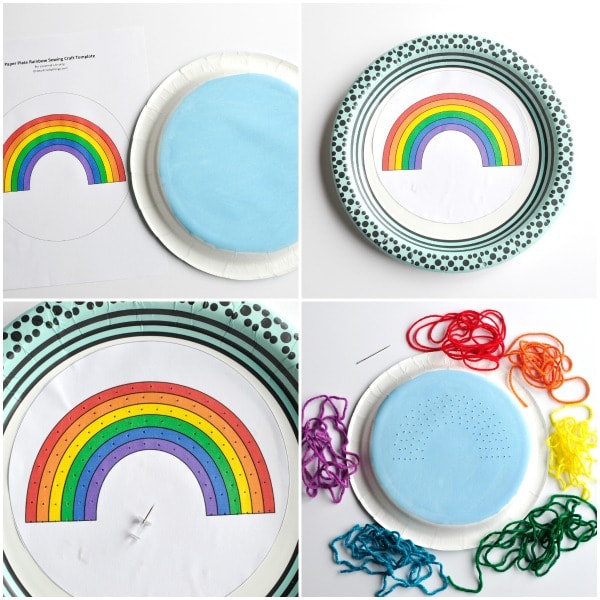
3. Punch holes in the center of every color of the rainbow
Use your push pin and carefully punch holes in the center of every color of your rainbow about a half inch apart. It doesn’t need to be perfect, I just eyeballed it. This is best done on a surface like carpet where the pin can freely move through the paper plate. Children may have a hard time with this step so an adult may want to assist.
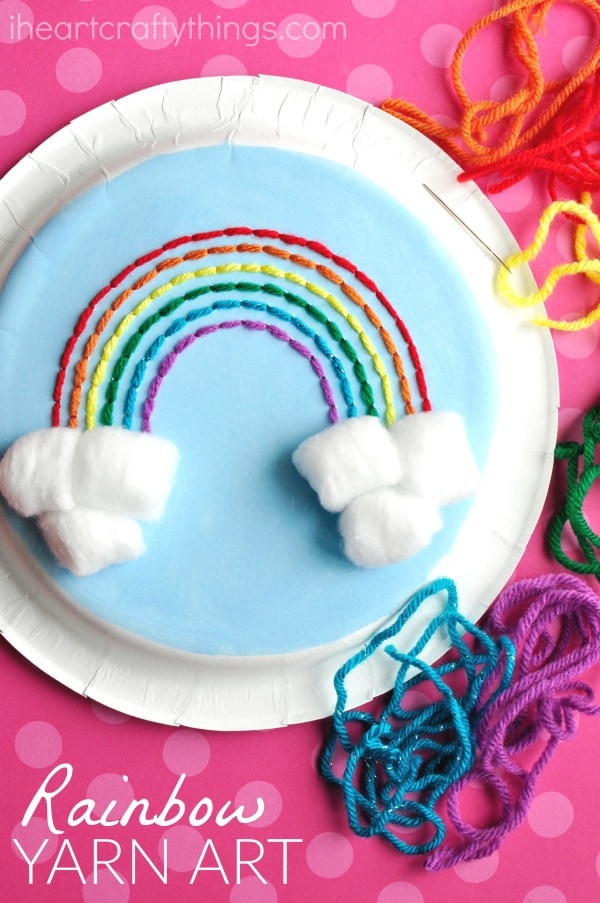
4. Cut a section of yarn in each color
Grab your yarn needle and cut a section of yarn in each of the colors, red, yellow, orange, green, blue and purple. I never measure mine but I’m going to guess I cut them about 3 feet long and each time I had plenty of leftovers.
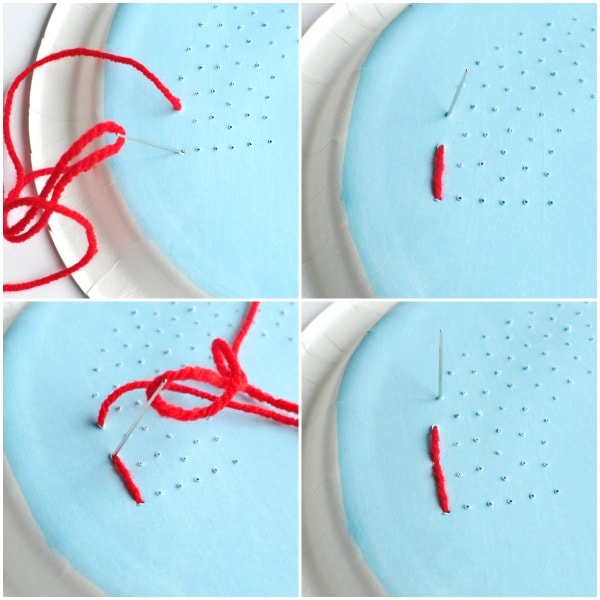
5. Thread the rainbow on the paper plate with your red yarn
Thread your needle with your red yarn, tying a knot in the end. Now I’m going to share how you get the clean embroidered look to your paper plate rainbow yarn art. When you begin your threading, bring your needle up through the 2nd hole on your red section. Then thread down into the 1st hole in the red section. Now bring the thread up through the 3rd hole and back down into the second hole. Continue in this manner, threading up through the 4th hole and back down through the third hole, and so on until you reach the end of the red section. Tie a knot at the end of your threaded section and cut off any excess yarn.
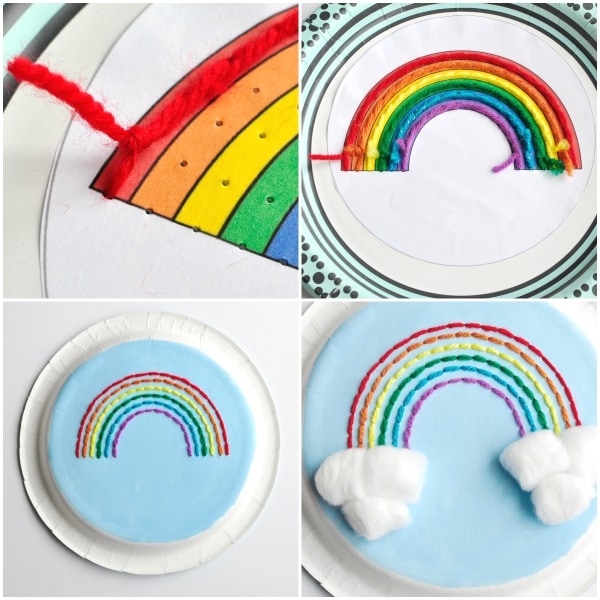
6. Repeat step 5 with all colors until rainbow is complete
Thread your yarn needle with your orange yarn and thread through the orange section of the rainbow the same way as step 5. Continue with each color until your rainbow is complete.
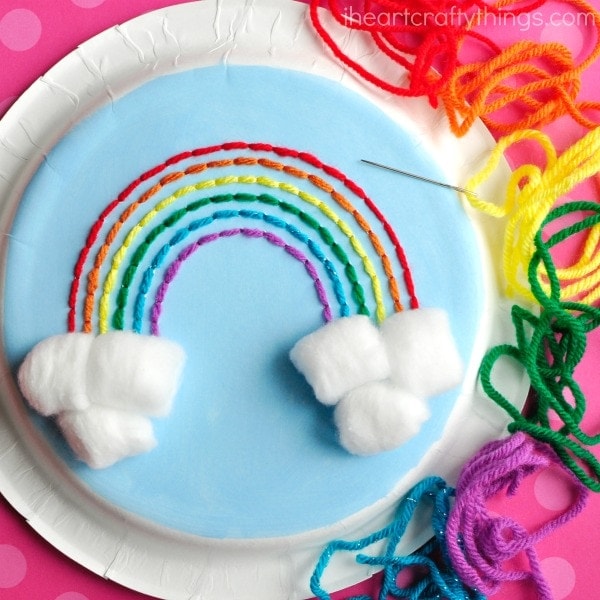
7. Add some fluffy white clouds
At this point you could choose to leave your rainbow as is but we wanted to add some fluffy white clouds so we glued three cotton balls on both ends of our rainbow.
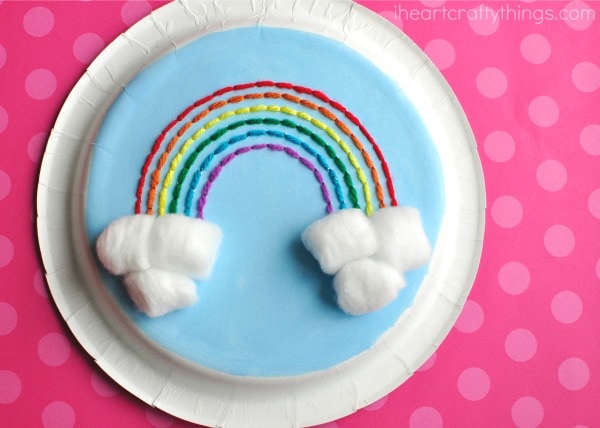
This gorgeous paper plate rainbow yarn art makes a perfect craft to display during spring time! You can display it by placing it on a shelf or punch two holes at the top of the paper plate and add a string so you can hang it up anywhere in your home.