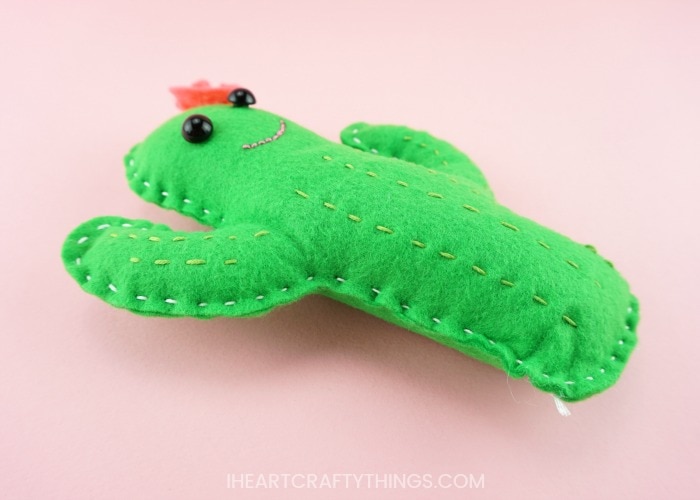
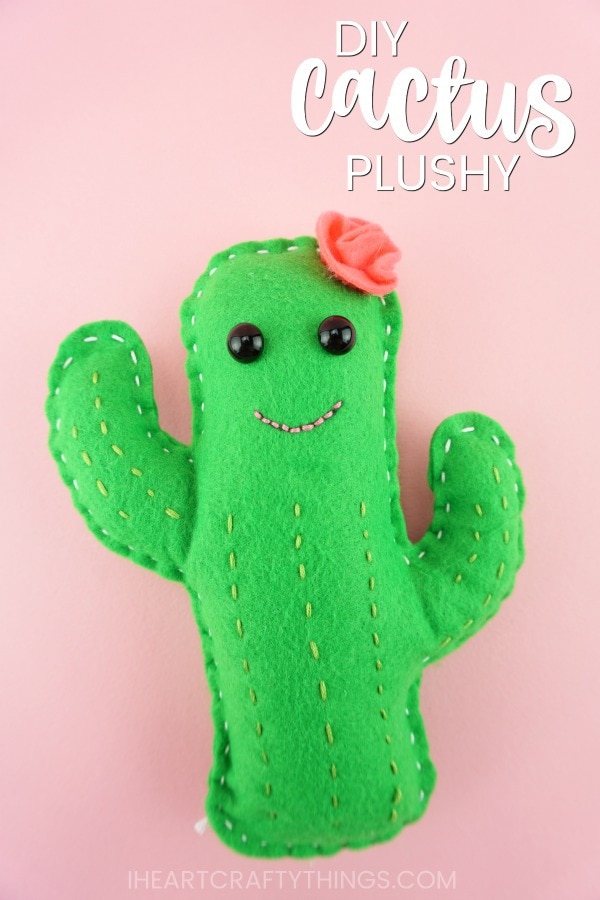
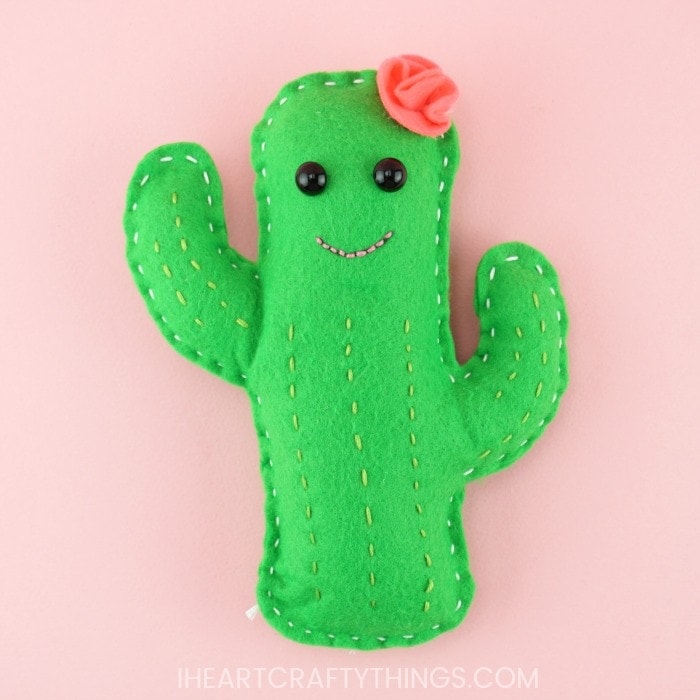
Did you know every July there is an initiative called Sew a Softie that encourages children and youth to discover and enjoy the art of hand sewing? For each day of the month a different tutorial is posted for how to soft a softie or plushy from different websites around the world to help encourage children to get sewing. I am super excited to be participating this year since my daughter and I both enjoy hand sewing. Your children will delight in this adorable DIY Cactus Plushy. It is easy to create with our handy template and tutorial below.
Supplies:
- DIY Cactus Plushy Template <—- Download the Template HERE!
- green and pink felt
- fine tip black marker
- green, white and pink embroidery floss
- embroidery needle
- round black buttons
- poly-fil
- sewing scissors
- sewing pins
- hot glue gun
Instructions:
1. Print out cactus template and cut out two cactus shapes from felt
Begin by printing out the cactus plushy template on white paper. Use the template to cut out two cactus shapes from your green felt.
2. Mark where you will place black button eyes and mouth
Choose one of the cactus shapes for the front of your cactus plushy. Use your fine tip black marker to mark where you want to place your black button eyes and your mouth.
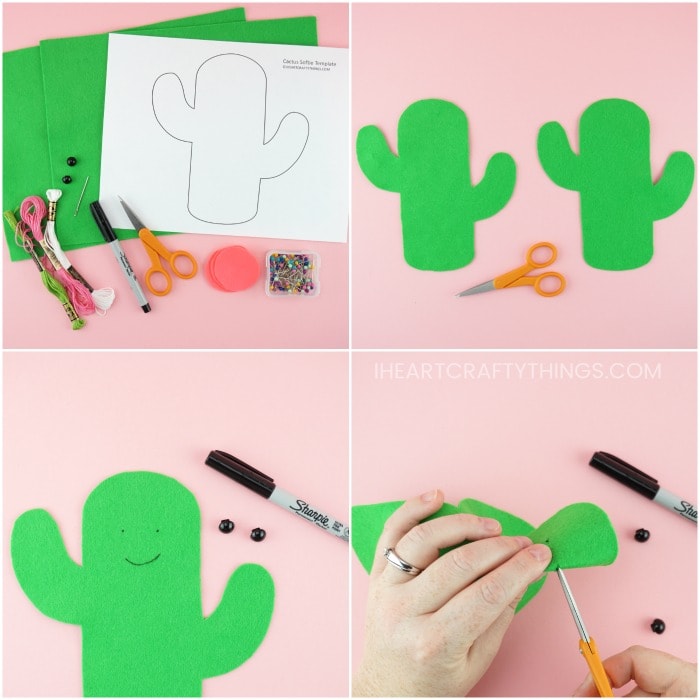
3. Sew black buttons to create eyes
Cut a small slit along the eyeball dots for your black button eyes. Place the back of the buttons inside the slits and sew them onto the back of the green felt.
4. Thread needle with pink embroidery floss and sew along the smile
Thread your needle with pink embroidery floss and use a back stitch to sew along the smile you drew with the fine tip black marker.
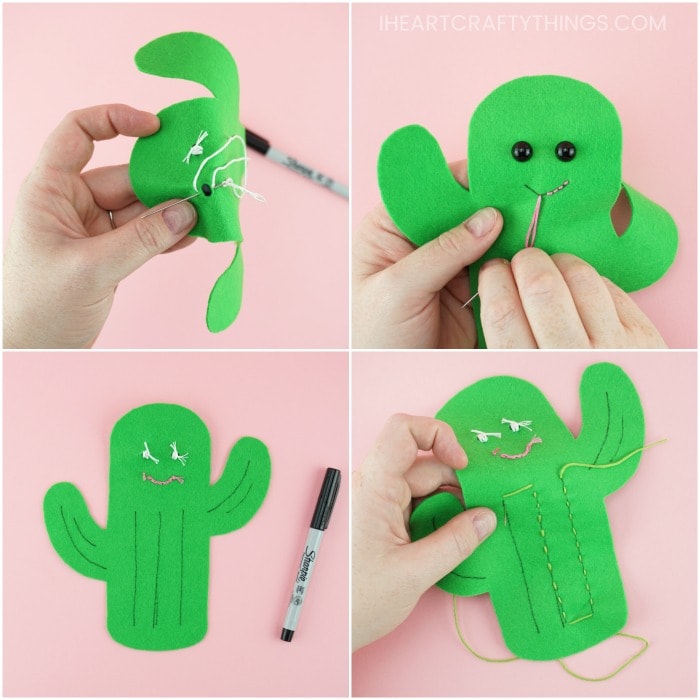
5. Draw lines down the center of cactus and along cactus arms
Turn the front of your cactus plushy over. Use your black marker to draw lines down the center of the cactus and along the cactus arms. You will use these as your guides to sew needles onto your cactus.
6. Thread needle with green embroidery floss and sew along the black lines
Thread your needle with green embroidery floss and use it to sew along the black lines with a running stitch to create the cactus needles.
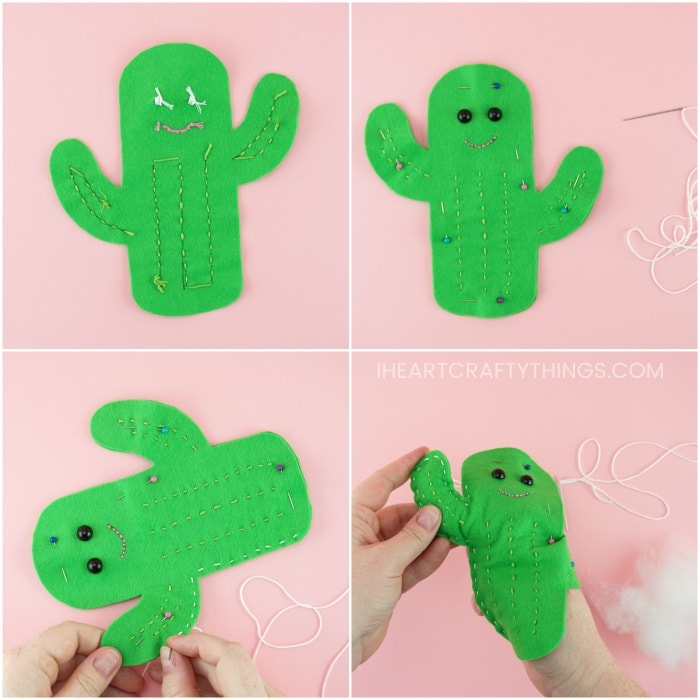
7. Layer to cactus pieces together and fix them with sewing pins
Layer the two cactus pieces together. Place sewing pins around the cactus to hold the two pieces together.
8. Thread needle with white embroidery floss and sew two cactus pieces together
Thread your needle with a long piece of white embroidery floss. Start at the bottom left corner of the cactus and sew a running stitch along the edge of the cactus, sewing the two pieces together.
When you finish sewing around the first cactus arm, remove a few of the pins and stuff the sewn cactus arm with poly fill. Replace the pins and continue sewing around the cactus.
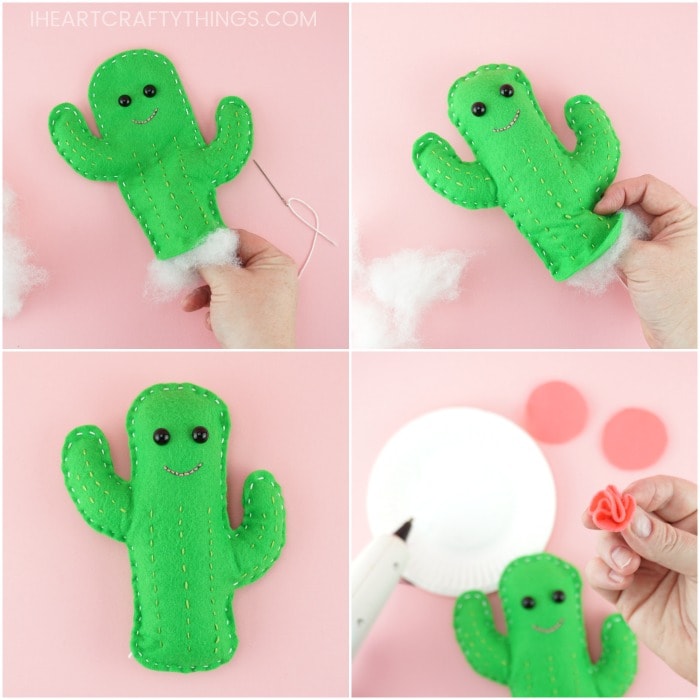
9. Stuff cactus plushy with poly fill and sew the bottom of it closed
After sewing around the second cactus arm, fill it with poly fill like you did the first arm. Continue sewing until you reach the bottom right corner of the cactus so the bottom of the cactus is open. Stuff the center of the cactus plushy with poly fill.
After the DIY cactus plushy is full sew the bottom of it closed.
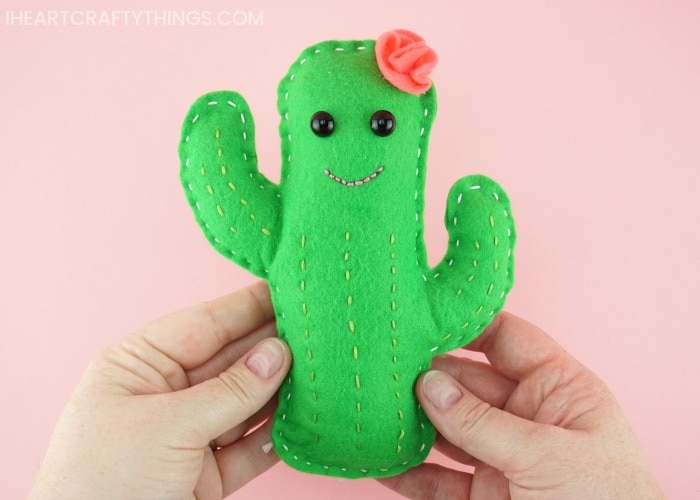
10. Create and add flower
If you’d like to add a flower to your DIY Cactus Plushy, cut out a circle from your pink felt. Use a hot glue gun to scrunch and glue the sides of the circle together to create a flower. Cut the bottom off of the flower so it is flat. Then hot glue it onto your cactus. You can use one flower or several.
