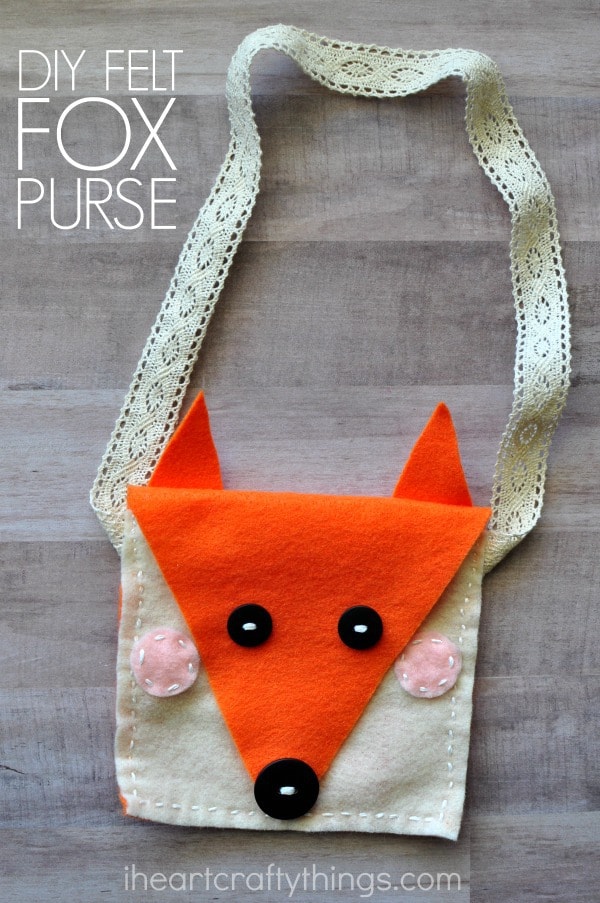
After practicing sewing a great deal with a yarn needle, my daughter has been begging me to let her get a real needle and thread in her hands to create something.
This DIY felt fox purse is a great beginning sewing project for kids and it also makes an easy sewing project for a parent to make for their child.
And don’t worry… There’s no need to dust off the sewing machine for this darling DIY felt fox purse because you’ll have it hand sewn in no time at all. It’s that simple!
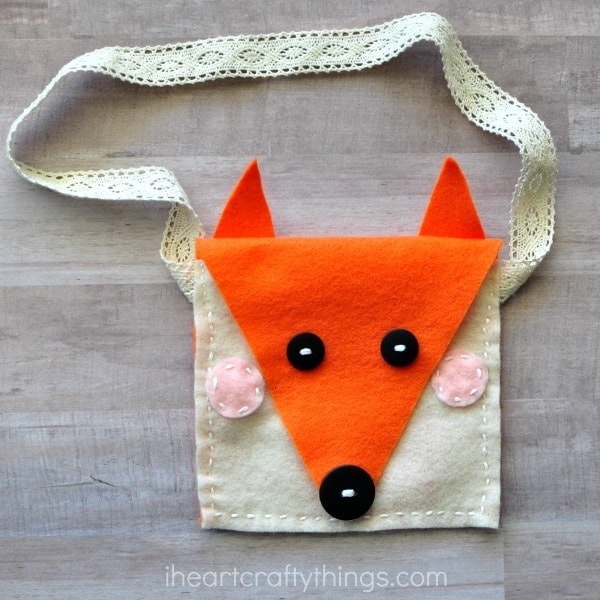
Supplies Needed:
- orange, off-white and pink felt (8″ x 12″)
- white embroidery thread
- sewing needle
- black buttons
- lace ribbon
- adhesive Velcro
- ruler
- marking pen
- scissors
Step-by-step tutorial:
1. Cut your felt
Use your ruler and pen to mark your orange felt length-wise at six inches and cut it.
2. Now draw a triangle
Fold the felt piece in half and make a mark at the bottom in the middle at 3 inches. Then use that mark to draw two lines coming down from the top corners to make a triangle.
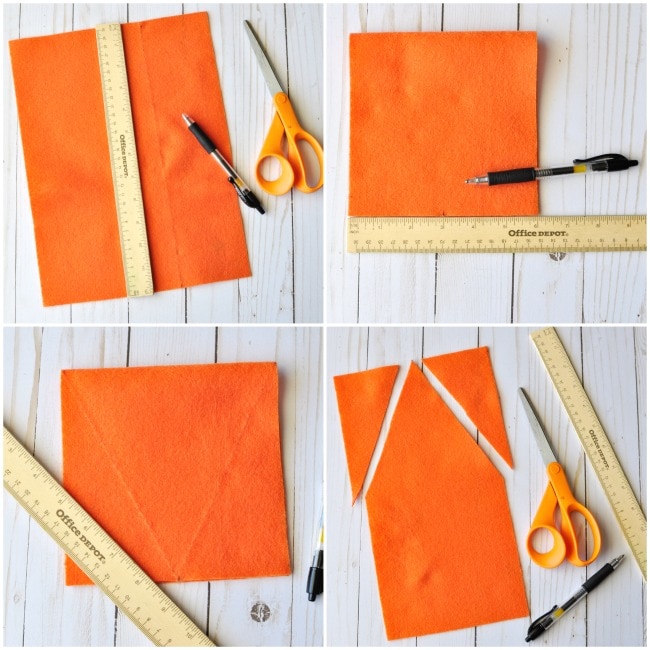
3. Cut out the lines
Open up the felt piece and cut out the lines you just drew on the top half of the felt. You should be left with the shape of a house (see picture above).
4. Cut your off-white felt
Use your ruler and pen again to mark a line at 6-inches just like in step 1 on your off-white felt and cut it out. Then line up the off-white felt next to your orange felt. Make a mark on the off-white felt just below the center of the orange felt and cut the off-white felt.
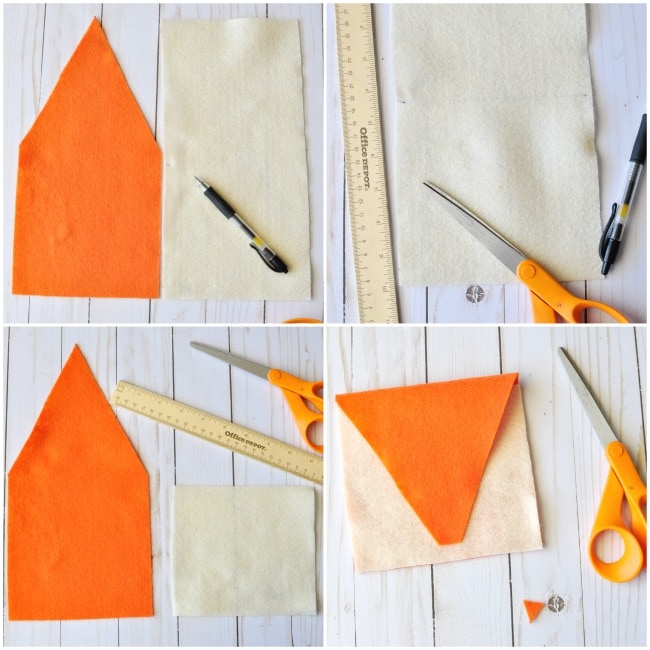
5. Place two felts together and cut the tip
Place the off-white piece at the bottom of the orange piece. Fold your orange piece over it and cut off the very tip so the nose doesn’t hang off the bottom of the purse.
6. Cut ears & cheeks
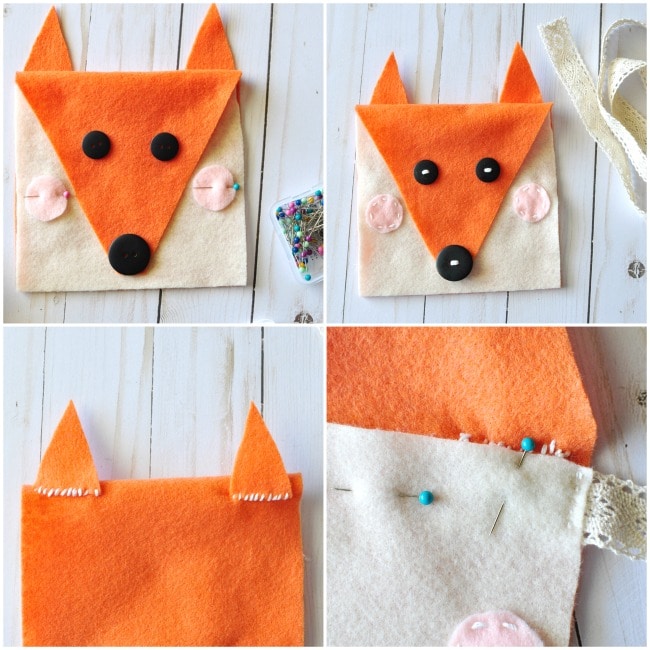
Cut out two triangle orange ears, two pink circles for cheeks and pick out some black buttons for eyes and a nose. Pin your orange triangles on the back of the purse and your pink cheeks onto your off-white felt.
7. Sew your cheeks & black buttons
Thread your needle with your white embroidery thread and sew your pink cheeks onto your off-white felt and your black buttons onto the orange felt.
8. Now sew your ears
Now sew your triangle ears onto the back of the purse. Now pin the off-white piece of felt in place on the purse so it can’t move around.
9. Time to attach purse handle
Layer the ends of your lace ribbon between the off-white and orange pieces of your felt for the purse handle and pin them in place. Sew the lace ribbon in place on both sides.
10. Sew around the edges
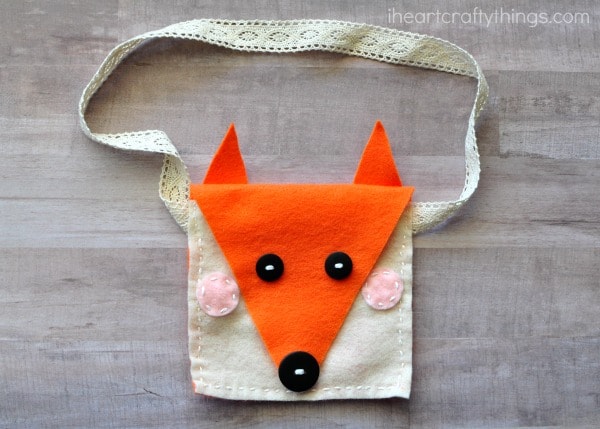
Finish your DIY felt fox purse by sewing around the edge of the purse to seal it shut. Attach strips of adhesive Velcro underneath the nose and onto the bottom of the purse so it can stay closed. If the adhesive doesn’t stay well, add a few stitches into it so it will stay in place.
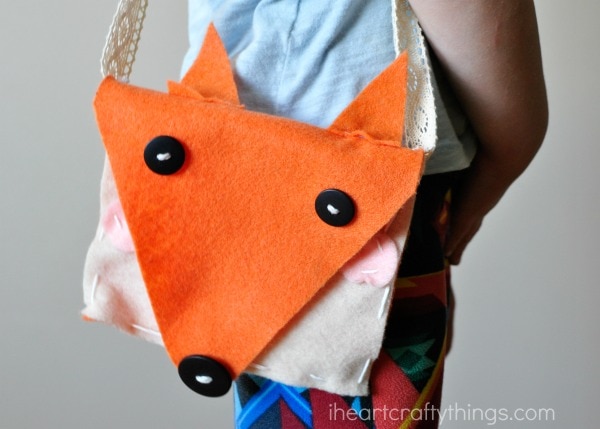
Here is my daughter’s DIY felt fox purse all finished. She is 6 years old so it’s not perfect but for her first sewing project it turned out incredible!
