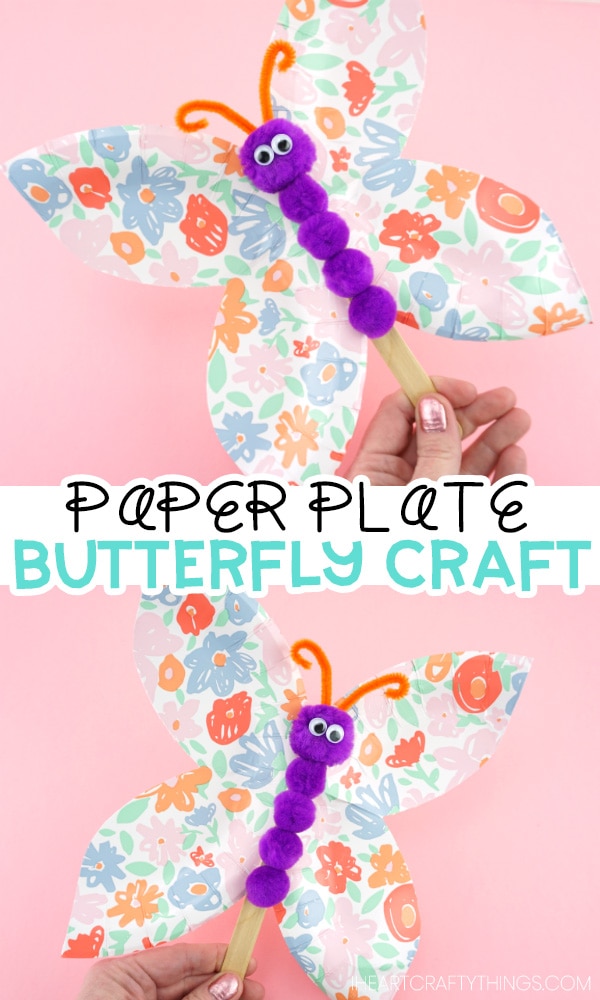
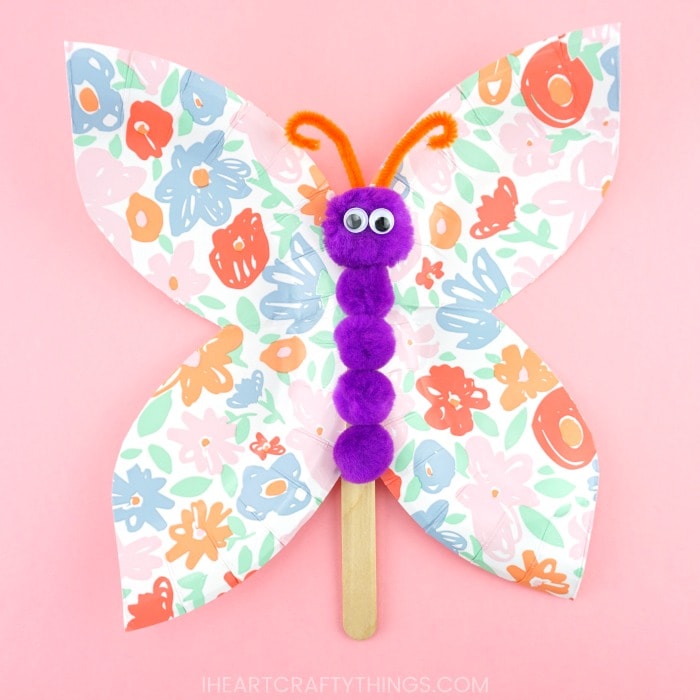
This simple paper plate butterfly craft for kids is super easy and quick to create using colored or decorated paper plates from the store – they were perfect for creating some butterflies for an easy spring craft.
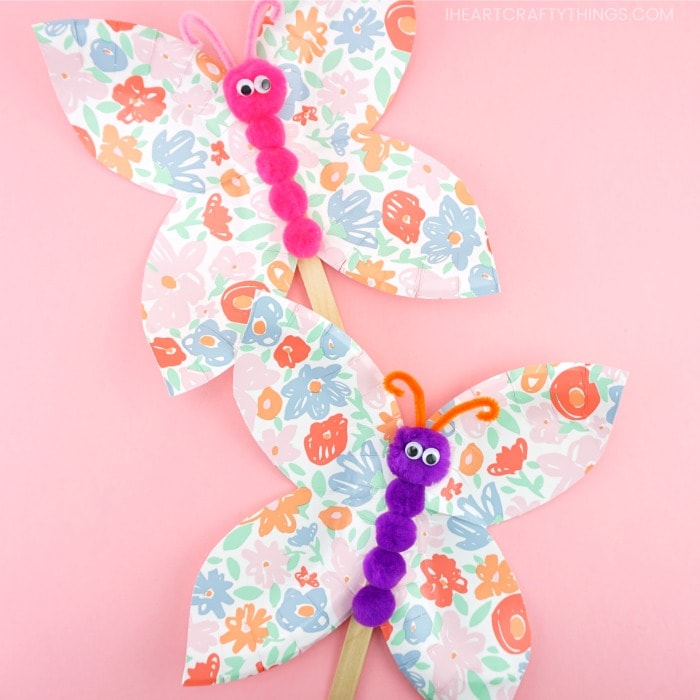
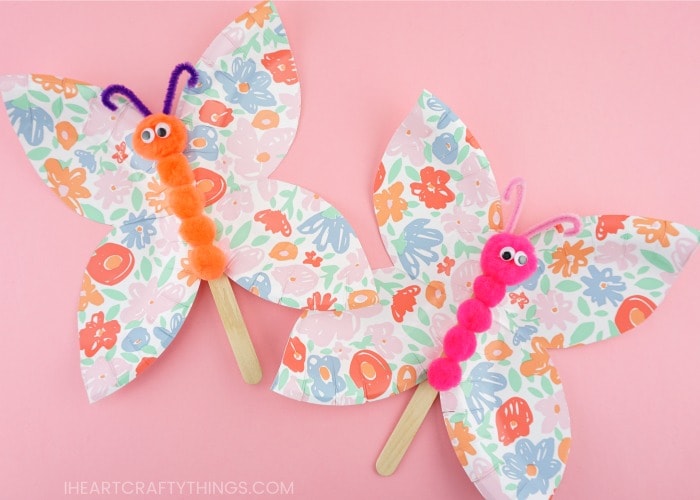
The pastel colors and flower print on these paper plates we used gave each butterfly a lovely spring theme. Adding the bright and colorful poms and pipe cleaner antennae was a delightful finishing touch to this easy paper plate craft.
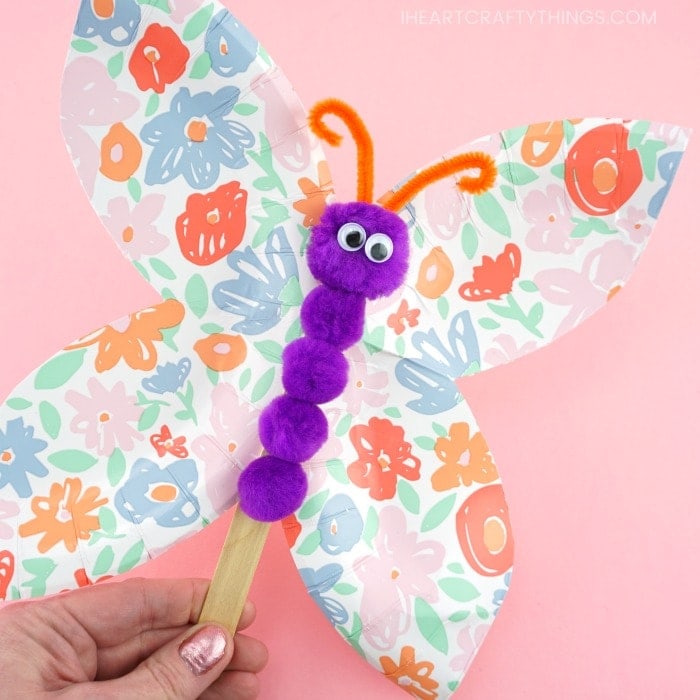
If you want to add some extra creativity to this simple butterfly craft, you can swap out the floral paper plates for a white paper plate. Then allow children to decorate the wings on their own using markers, crayons, glitter glue or stickers.
This colorful craft for kids is a perfect compliment to an insect or butterfly theme in preschool. Kids will not only have fun making their butterfly, but the added holding stick on the back of the butterfly makes it an excellent puppet for preschoolers to fly and flutter around the classroom for extra fun.
This post contains affiliate links to the products mentioned. Read our disclosure policy for more information.
Supplies for Butterfly Craft:
- floral paper plates
- two different size pom poms
- pipe cleaner
- googly eyes
- wood craft sticks
- hot glue gun (you can use Glue Dots as an alternative for young children)
- pencil
- scissors
Instructions for making Paper Plate Butterflies:
1. Fold paper plates in quarters
Fold your paper plates in quarters. Do this by folding it in half once and then in half one more time. Don’t worry about bending up the paper plate if it is stiff. I flattened the edges of mine while folding it and the butterfly still turned out great.
2. Draw a curved line on folded plate
Use a pencil to draw a curved line about one-inch in from the pointed edge of the paper plate to create the shape of your butterfly wing.
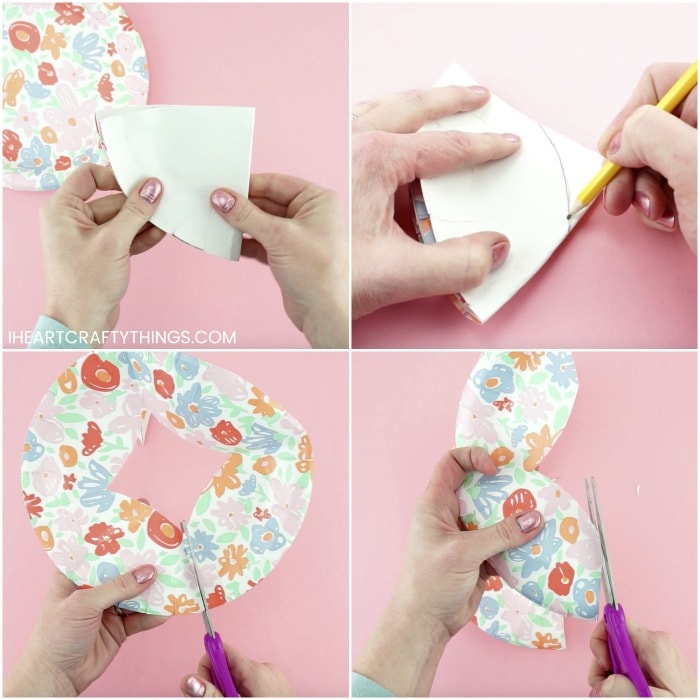
3. Cut out two butterfly wings
Cut along the curved line you drew with scissors. Open up your paper plate and cut down the middle of the paper plate at the top and bottom of the diamond shape in the middle of the paper plate to separate the wings. Then use scissors to round out the shape of each of the butterfly wing.
4. Glue butterfly wings together
Add a line of hot glue down the middle of the outside edge of one of the paper plate halves. Then glue the other paper plate half down on top of it with the outside edge facing inward. You now have a gorgeous set of butterfly wings to attach your butterfly to.
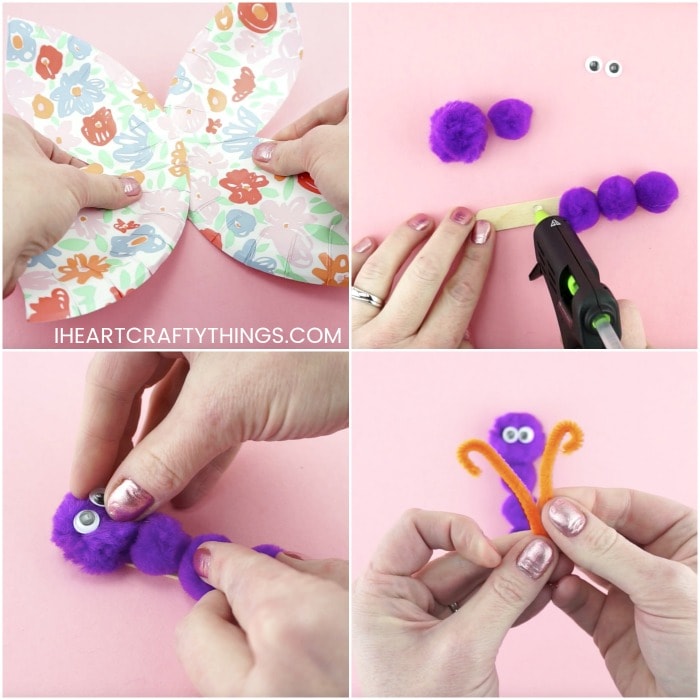
5. Glue poms onto craft stick
Add a dot of hot glue on the end of your 4-1/2 x 1/2 inch craft stick and glue a 1-inch pom on it. Continue adding dots of glue up the craft stick, gluing on all four of the 1-inch poms and the 1-1/2 inch pom at the top for the butterfly head.
6. Glue eyes on butterfly face
Glue two small googly eyes on the face of your butterfly.
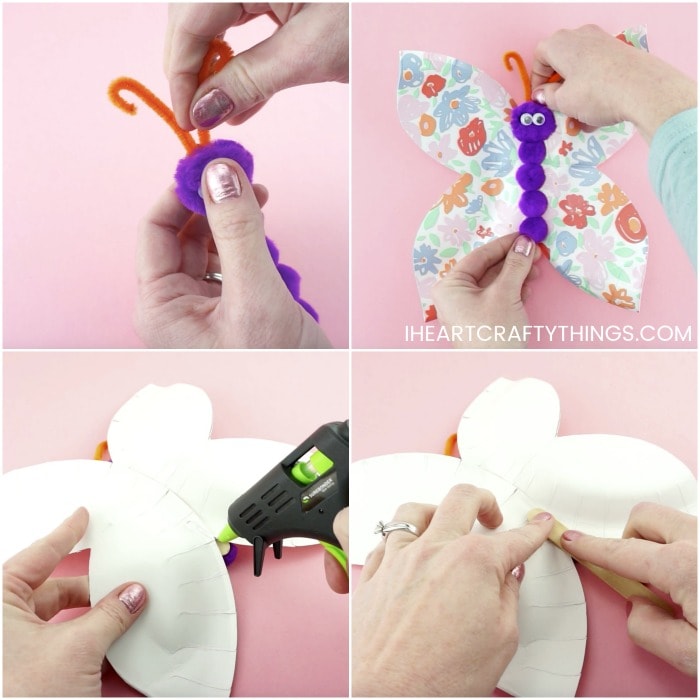
7. Make two butterfly antennae
Make the butterfly antennae with a pipe cleaner. Bend the pipe cleaner and cut in half. Then bend the pipe cleaner in half to make two antennae. Bend down and fold the two ends of the pipe cleaner to make the ends of the antennae curly.
8. Attach antennae
Add hot glue at the top of the craft stick, directly behind the butterfly face, and attach the antennae.
9. Glue butterfly body onto wings
Add a line of hot glue along the middle of your paper plate butterfly wings and attach the butterfly body to the wings.
10. Create puppet handle
Turn your paper plate butterfly over. Add some hot glue at the bottom of the butterfly wings, in the center, and attach a second craft stick to the glue for a handle.
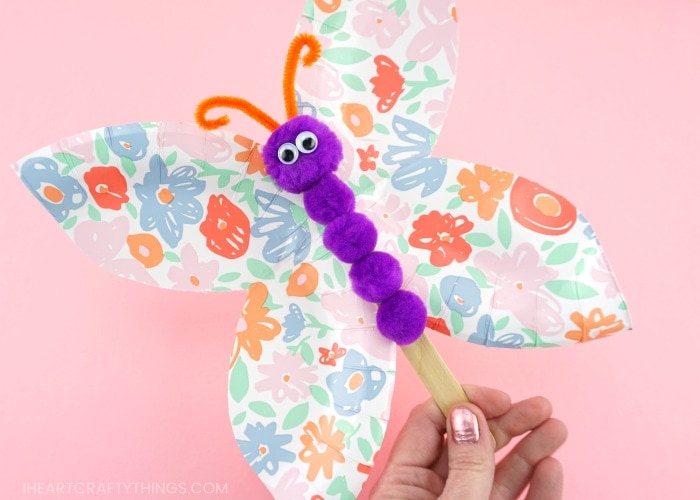
To play with your paper plate butterfly, hold the end of the craft stick at the bottom of the butterfly. Then move around the stick and have fun flying and fluttering your butterfly around.
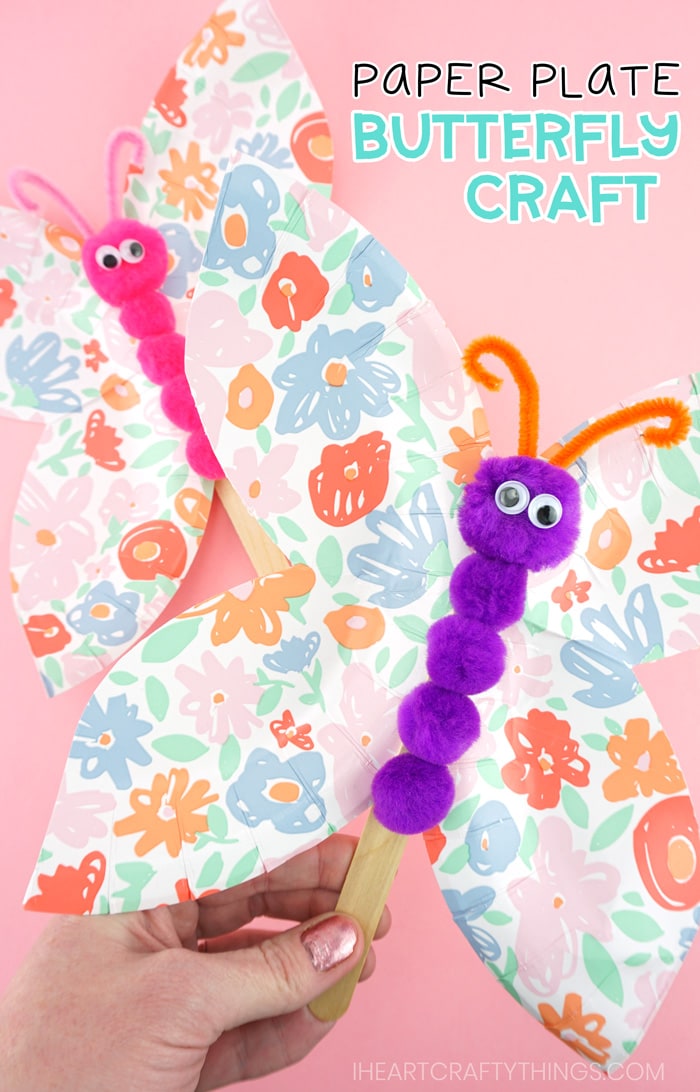
Video Tutorial: How to Make a simple Paper Plate Butterfly
Watch the video below for a step by step guide on how to make this easy butterfly craft.
Find more spring crafts and butterfly craft ideas by browsing the categories at the top menu bar of our website.
