My mother in law has had this tradition for years now where if we stay at her house (or if she stays at mine) she plays this game called ‘Happy Land’ with my kids at bedtime.
My kids create their own land and design it however they choose with things that make them happy. For instance, my daughter’s happy land has streets made out of candy and she gets to ride around on a rainbow unicorn that has a sparkly gold horn.
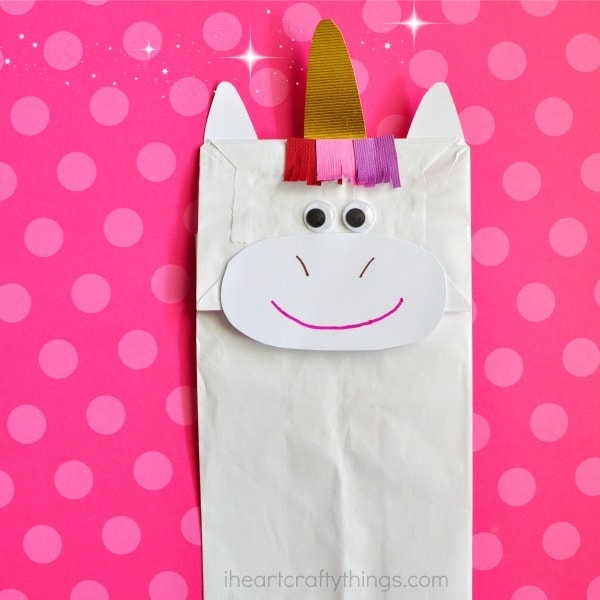
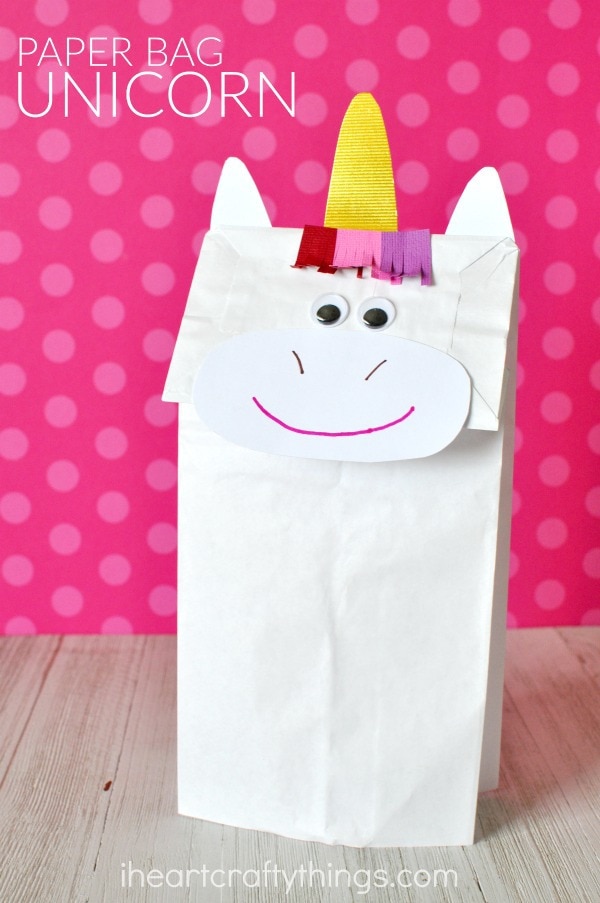
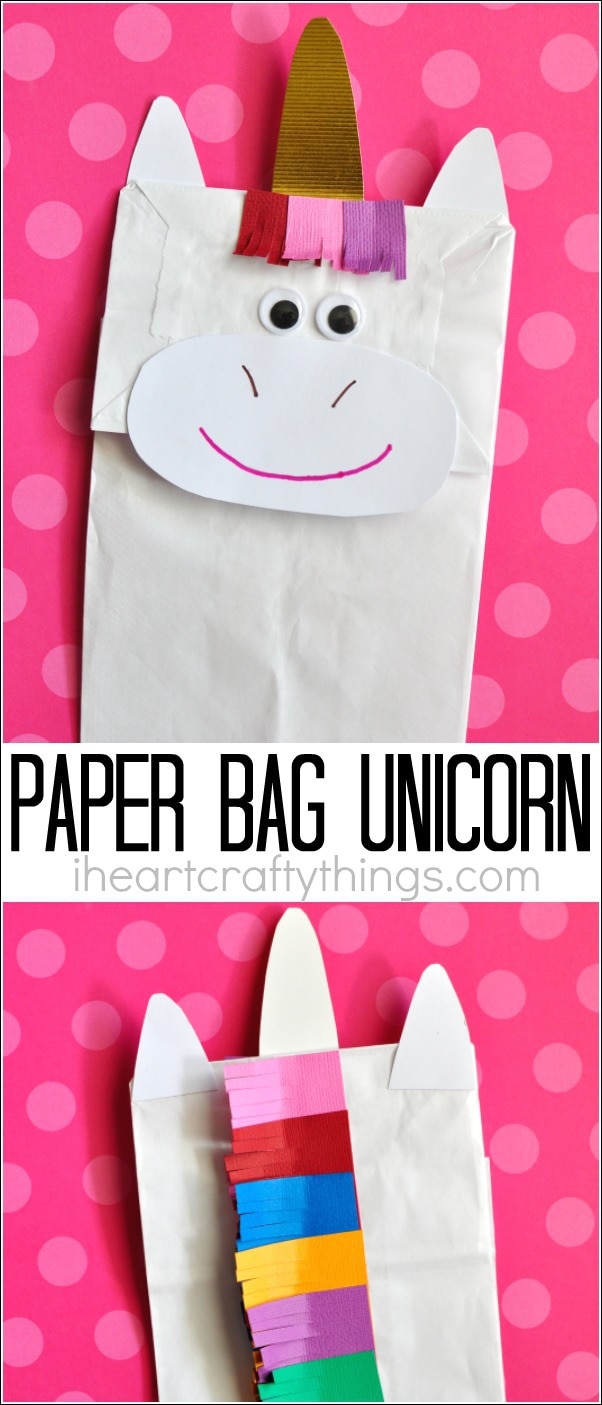
This fun tradition inspired my daughter and I to create this fun paper bag unicorn craft just like the one she envisions in her happy land. If your kids love the magic of unicorns they will love this simple and colorful craft!

This post contains affiliate links to the products mentioned. Read our disclosure policy for more information.
Supplies Needed for this Paper Bag Unicorn Craft
- white paper lunch bag
- gold cardstock (or color of your choice for the horn)
- white and colored cardstock
- googly eyes
- markers
- scissors
- glue
Directions for this Paper Bag Unicorn
1. Cut out unicorn trunk, ears and horn, glue them onto paper bag
Start by cutting out a unicorn trunk and ears from your white cardstock. Then cut out a horn from your gold cardstock (or whatever color you choose). Glue all of the pieces onto your white paper bag.

2. Make frayed unicorn hair pieces, glue them onto paper bag
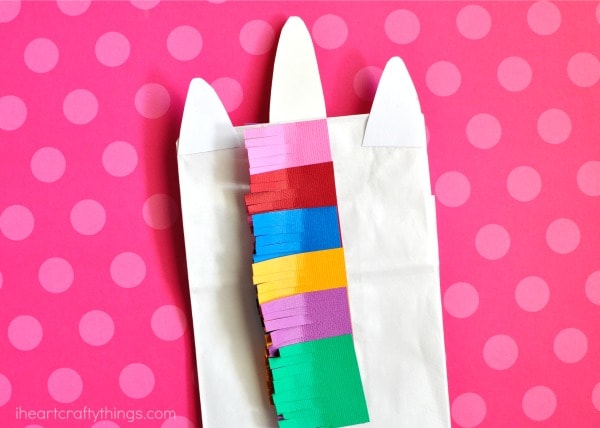
Decide what colors you want to use for your horse hair from your construction paper. Cut out small strips of the colors and cut slits along the edge to make frayed hair. Glue a few pieces on top of your horn on the face of your unicorn. Then glue pieces all along the back of the back in the middle for the beautiful unicorn mane.
This one I made as an example I went with a rainbow theme. I love how colorful it turned out!

3. Add eyes, draw nostrils and a cute smile
Finish your paper bag unicorn craft by gluing on your googly eyes and using your markers to draw on nostrils and a cute smile.
NOTE: I always trim an inch or two off the bottom of my paper bags because it fits my daughter’s arm better that way. If you are making this craft with toddlers or preschoolers you might want to do this as well.


