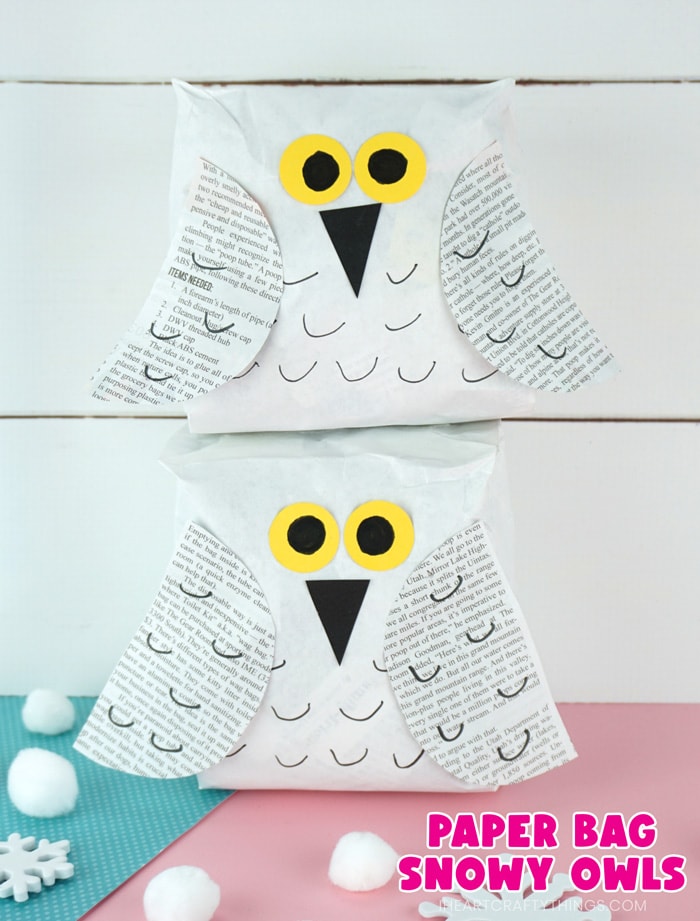
If you’re planning on learning about owls this winter, you will love this simple and fun paper bag snowy owl craft.
The winter season is a perfect time for preschoolers to learn about animals that live in cold climates like polar bears, penguins, walruses, and arctic foxes.
This snowy owl craft is a perfect compliment to learning about the majestic white owl. Here’s a fun fact my daughter and I learned about snowy owls this week: As male snowy owls get older, they get whiter but females never become completely white. They always remain brownish with darker markings.
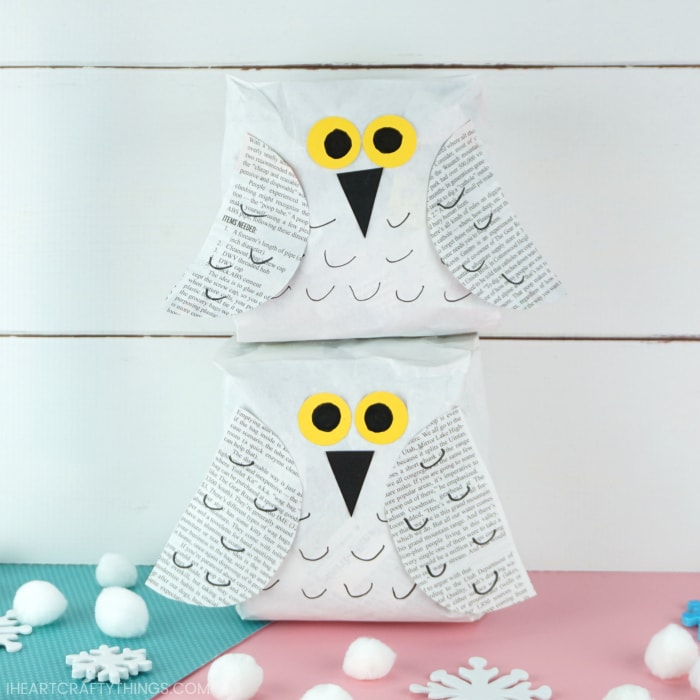
Read our easy step-by-step tutorial below for how to make this easy snowy owl craft with your kids. Make sure to watch our video tutorial inside this post before get started too.
Supplies Needed:
This post contains affiliate links to the products mentioned. Read our disclosure policy for more information.
Directions:
1. Stuff your paper bag
Start by cutting off about 2-3 inches from the top of your white paper bag. Cut several strips from your newspaper, crinkle them up and stuff your paper bag about 1-inch down from the top.
2. Staple the bag
Staple the top of the paper bag shut. Then fold the top down and staple it down to make the top of the paper bag flat. This will be the bottom of your owl.
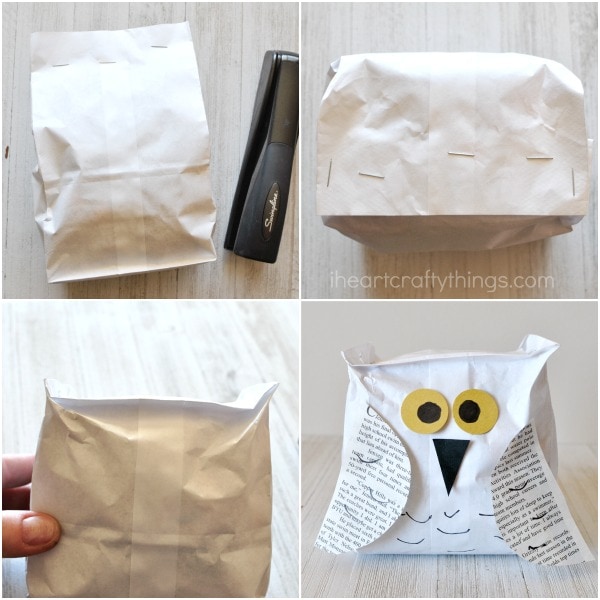
3. Make ears
(Optional) Pinch the top corners of the bag up and add a staple to hold it in place and to make owl ears.
4. Cut out beak & eyes
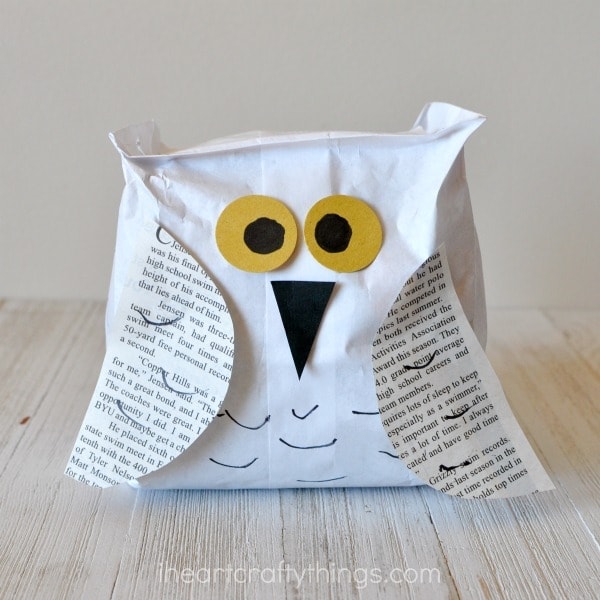
Cut out two 1-inch yellow circles for eyes and a black beak from cardstock. Use your black marker to draw pupils inside the yellow eyes.
5. Glue them to the bag
Using an extra strength glue stick, glue the yellow eyes and black beak onto the stuffed paper bag.
6. Draw feathers
Draw black feather markings along the front of the paper bag, under the eyes and beak of the owl.
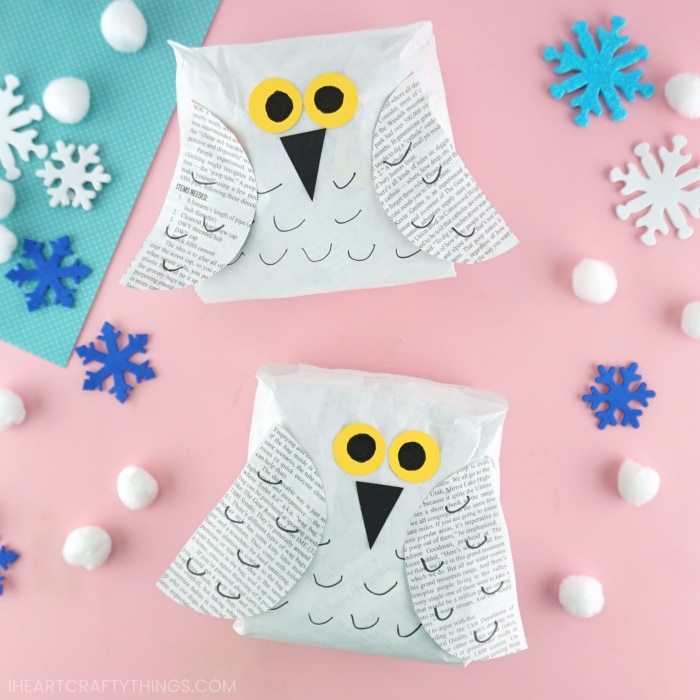
7. Add wings
Cut out a circle from your extra newspaper clippings. Cut the circle in half to create two owl wings. Then using your black marker, draw a few feather markings on each newspaper wing. Finish your snowy owl craft by gluing the two newspaper wings on the front of the paper bag.
